Editor
The Editor is where you write, organize, and run R scripts. While the Console is ideal for quick one-off commands, the Editor gives you a proper multi-file workspace with syntax highlighting, tabs, find and replace, code snippets, and an output panel. It has everything you need to build and iterate on longer analyses.
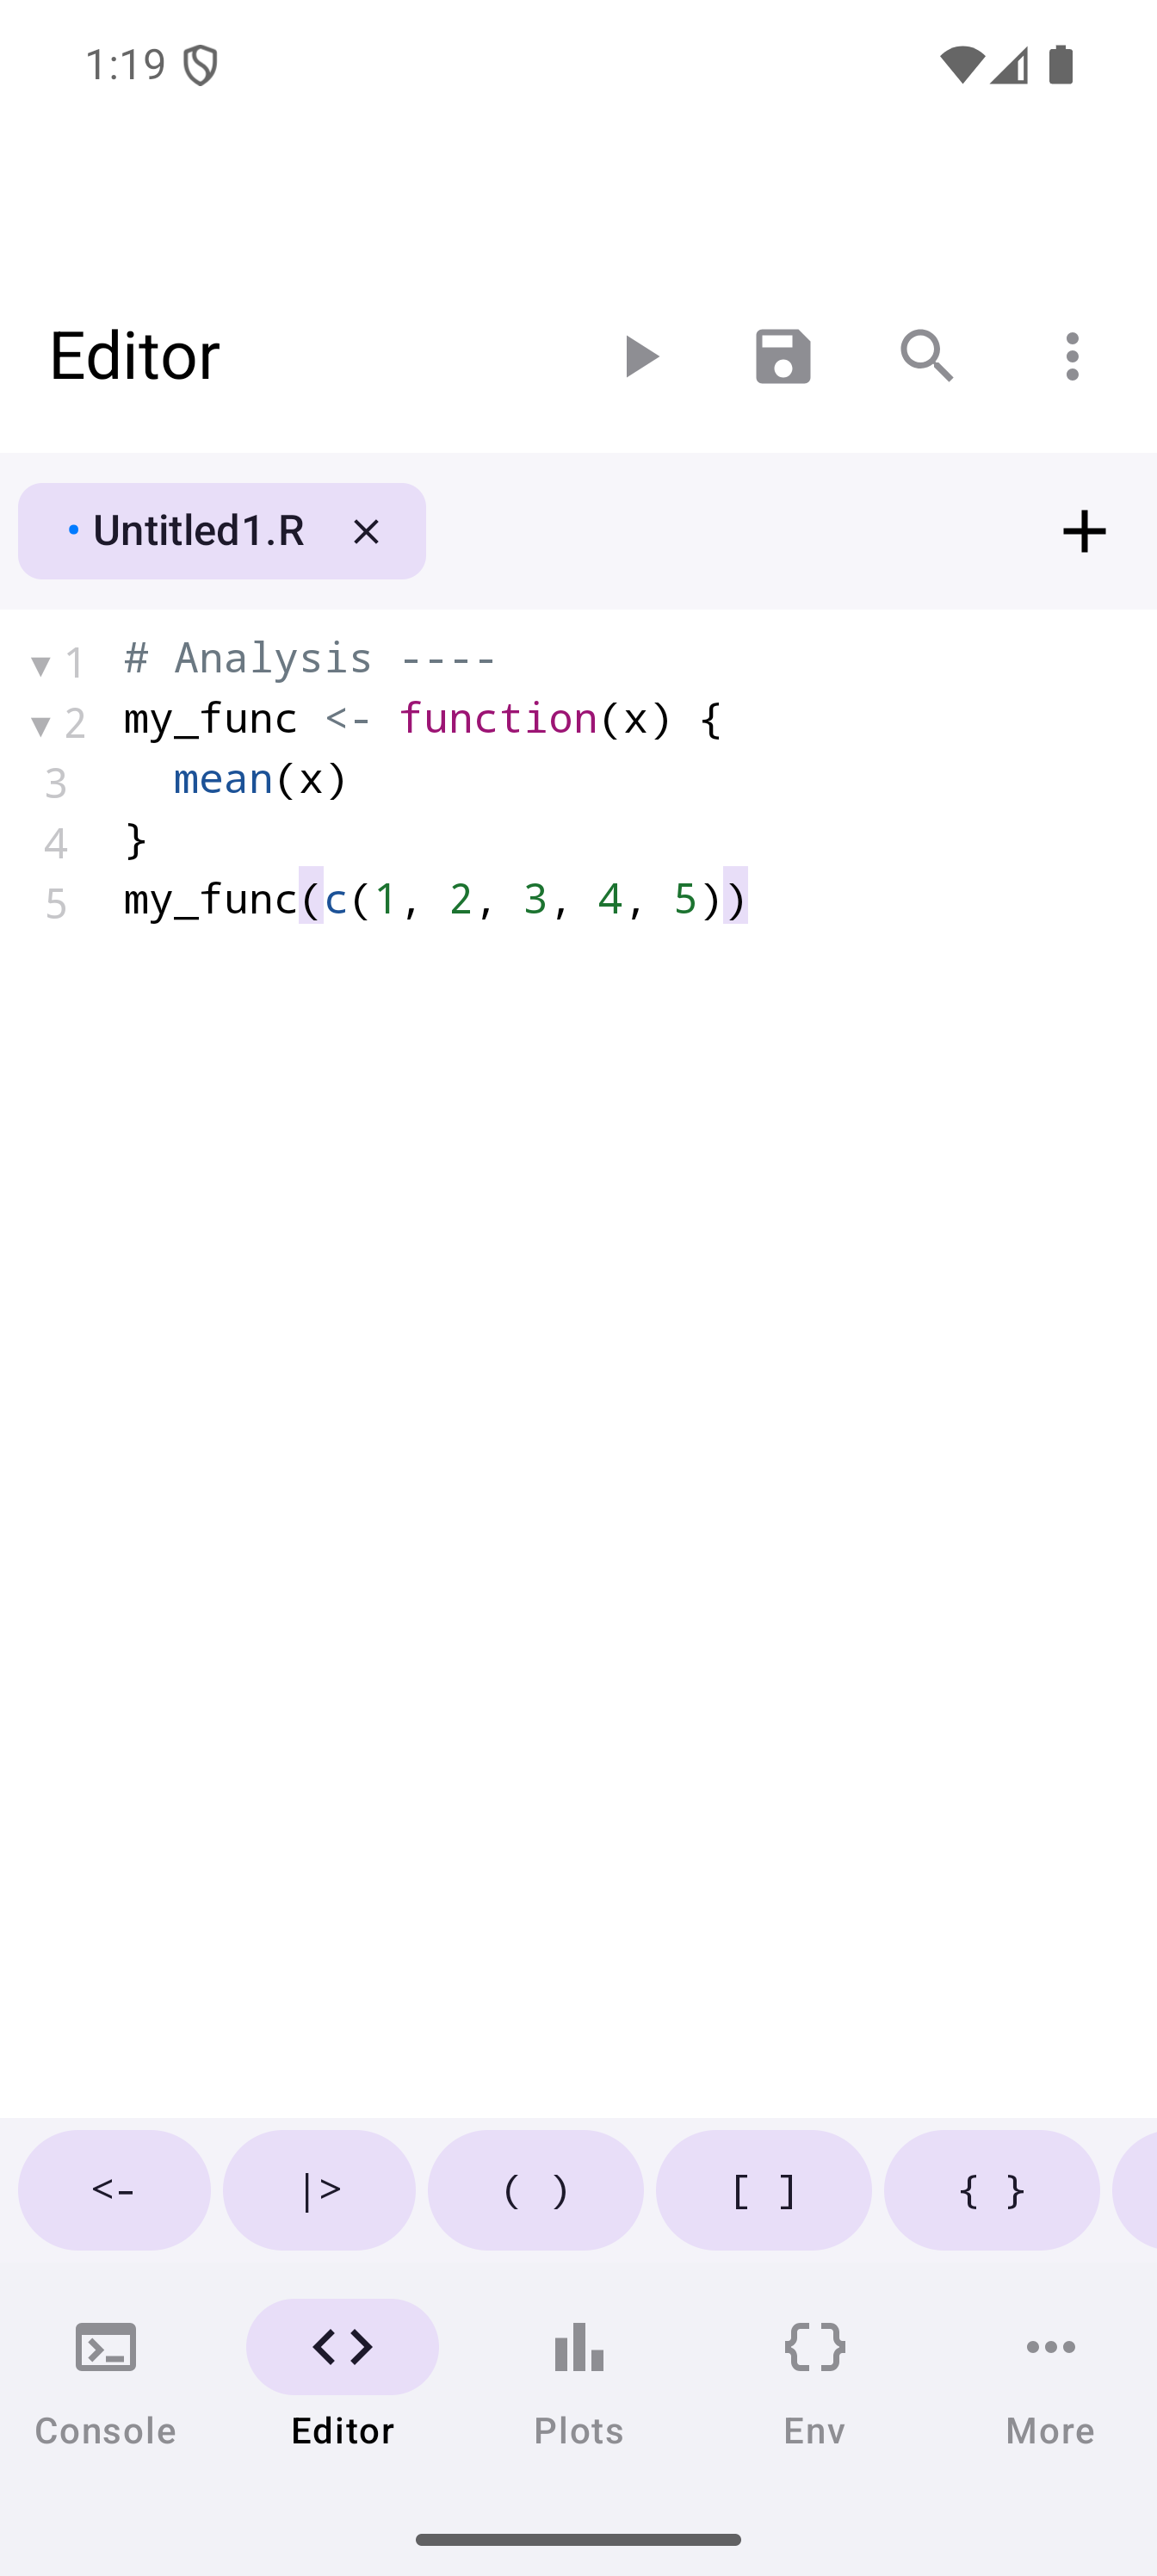
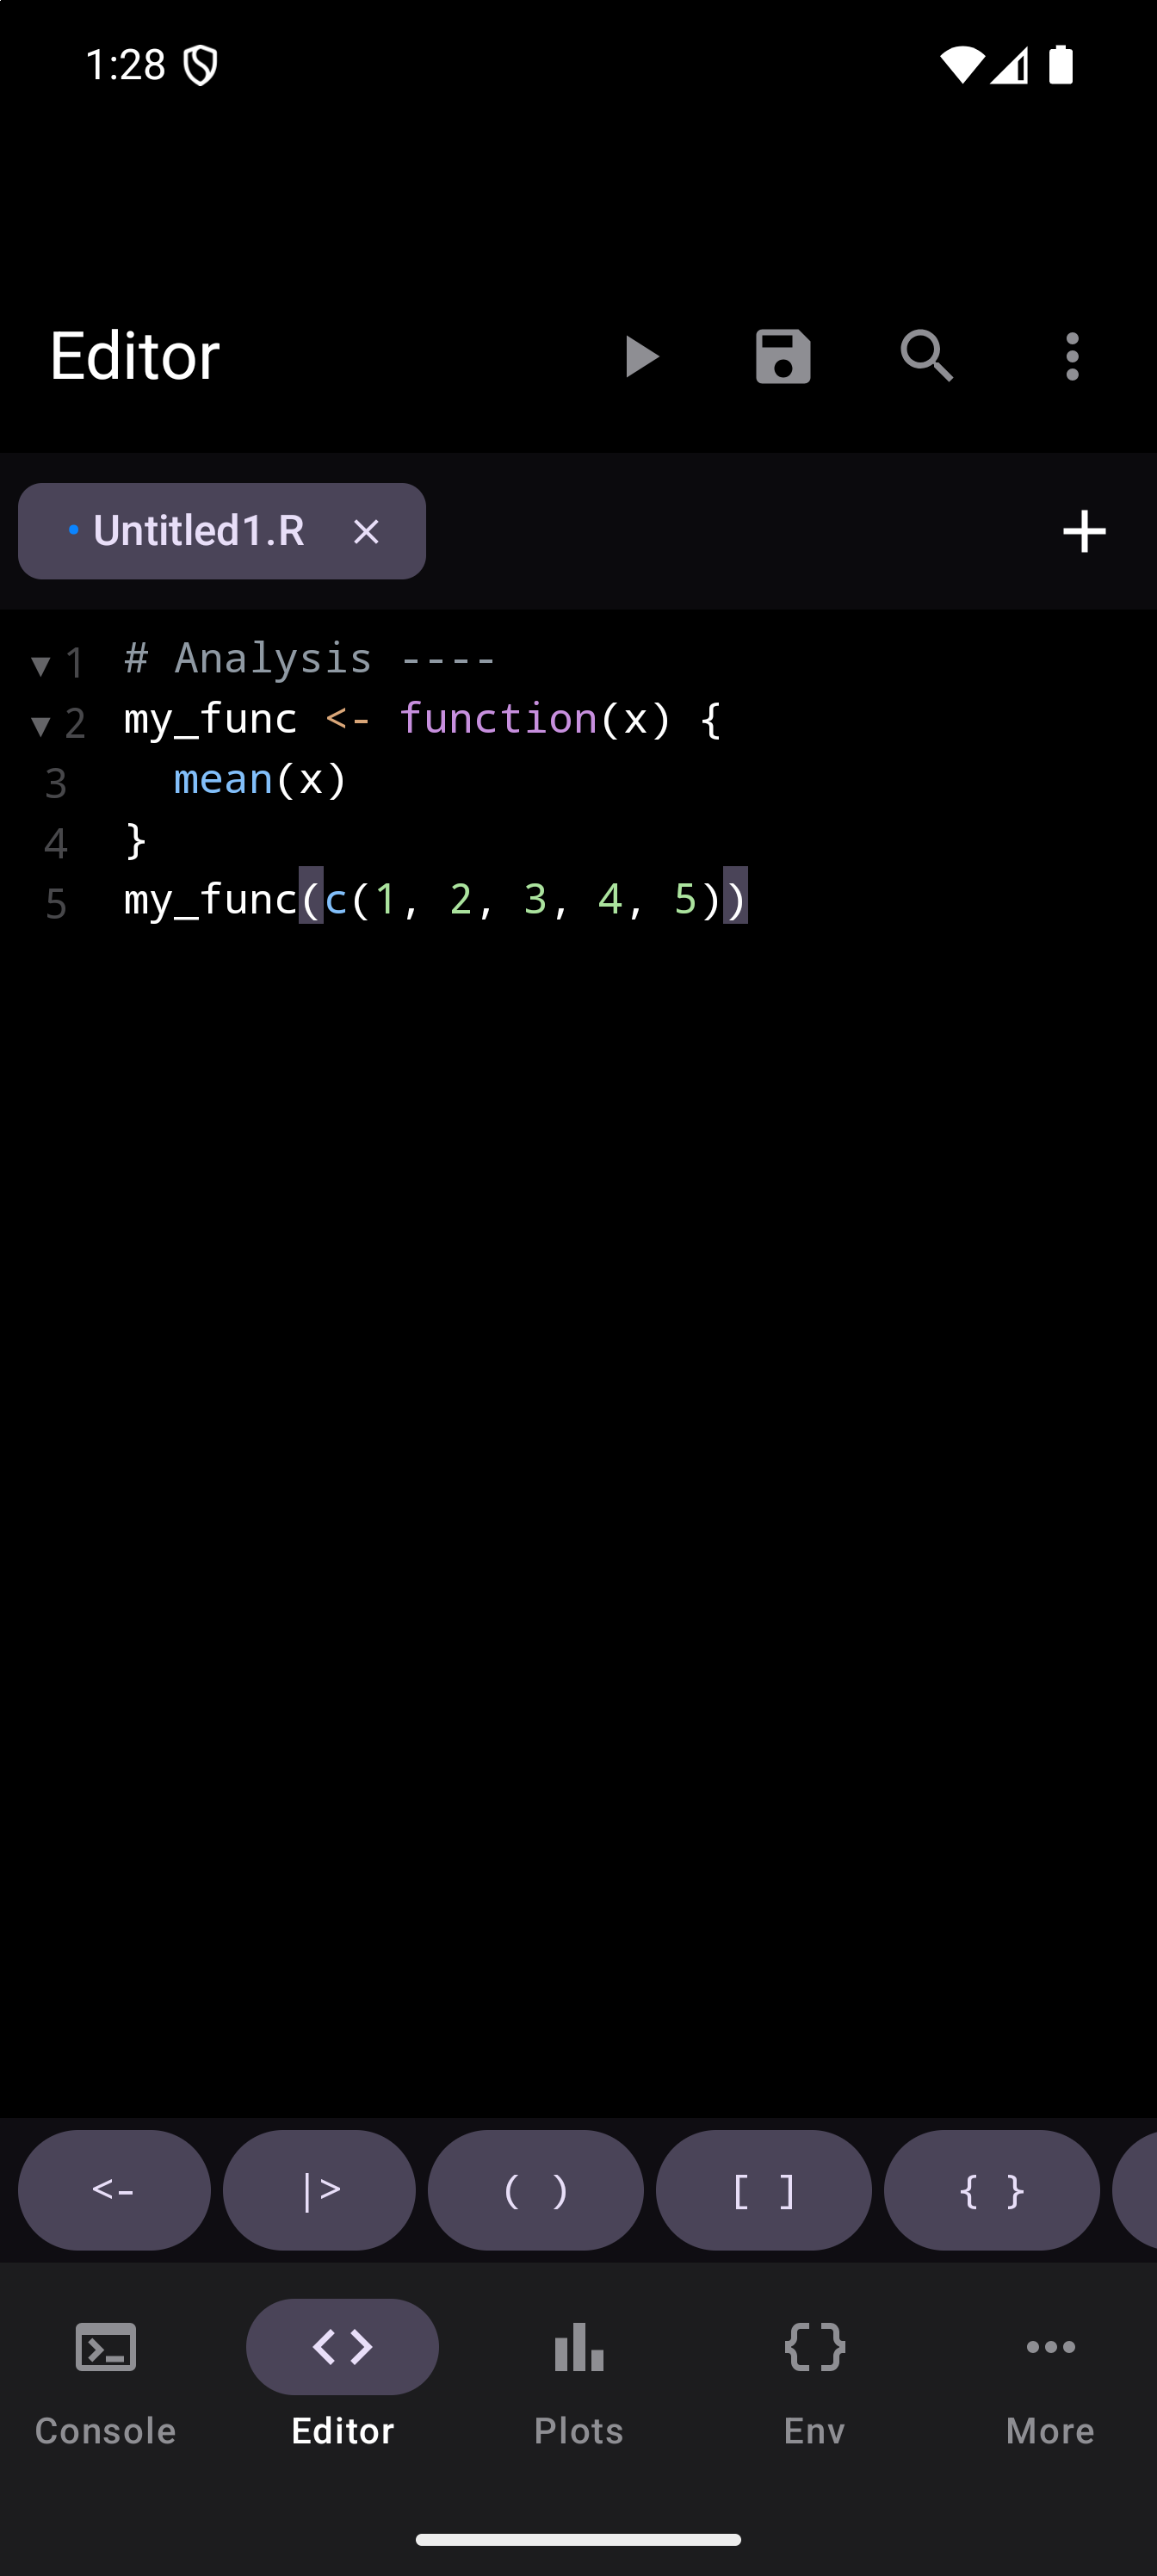
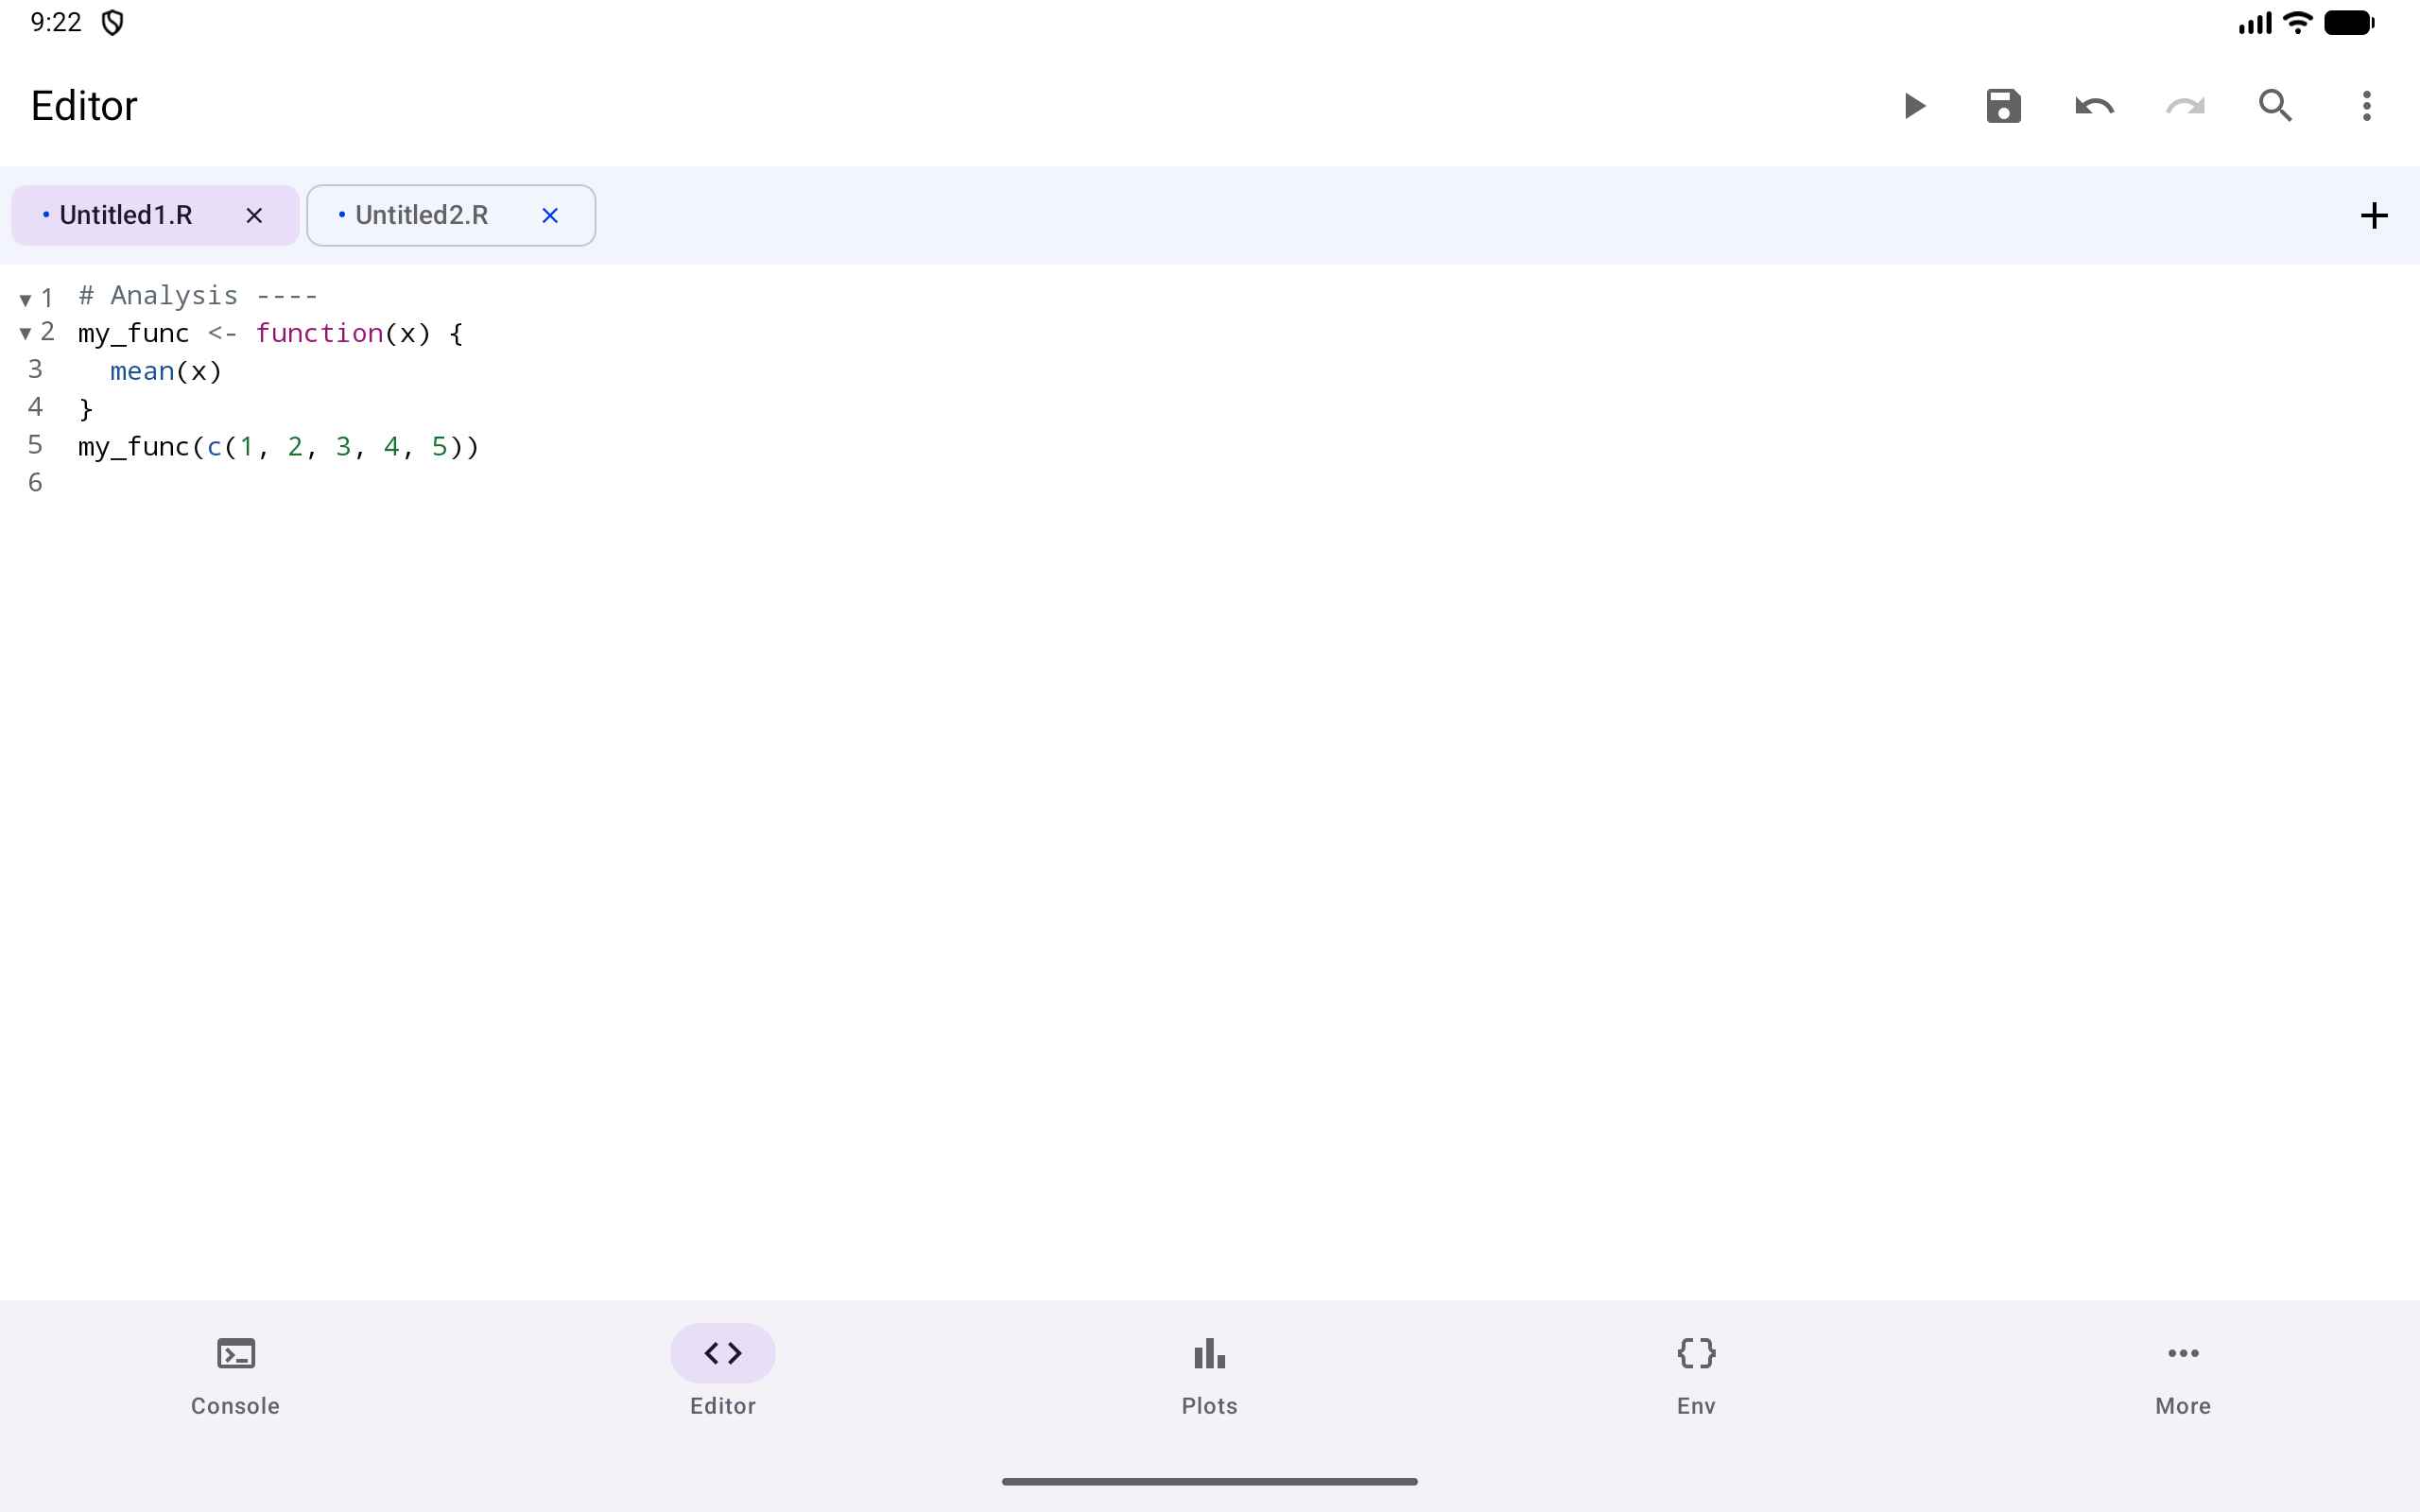
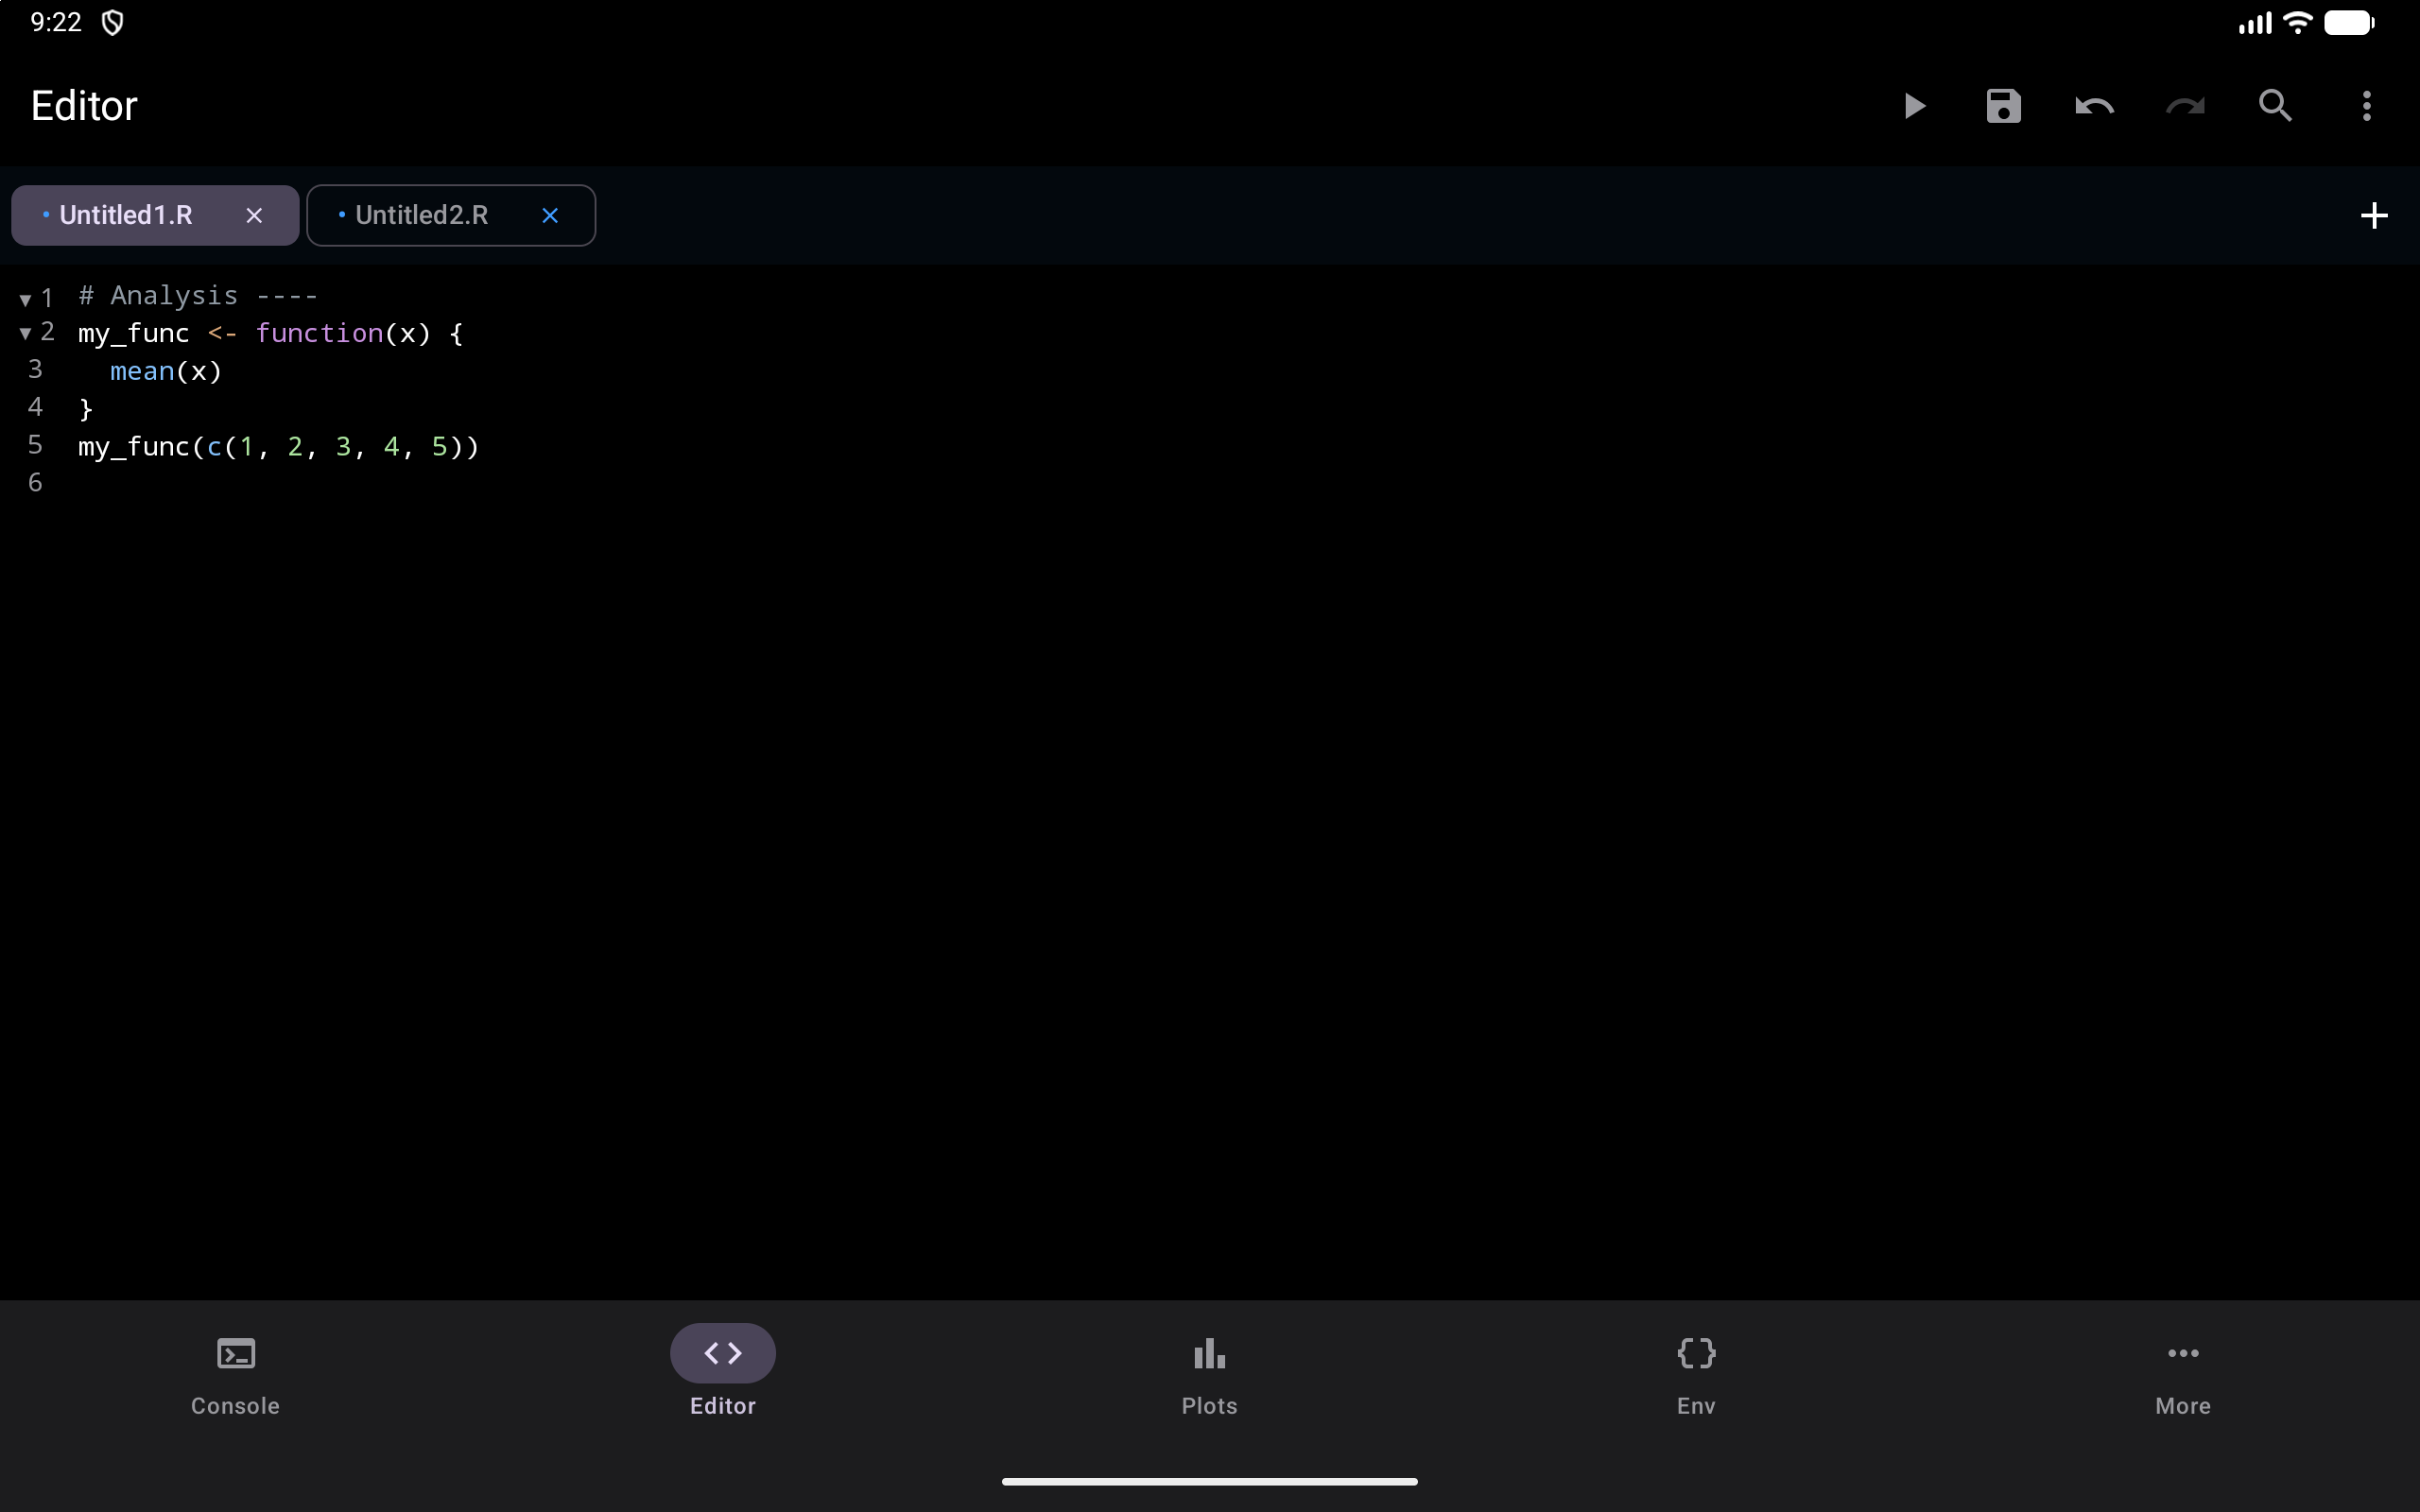
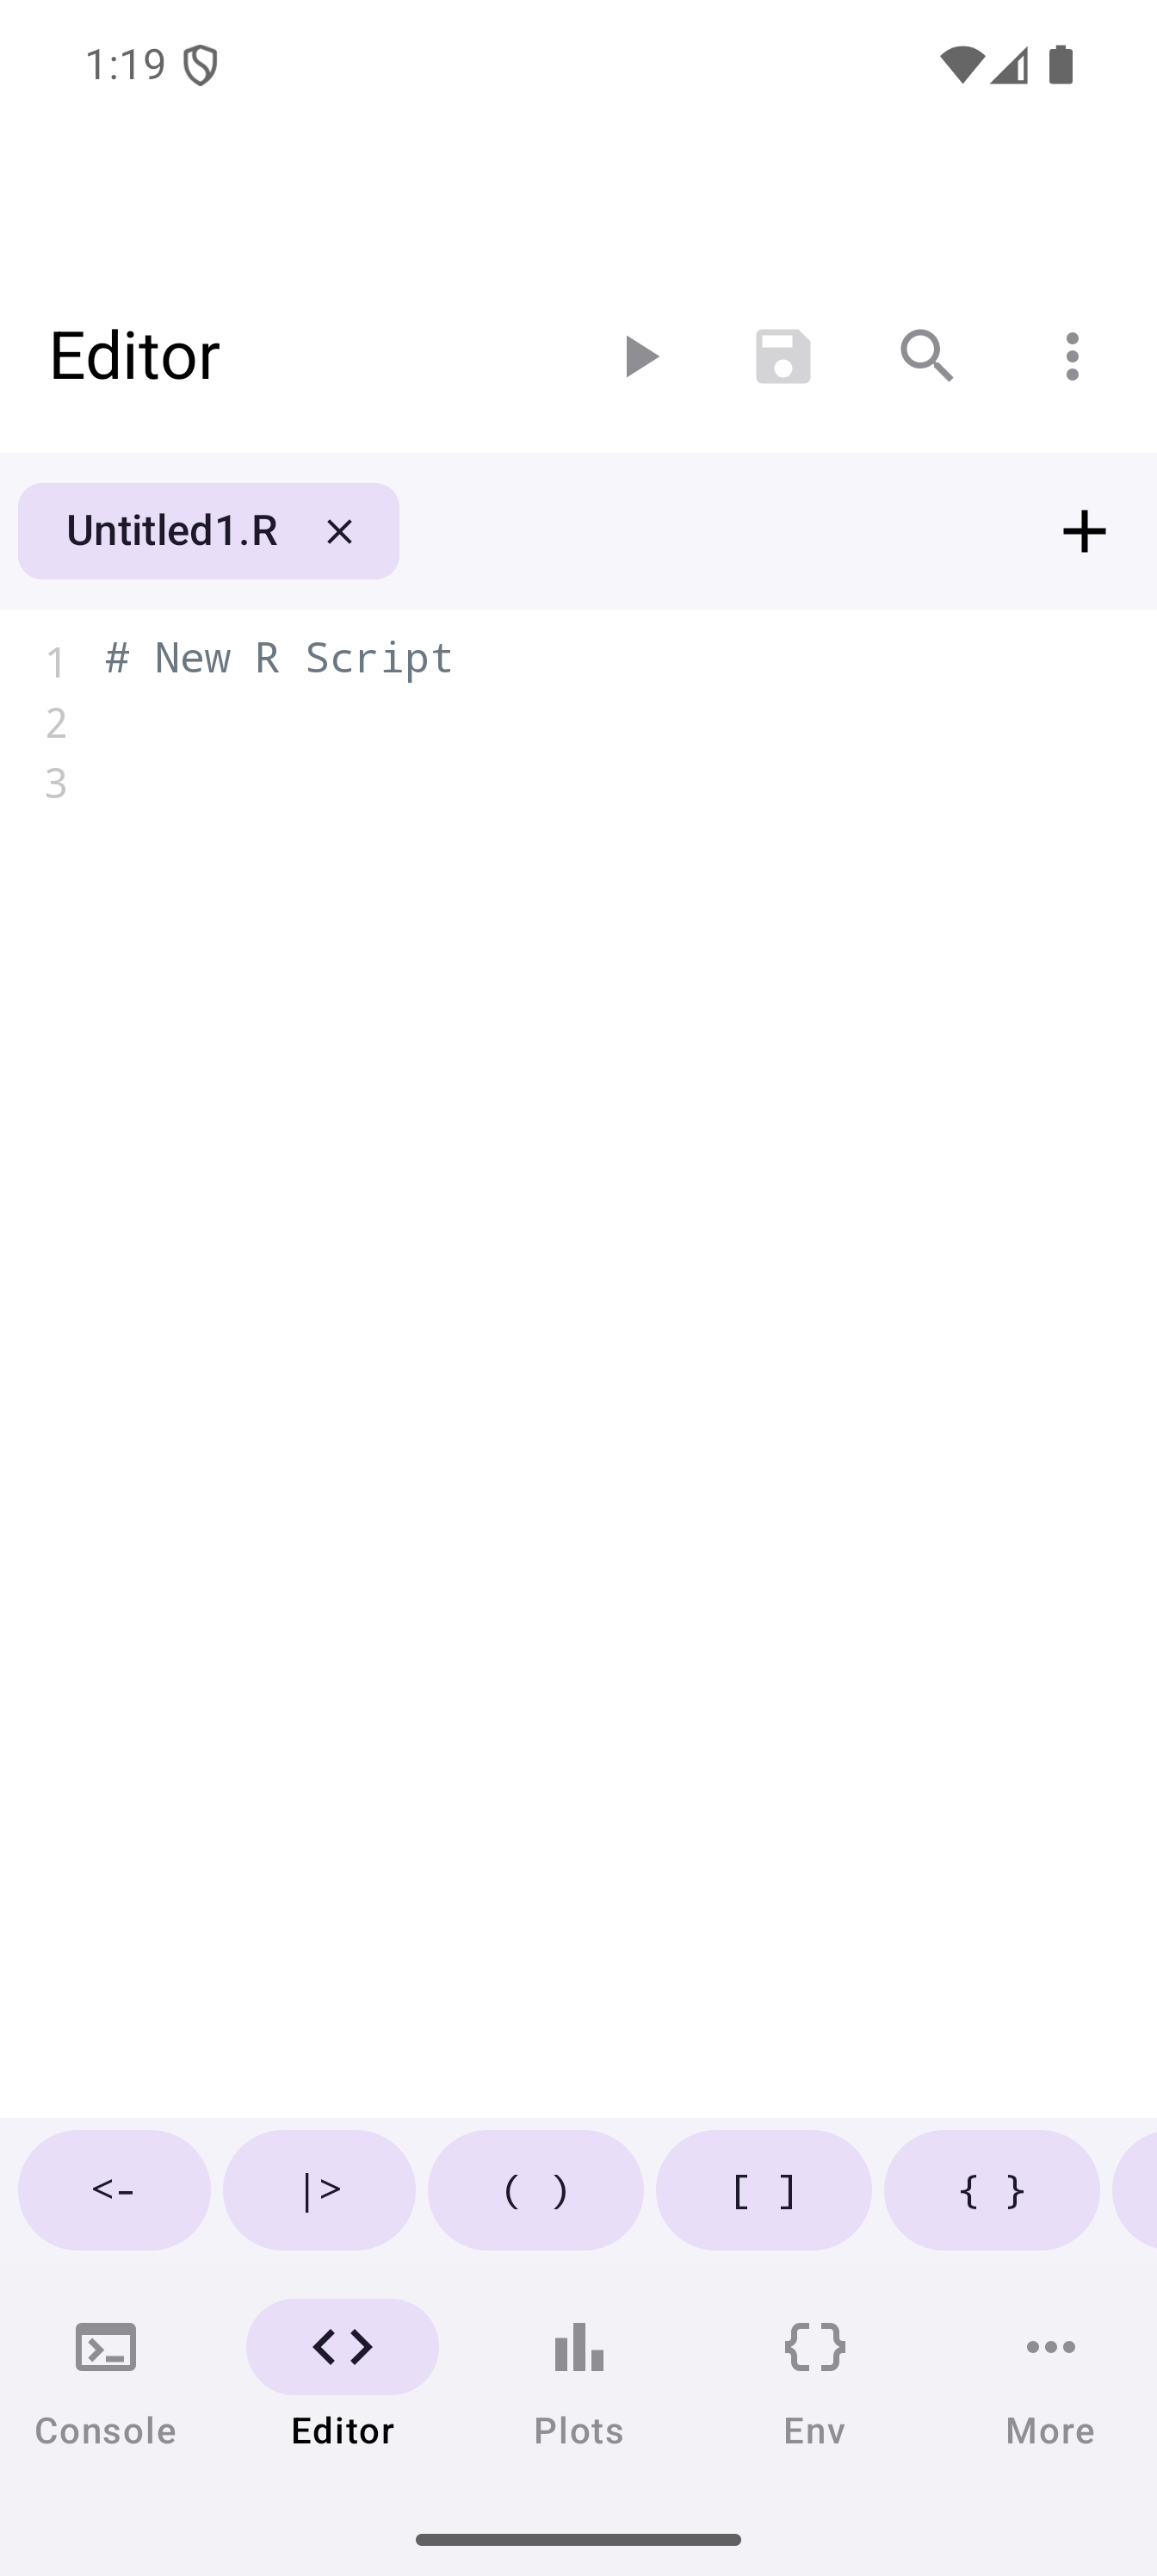
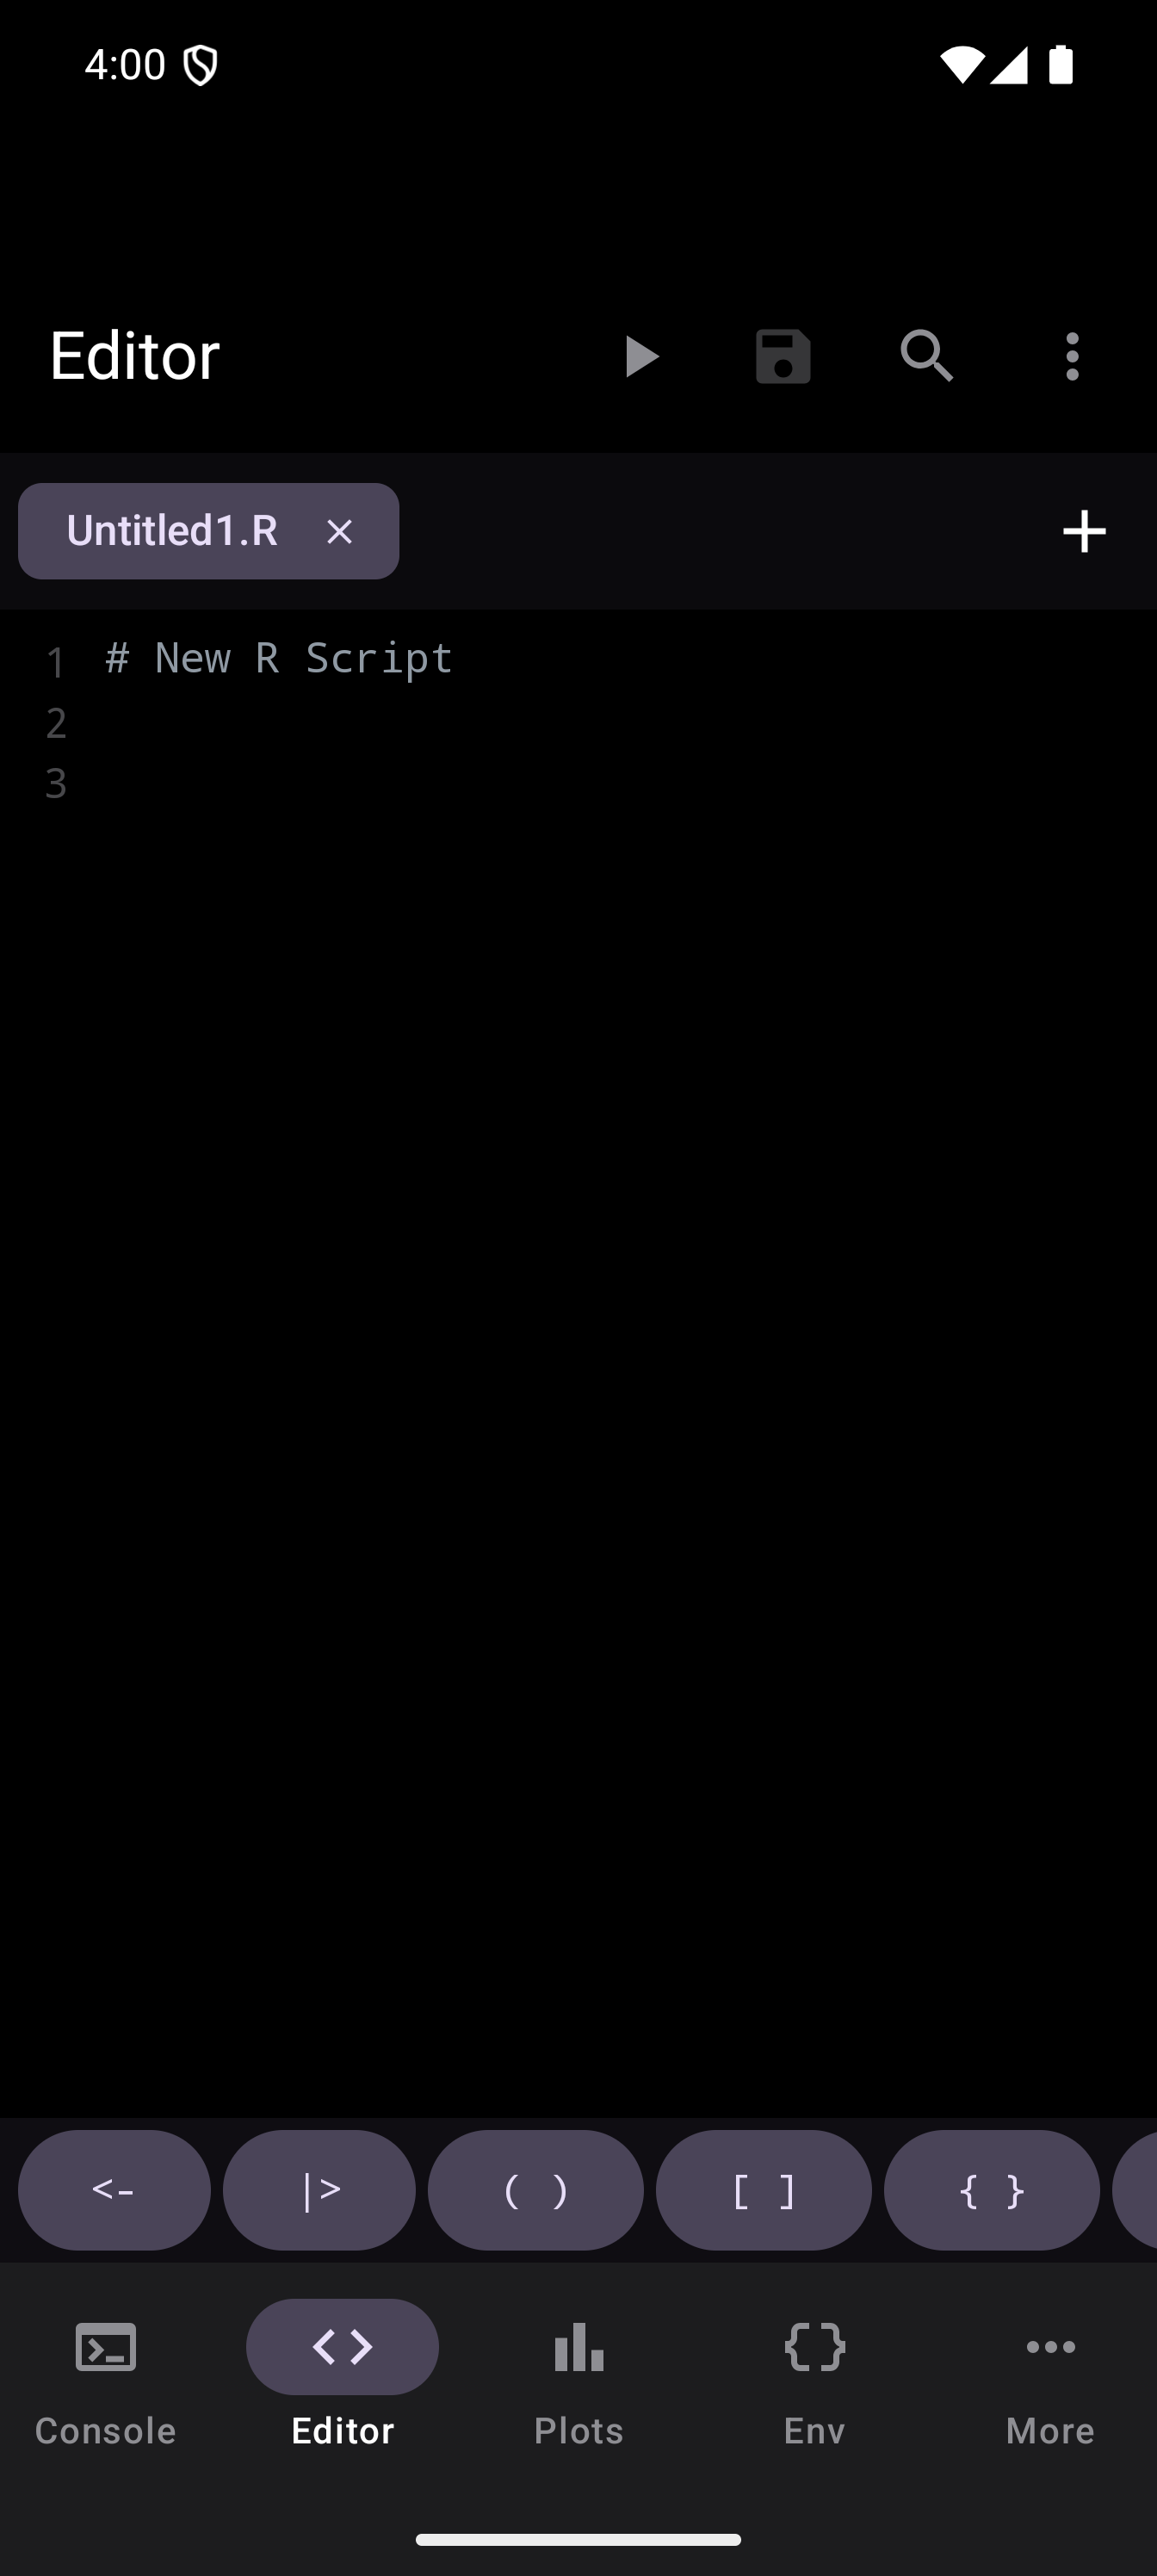
The Editor is never empty. When you first open it, or close your last tab, it starts a new untitled script (such as Untitled1.R) holding a single comment line, # New R Script, ready for you to type over:
Working with Tabs
The Editor uses a multi-tab interface. A horizontal tab bar runs across the top of the screen, and each open file gets its own tab.
What tabs show you
Each tab displays:
- The filename (e.g.,
analysis.R,Untitled1.R) - A close button (x) on the right side to close that tab
- A modified indicator (a dot) when the file has unsaved changes
The tab of the file in the Editor is highlighted. In a split Editor, that is the left pane’s file, and the header above each pane names the file in it.
Managing tabs
- Switch between files: tap any tab to bring that file into the editing area.
- Create a new file: tap the + button at the end of the tab bar to open a new, untitled R script. To start from a pre-built code template instead, open the Snippets panel from the editor menu and browse categorized templates (Data Structures, Control Flow, Functions, Visualization, Statistics, Input/Output, and Tidyverse).
If you have many tabs open and they overflow the visible area, swipe horizontally along the tab bar to scroll through them.
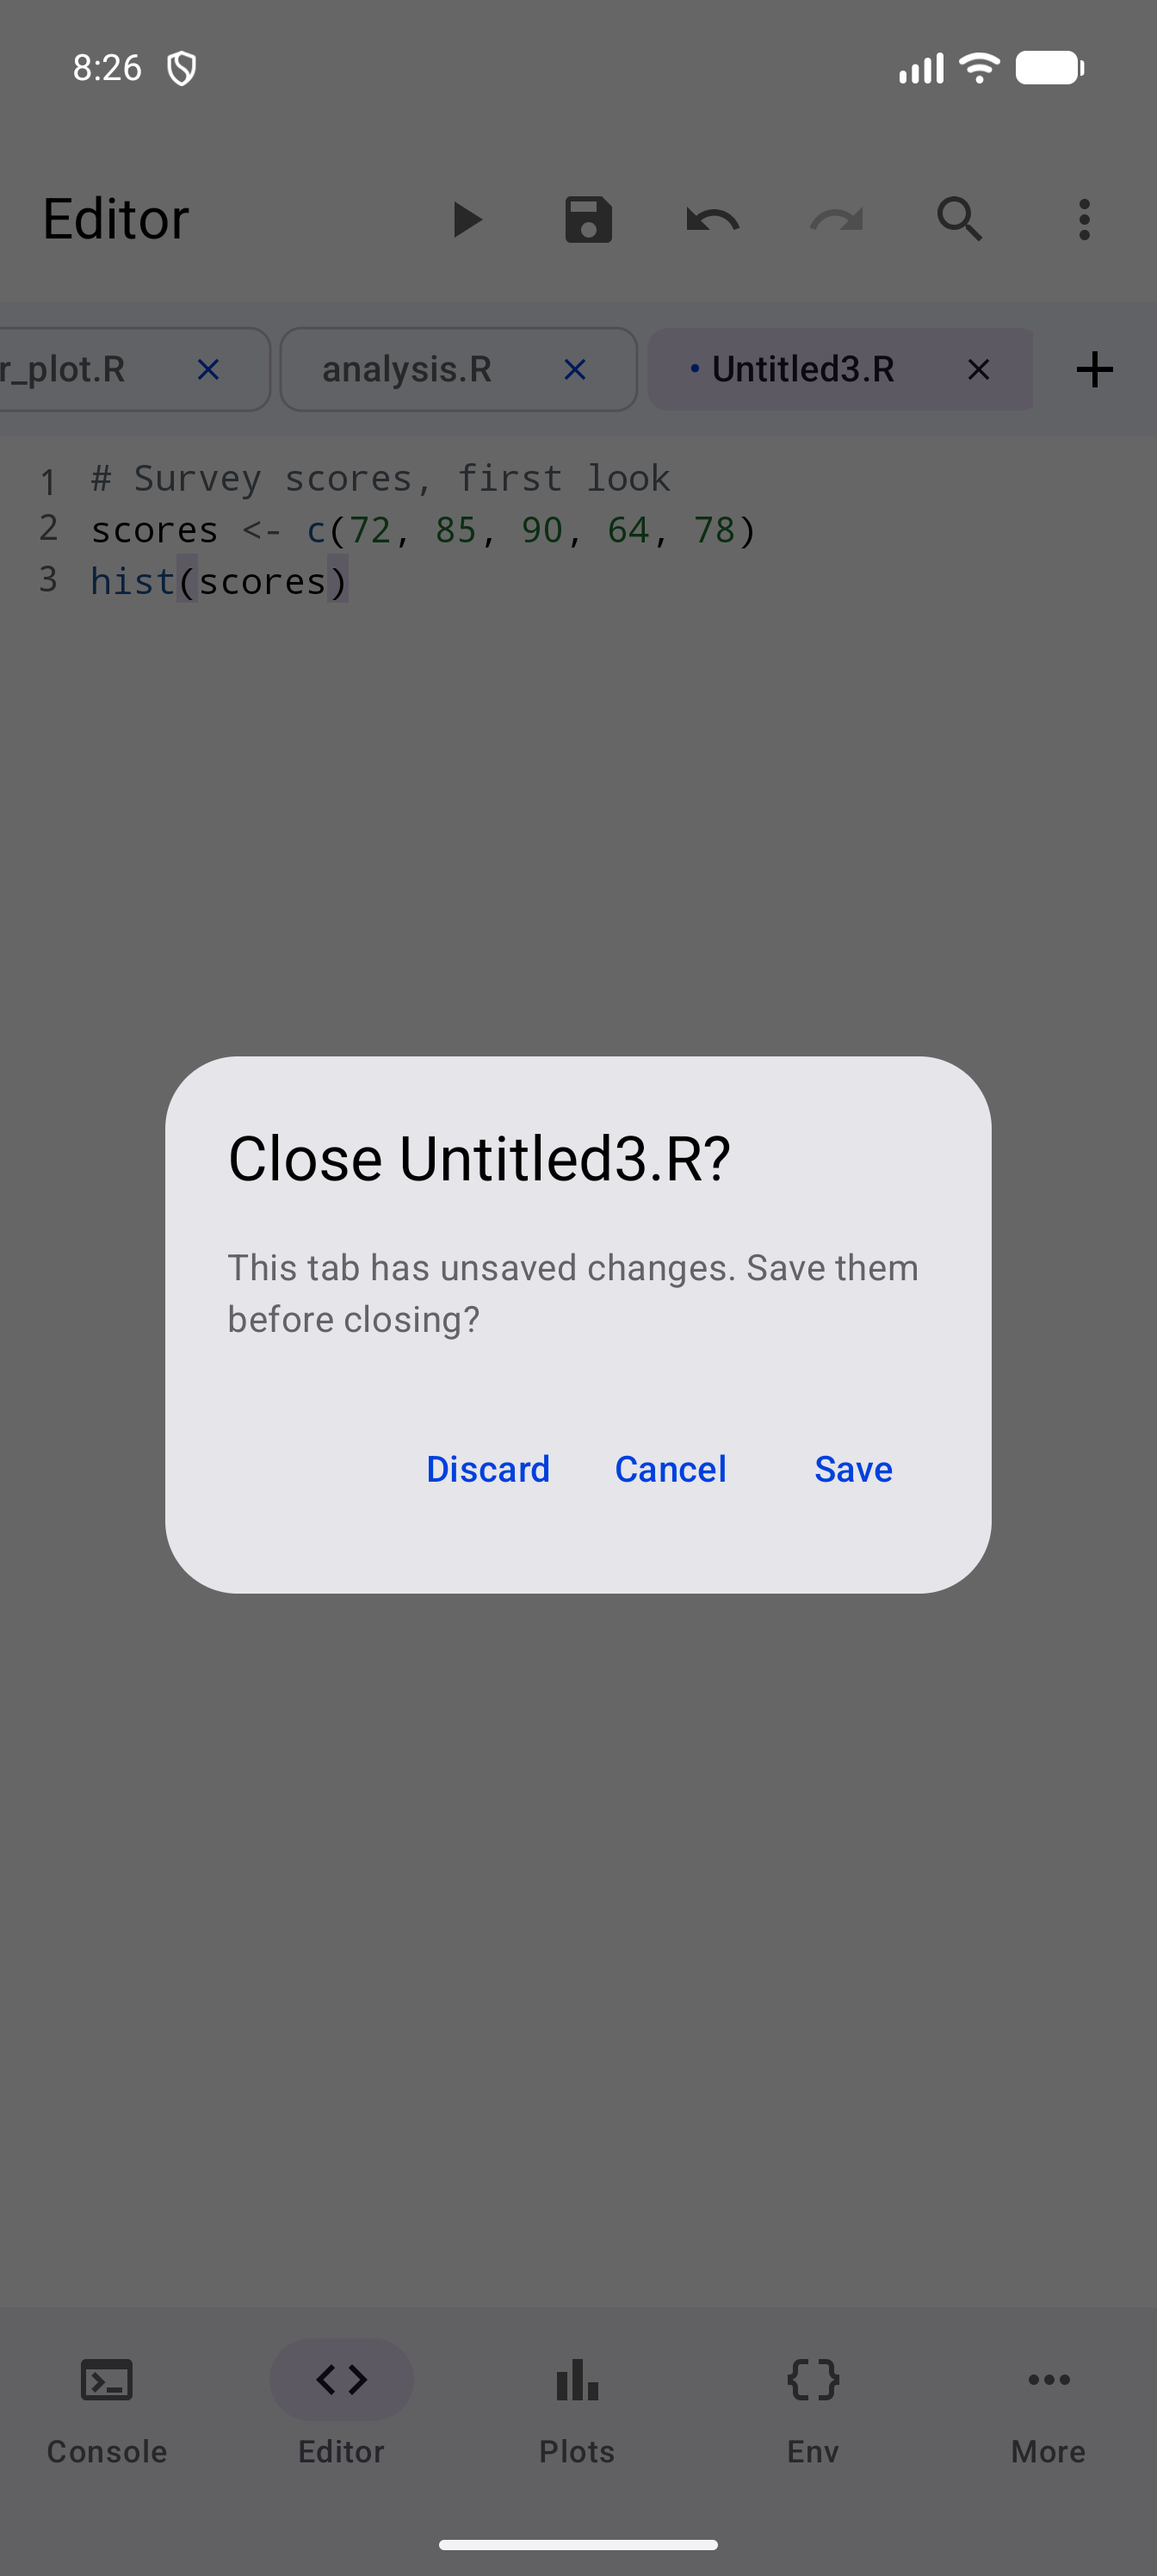
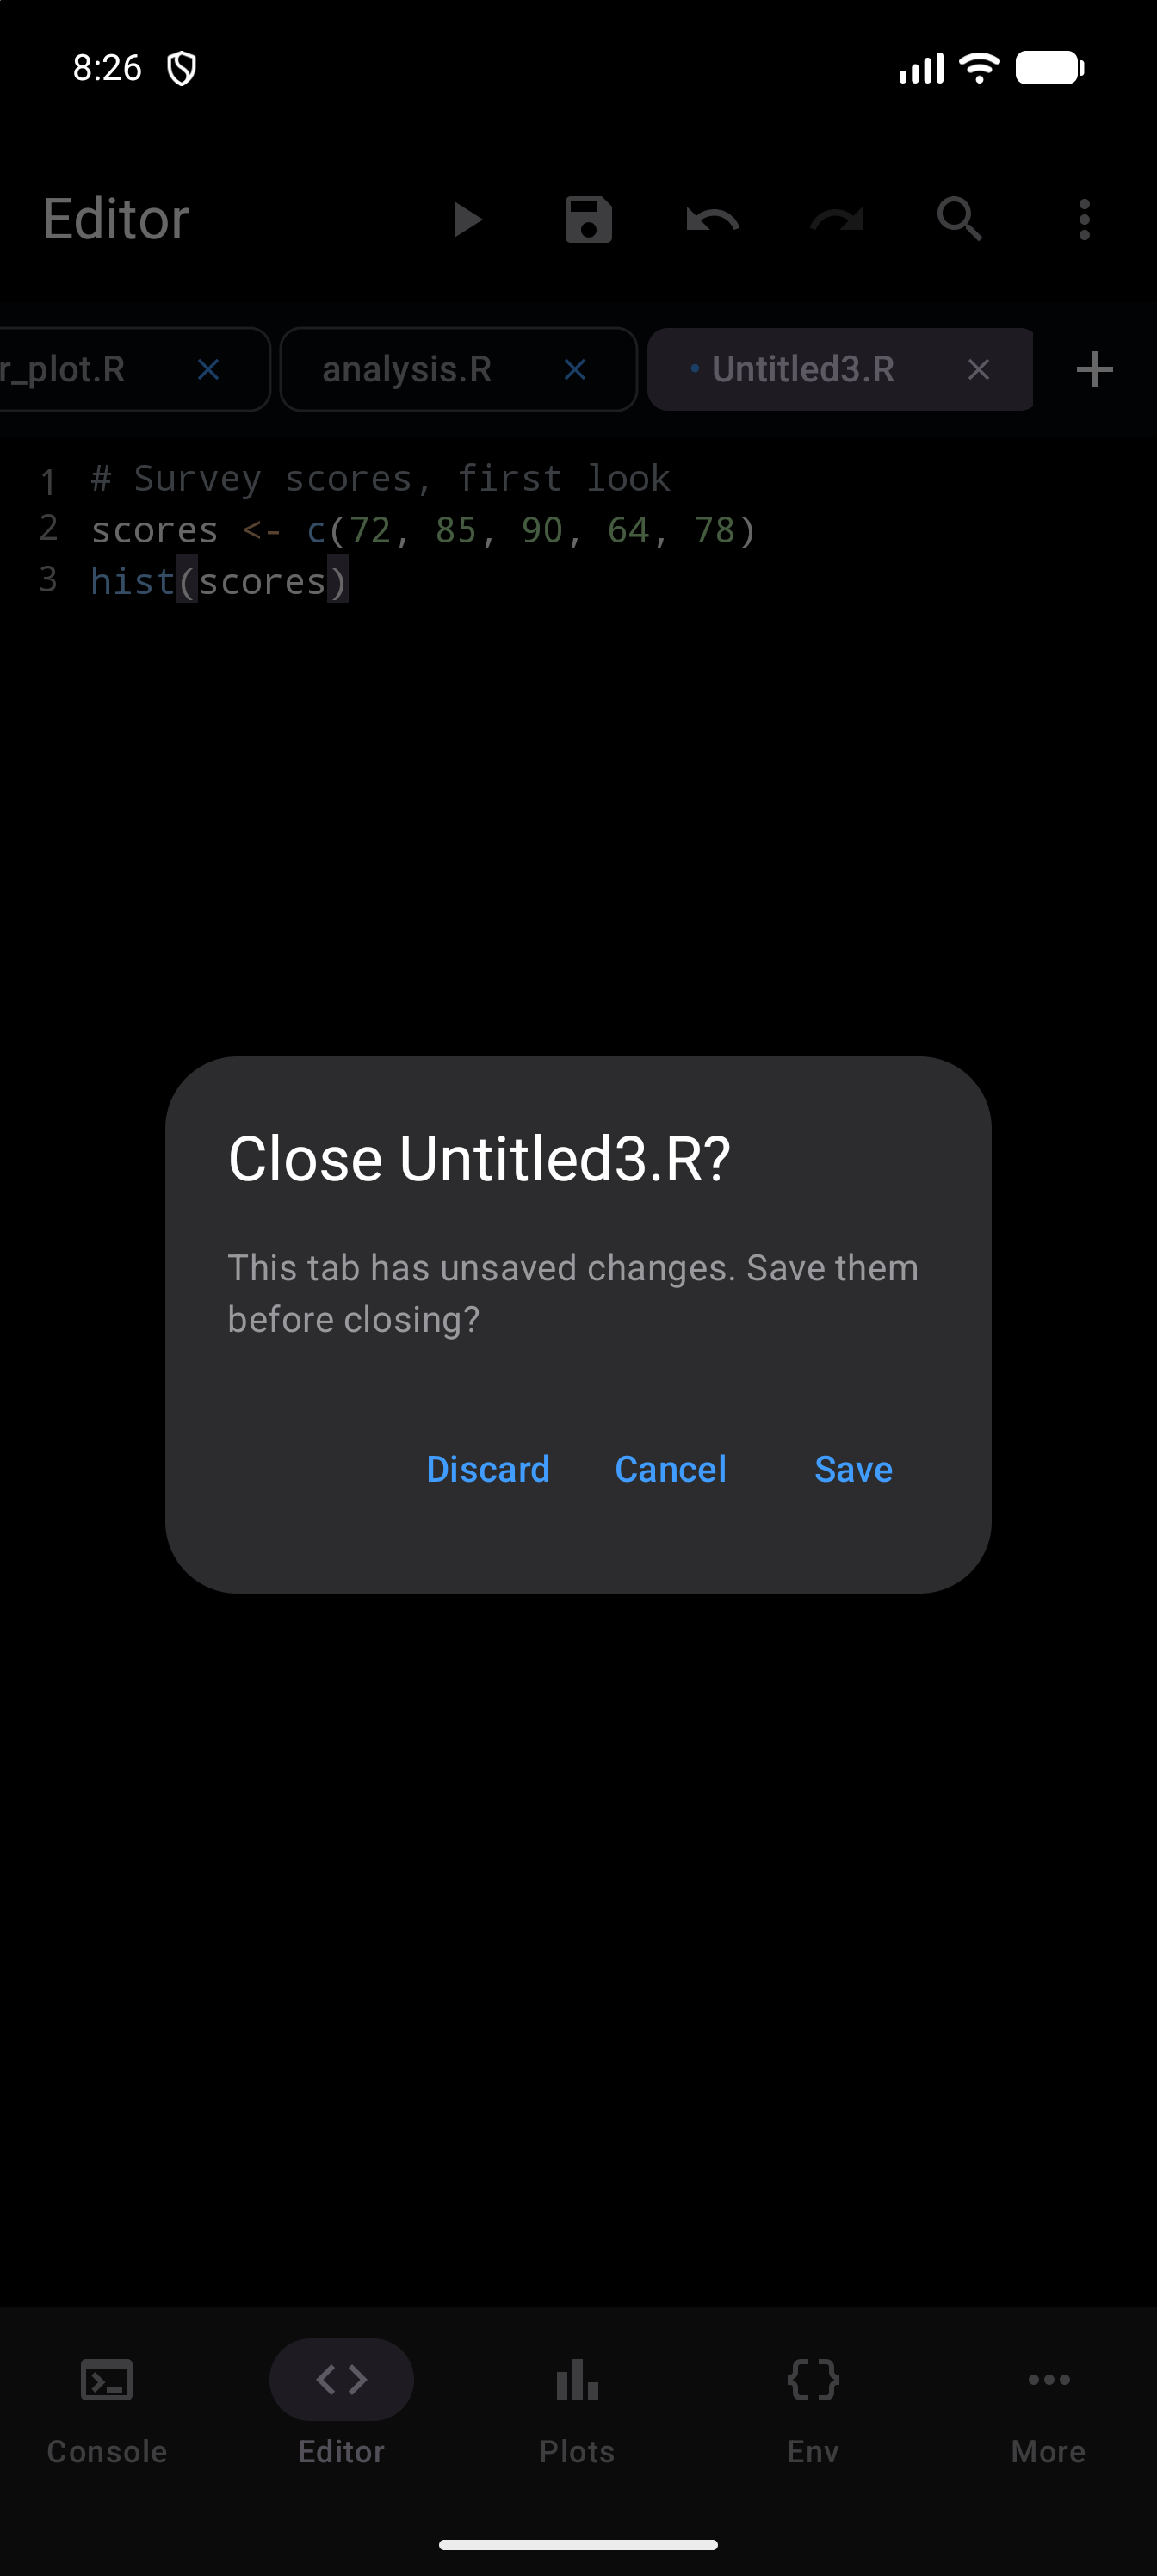
To close a file, tap the x button on its tab. If the file has unsaved changes, a dialog asks whether to save them first:
- Save saves the file, just as the save button does, and then closes the tab. If the save fails, the tab stays open, so nothing is lost.
- Discard closes the tab and throws the changes away.
- Cancel leaves the tab open as it was.
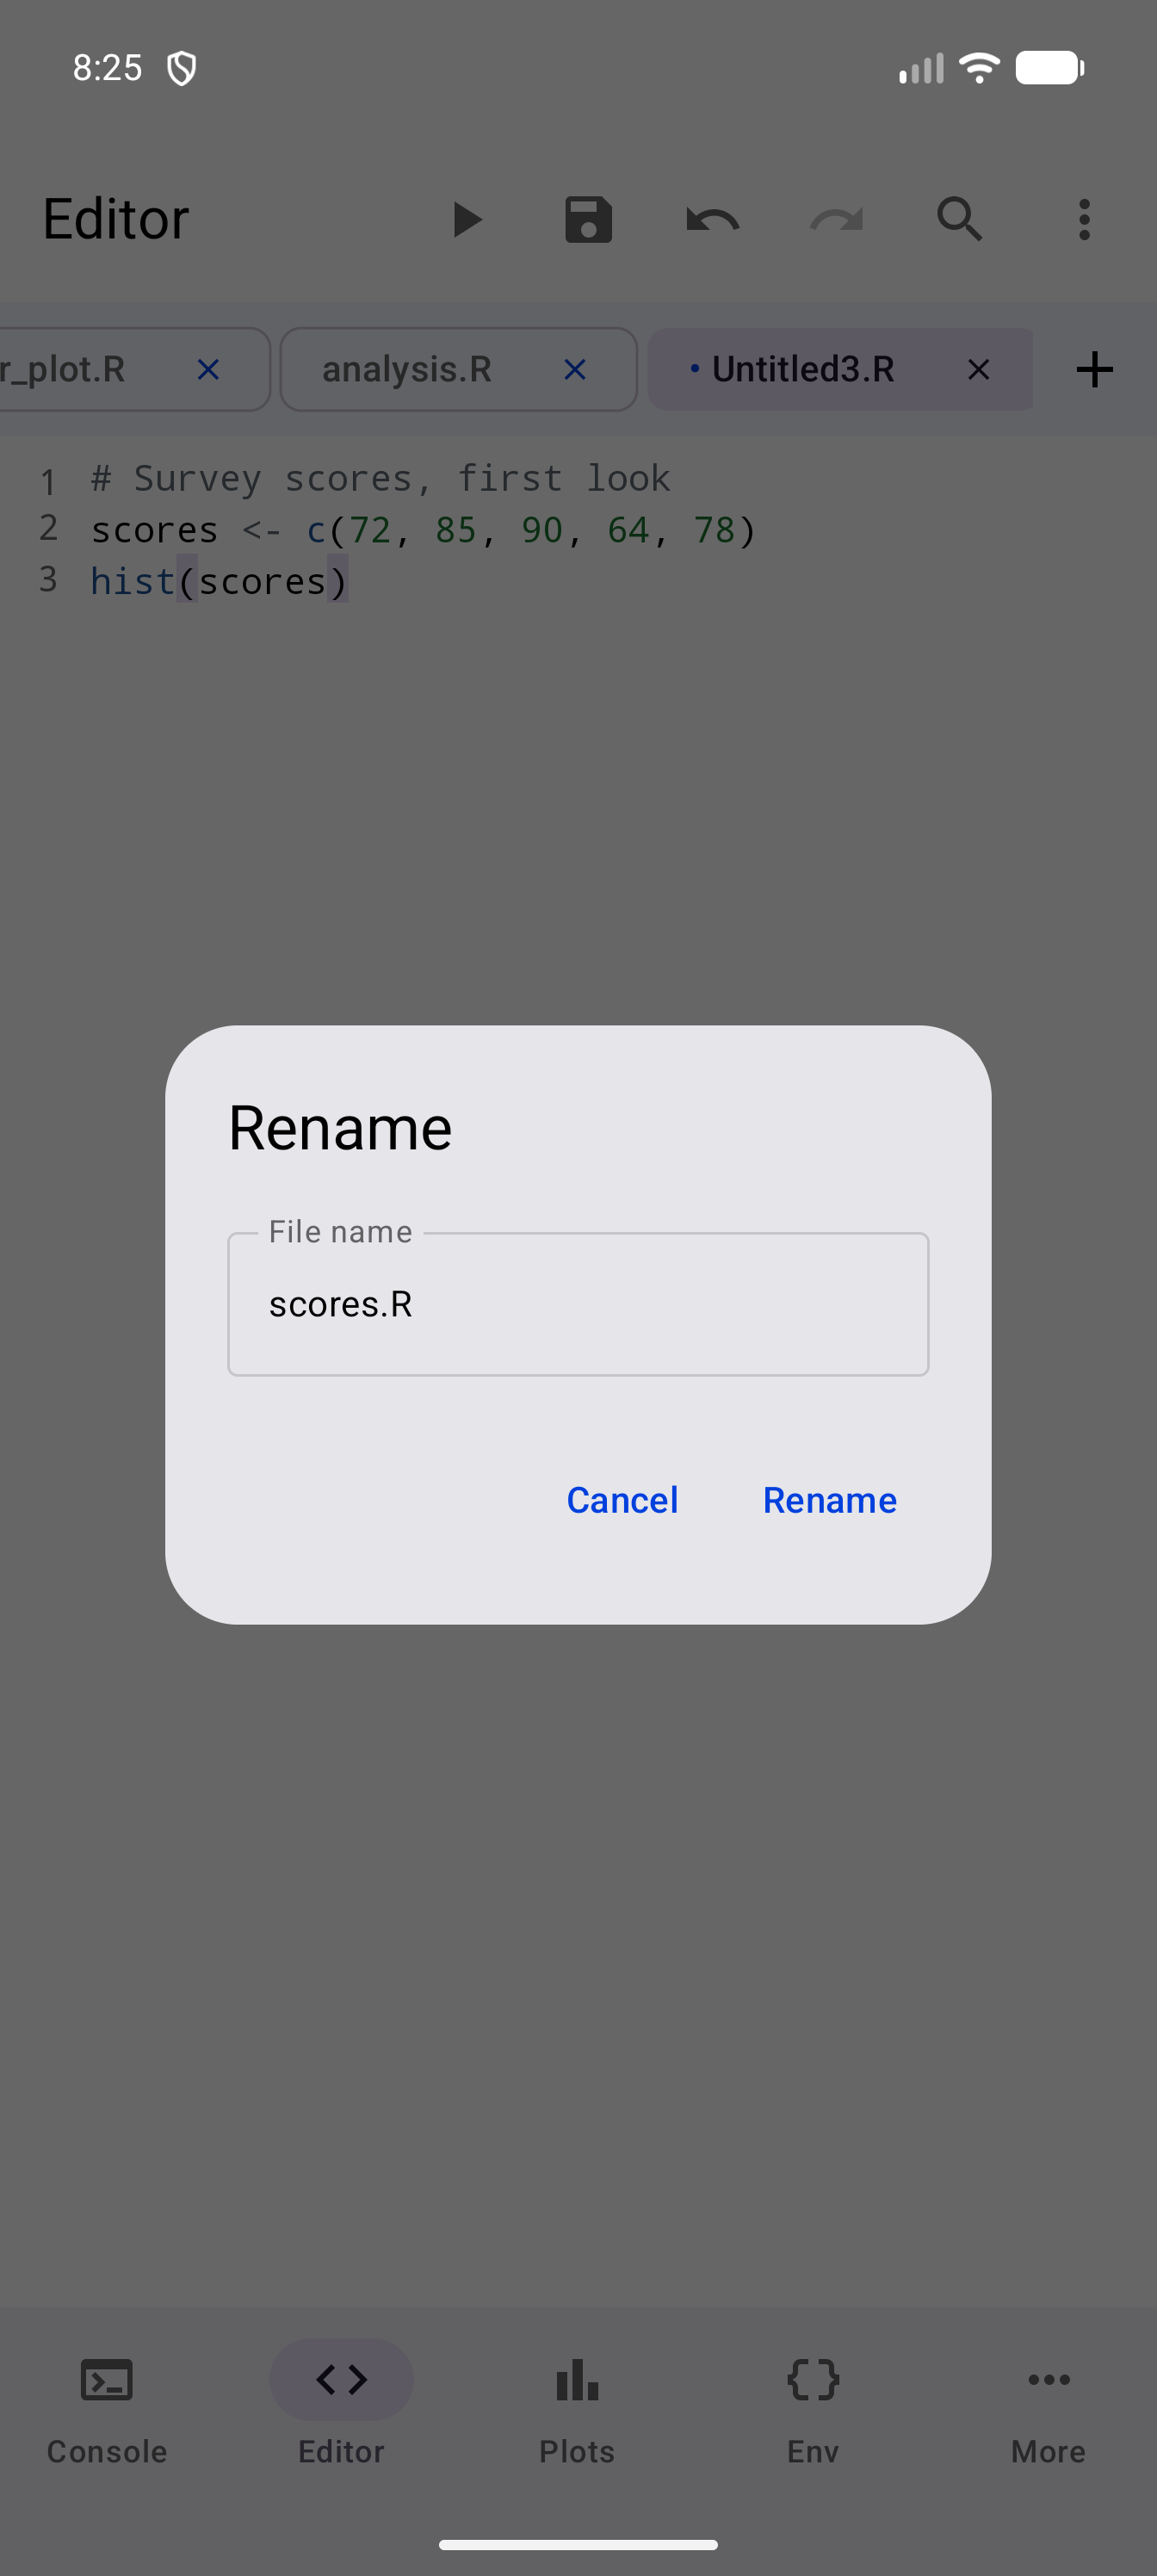
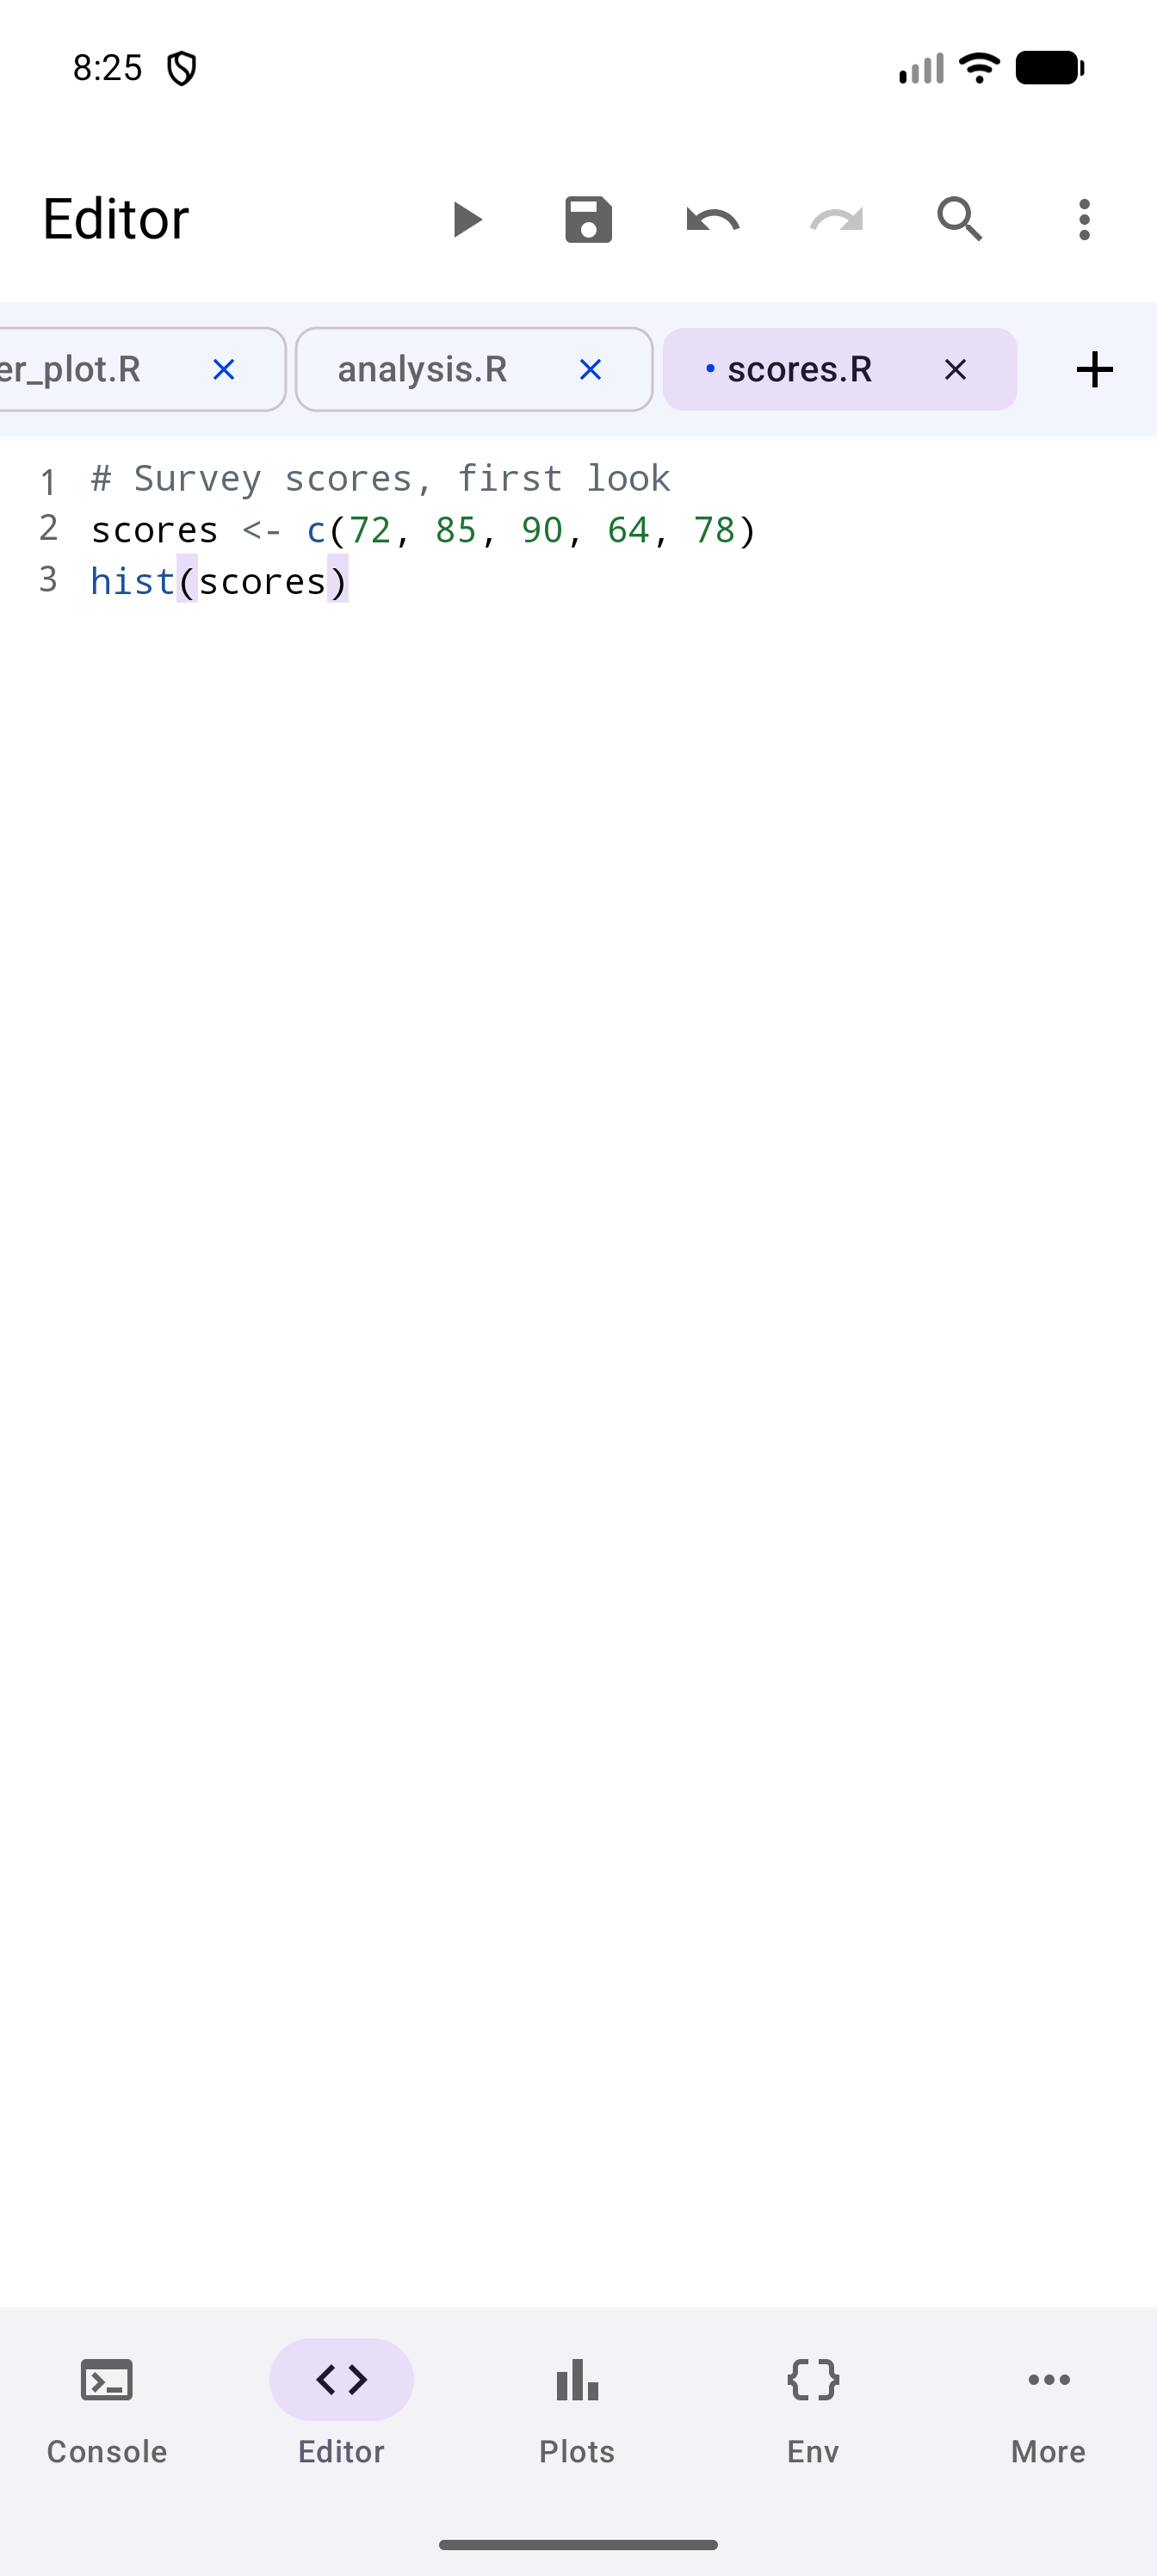
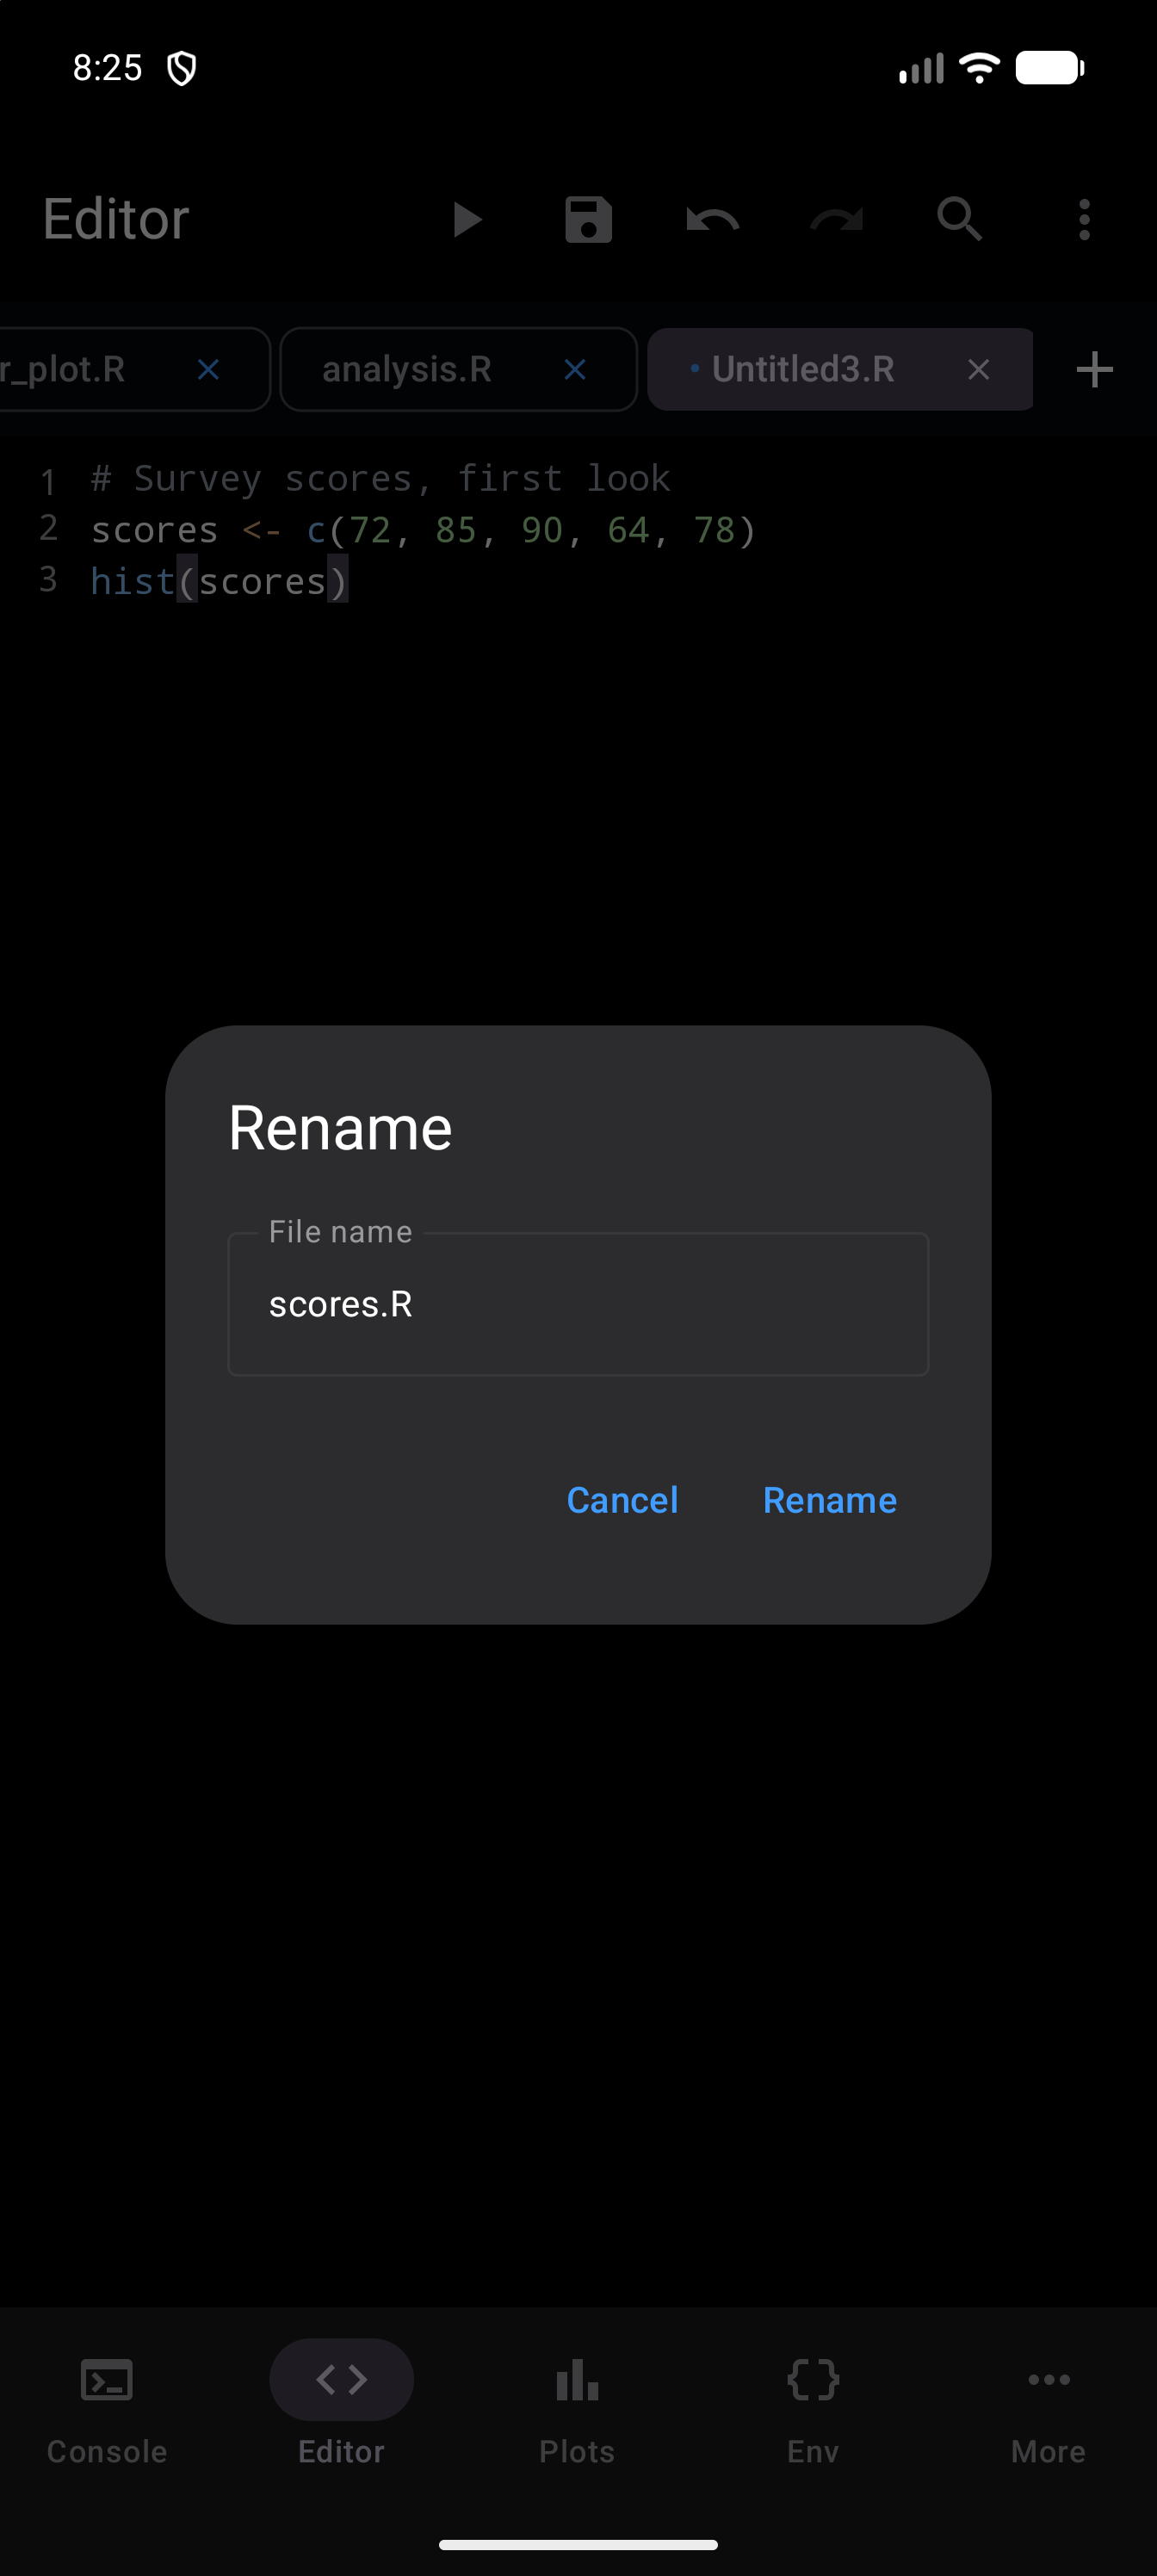
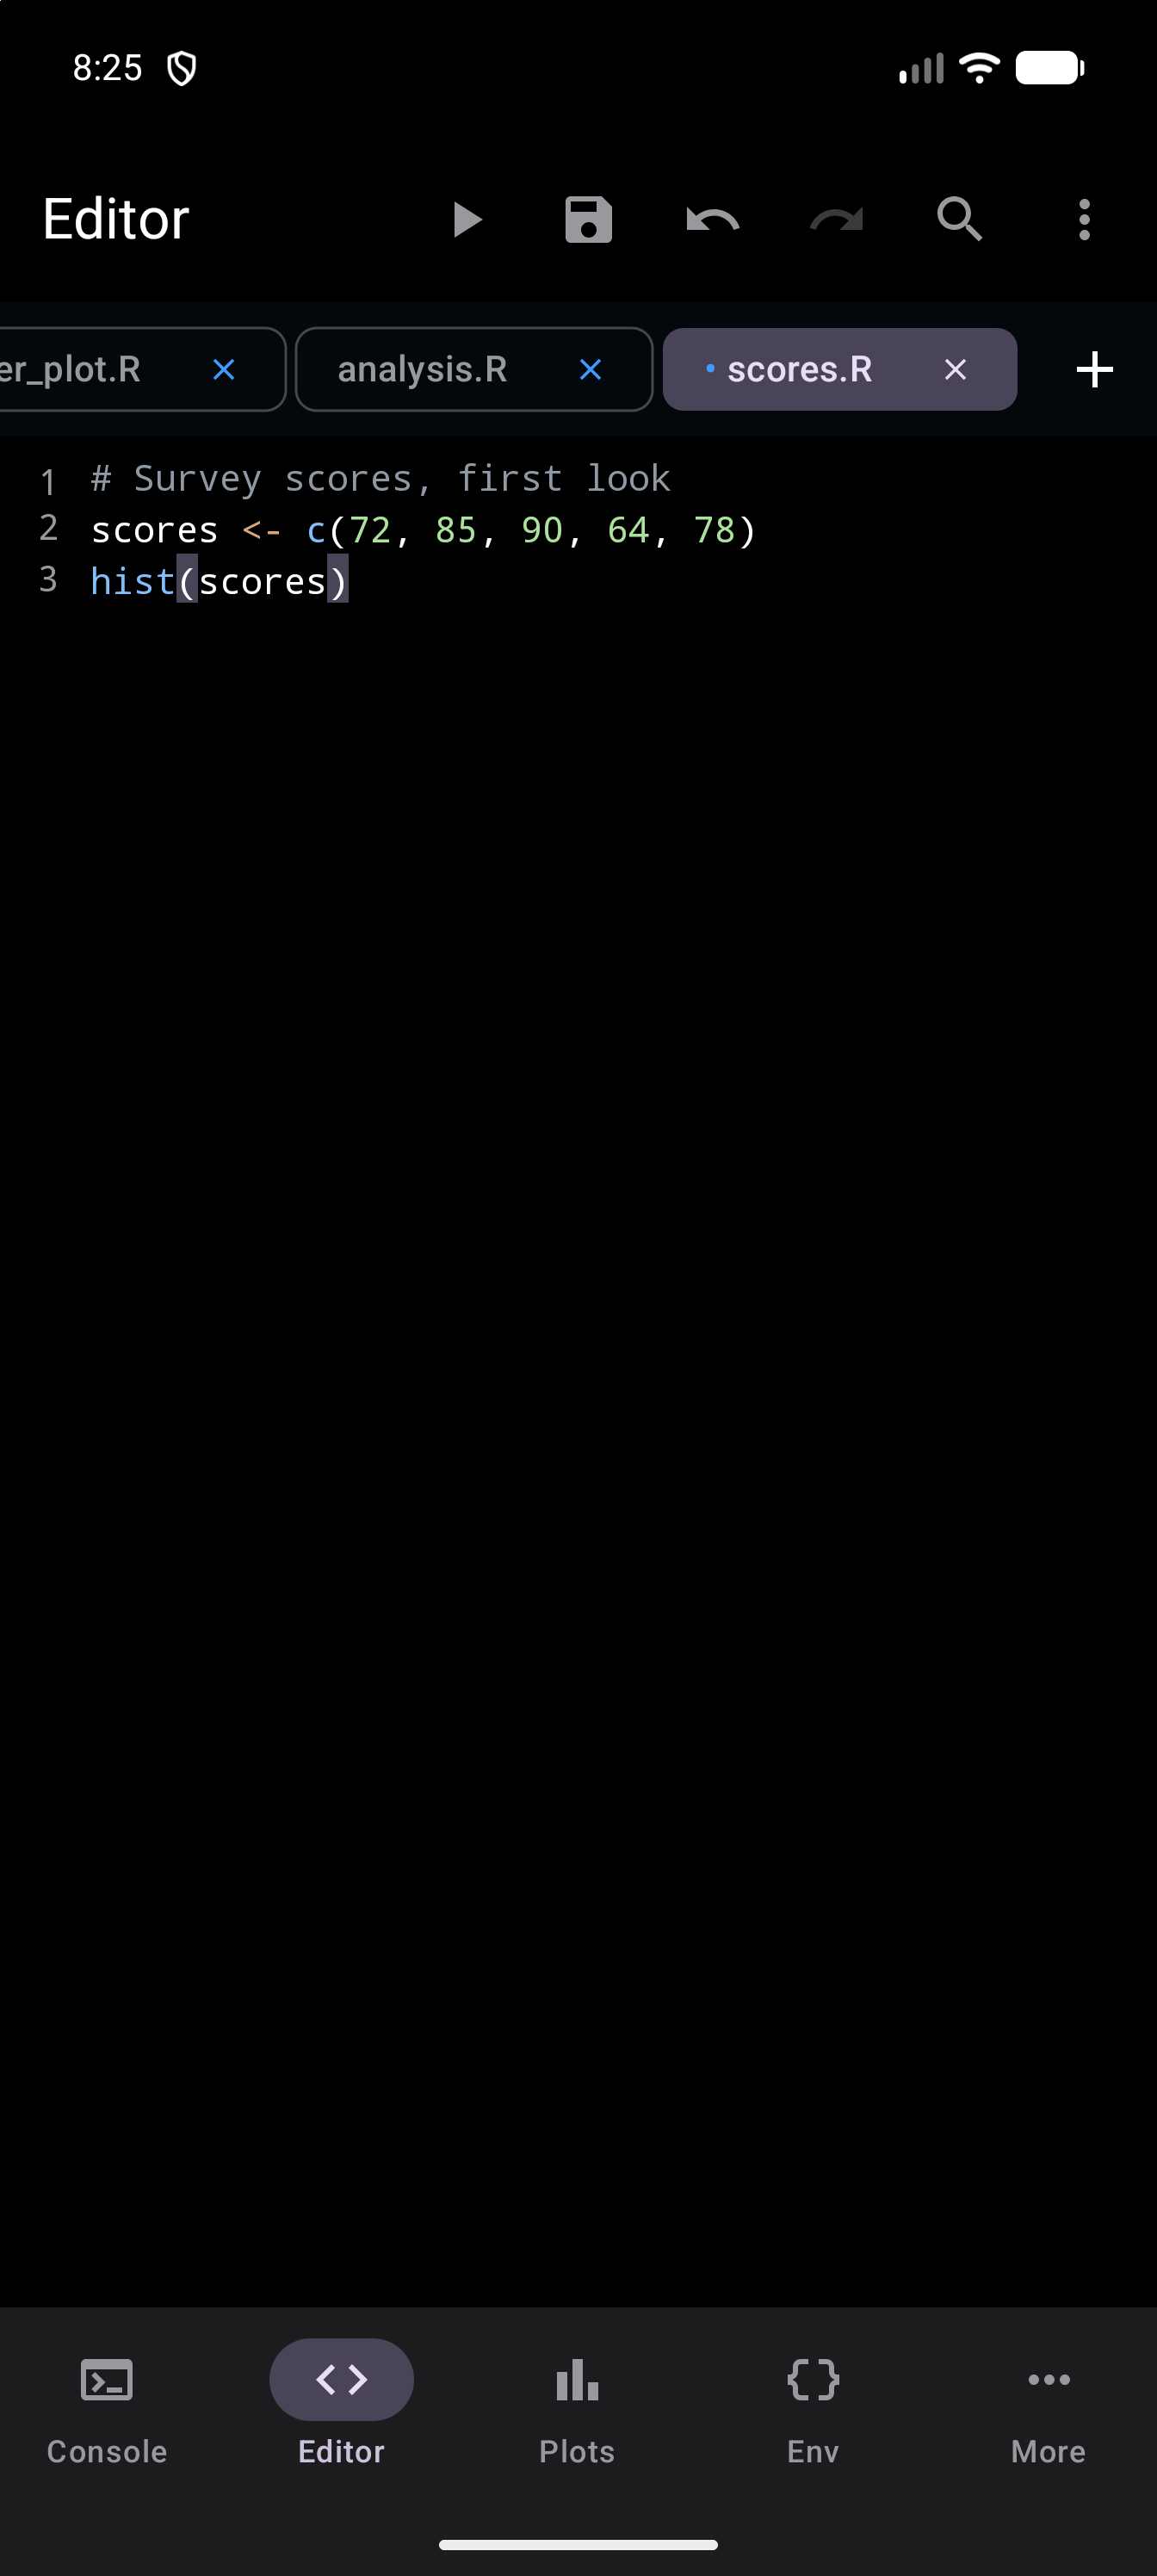
To rename a file, long-press its tab, or right-click it with a mouse, or choose Rename in the editor menu. The Rename dialog opens with the name before .R already selected, so you can type the new name straight away; Rename stays greyed out until the name is different. A file you have saved is renamed where it is stored, too. For a new script you have not saved yet, only the name on its tab changes, and the file gets that name when you save it. If a file can’t be renamed where it is stored, a message says so and the tab keeps its old name.
Opening and saving files
The toolbar across the top holds Run, Save, Undo, Redo, Find & Replace and the overflow menu. On a narrow phone the “Editor” title is left out to make room for them rather than cut short. In the Workspace layout the same buttons, with Snippets beside them, sit in the Editor pane’s header.
The editor overflow menu (three-dot icon in the toolbar) provides access to file operations, code tools, and more:
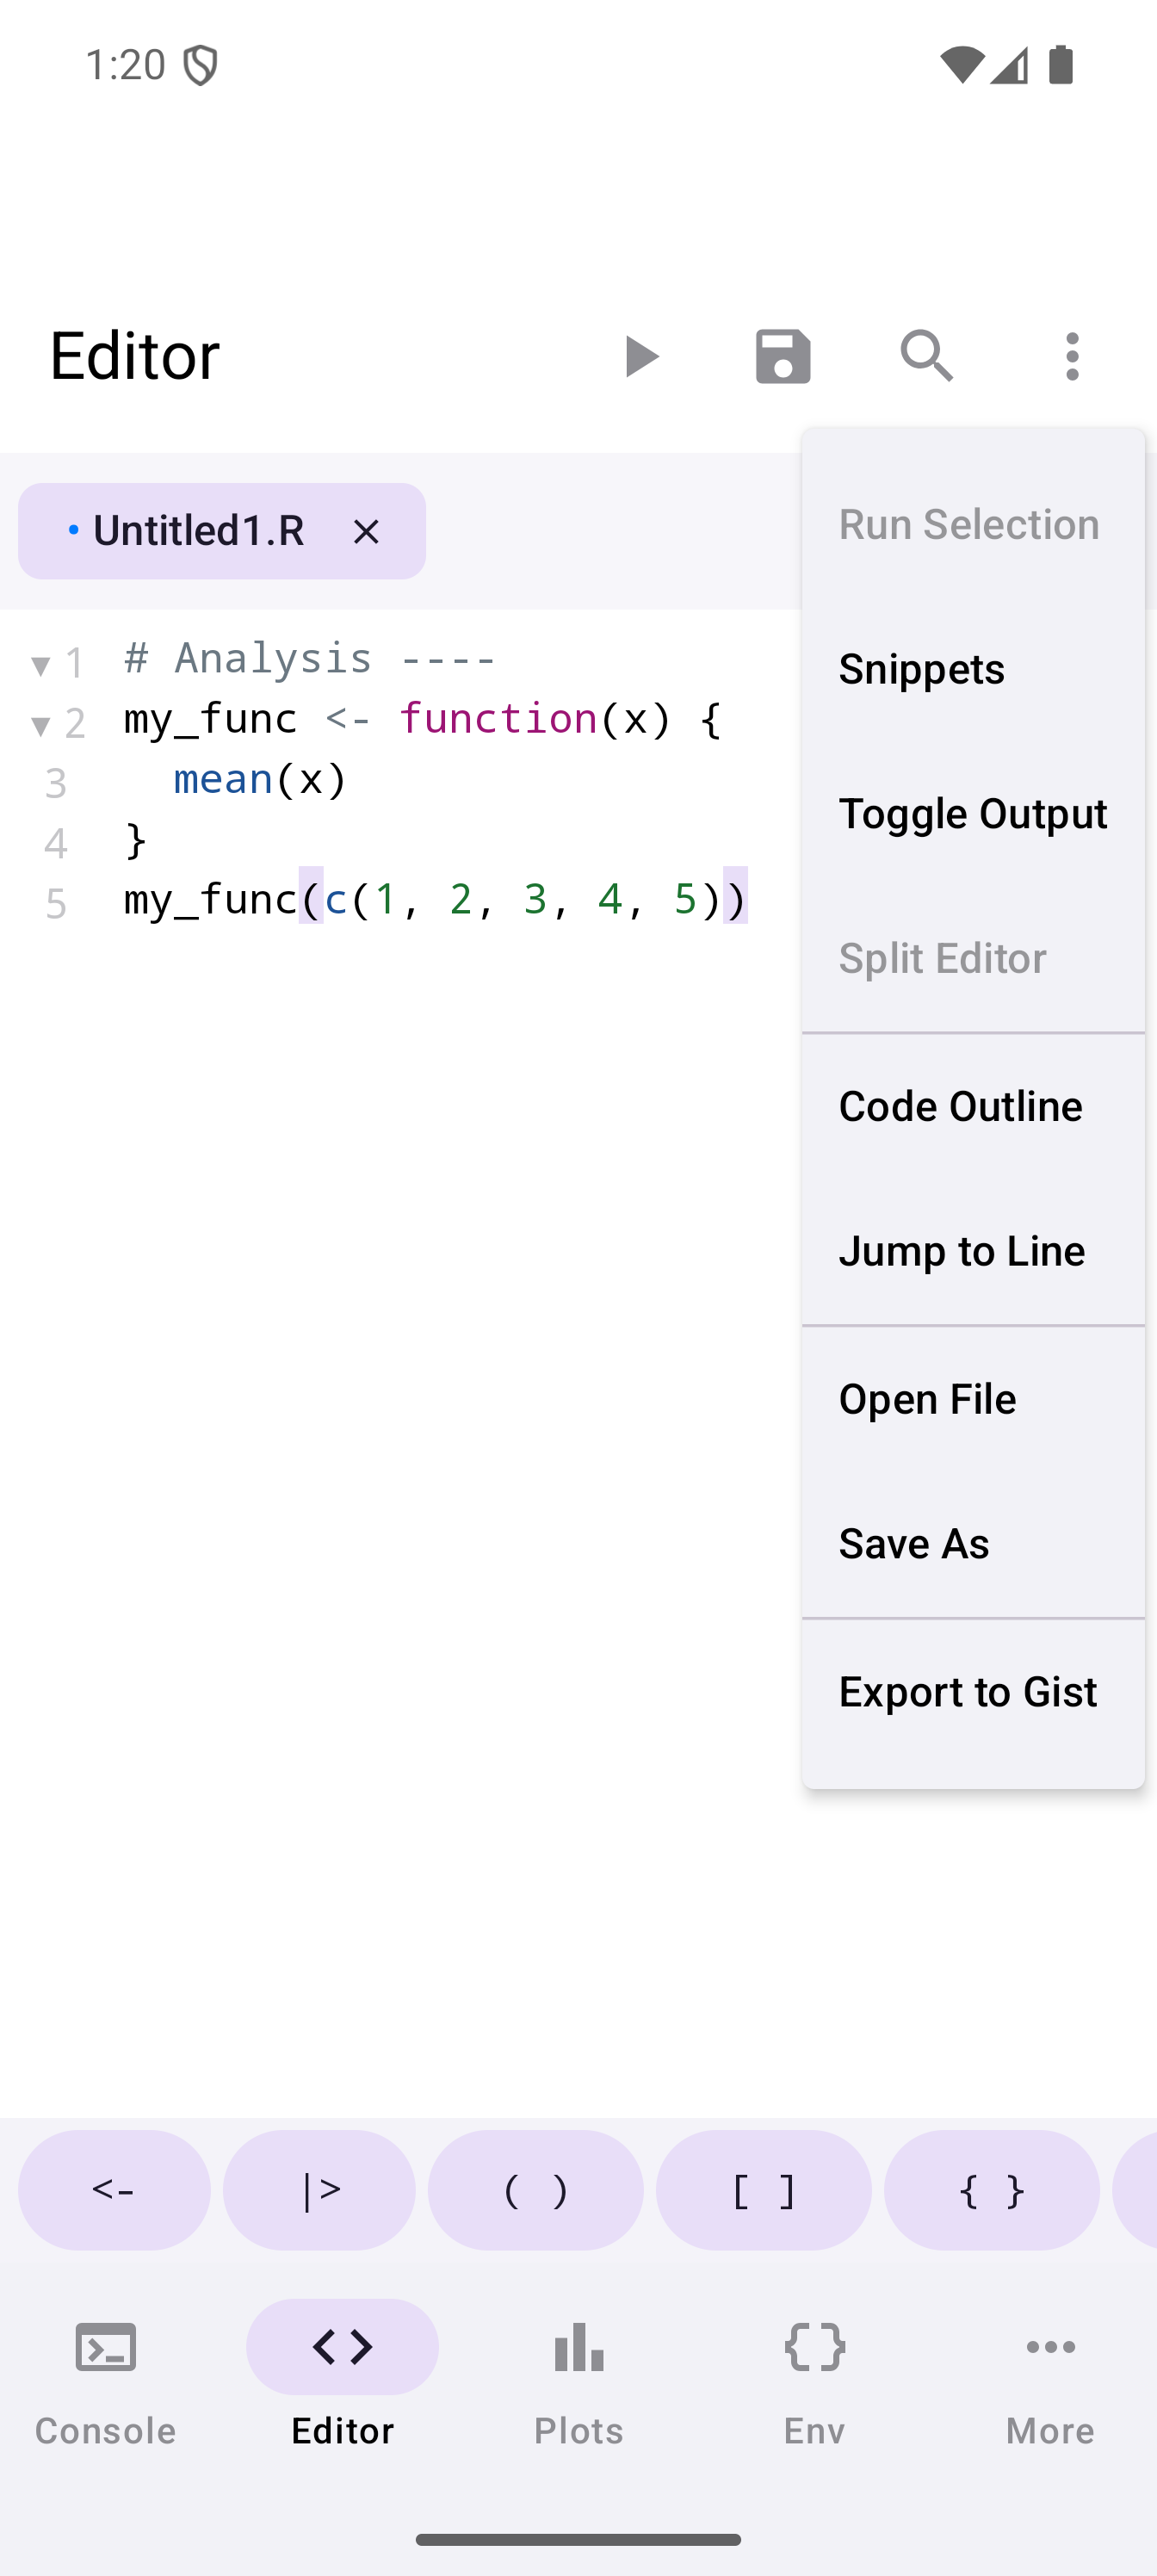
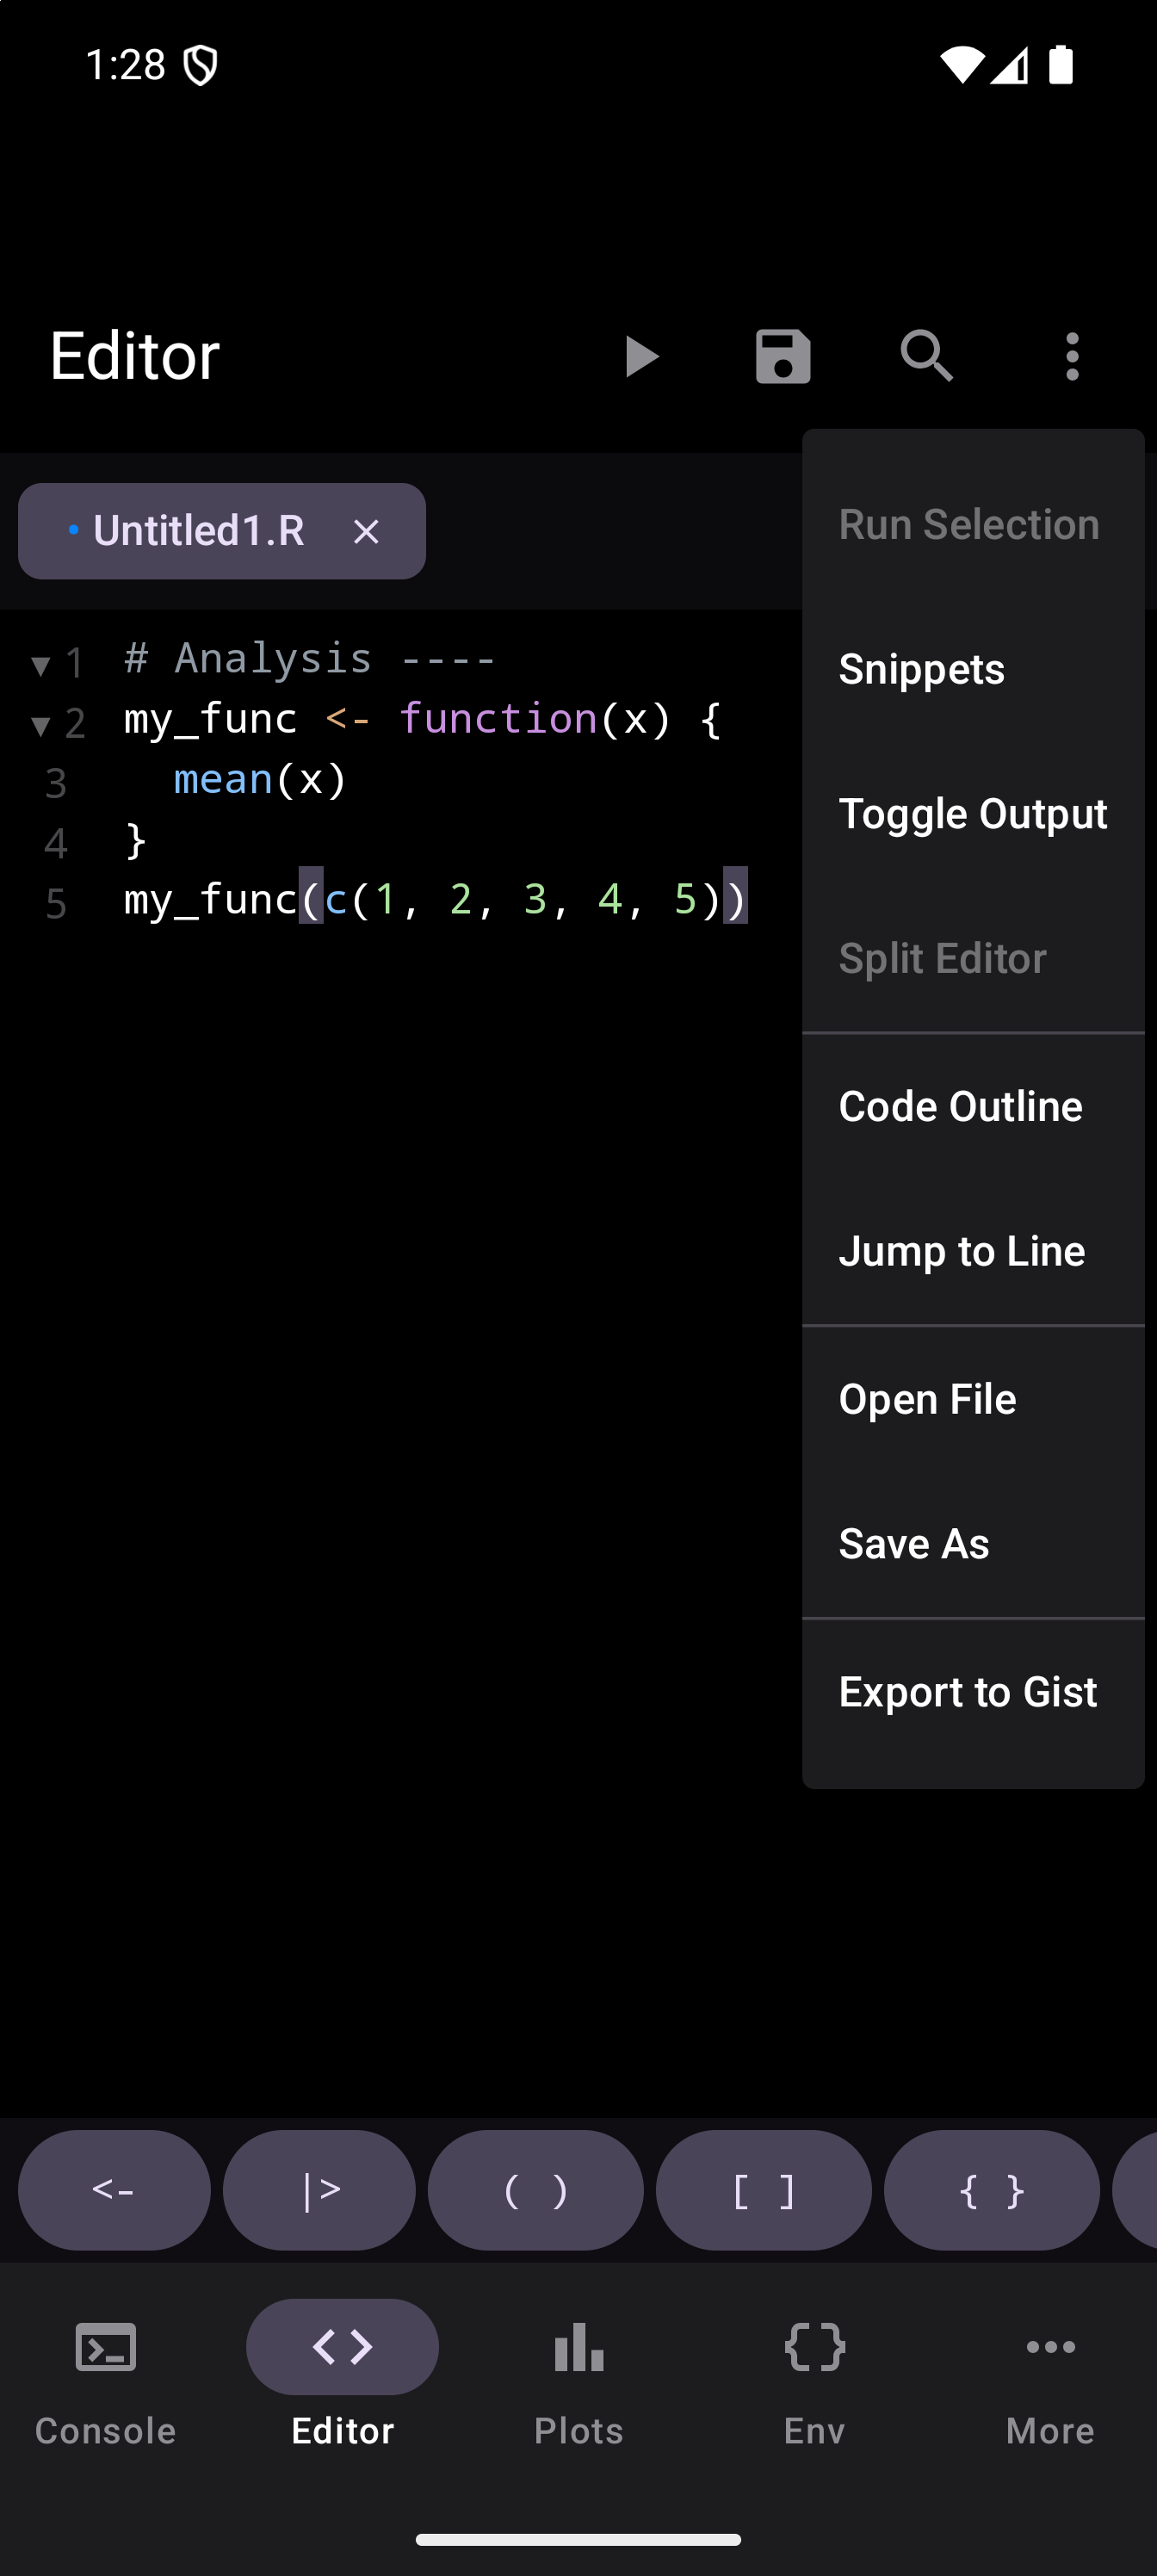
The menu starts with actions on the code itself. When the Editor is split, they act on the pane you are editing:
- Run Selection runs the selected text, and is greyed out while nothing is selected. See Running Code.
- Toggle Comment comments out the line the cursor is on, or every selected line, with
#, or takes the#off again when they are all comments already. On a keyboard,Ctrl+/. - Duplicate Line copies the line the cursor is on to a new line below it. On a keyboard,
Ctrl+D. - Rename Variable renames a name everywhere the file uses it. See Rename Variable.
Further down, the menu has tools for the Editor and for the file you are working on:
- Snippets opens the Snippets panel, where you can browse and insert categorized code templates or your own custom snippets. See Code Snippets for details.
- Toggle Output hides the output panel, or brings it back. See Output panel.
- Open File launches Android’s file picker so you can load any
.Ror text file from your device storage, SD card, or connected cloud storage. - Save As writes the file you are editing somewhere you choose, under a name you choose. Ordinary saving is the save button in the toolbar, or
Ctrl+S. - Rename gives the file you are editing a new name. It does the same as long-pressing the file’s tab (see Managing tabs).
- Export to Gist publishes the file you are editing as a GitHub gist. See Gist Export.
Between Toggle Output and Open File, the menu also has Split Editor, Code Outline, Jump to Line, Fold All and Unfold All. You can read about them below, in Split Pane, Code Outline, Jump to Line and Code Folding.
In the Workspace layout, the Editor pane’s menu has all of these too, with two differences: Snippets is a button in the pane’s header instead, and there is no Toggle Output, since Run and Run Selection there send your code to the Console pane rather than to an output panel.
However you open a file, from Open File, the Files screen or another app, the Editor takes files up to 1 MB. A larger file is refused with a message saying so; for a CSV, TSV or Excel file, the message points you to Import Dataset, which loads the data into R instead (see Data Import Wizard). A tab that has grown too large to reopen, over about 2 MB (for example from a long paste, or a large file opened in an earlier version of webRoid), is closed when the Editor reopens your tabs, with the message “name was too large to reopen, so its tab was closed.”
Text shared to webRoid from another app, such as code selected in a browser, opens in a new, unsaved tab, and the app switches to the Editor. The tab is named after the share’s subject when that is a file name such as analysis.R, and UntitledN.R otherwise; Save puts it in the project folder. A file shared to webRoid and opened in the Editor brings the Editor up the same way.
Saving a file that is in the open project also puts it into R’s copy of the project, at the same path, so source("helpers.R") runs the version you just saved. That goes for the save button, Ctrl+S, Save As, saving as you close a tab, and a new script saved into the project. Only the saved file is written, over R’s copy of it; R’s other files, including ones R has changed, are left alone. A file outside the project folder, or opened from another provider such as Downloads or Google Drive, is not copied into R. If R is busy, the file reaches it once R is free, and if R has not started yet, it gets the saved file when it copies the project in. See Files and R.
If a save fails, for example because the file was moved or its storage is no longer available, a message says so and the tab stays marked as modified, so nothing is lost silently. Your text is still in the tab; try Save As to put it somewhere else.
Files are auto-saved periodically. If the app is closed unexpectedly, your recent work can be recovered the next time you open it.
Writing Code
Syntax highlighting
The Editor automatically color-codes your R code as you type. Keywords like if, for, and function are visually distinct from strings, numbers, comments, and function calls. This makes it easier to scan your code and spot mistakes. An unclosed string, for example, will cause the coloring of everything after it to look wrong.
R Keyboard Toolbar
While you type in the Editor with the on-screen keyboard, a toolbar of R symbols sits just above the keyboard. It appears when the keyboard opens and goes away when the keyboard closes, so your code gets the whole screen while you read it. If the buttons don’t all fit, swipe along the toolbar to see the rest. It gives you one-tap access to R characters and operators that would otherwise mean switching to the symbol keyboard:
<-: assignment operator|>: native pipe()[]{}"": matched pairs (both opening and closing characters inserted at once)~: formula operatorc(): vector wrapper::$@: namespace, list element, and slot access%in%!&|: logical operators#: comment prefix- Tab: indentation
The Console has the same toolbar, above the keyboard while you type in its input field. In the Workspace layout on a tablet, only the pane you are typing in shows its toolbar. With a hardware keyboard and no on-screen keyboard, the toolbar stays hidden, since you can type every symbol yourself. To close the keyboard, use the Back gesture or button, as anywhere on Android. The on-screen keyboard doesn’t autocorrect or capitalize code in the Editor or the Console, so a name like airquality stays as you typed it.
You can customize these buttons in Settings > Editor > R Toolbar Buttons. See Customizing the R Toolbar for details.
Code completion
As you type, the Editor offers the same completions as the Console, in a list that opens just below the line you are typing, lined up with the start of the word you are completing. Near the bottom of the screen, where there is no room below, it opens just above the line instead, and it moves with the line as you scroll. It offers functions, variables, argument names and package members, each with a letter badge for its kind. A function comes with its opening bracket, mean(, and leaves the cursor ready for the arguments, reusing a bracket that is already there rather than adding a second. After $ or ::, a suggestion replaces the whole name you started, so iris$Se becomes iris$Sepal.Length. Ctrl+Space opens the list on a keyboard. See Code Completion in the Console guide for the details.
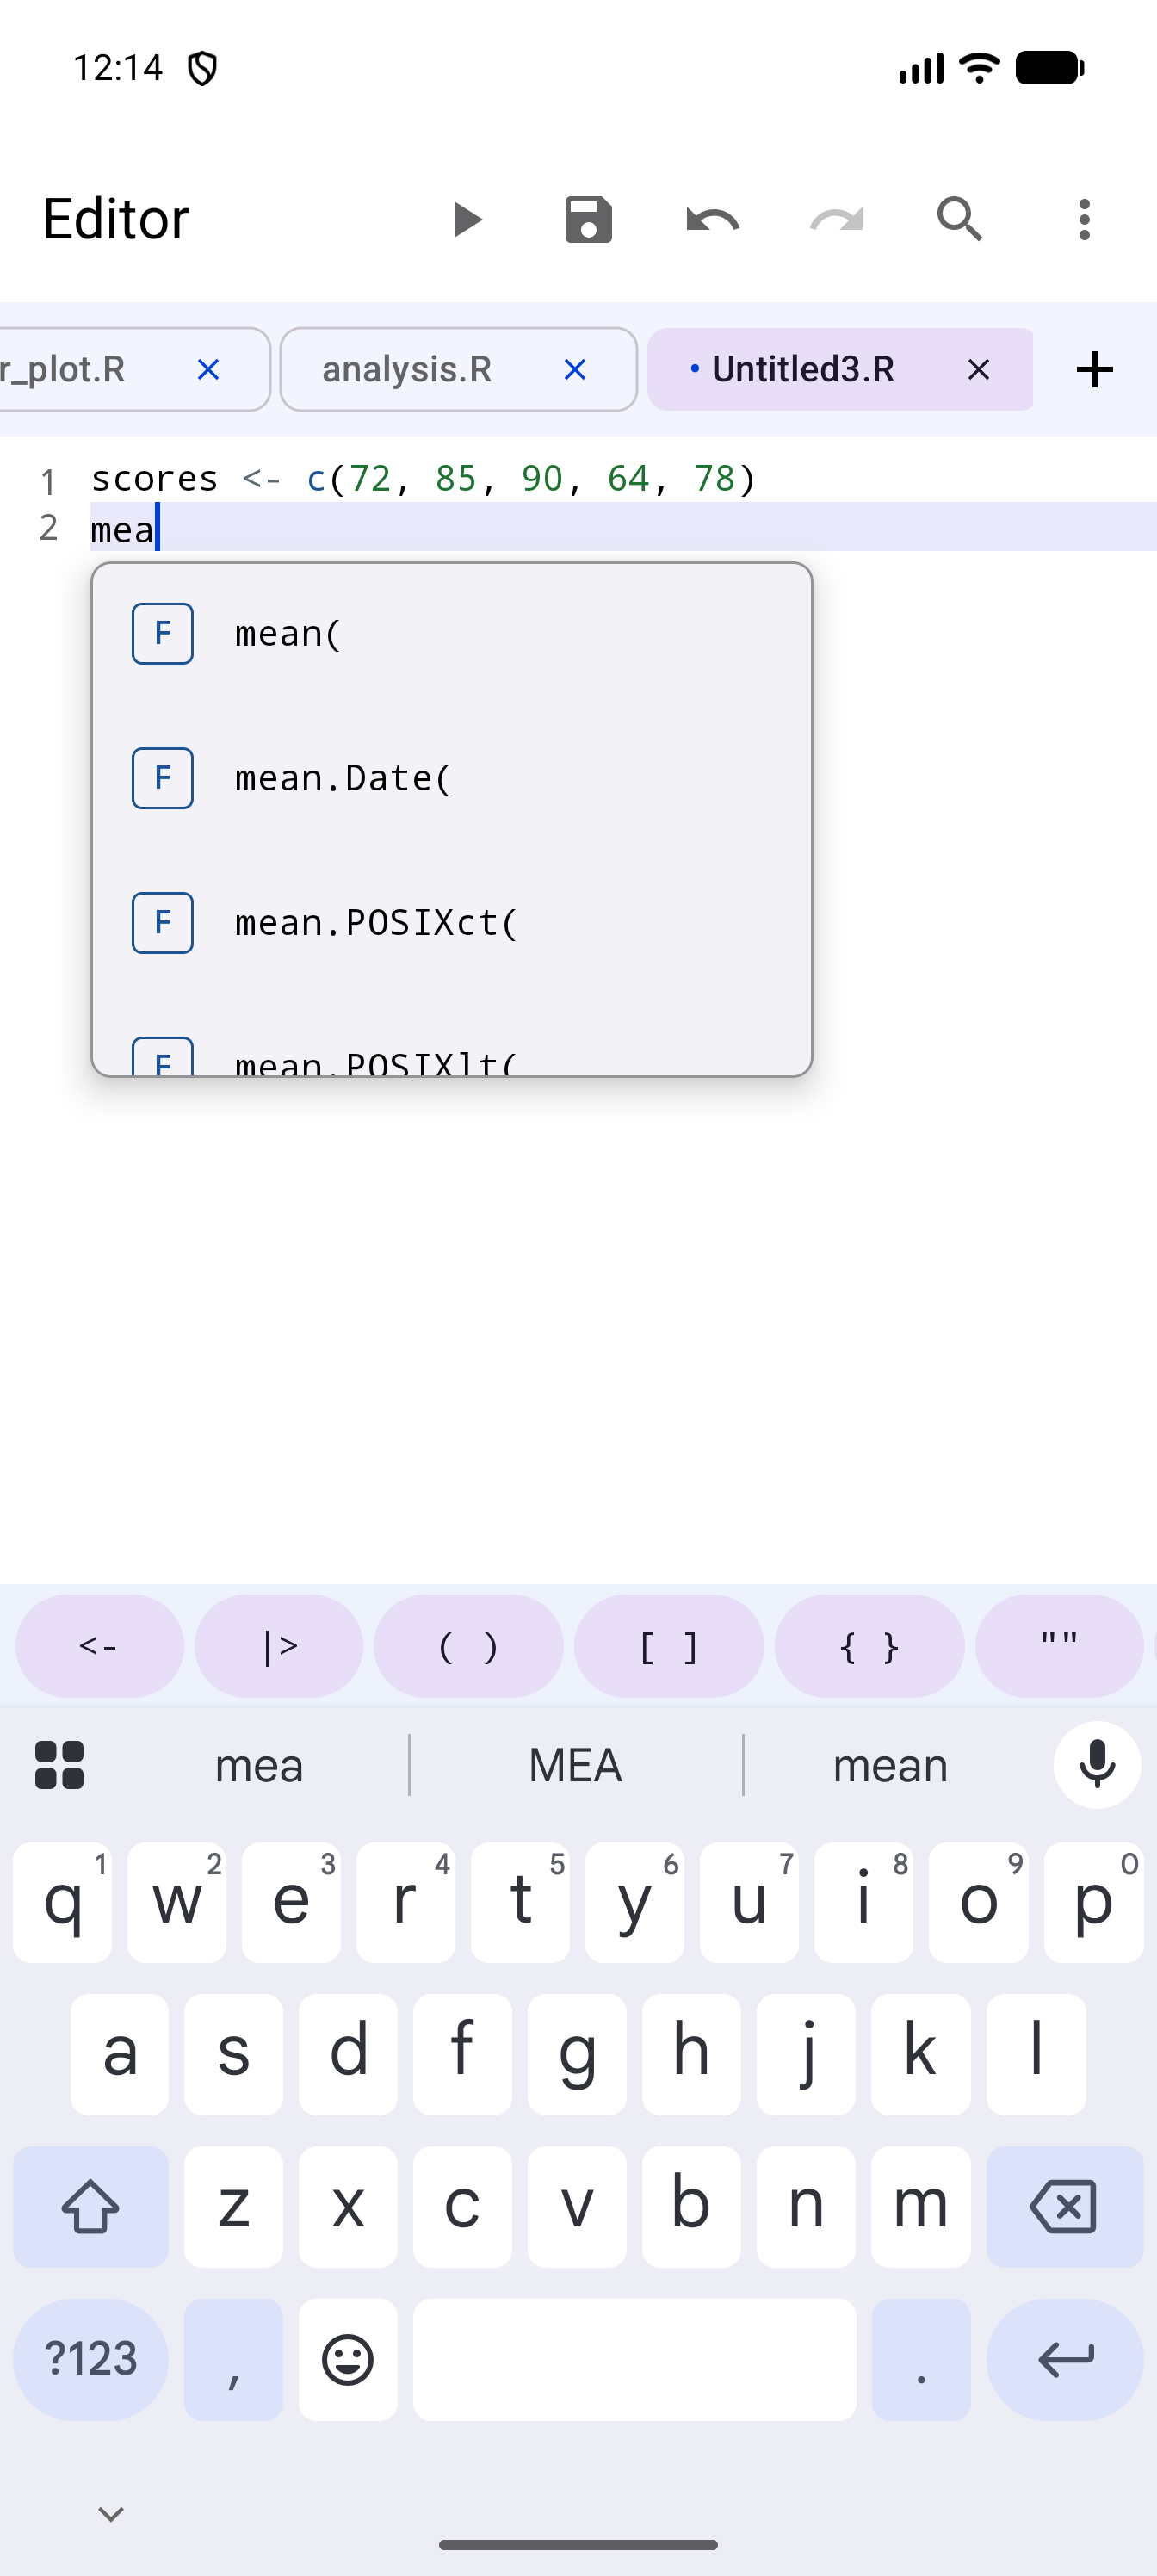
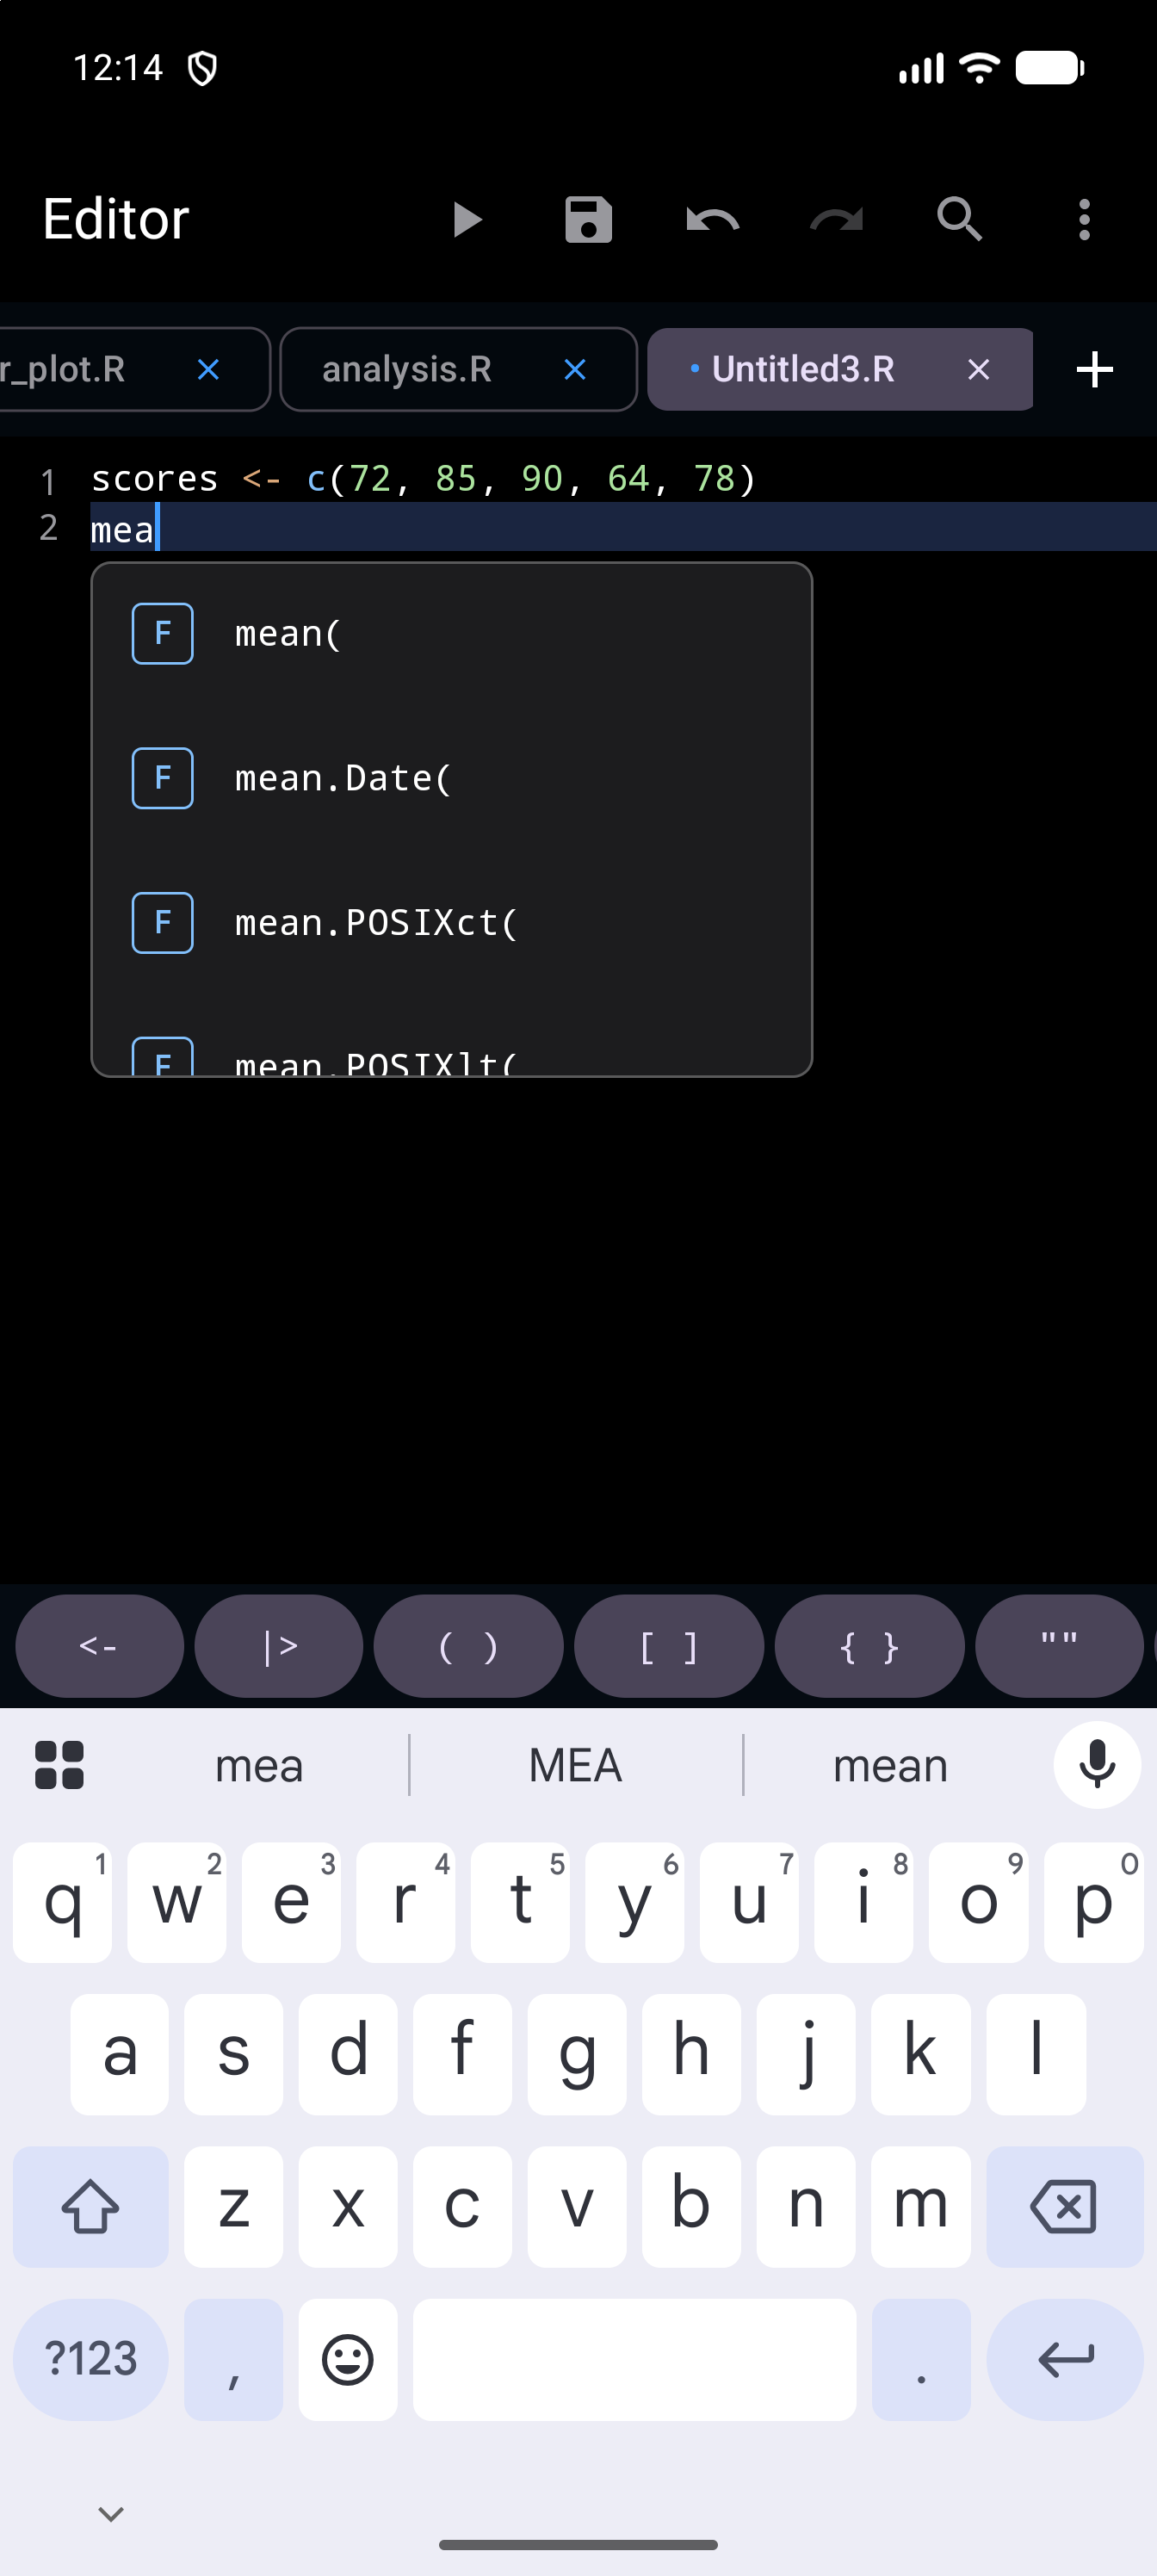
The Editor’s list belongs to the code you are typing and closes when the code loses focus. In the Workspace layout the Console pane has a list of its own, so a list opened in one never shows up in the other. While the Editor is split, the list opens in the pane you are typing in, at that pane’s line.
Auto-indent and formatting
When auto-indent is enabled in Settings, pressing Return automatically indents the new line to match the current block depth. For example, inside a function body or a loop, the cursor moves to the correct indentation level without you having to add spaces manually.
You can choose between Spaces and Tabs for indentation in Settings > Editor > Indent Style.
Auto-close brackets and quotes
webRoid can automatically insert matching closing characters as you type:
| You type | Inserted |
|---|---|
( |
() |
[ |
[] |
{ |
{} |
" |
"" |
' |
'' |
When the cursor sits before a closing character that was auto-inserted, typing that character simply moves the cursor past it instead of adding a duplicate. Pressing backspace on an empty pair deletes both characters at once.
Toggle this feature in Settings > Editor > Auto-close Brackets.
Auto-close works in both the Editor and the Console.
Bracket matching
When the cursor is next to a bracket (any of (, ), [, ], {, or }), the editor highlights both it and its matching counterpart. This helps you spot mismatched or missing brackets at a glance.
The matcher is syntax-aware: brackets inside strings, comments and backtick-quoted names (such as `total (USD)`) are ignored. A string that ends in an escaped backslash, such as "\\", ends where R ends it, so the brackets after it on the line still match.
Undo and redo
The Undo and Redo arrows in the toolbar step back and forward through your changes. Each tab keeps its own history, so undoing in one file never touches another, and closing a tab discards its history. A burst of typing comes back as one step. An edit the editor makes for you, such as Replace all, Rename Variable, an inserted snippet, a completion or Toggle Comment, is always a step of its own, so it can be taken back on its own. Each tab remembers its last 100 steps, for as long as the app is open.
With a hardware keyboard, Ctrl+Z undoes, and Ctrl+Shift+Z or Ctrl+Y redoes. These keys are fixed and cannot be rebound in Keyboard Shortcuts.
Pinch to zoom
Pinch the code with two fingers to make it larger or smaller, in either layout and in either pane of a split. The text follows your fingers between 10 and 24 sp, the range of the Editor’s Font Size slider, and when you lift them the new size is kept as that setting: the slider in Settings > Editor shows it, and the next launch keeps it. One finger still scrolls, selects and taps as before. The slider changes the same size without a gesture.
Code Folding
The editor can collapse blocks of code so you can focus on the parts that matter. Foldable regions include:
| Region type | Example |
|---|---|
| Functions | my_func <- function() { ... } |
| Control flow | if, for, while, repeat, tryCatch |
| Matched braces | Any { ... } pair |
| R code sections | Lines ending with # Name ---- |
Tap the triangle indicator in the gutter, or the line number beside it, to fold or unfold a region. While folded, a placeholder shows the number of hidden lines. The triangles share the gutter with the line numbers, so they are hidden while Line Numbers is off in Settings.
In the pictures below, the same script is shown open and then with the rescale function on line 6 folded, which hides lines 7 to 10.
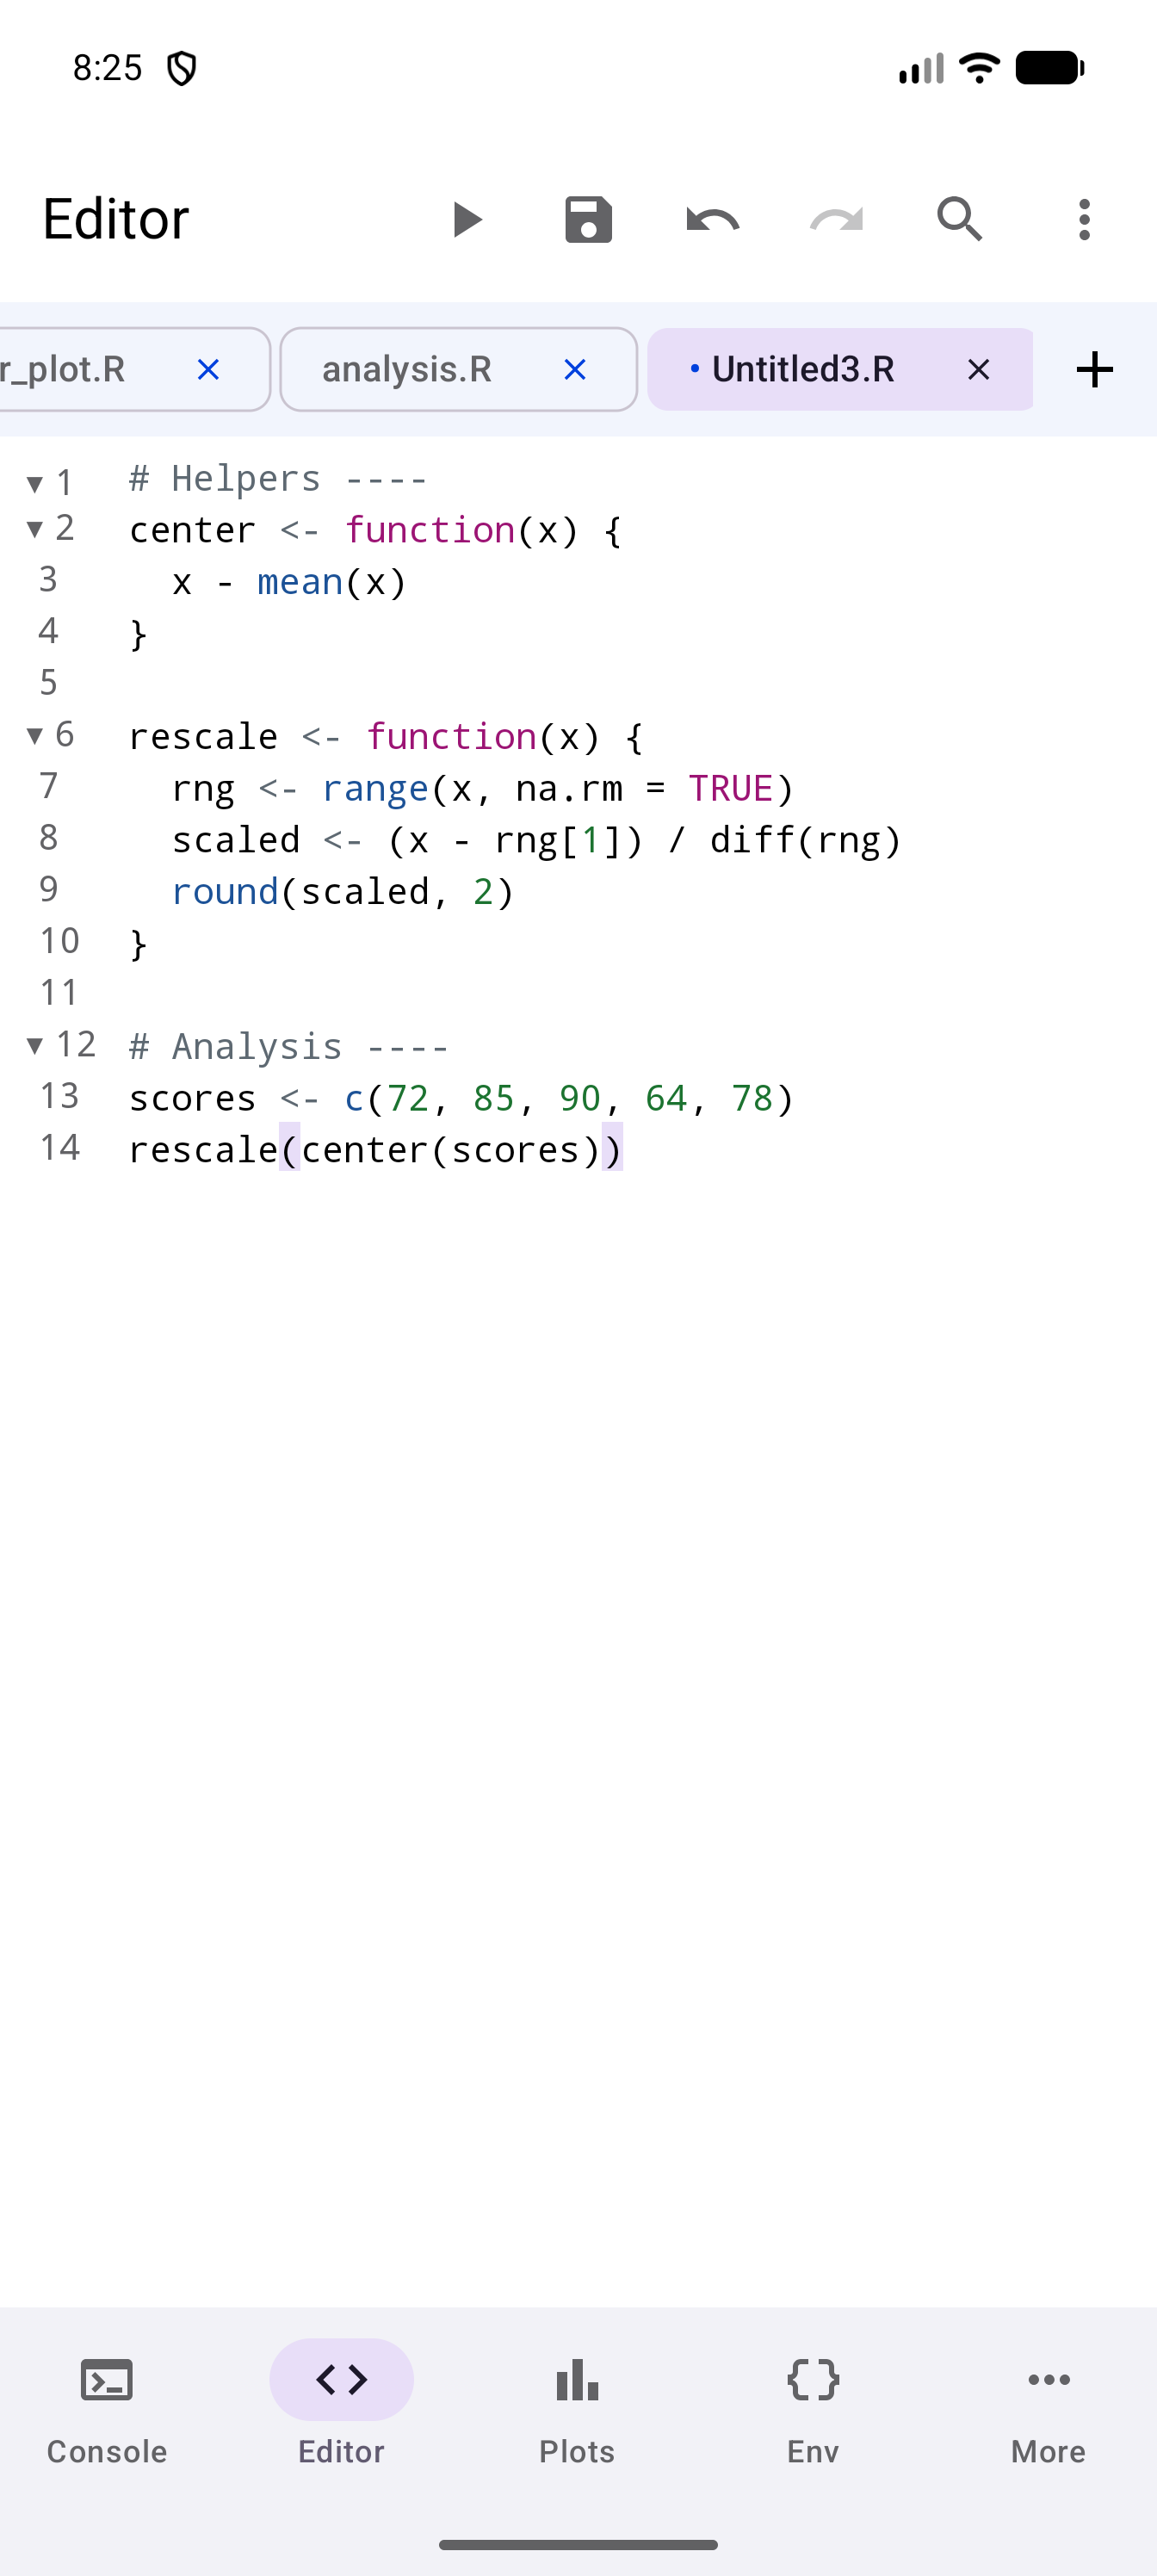
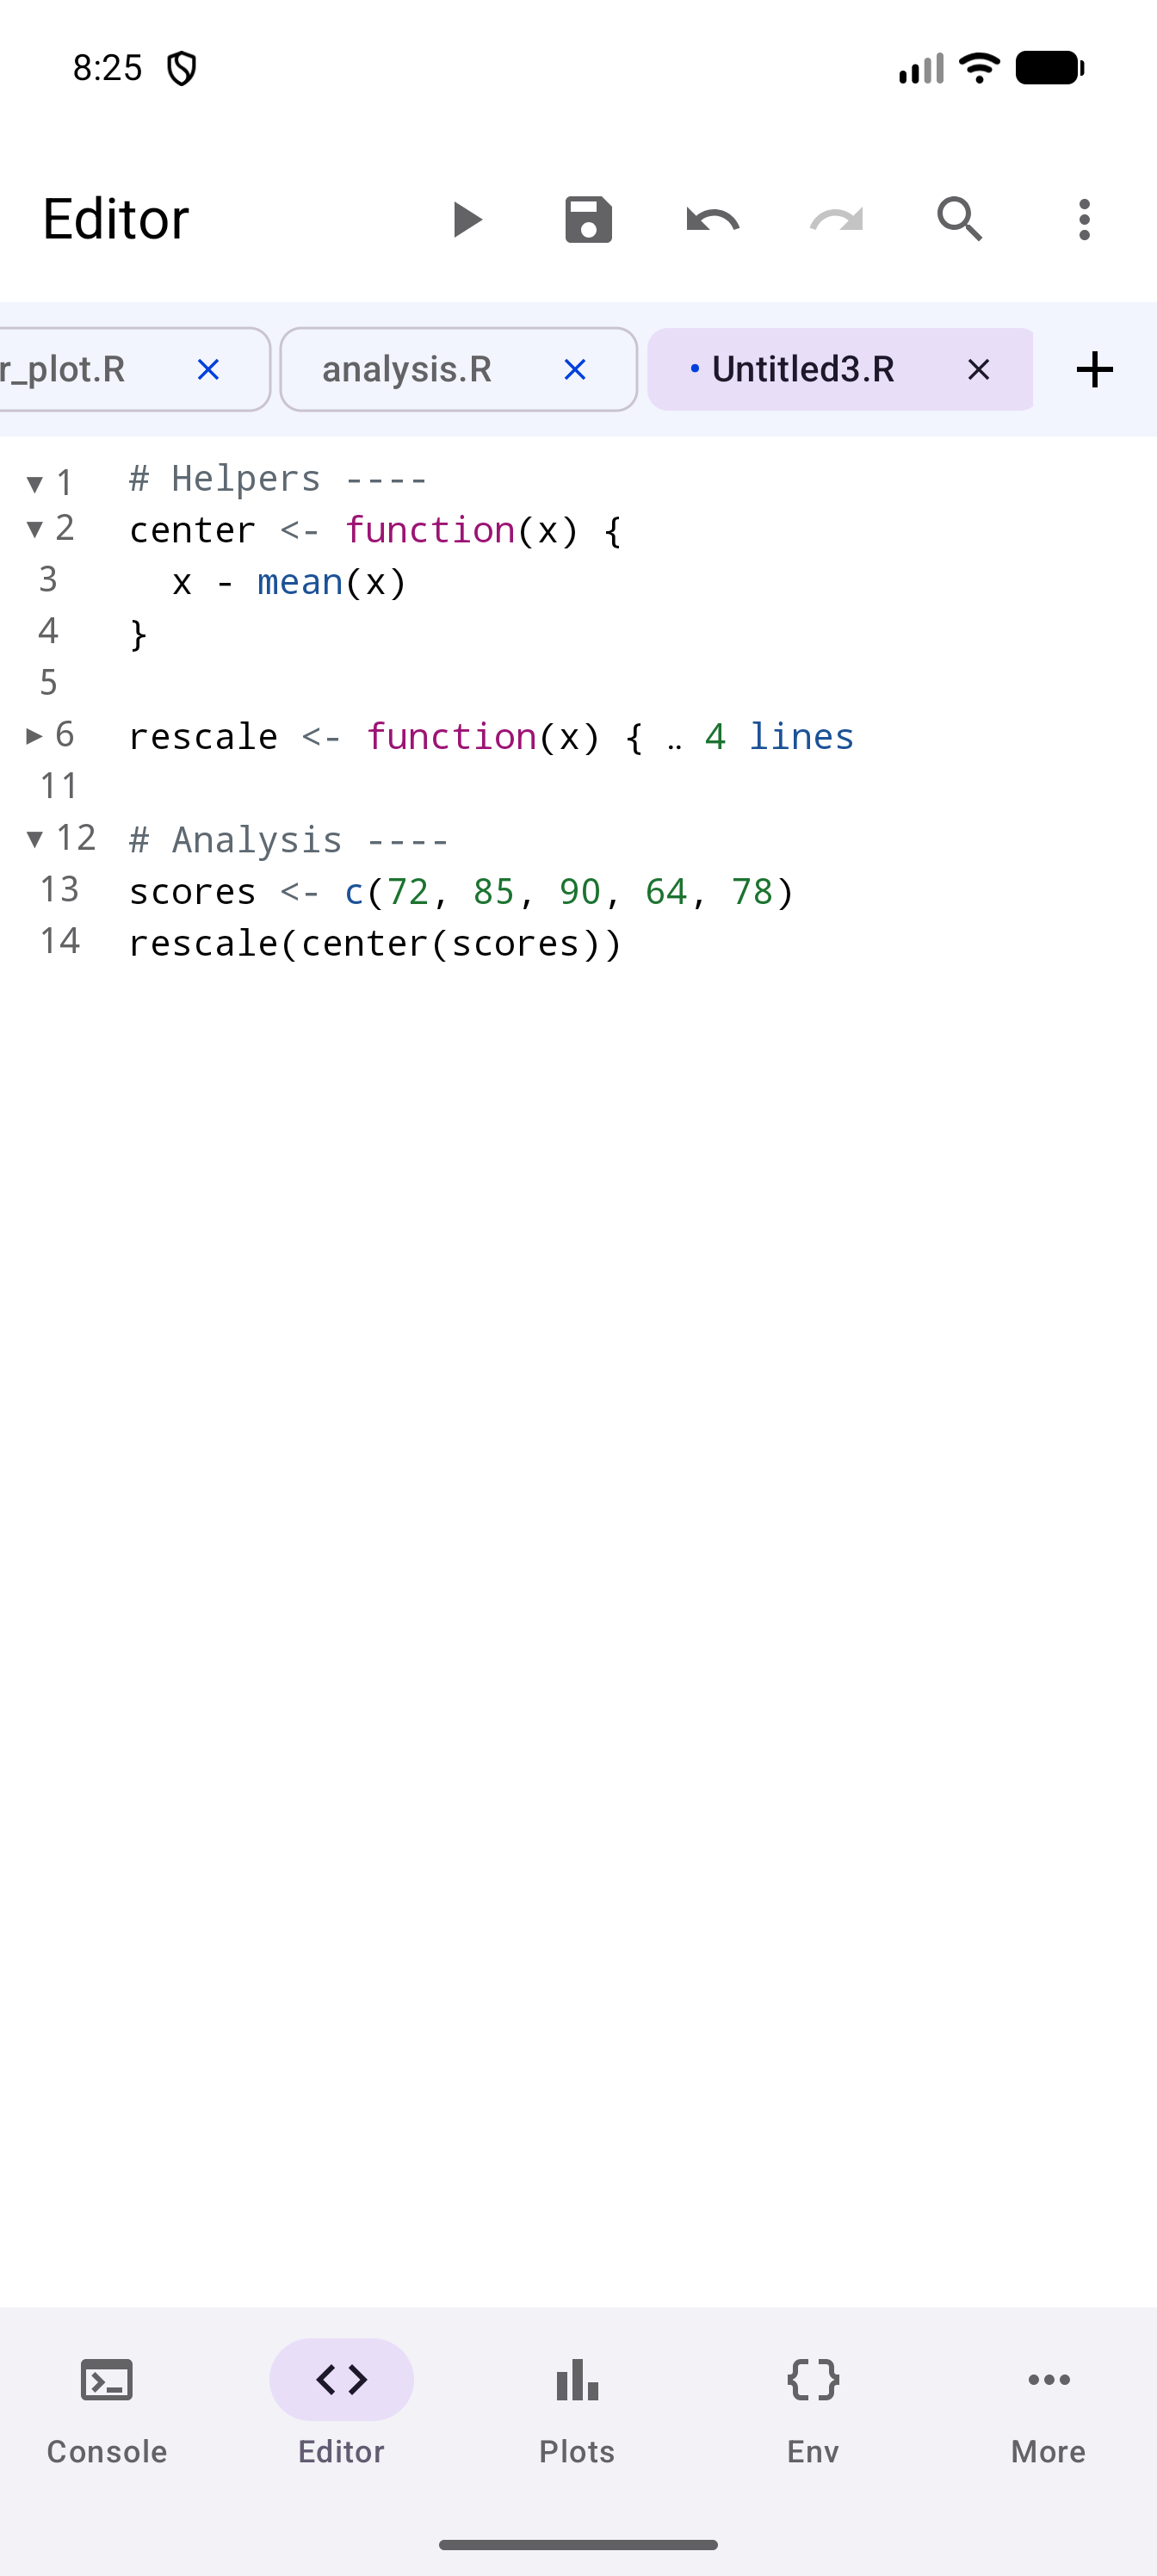
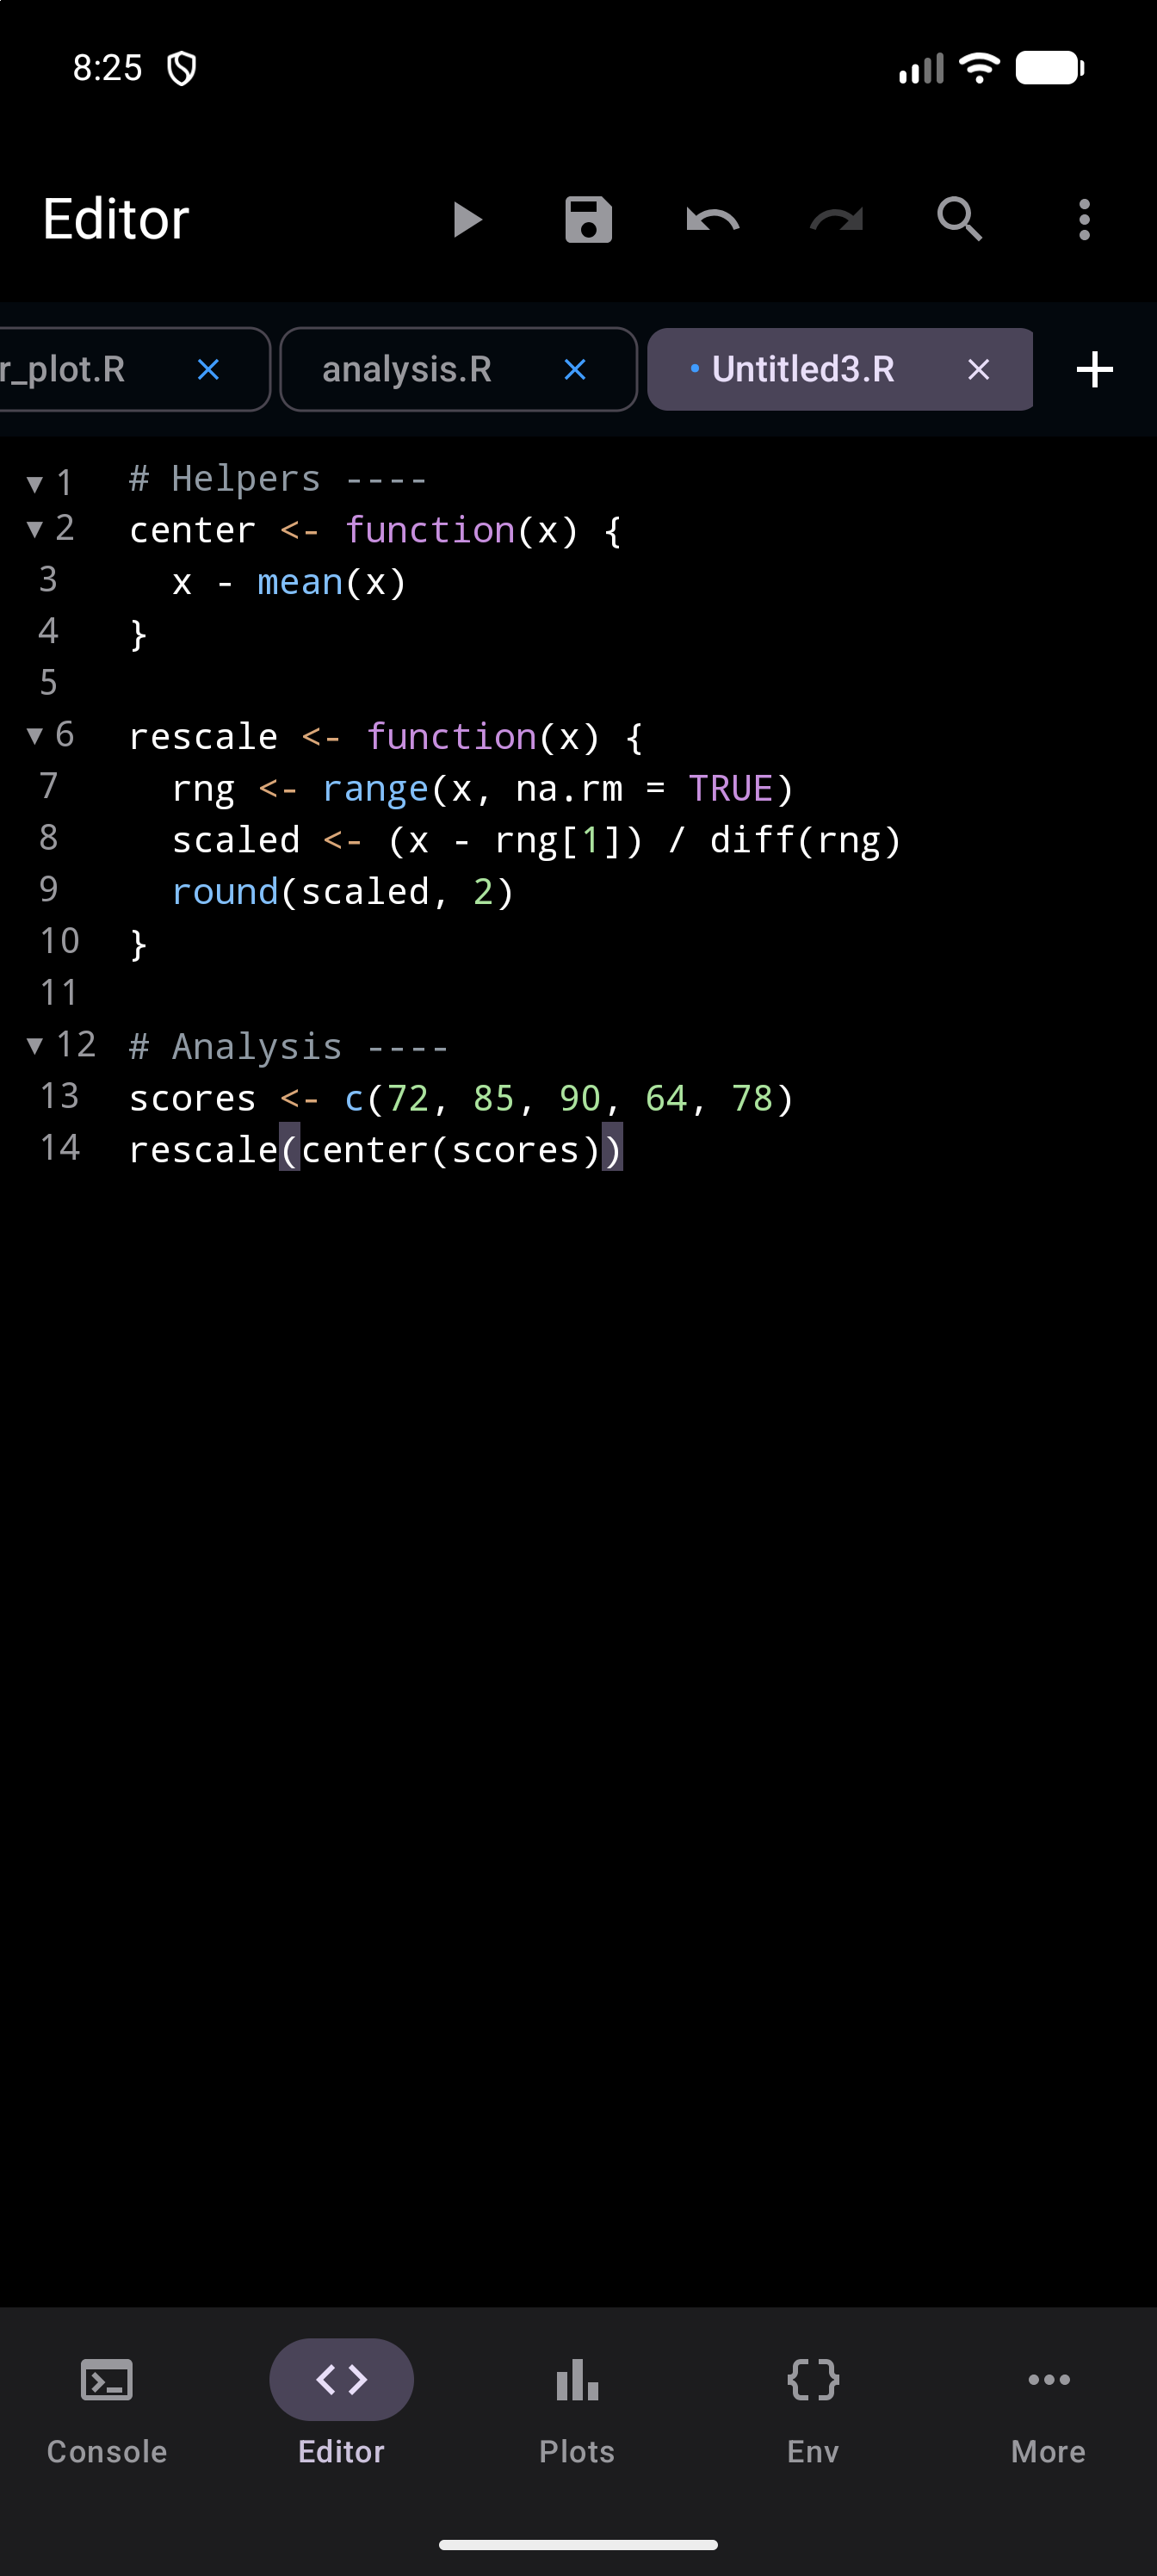
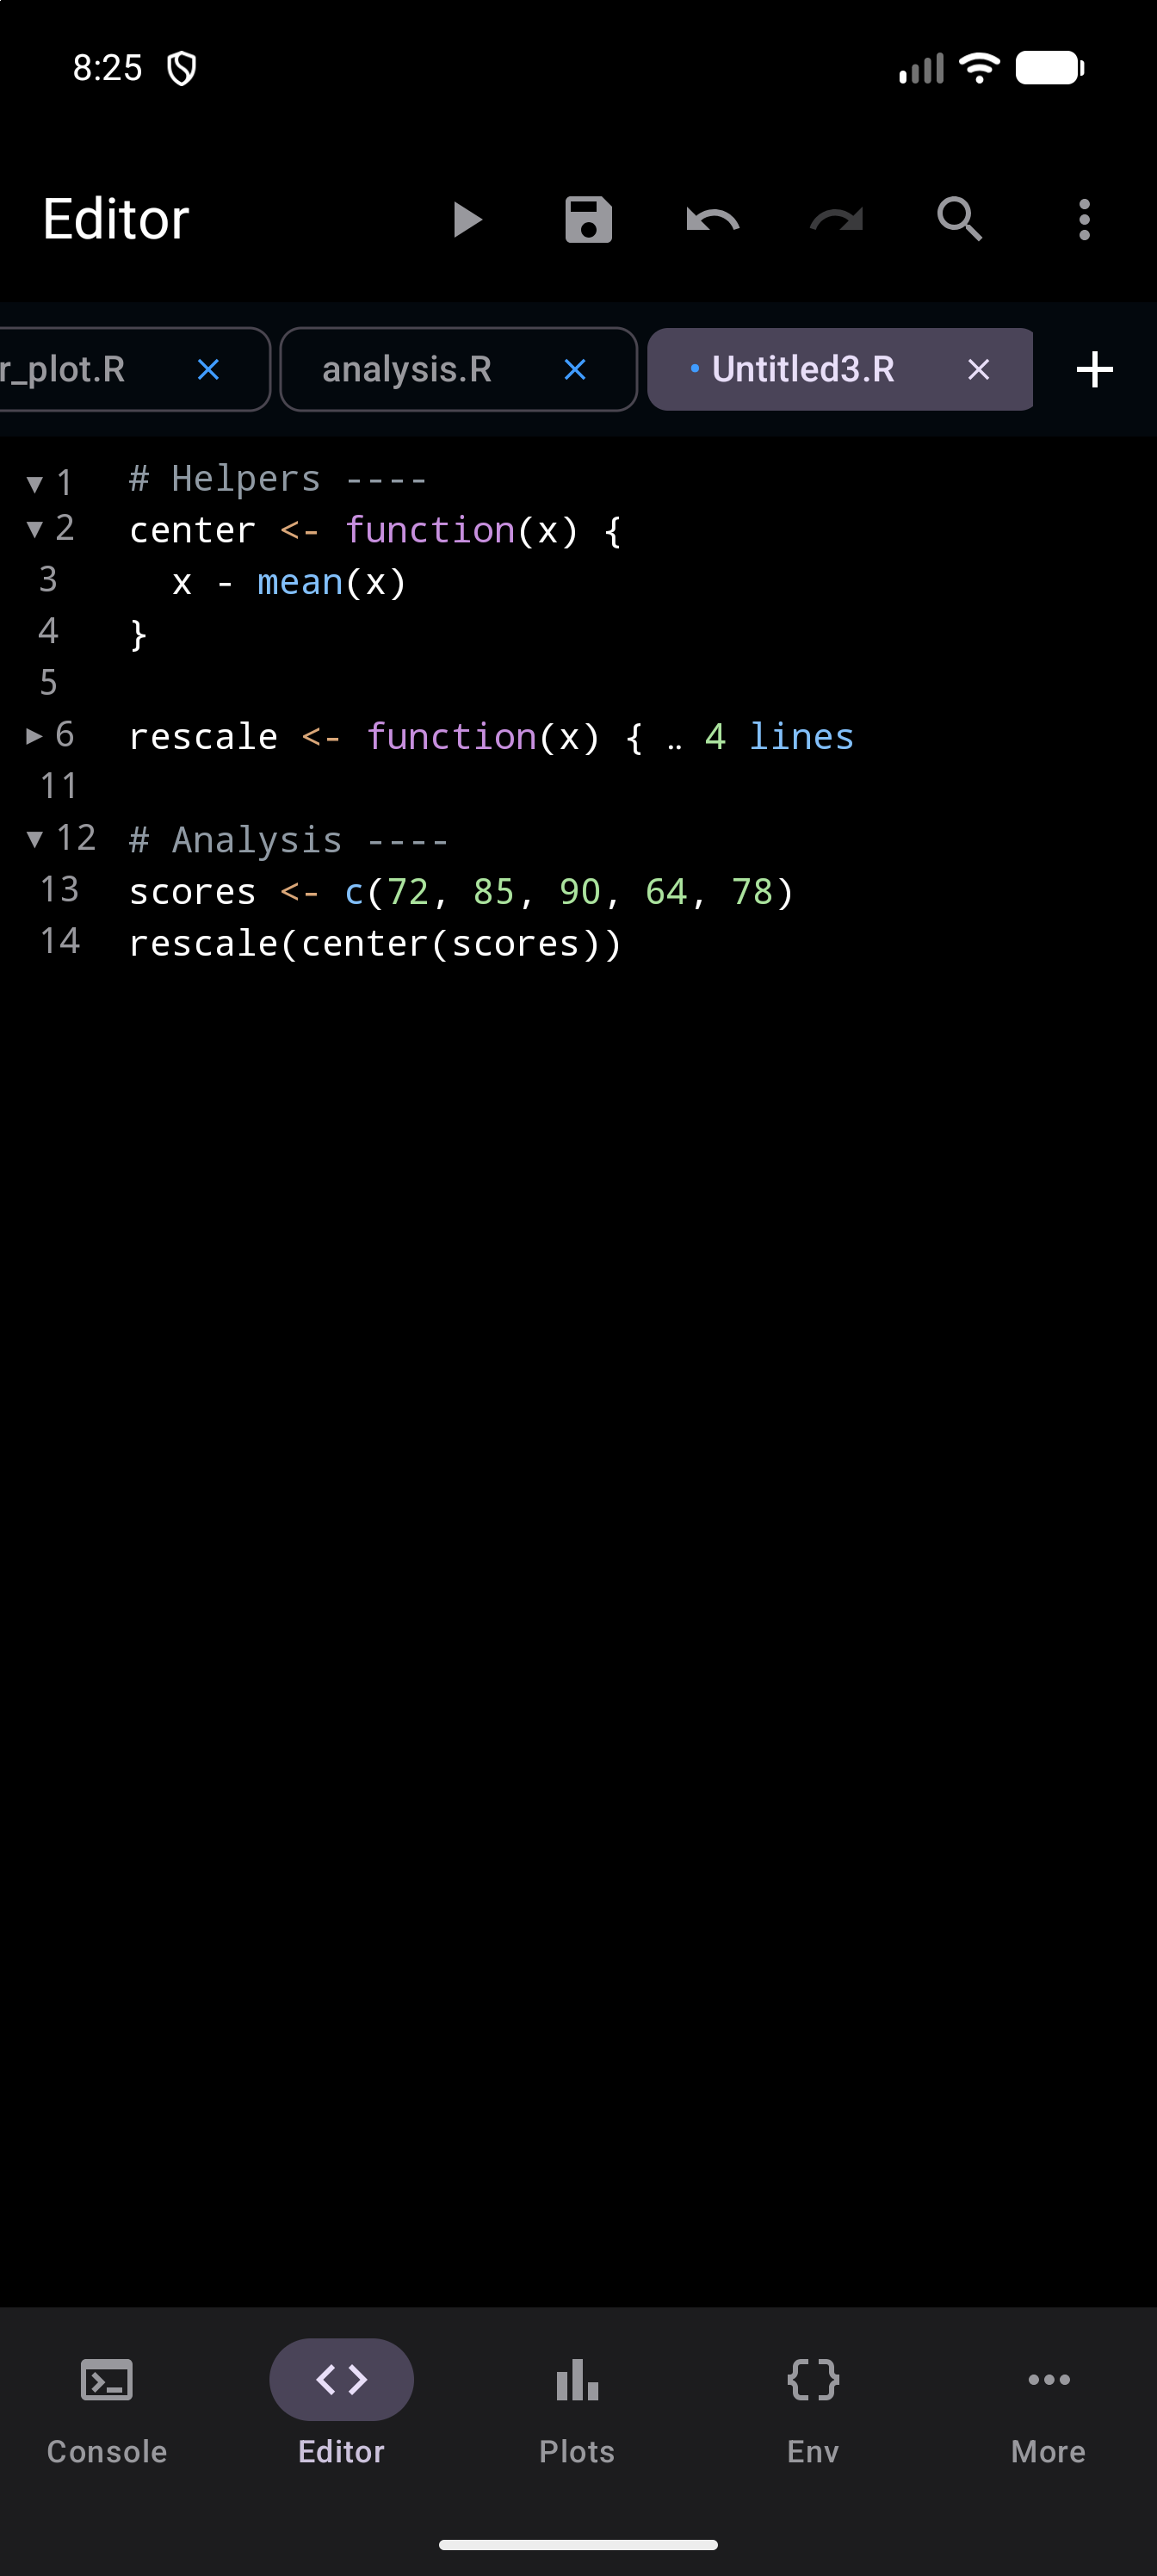
To fold or unfold everything at once, choose Fold All or Unfold All from the editor’s overflow menu, or press Ctrl+Alt+O or Ctrl+Alt+Shift+O on a keyboard. Fold All folds nested blocks too.
Combine code folding with the Code Outline to navigate large scripts quickly.
Running Code
The Editor has a Run button in the toolbar. Its behavior depends on whether you have text selected:
- No selection: tapping Run executes the entire script from top to bottom.
- Text selected: tapping Run executes only the highlighted portion.
In a split Editor, Run acts on the pane you are editing. While text is selected, TalkBack reads the button as “Run selection”. Run Selection in the editor menu runs the selection too.
With a hardware keyboard, Ctrl+Enter runs the selection, or, when nothing is selected, only the line the cursor is on. On a blank line it runs nothing. The cursor stays where it is afterwards rather than moving down a line. Ctrl+Shift+Enter runs the whole script. With a keyboard attached, the code has focus as soon as the Editor appears in the Tab Bar and Sidebar layouts, so you can start typing straight away (in the Workspace, the Console takes it), and Move Focus to Editor (Ctrl+1) brings you back to the code from any screen.
You can open R’s help from the Editor too. Run a help request on its own, such as ?mean or help("read.csv"), and the page opens in a Help Entry sheet over the Editor, just as it does from the Console. help(package = "stats") opens that package’s index instead. You can run the line with Ctrl+Enter, select it and tap Run, or run a script that has only that line in it. If what you run has any other code in it, it all runs in R as usual. See From the Editor in the Help guide.
In the Workspace layout on a tablet, Run, Run Selection, Ctrl+Enter and Ctrl+Shift+Enter send your code to the Console pane below the Editor pane, which runs it just as if you had typed it there. Each command shows after R’s > prompt, with a + in front of any line that carries on the command above, and its result follows right under it. No output panel opens, so the Editor pane keeps all of its height.
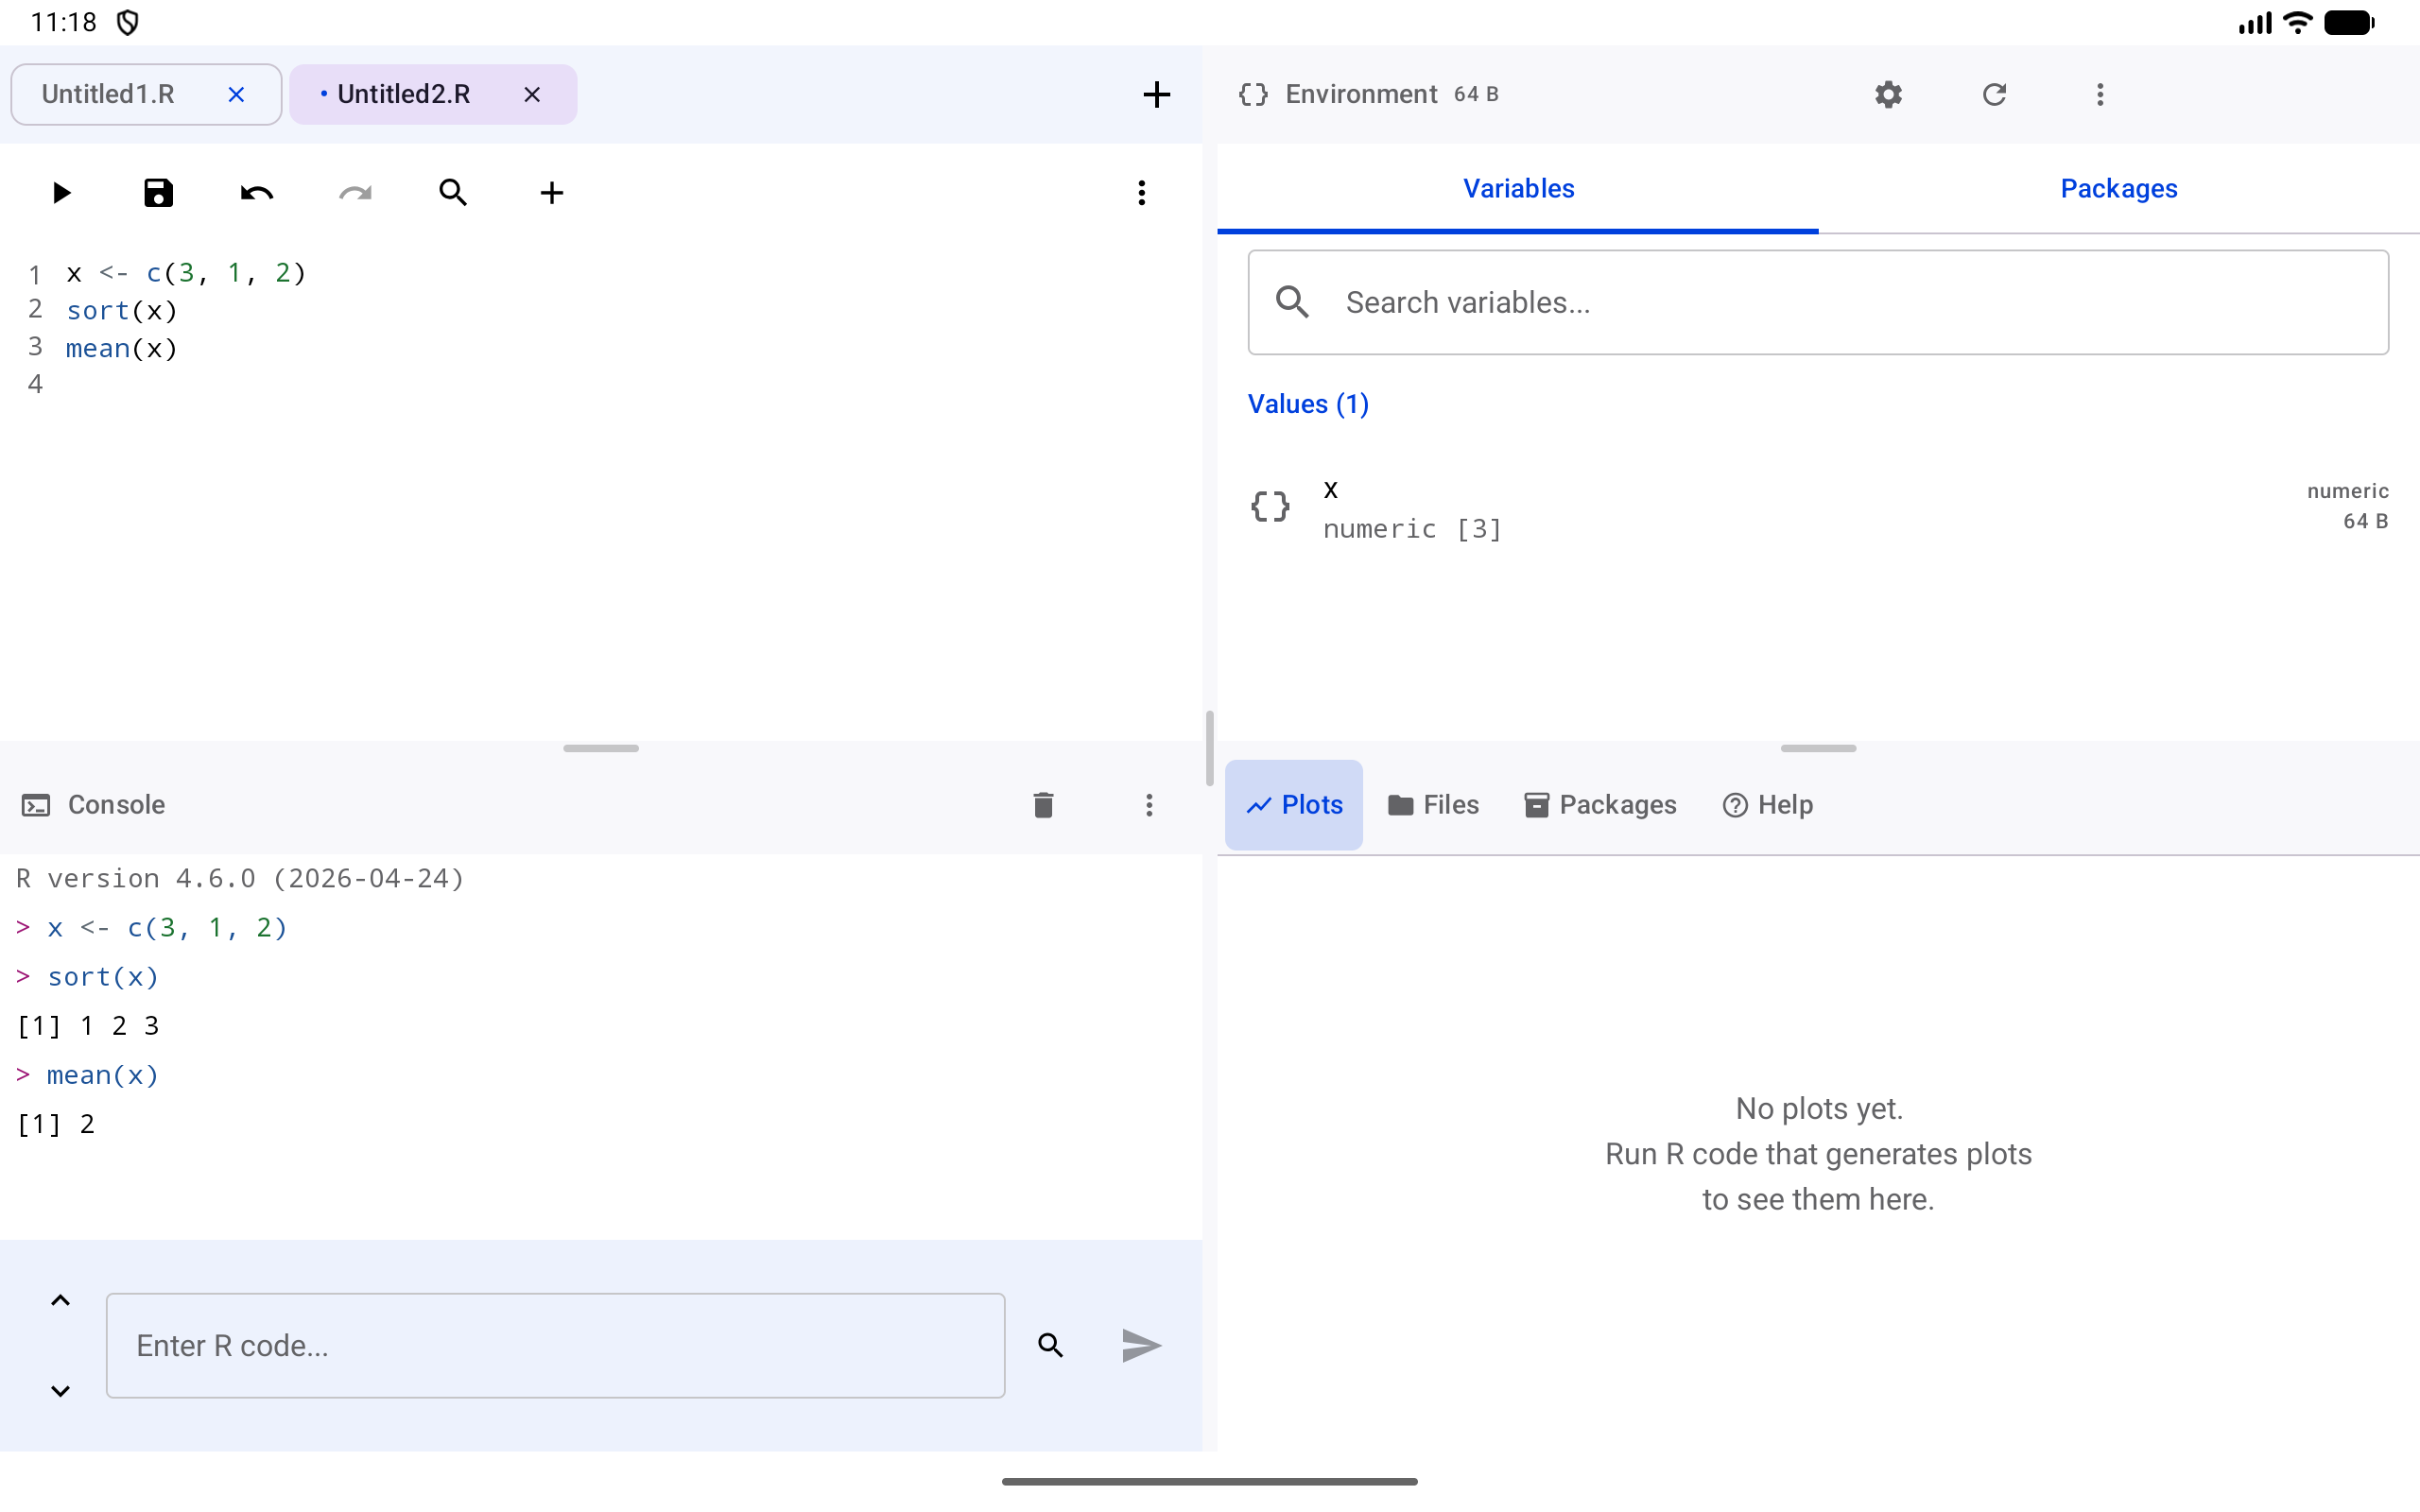
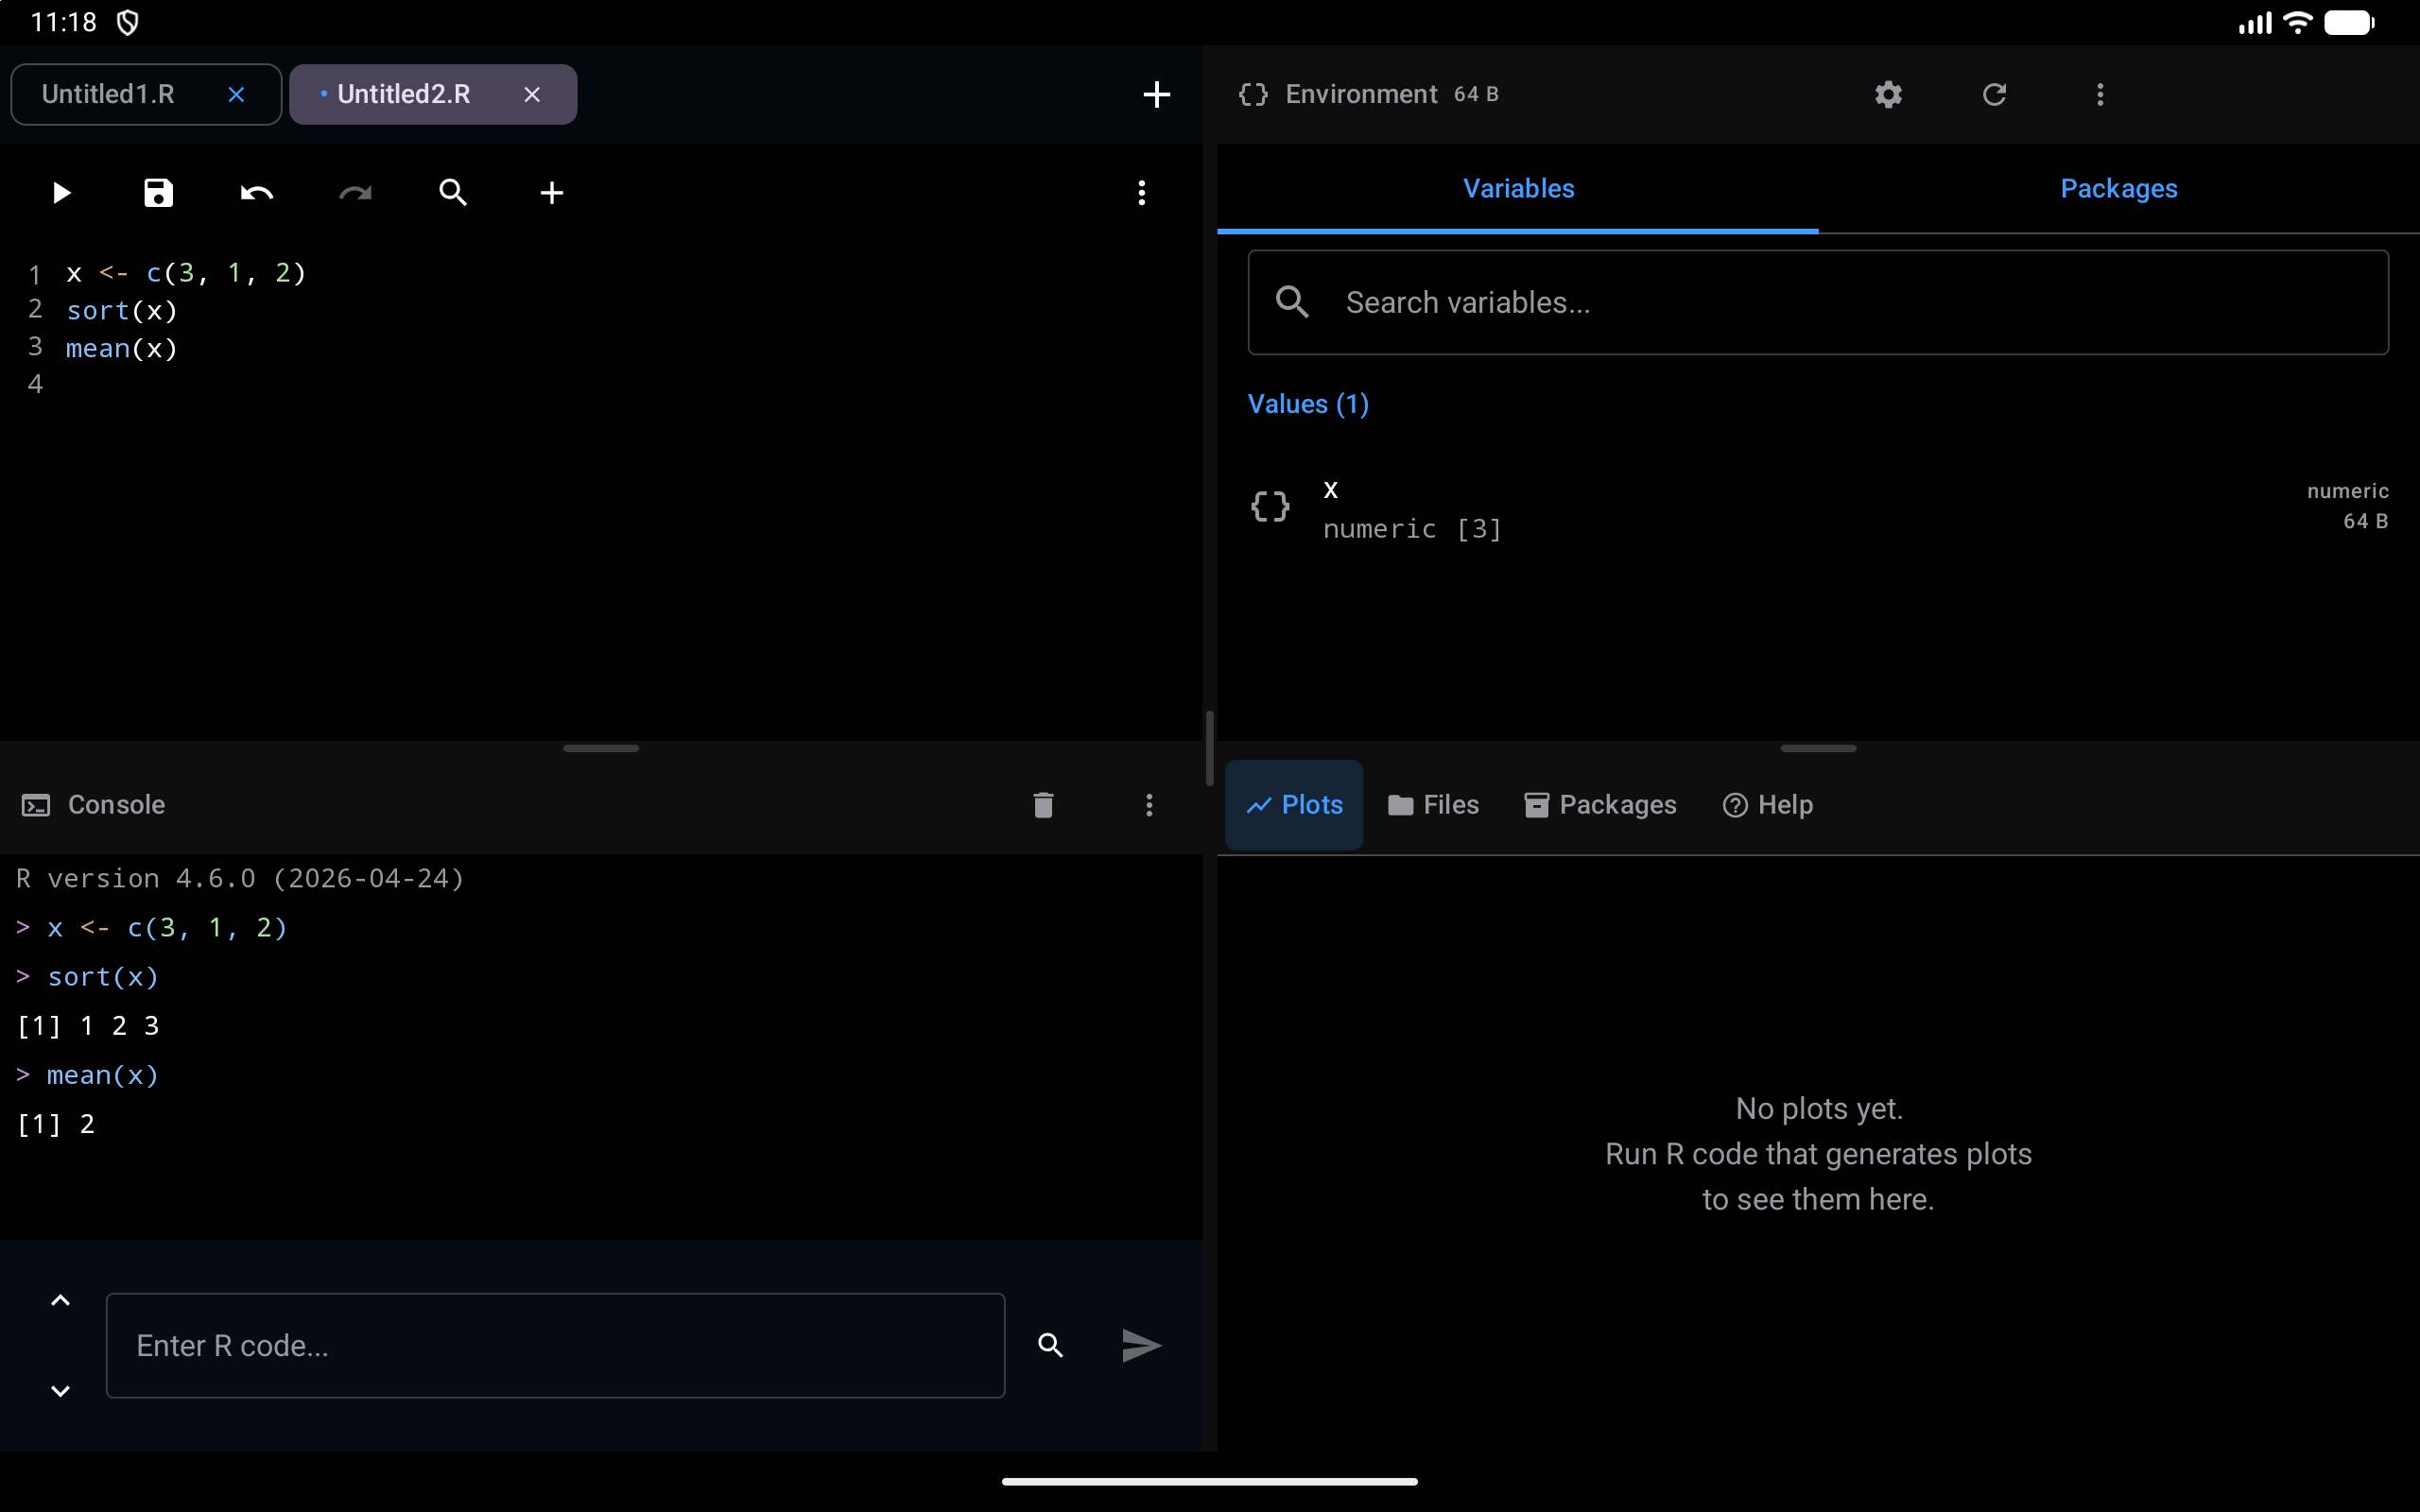
If a command gives an error, the run stops at that command. If R can’t read the code at all, for example because a bracket is missing, nothing runs, and R’s error shows under your code. While R is still working, Run and Run Selection are greyed out and the shortcuts do nothing. A help line such as ?mean still opens help, and shows in the Console pane too. Each run is one entry in History, under the Console filter.
Output panel
In the Tab Bar and Sidebar layouts, results from running your code appear in the output panel at the bottom of the Editor. This panel shows text output, errors, warnings, and messages, the same kinds of output you would see in the Console, colored and marked with the same icons. Every run is also recorded in History, under the Editor filter.
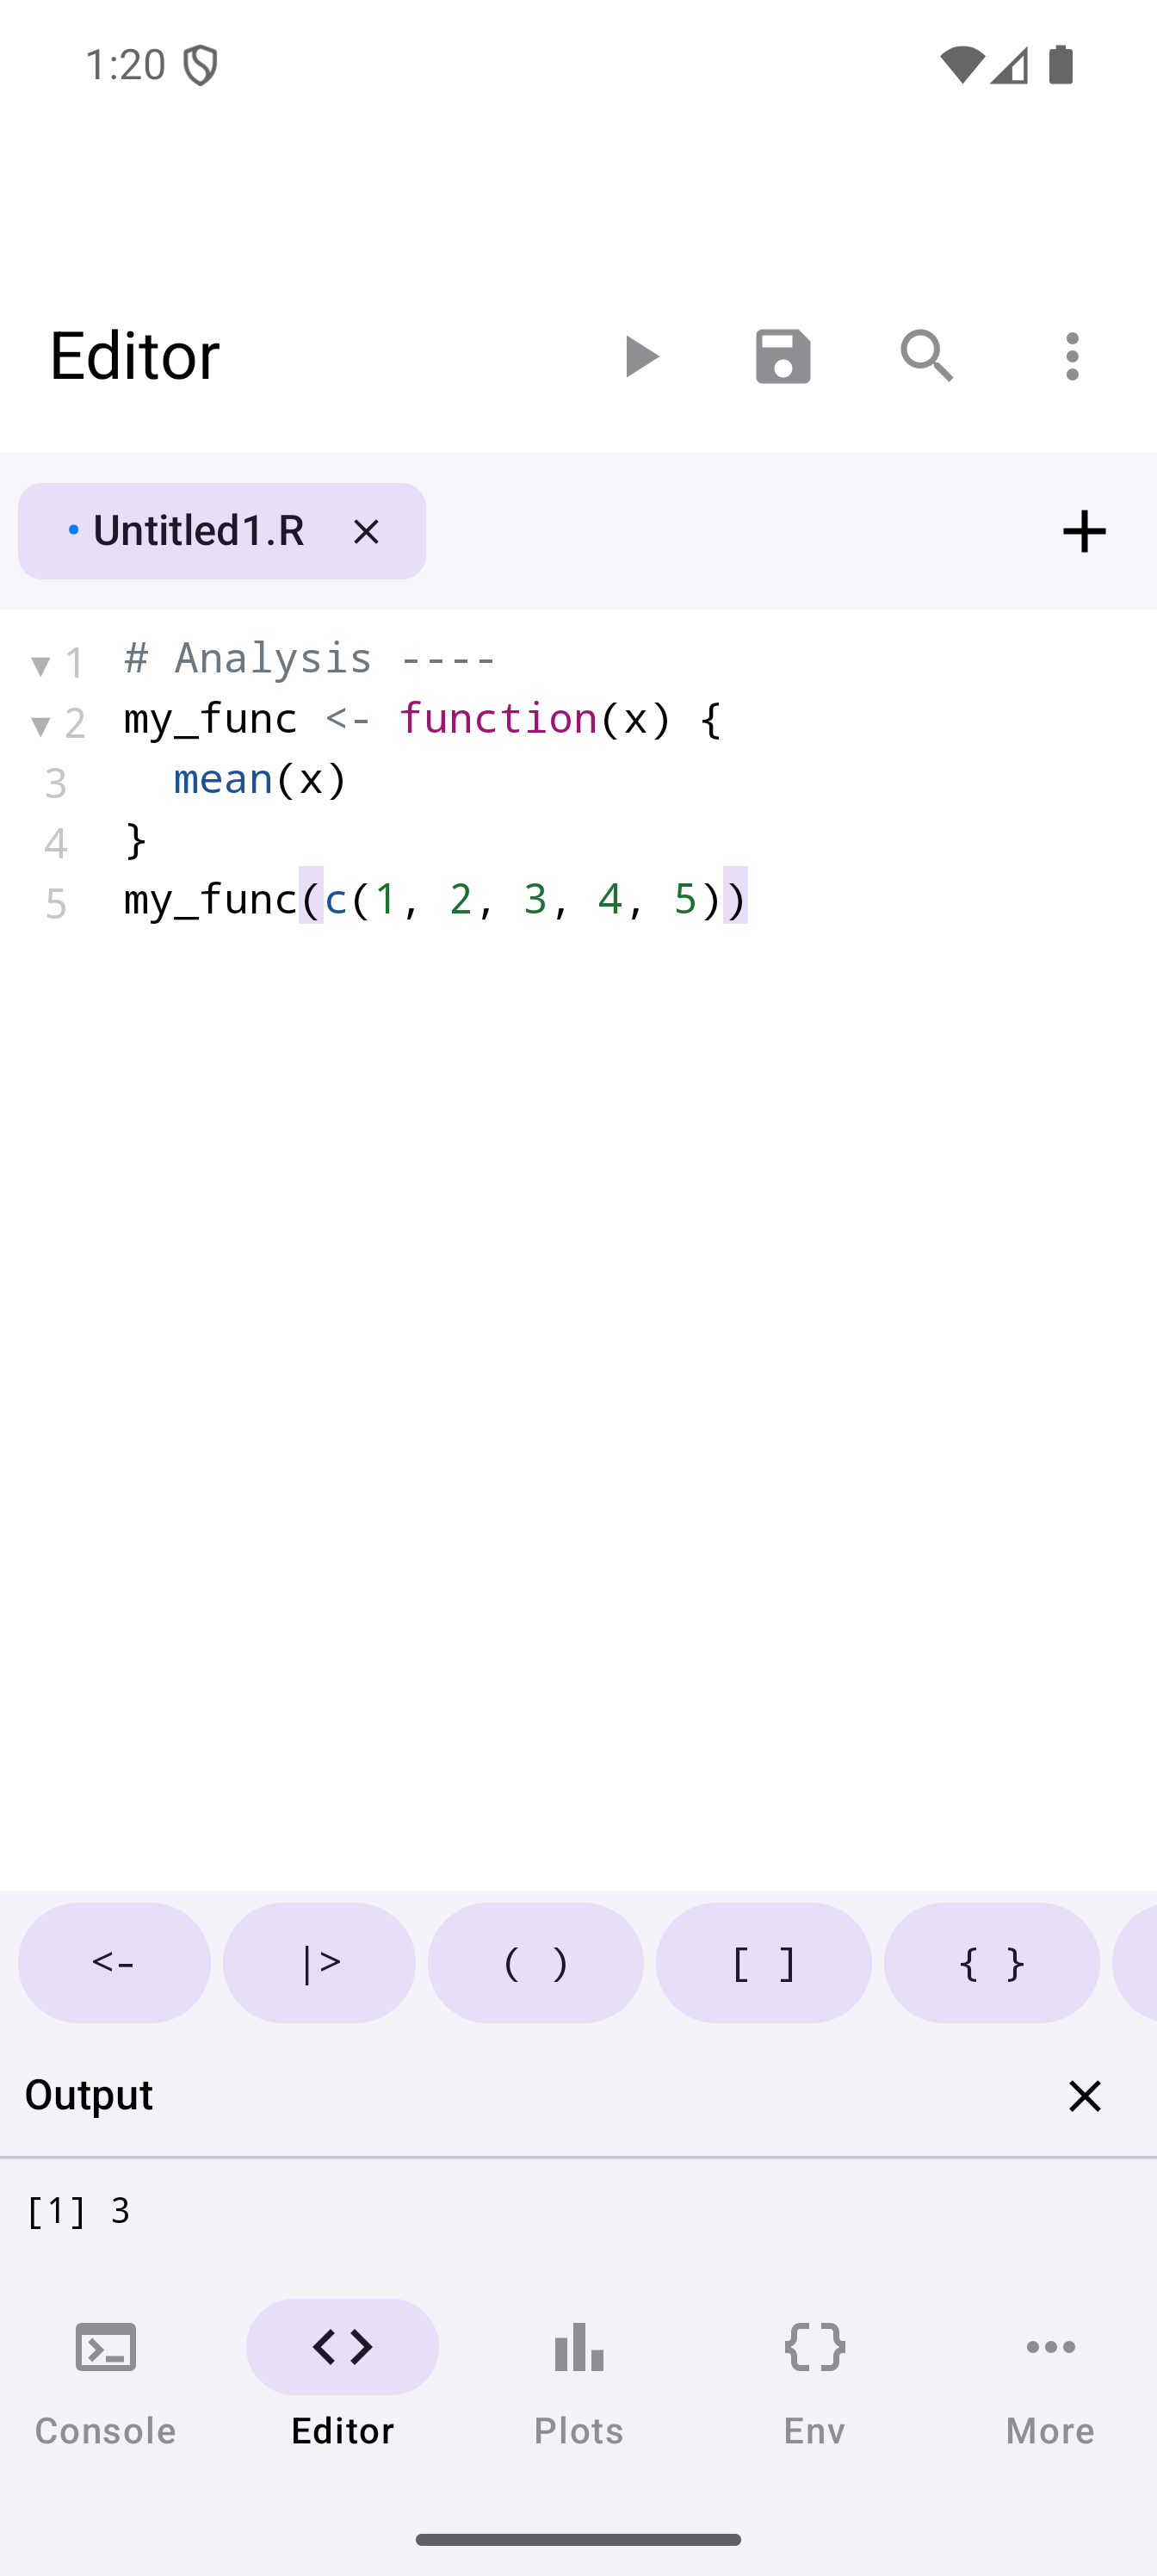
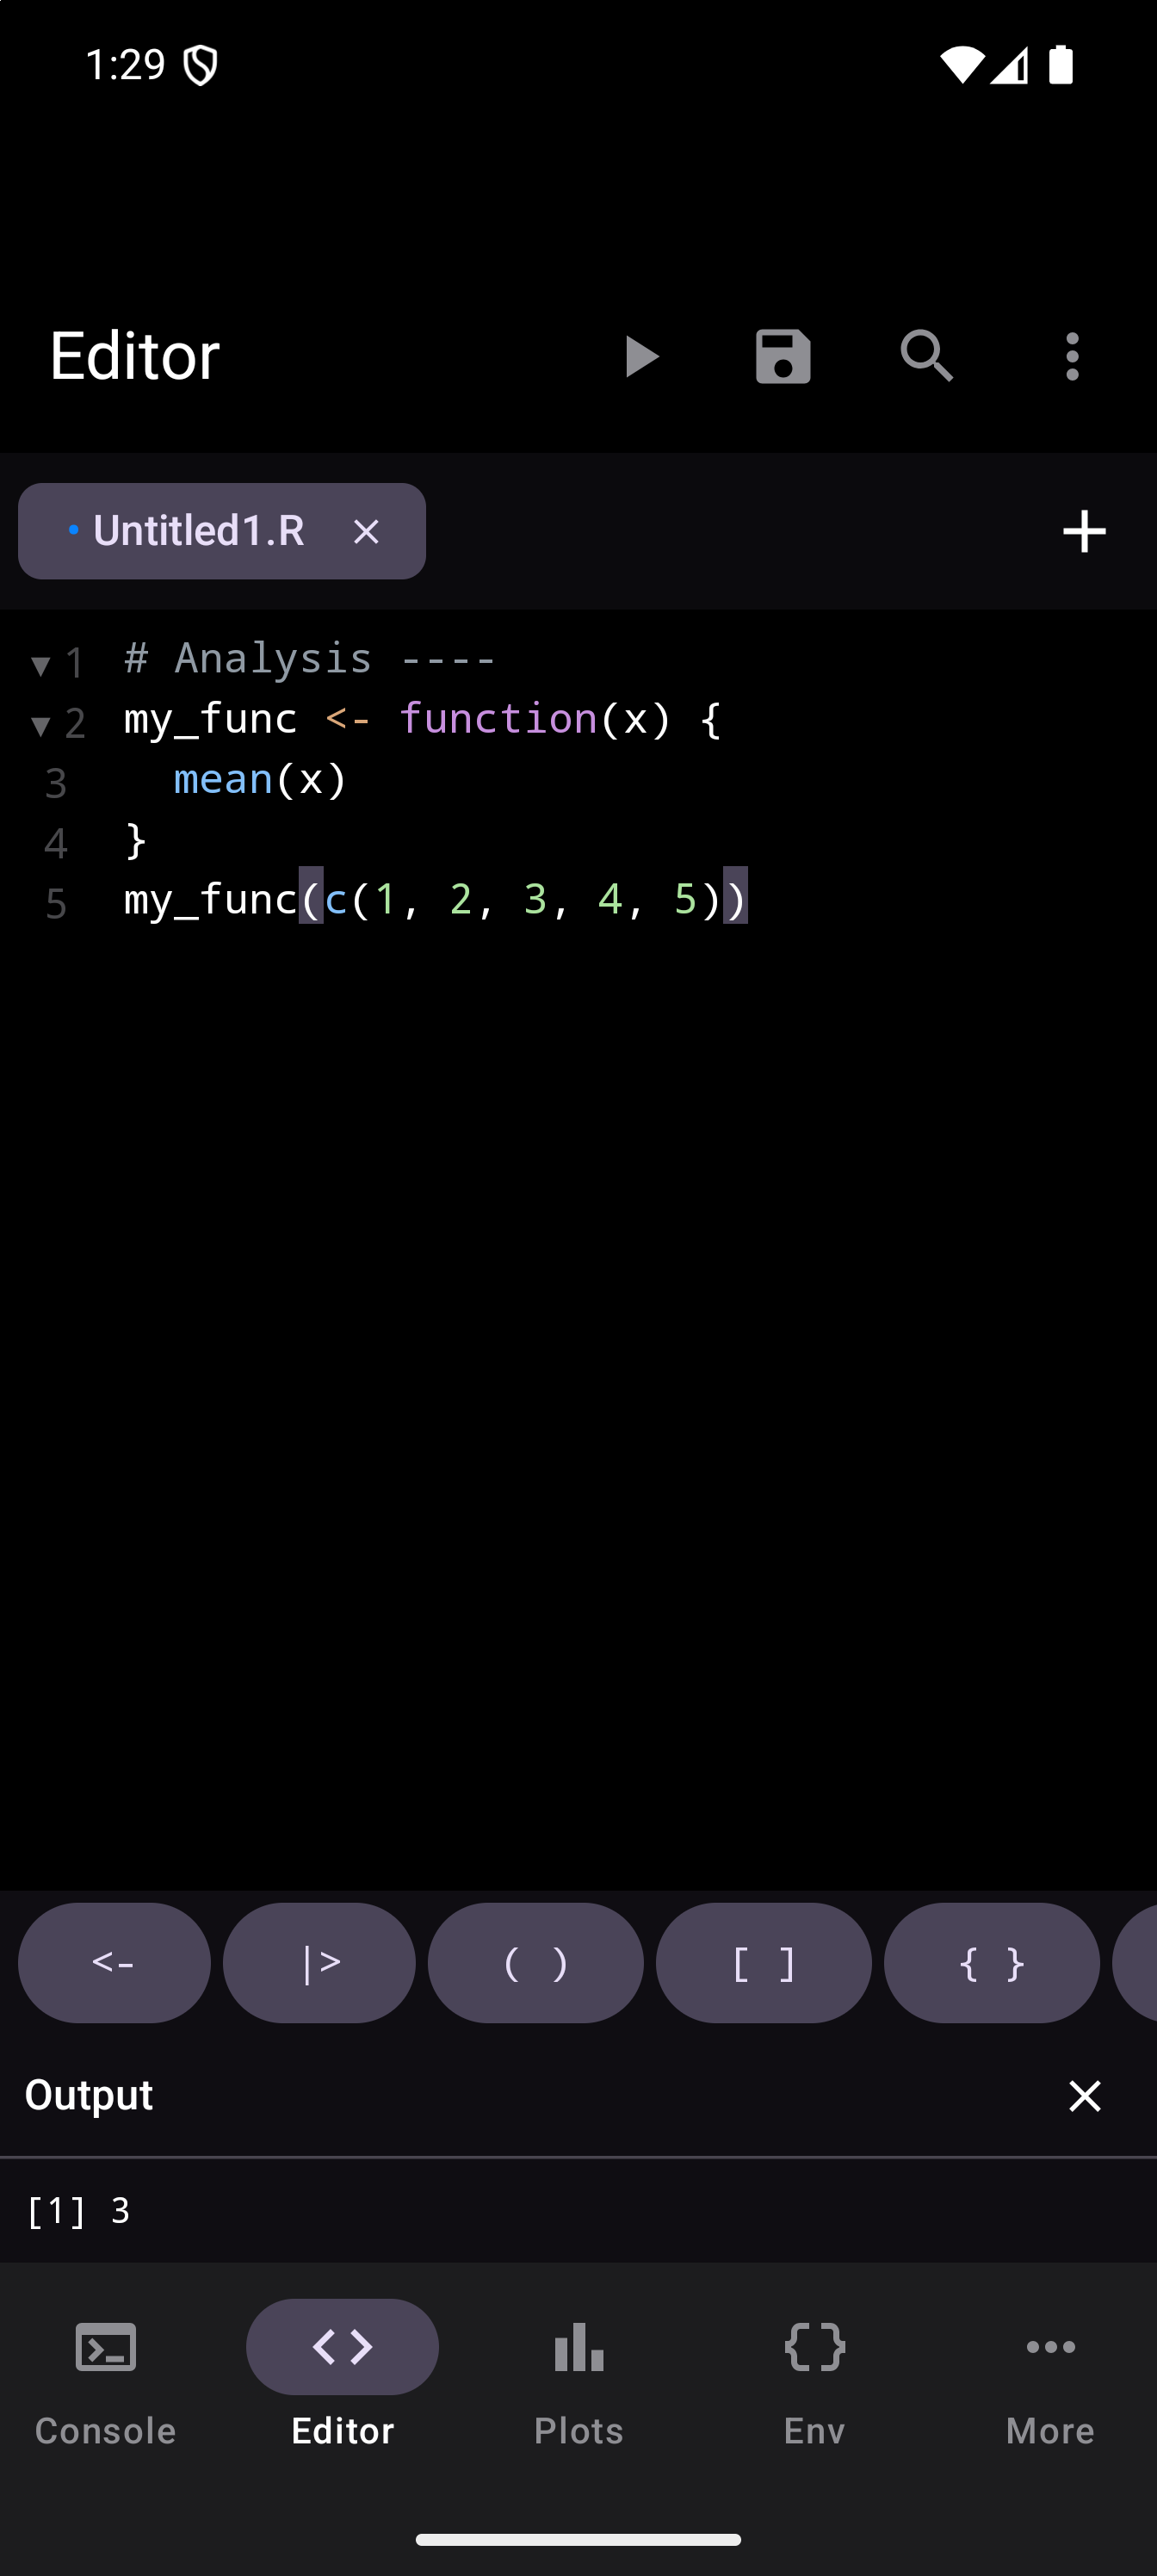
The panel opens by itself when a run prints something, just below your code. Each run starts it fresh, so it only ever holds the output of your latest run. While code is running, a small spinning circle shows in its header. The panel grows with the output up to a set height, and after that you scroll inside it to read the rest. Its text is the same size as your code. R lays out what your code prints to fit the panel at that size, so a printed data frame or summary breaks at the panel’s edge. Once the run is over, R goes back to the width it had before.
The panel can’t be resized, but you can put it away when you want more room for your code:
- Choose Toggle Output in the editor menu to hide it. Choose it again to bring the same output back. Your next run brings the panel back too.
- Tap the X in its header to clear the output and close the panel.
The output is text you can select and copy, within a line or across several: long-press and drag the handles on a touch screen, or drag with a mouse, then choose Copy. The Copy all output button (a copy icon) in the panel’s header, beside the X, puts every line on the clipboard as it reads in the panel.
Running a selection is useful for debugging. If a script produces unexpected results, select and run it section by section to isolate the problem.
Missing package detection
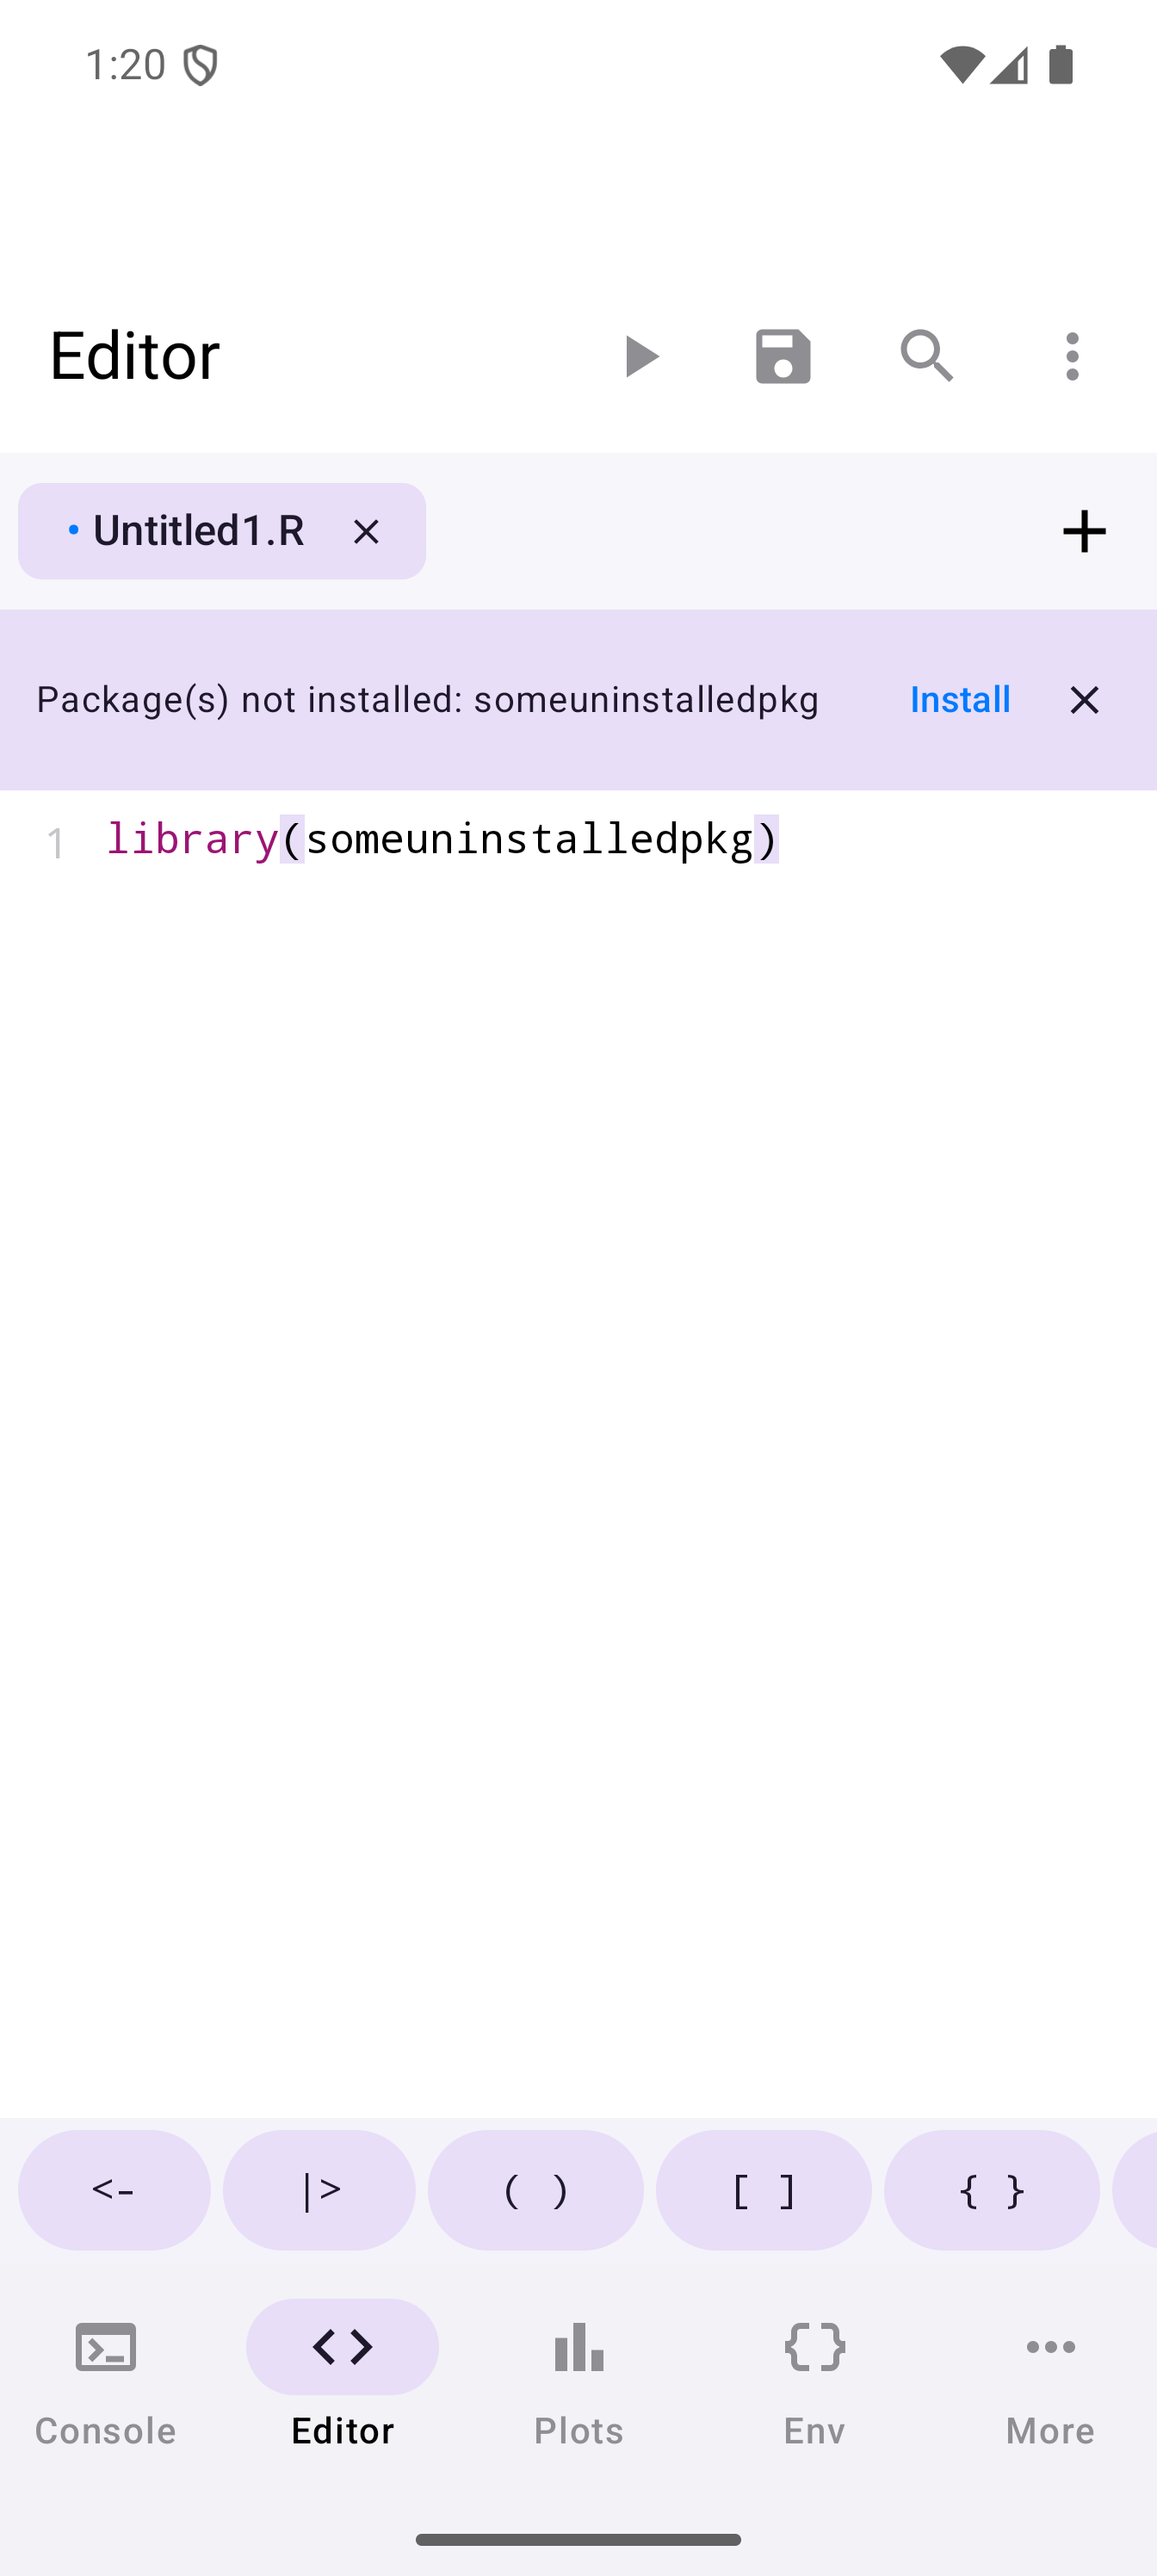
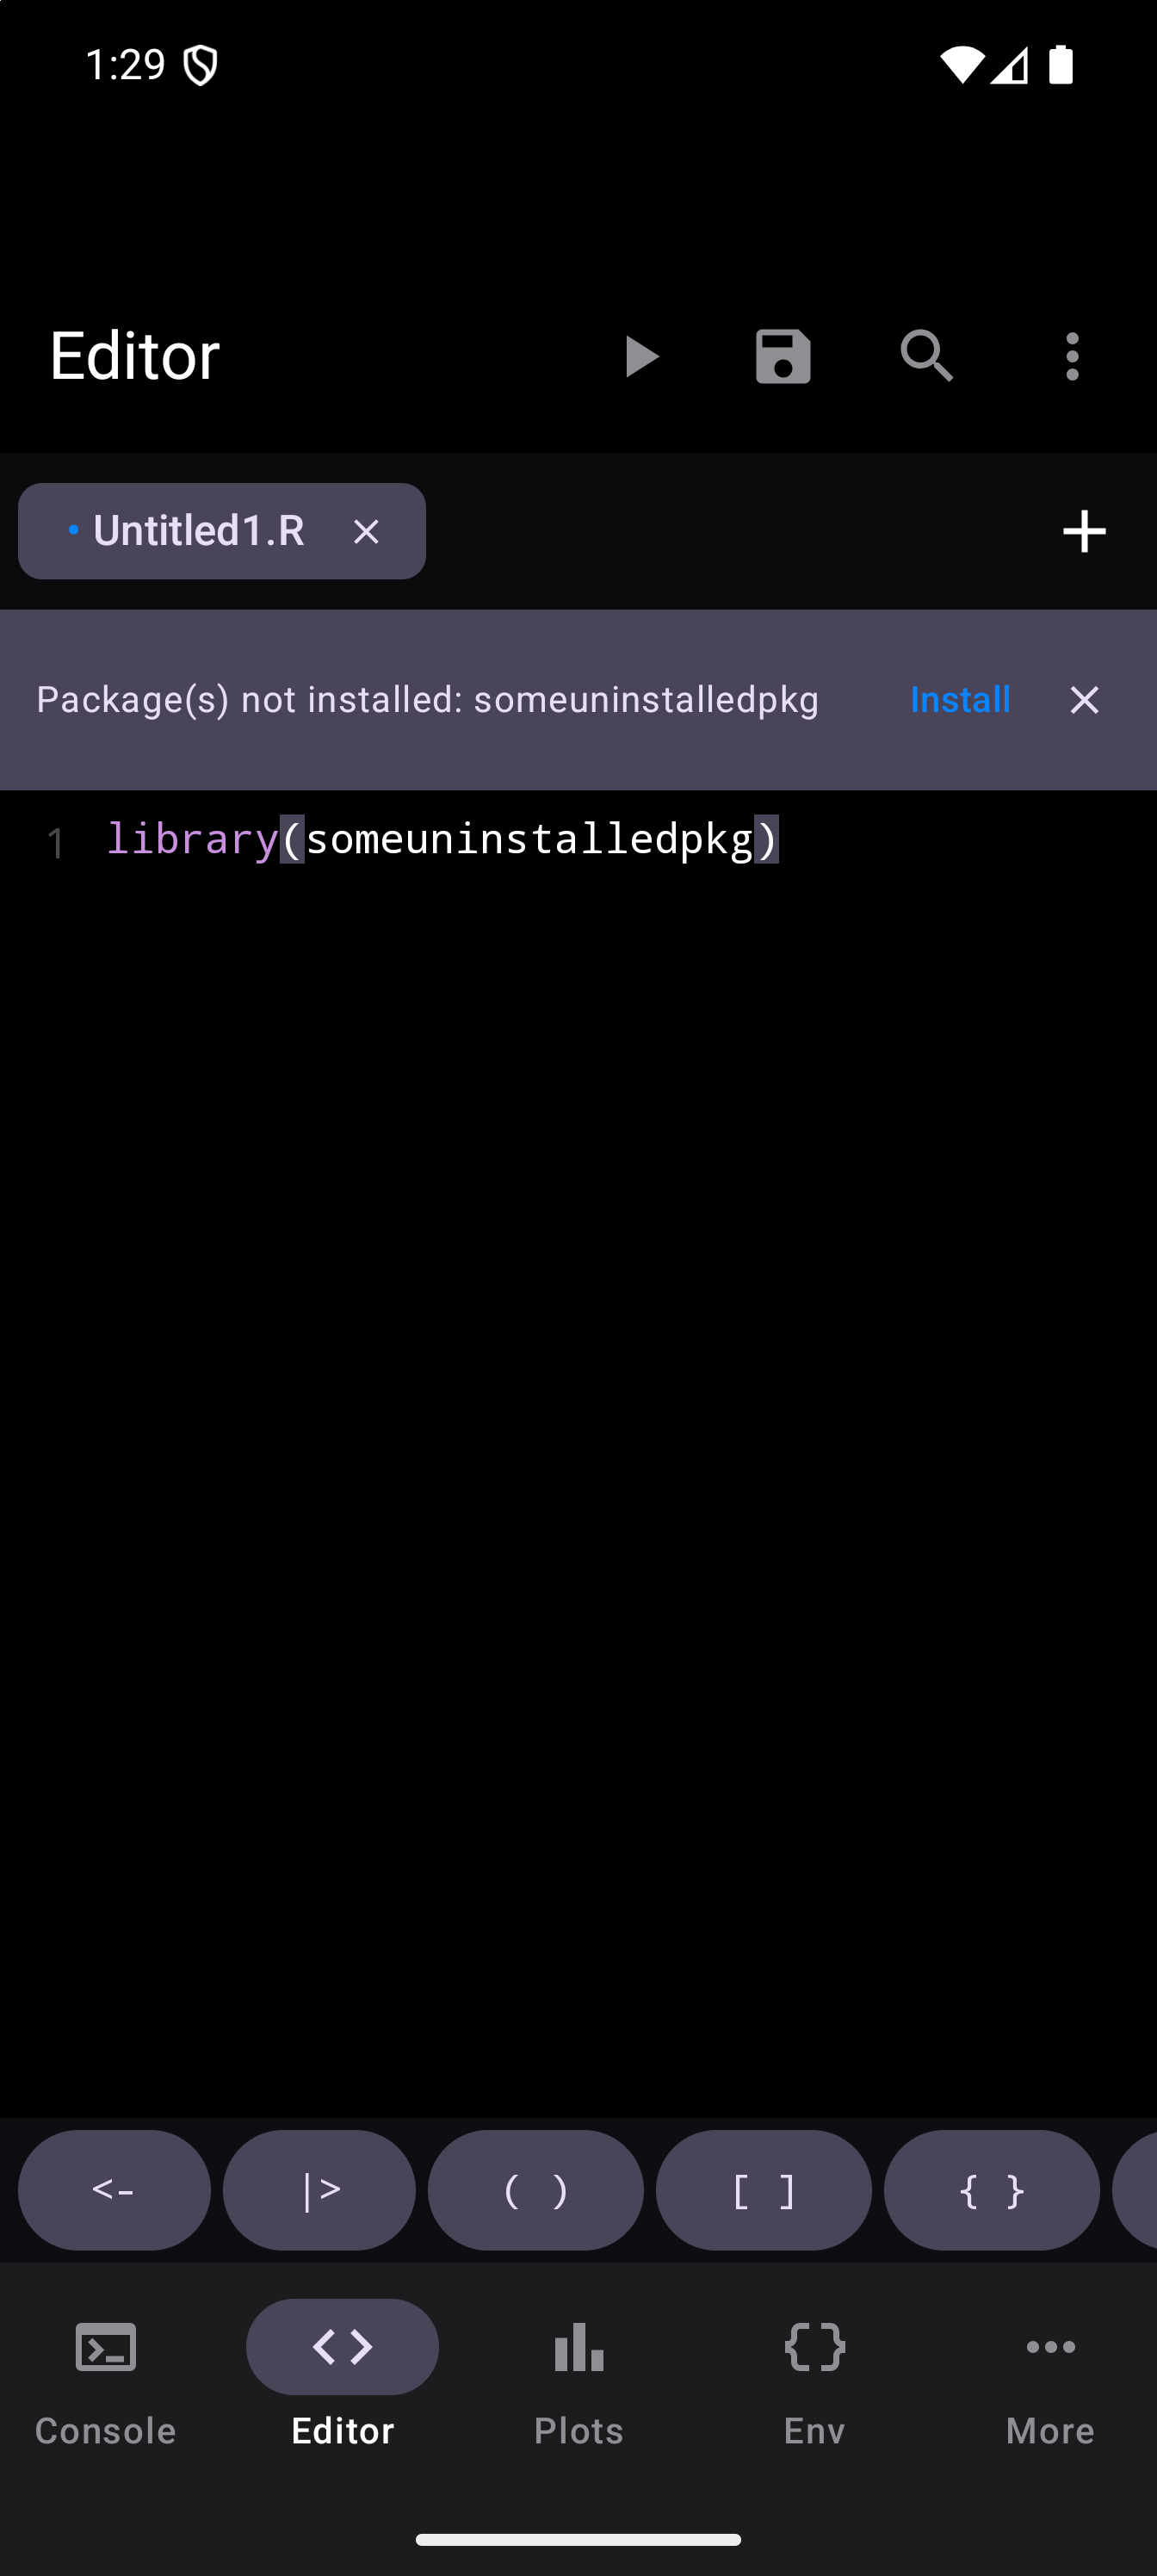
webRoid scans your code for library(), require(), and pacman::p_load() calls. If a referenced package is not installed, a banner appears above the code with an Install button to fetch the missing packages in one tap.
Find & Replace
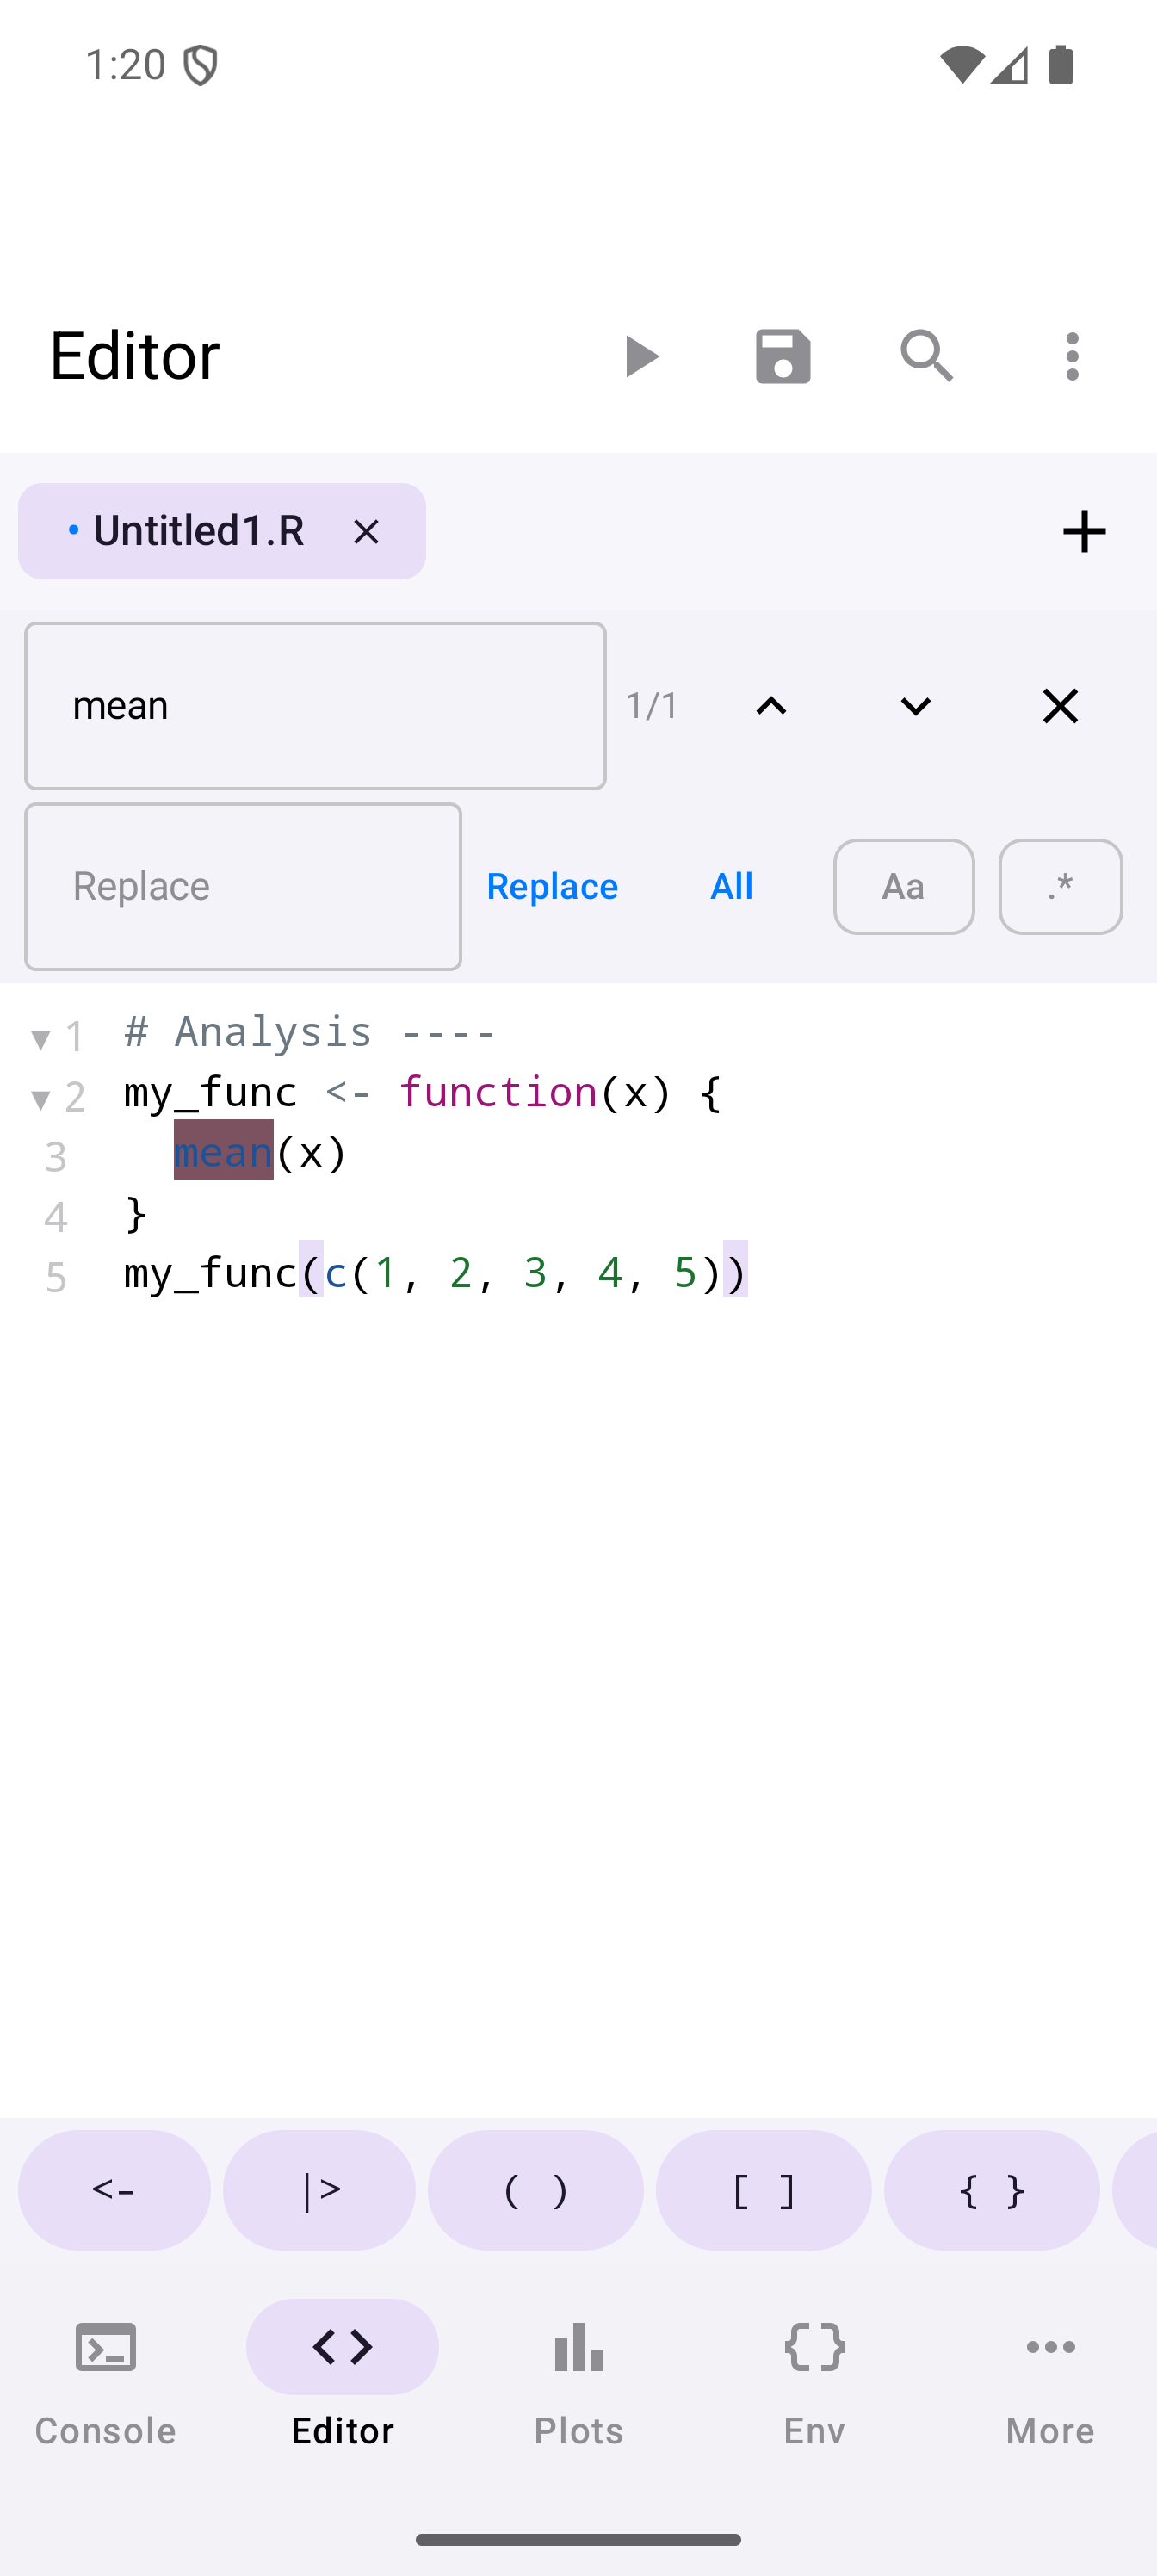
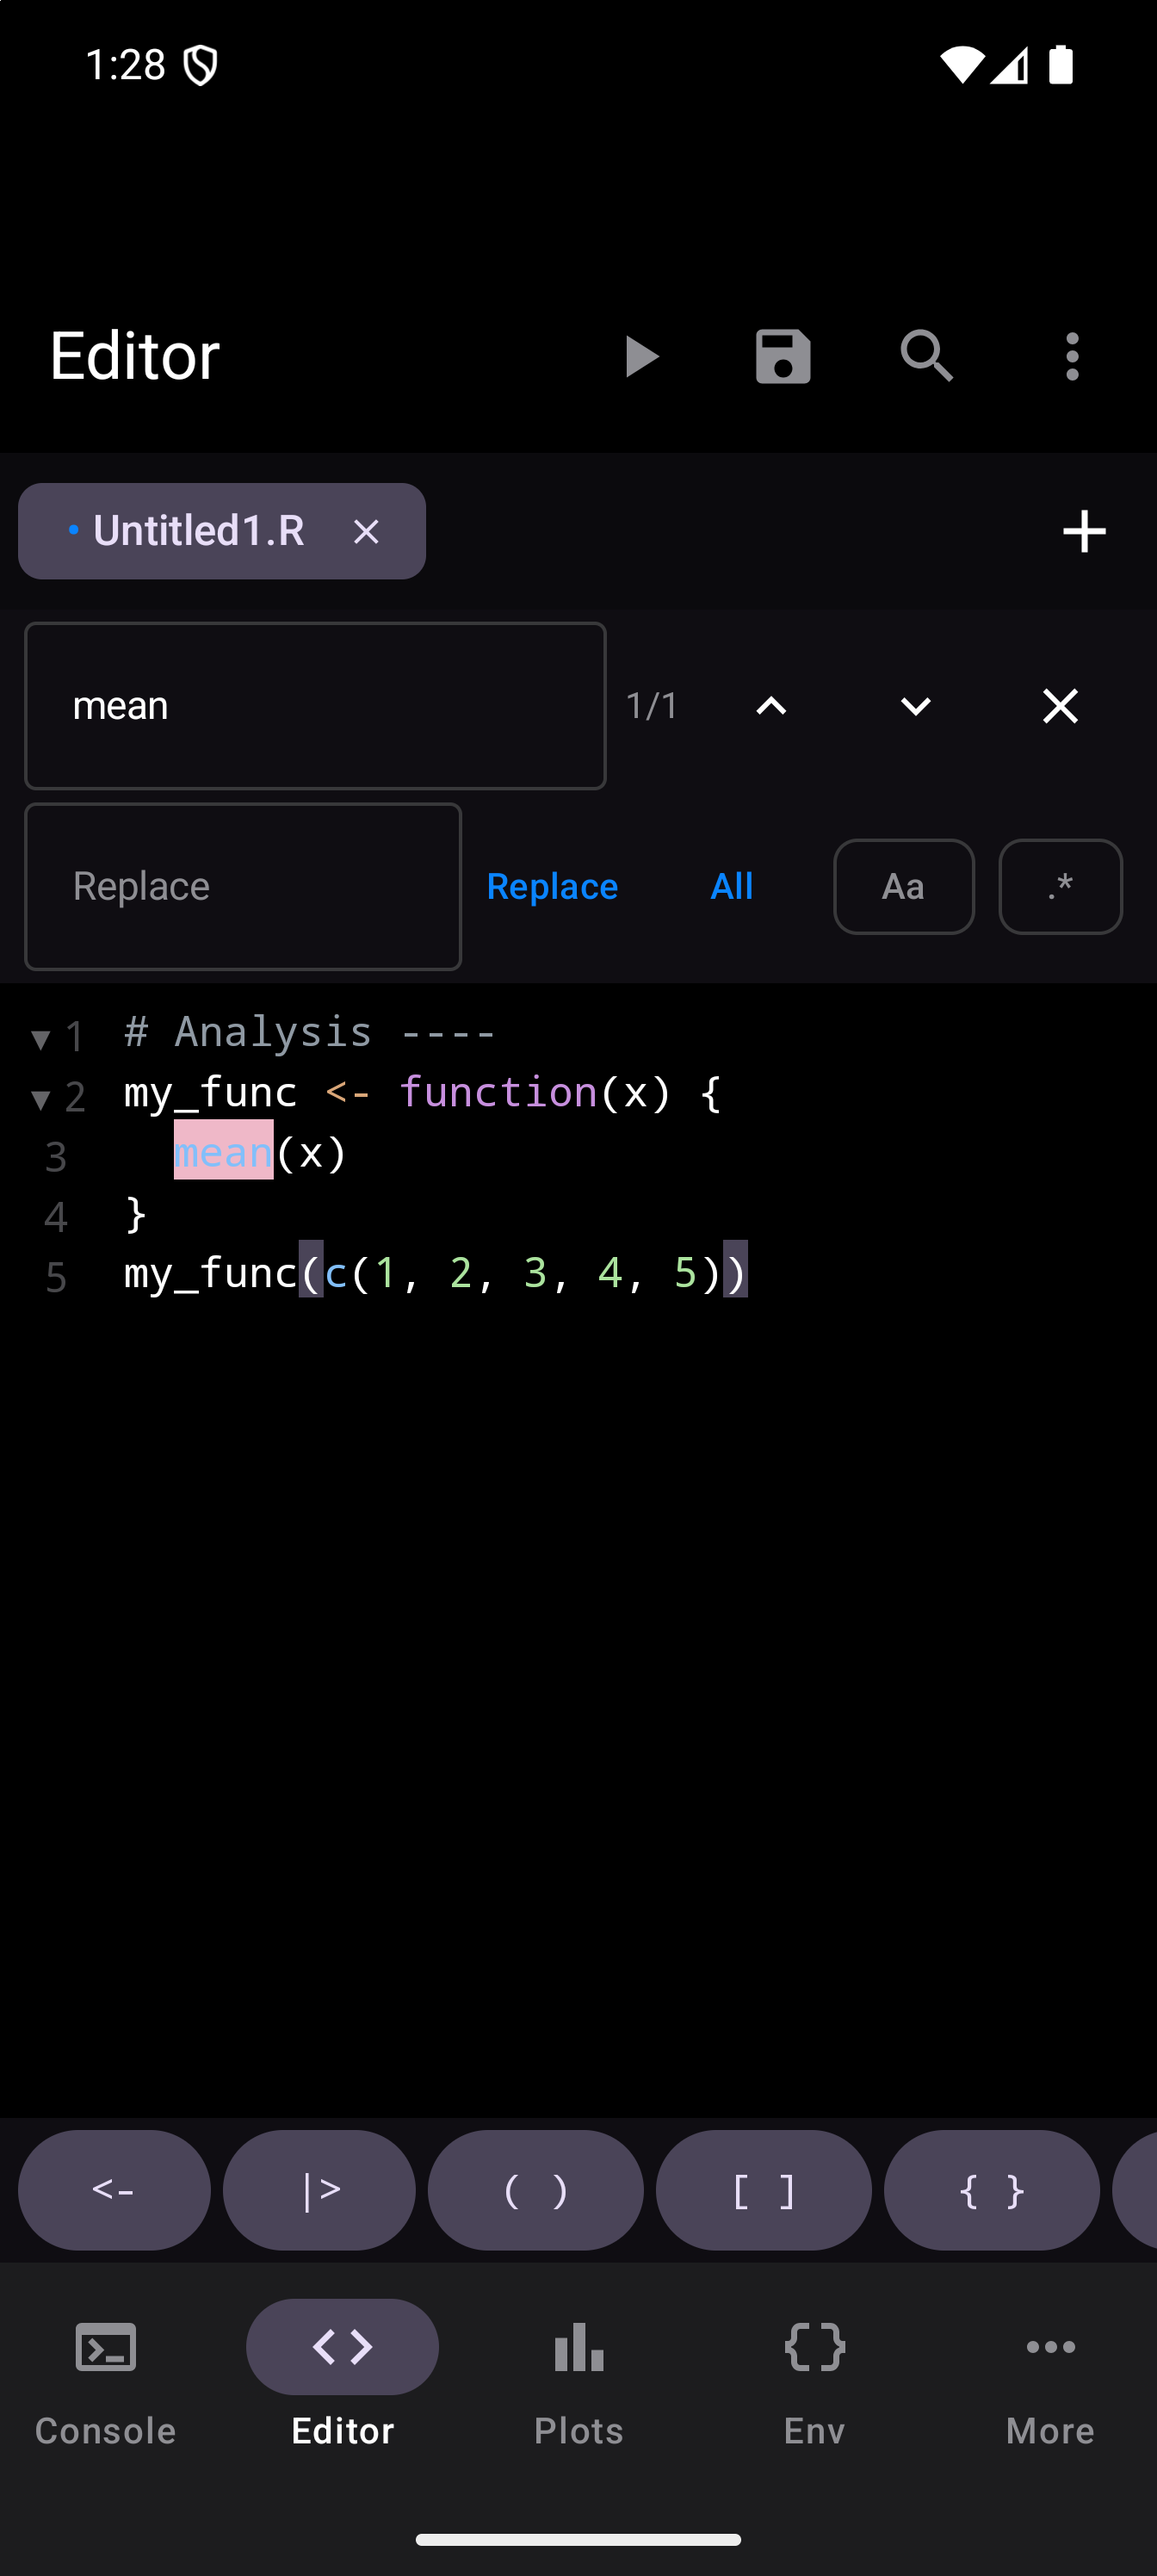
Tap the search icon in the toolbar (or use the keyboard shortcut) to open the Find bar. It appears at the top of the editing area.
Finding text
Type your search term in the field and the Editor highlights all matches in your code. Navigation arrows let you jump to the next and previous match. A counter shows how many matches were found and which one is currently focused (e.g., “3/12”).
Jumping to a match selects it, and it stays selected after you close the Find bar. If you tap Run then, only that match runs; tap in the code first to clear the selection when you mean to run the whole script.
Case sensitivity
A toggle button in the Find bar controls whether the search is case-sensitive. When enabled, searching for Data will not match data.
Regular expressions
The .* toggle in the Find bar switches to regex mode. When active, the search field accepts regular expression patterns (e.g., \d+ to match numbers or df\$\w+ to match column references).
In the Replace field, use $1, $2, etc. to reference capture groups from your pattern.
Replacing text
The Replace field sits on the Find bar’s second row. Type the replacement text and use the buttons to:
- Replace the current match
- Replace all matches in the file at once (the All button)
Find & Replace searches one file: the one on screen, or in a split Editor, the pane you are editing. Tap into the other pane and the search moves there. To search several files, check each tab in turn.
Rename Variable
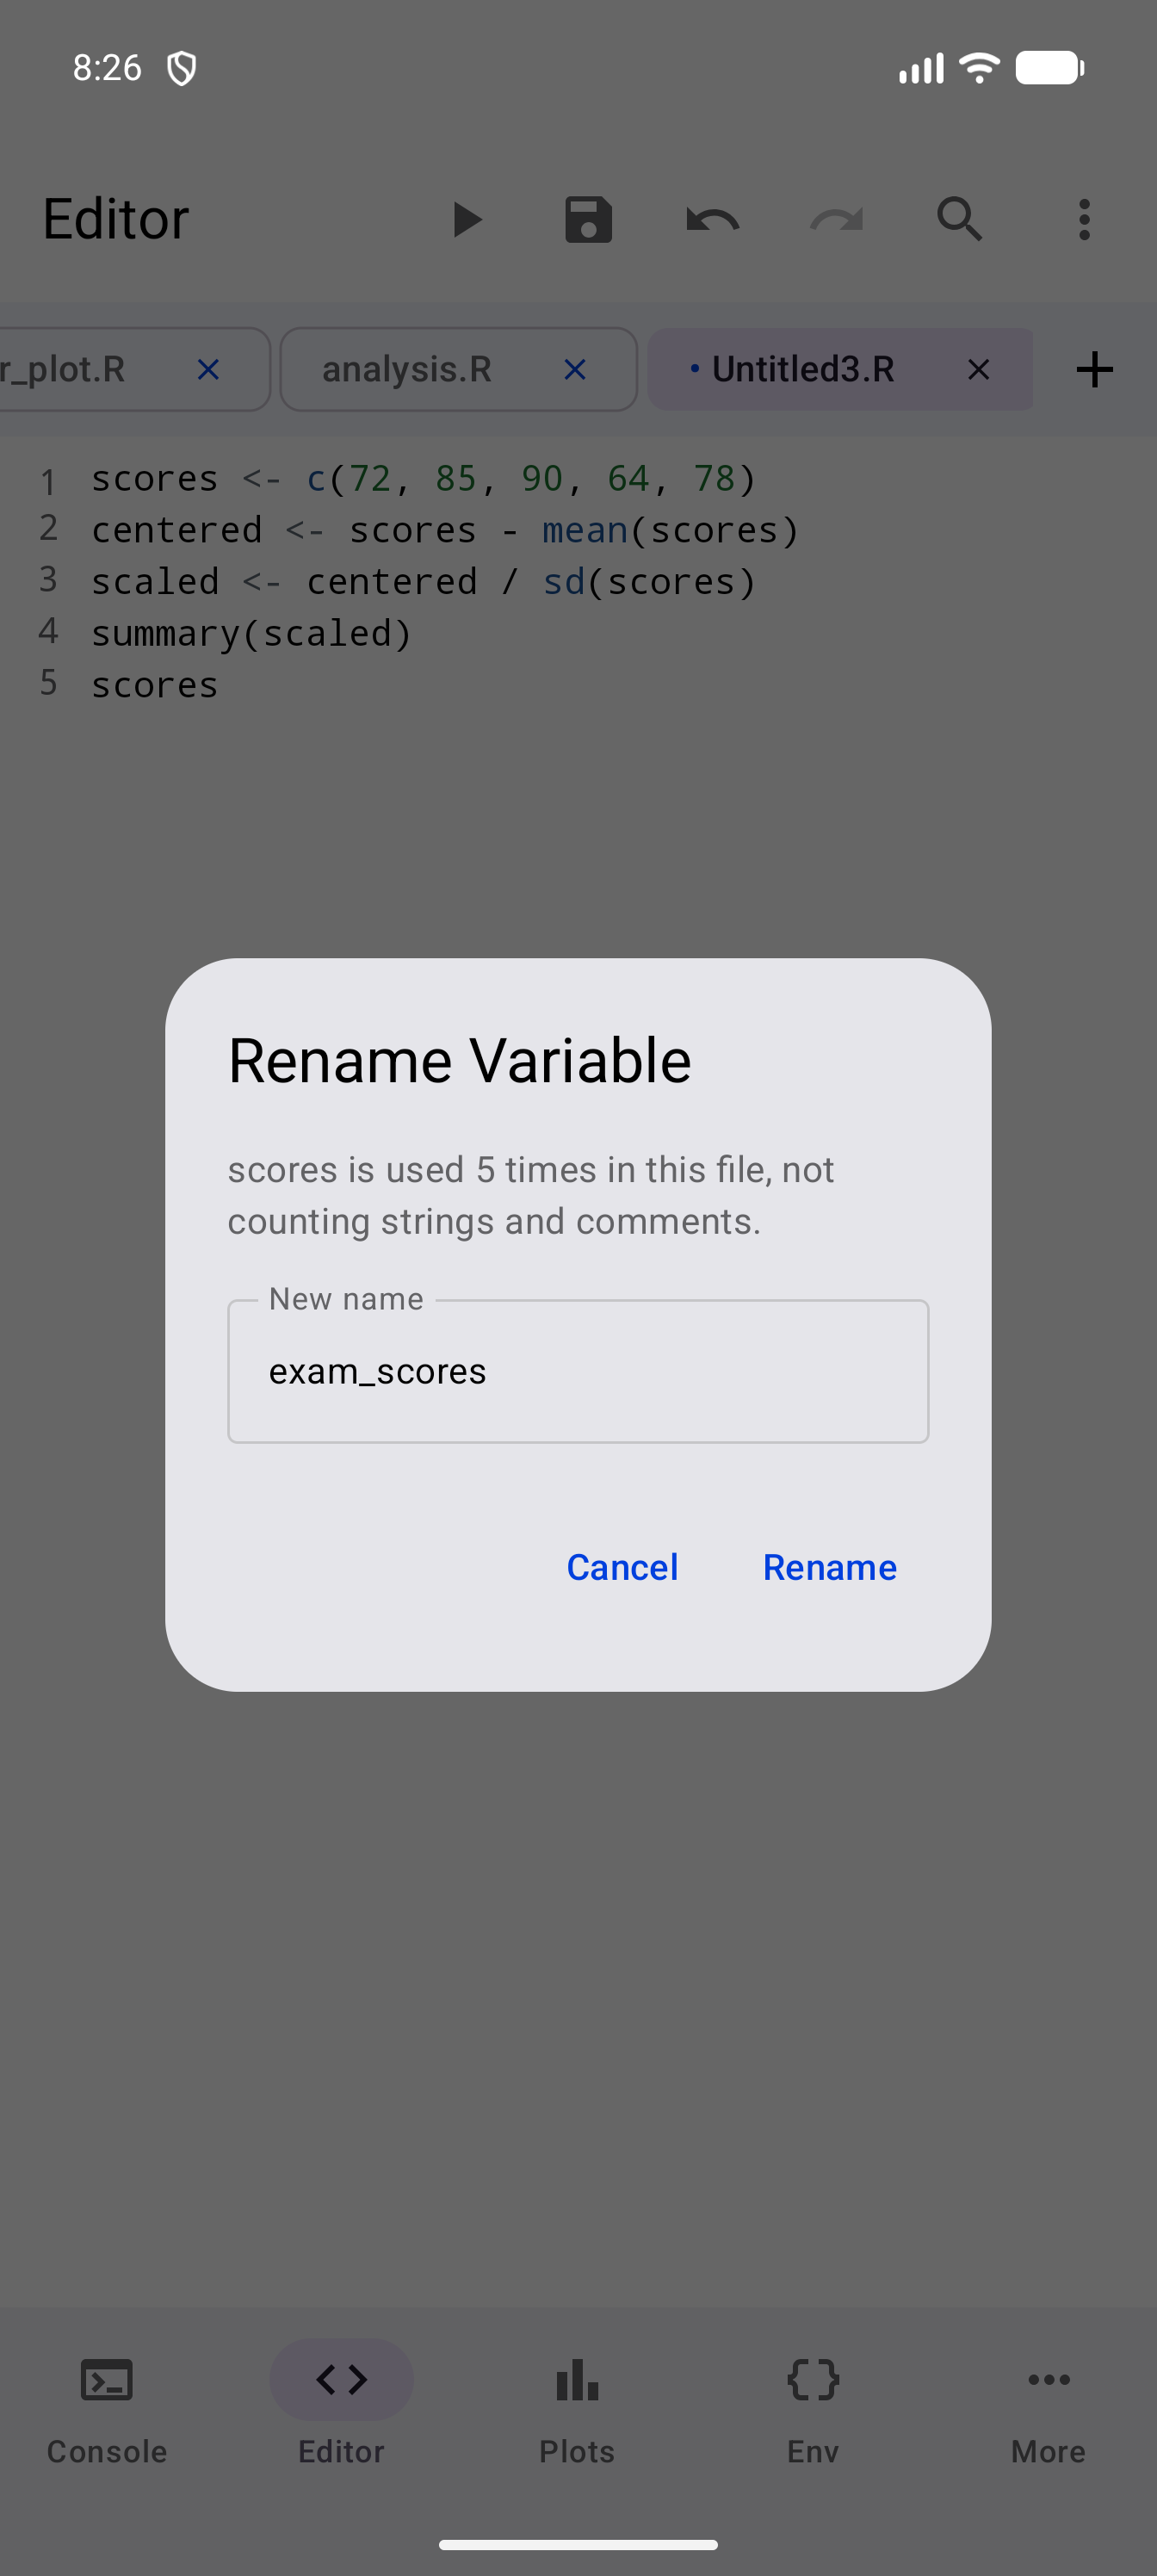
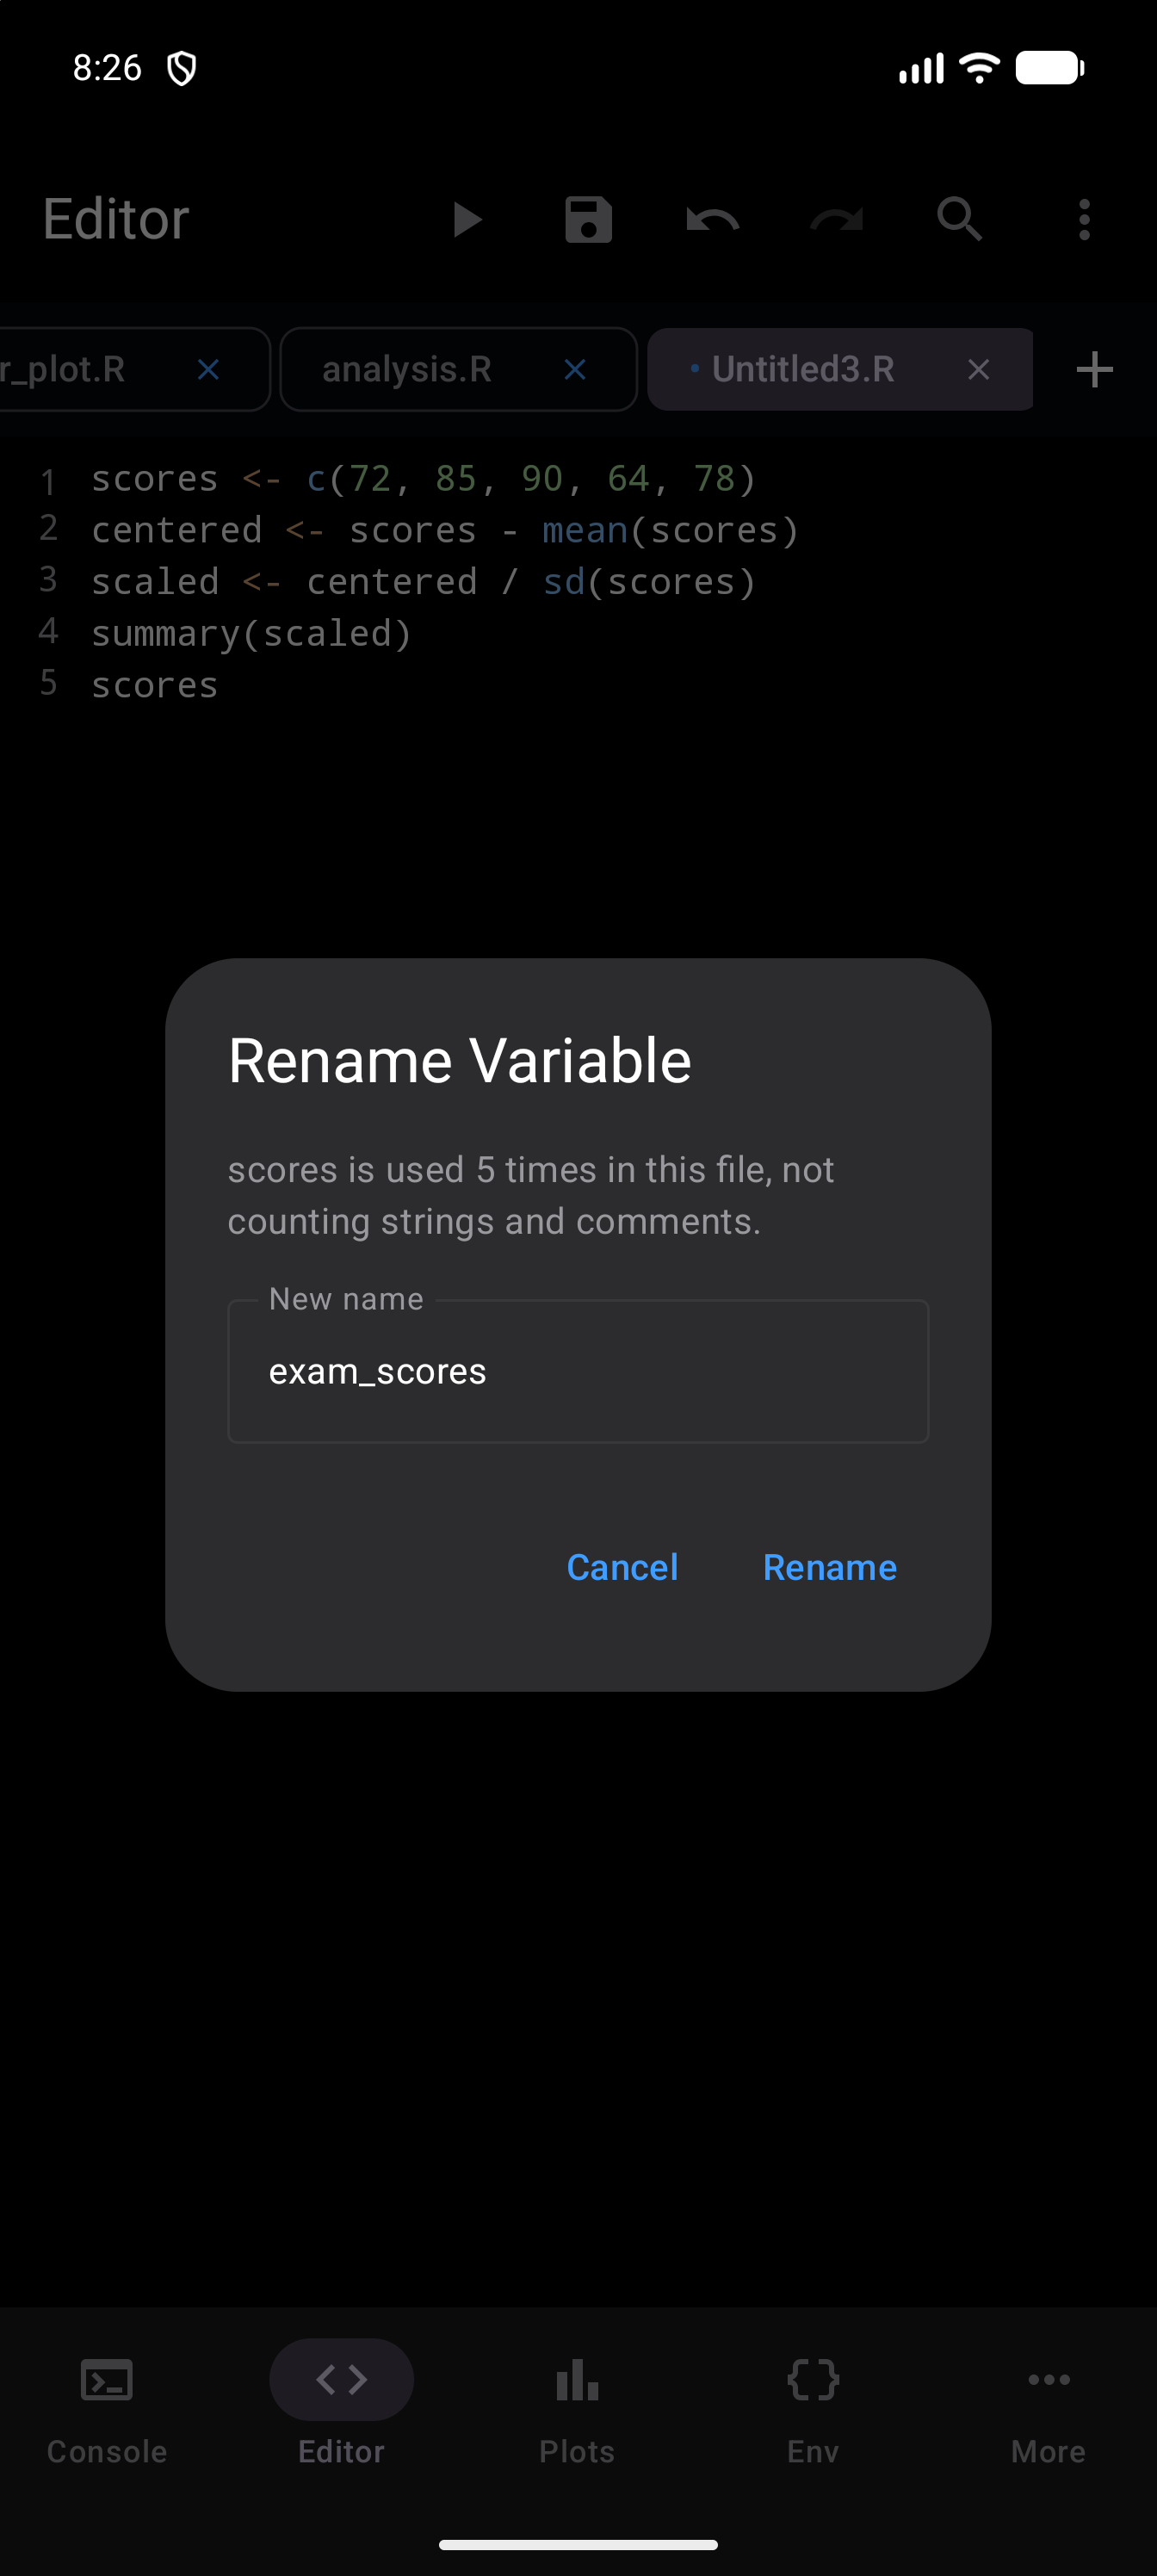
Rename Variable changes a name everywhere the file uses it as code. Put the cursor on the name, or select the whole name, then choose Rename Variable from the editor menu, or press Ctrl+Alt+Shift+M on a keyboard. In a split Editor it works on the pane you are editing. If the cursor is not on a name in the code, a message says so and nothing opens.
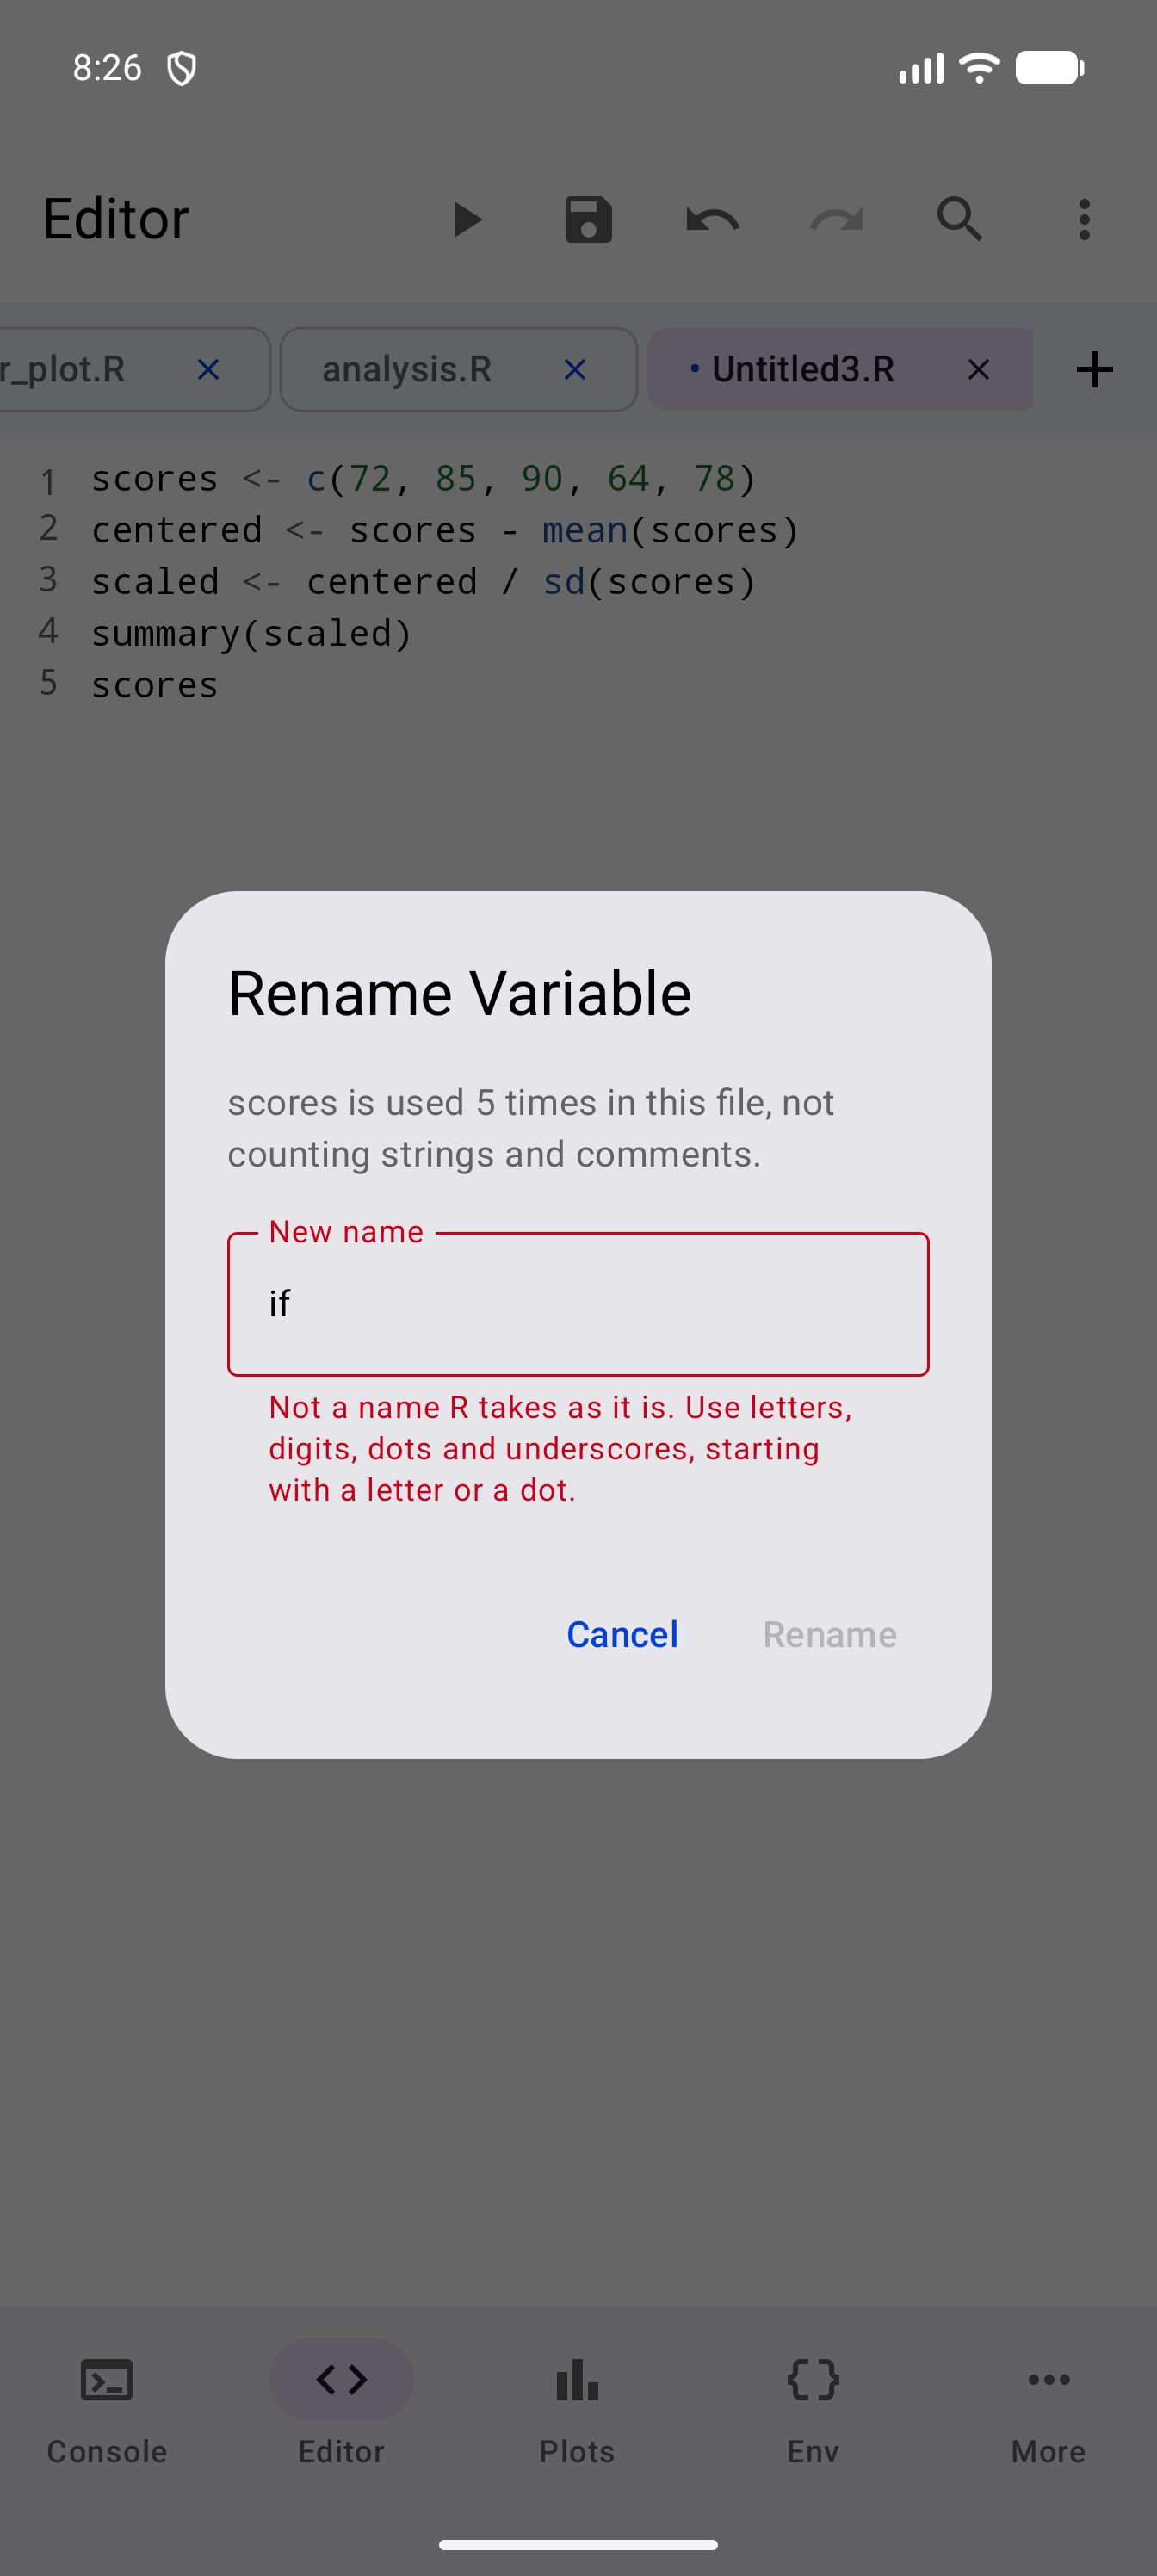
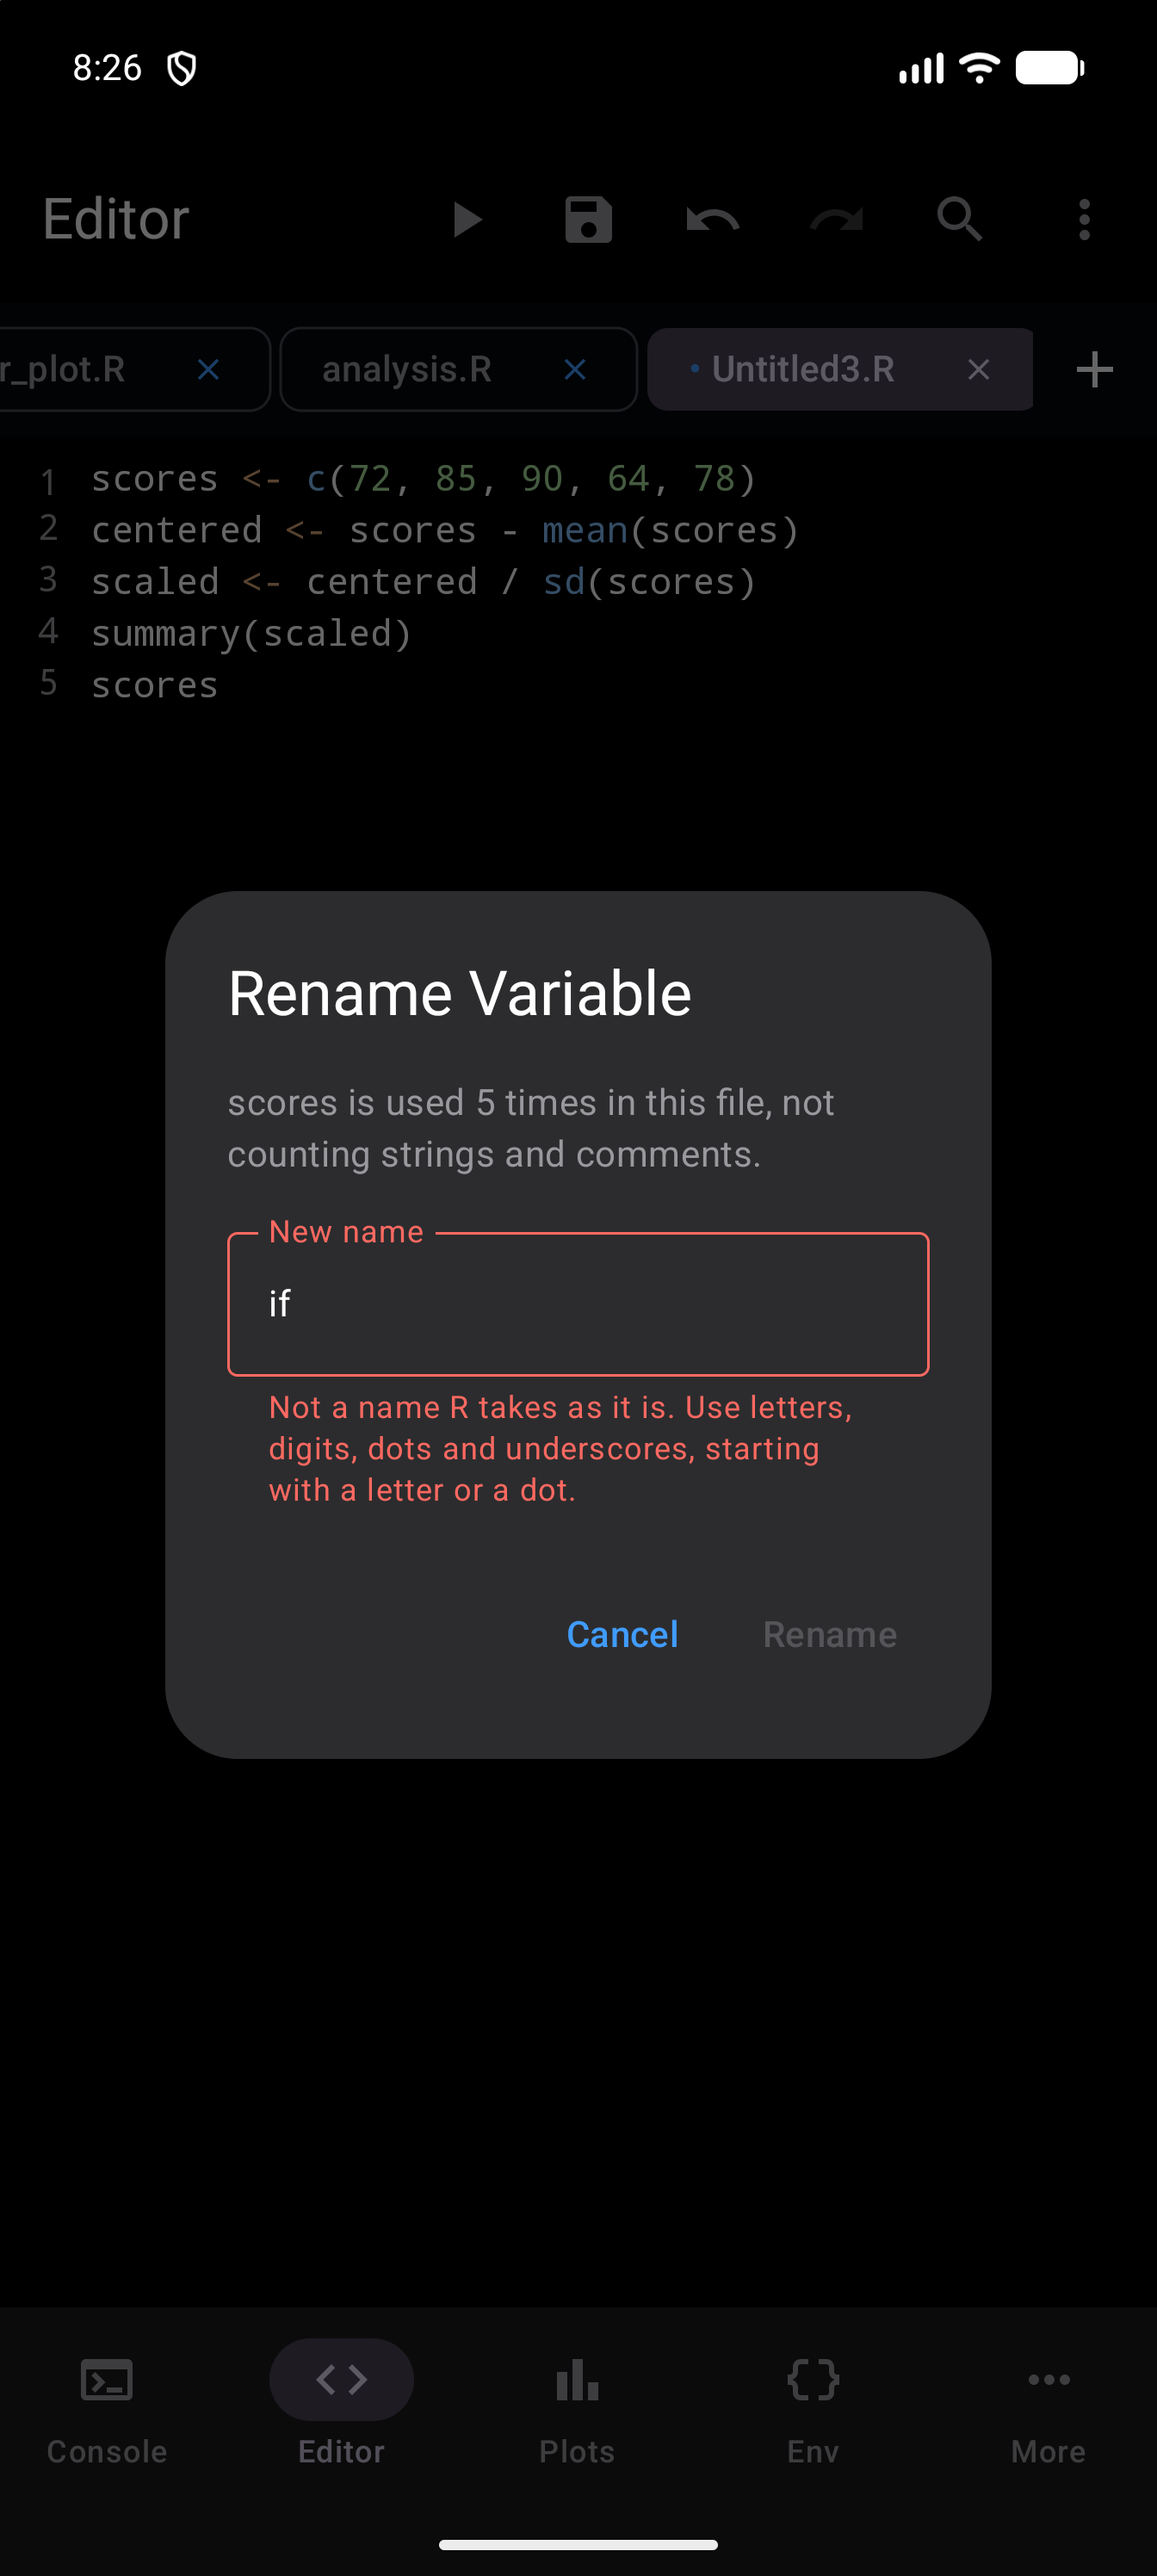
A dialog says how many times the file uses the name, not counting strings and comments, and asks for the new one. Rename stays greyed out, with a note under the field, until the new name is one R accepts without backticks: letters, digits, dots and underscores, starting with a letter or with a dot that is not followed by a digit. Reserved words such as if and TRUE are refused, and so are ..., ..1 and the like. Tap Rename and every use changes at once, as one step that a single Undo takes back.
Only code is renamed. The name inside a string such as "x.csv", a comment such as # x, or a backtick-quoted name such as `x y` is left as it is, although `x` on its own counts as a use of x and is renamed with it.
It is a rename across the whole file, not one that follows R’s scoping:
- Every
xused as code changes, wherever it is: an argument of the same name in another function, the column indf$xand the argument name inf(x = 1)included. - Strings are recognised a line at a time, so in a string that runs over several lines, only the first line is treated as string.
- Nothing warns you if the new name is already used in the file.
Look over the result, and use Undo if it changed more than you meant.
Code Snippets
Snippets are pre-built R code templates that you can insert into your script with a few taps. Open the Snippets panel from the editor actions menu.
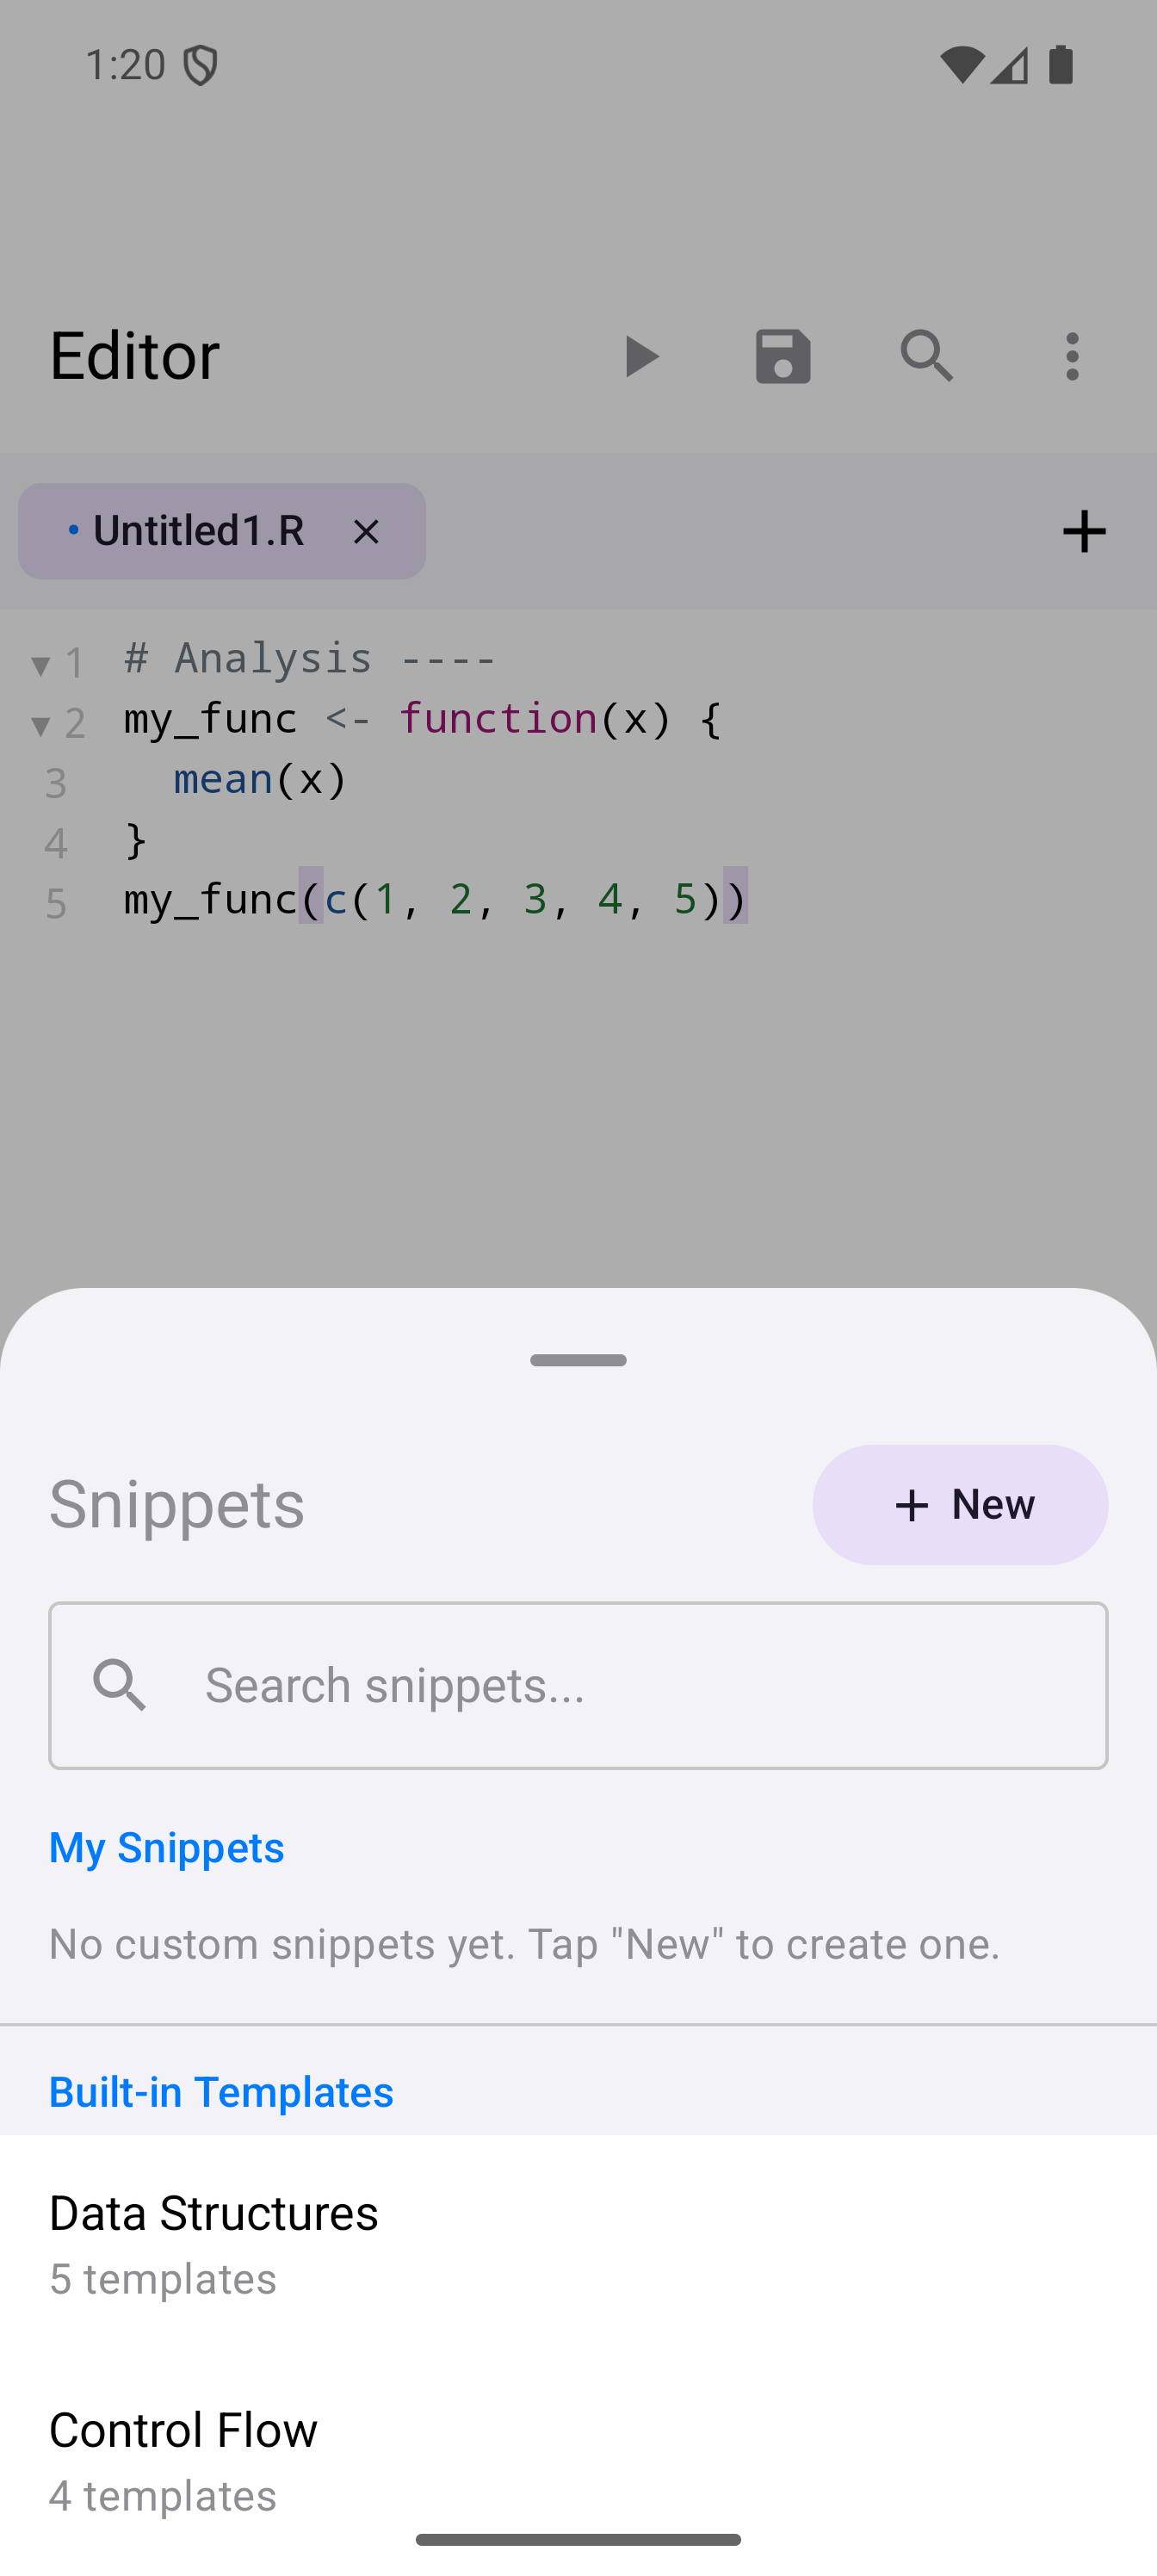
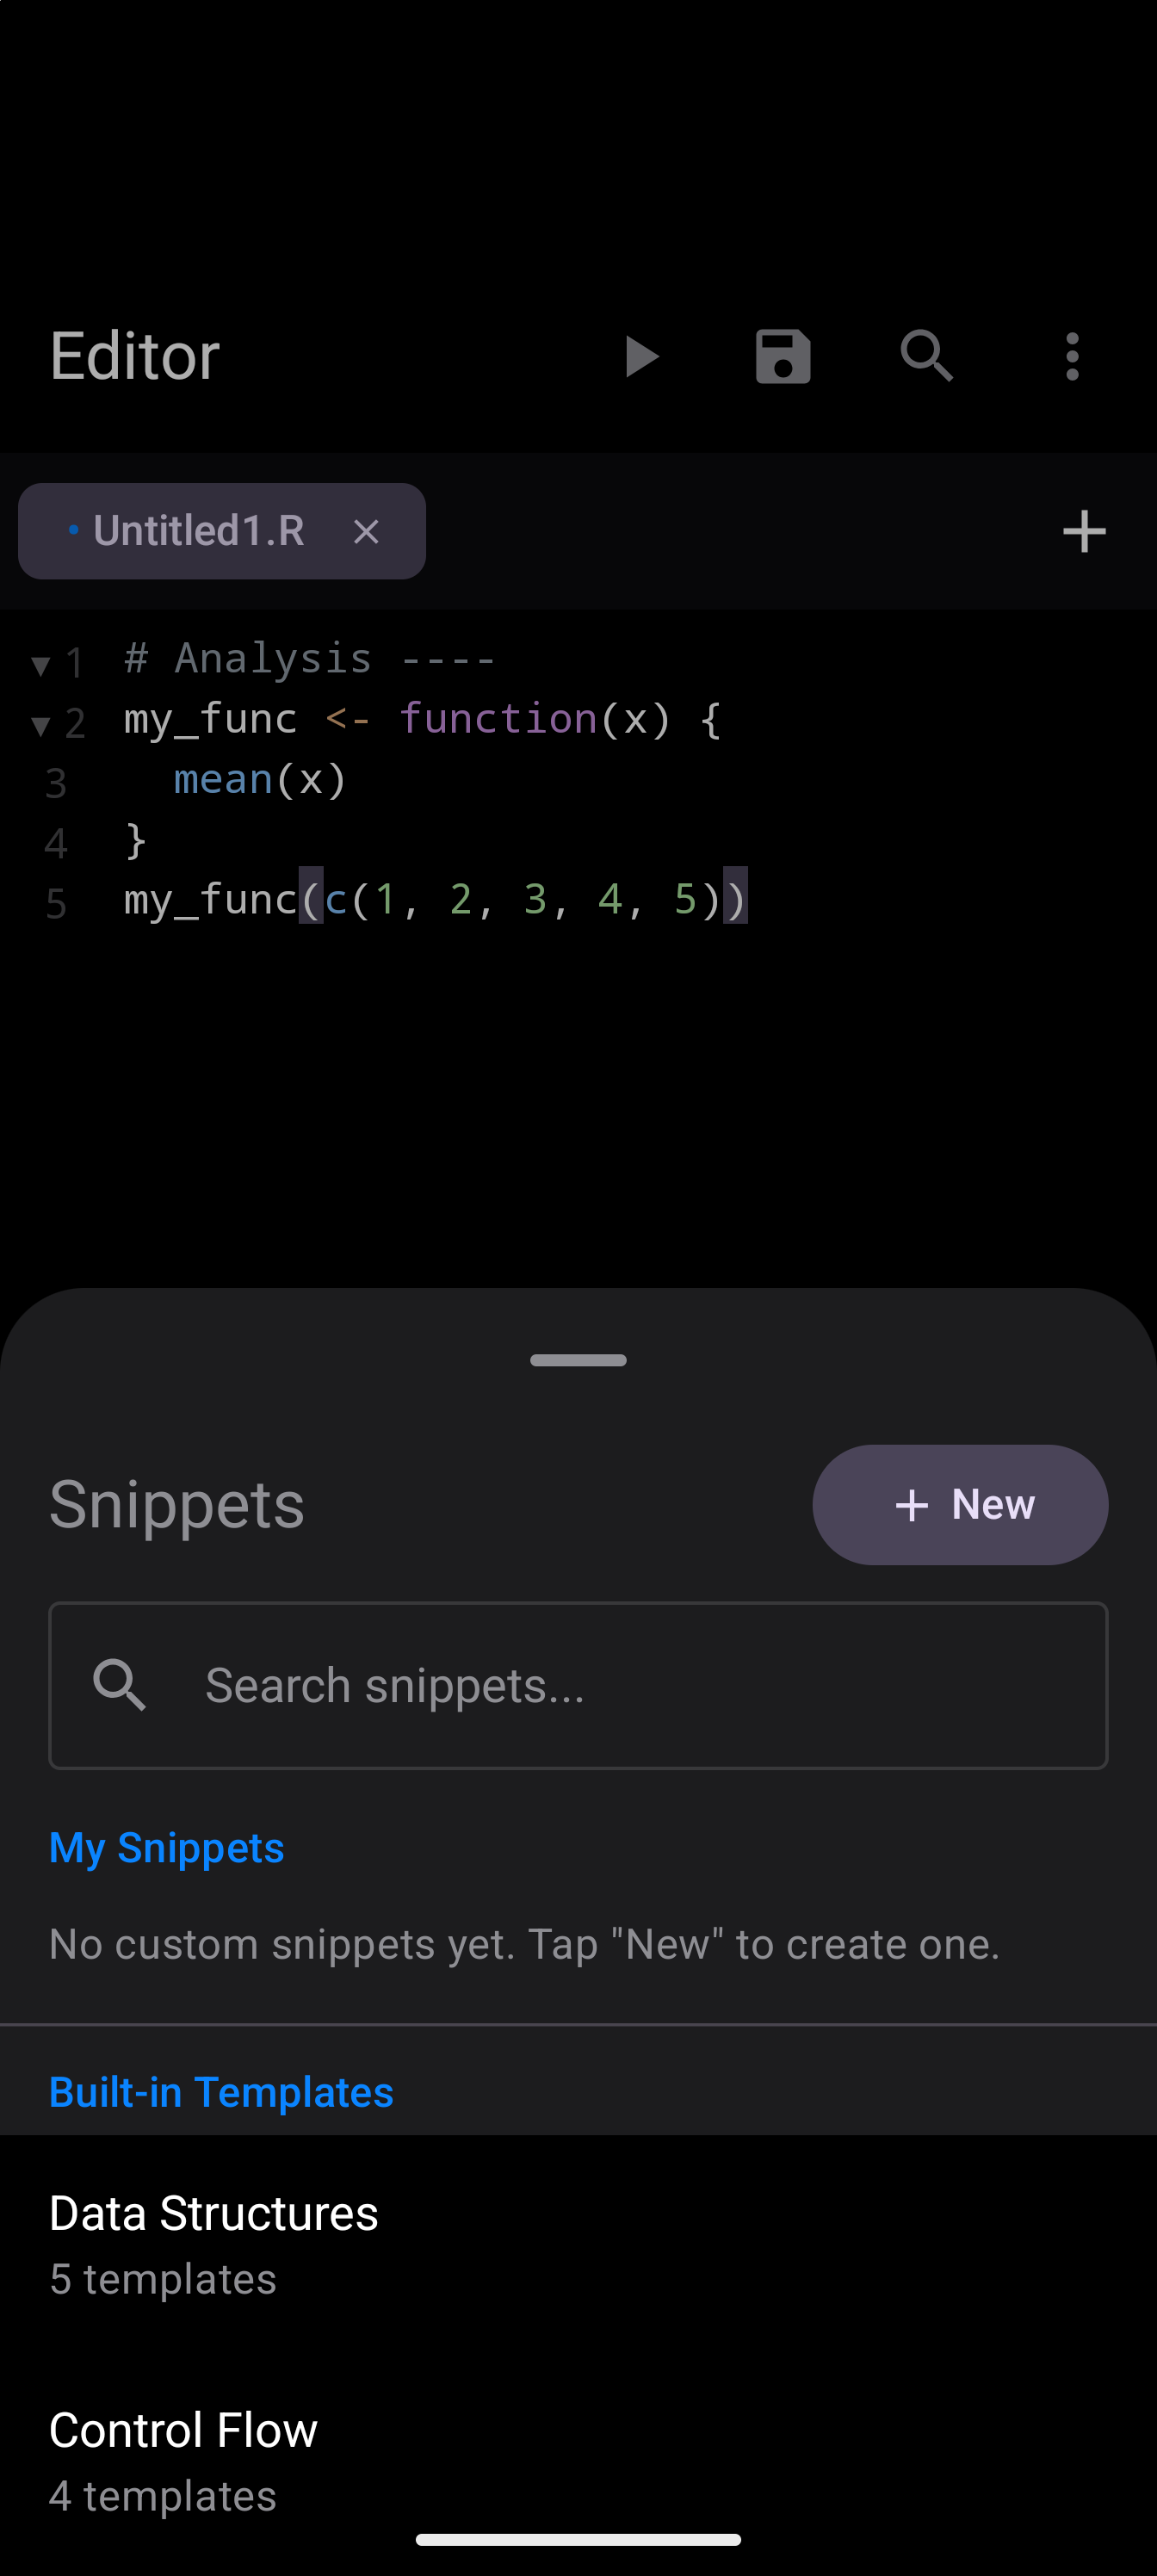
Built-in snippets
The built-in snippets are organized by category (Data Structures, Control Flow, Functions, Visualization, Statistics, Input/Output, and Tidyverse). Tap a category to see its snippets, each with a short preview of its code, and tap one to insert it into your code at the cursor position.
Each built-in snippet uses stand-in names (like df, x or "data.csv") that you replace with your own after inserting.
Custom snippets
You can create your own snippets for code patterns you use frequently:
- Open the Snippets panel.
- Tap the New button.
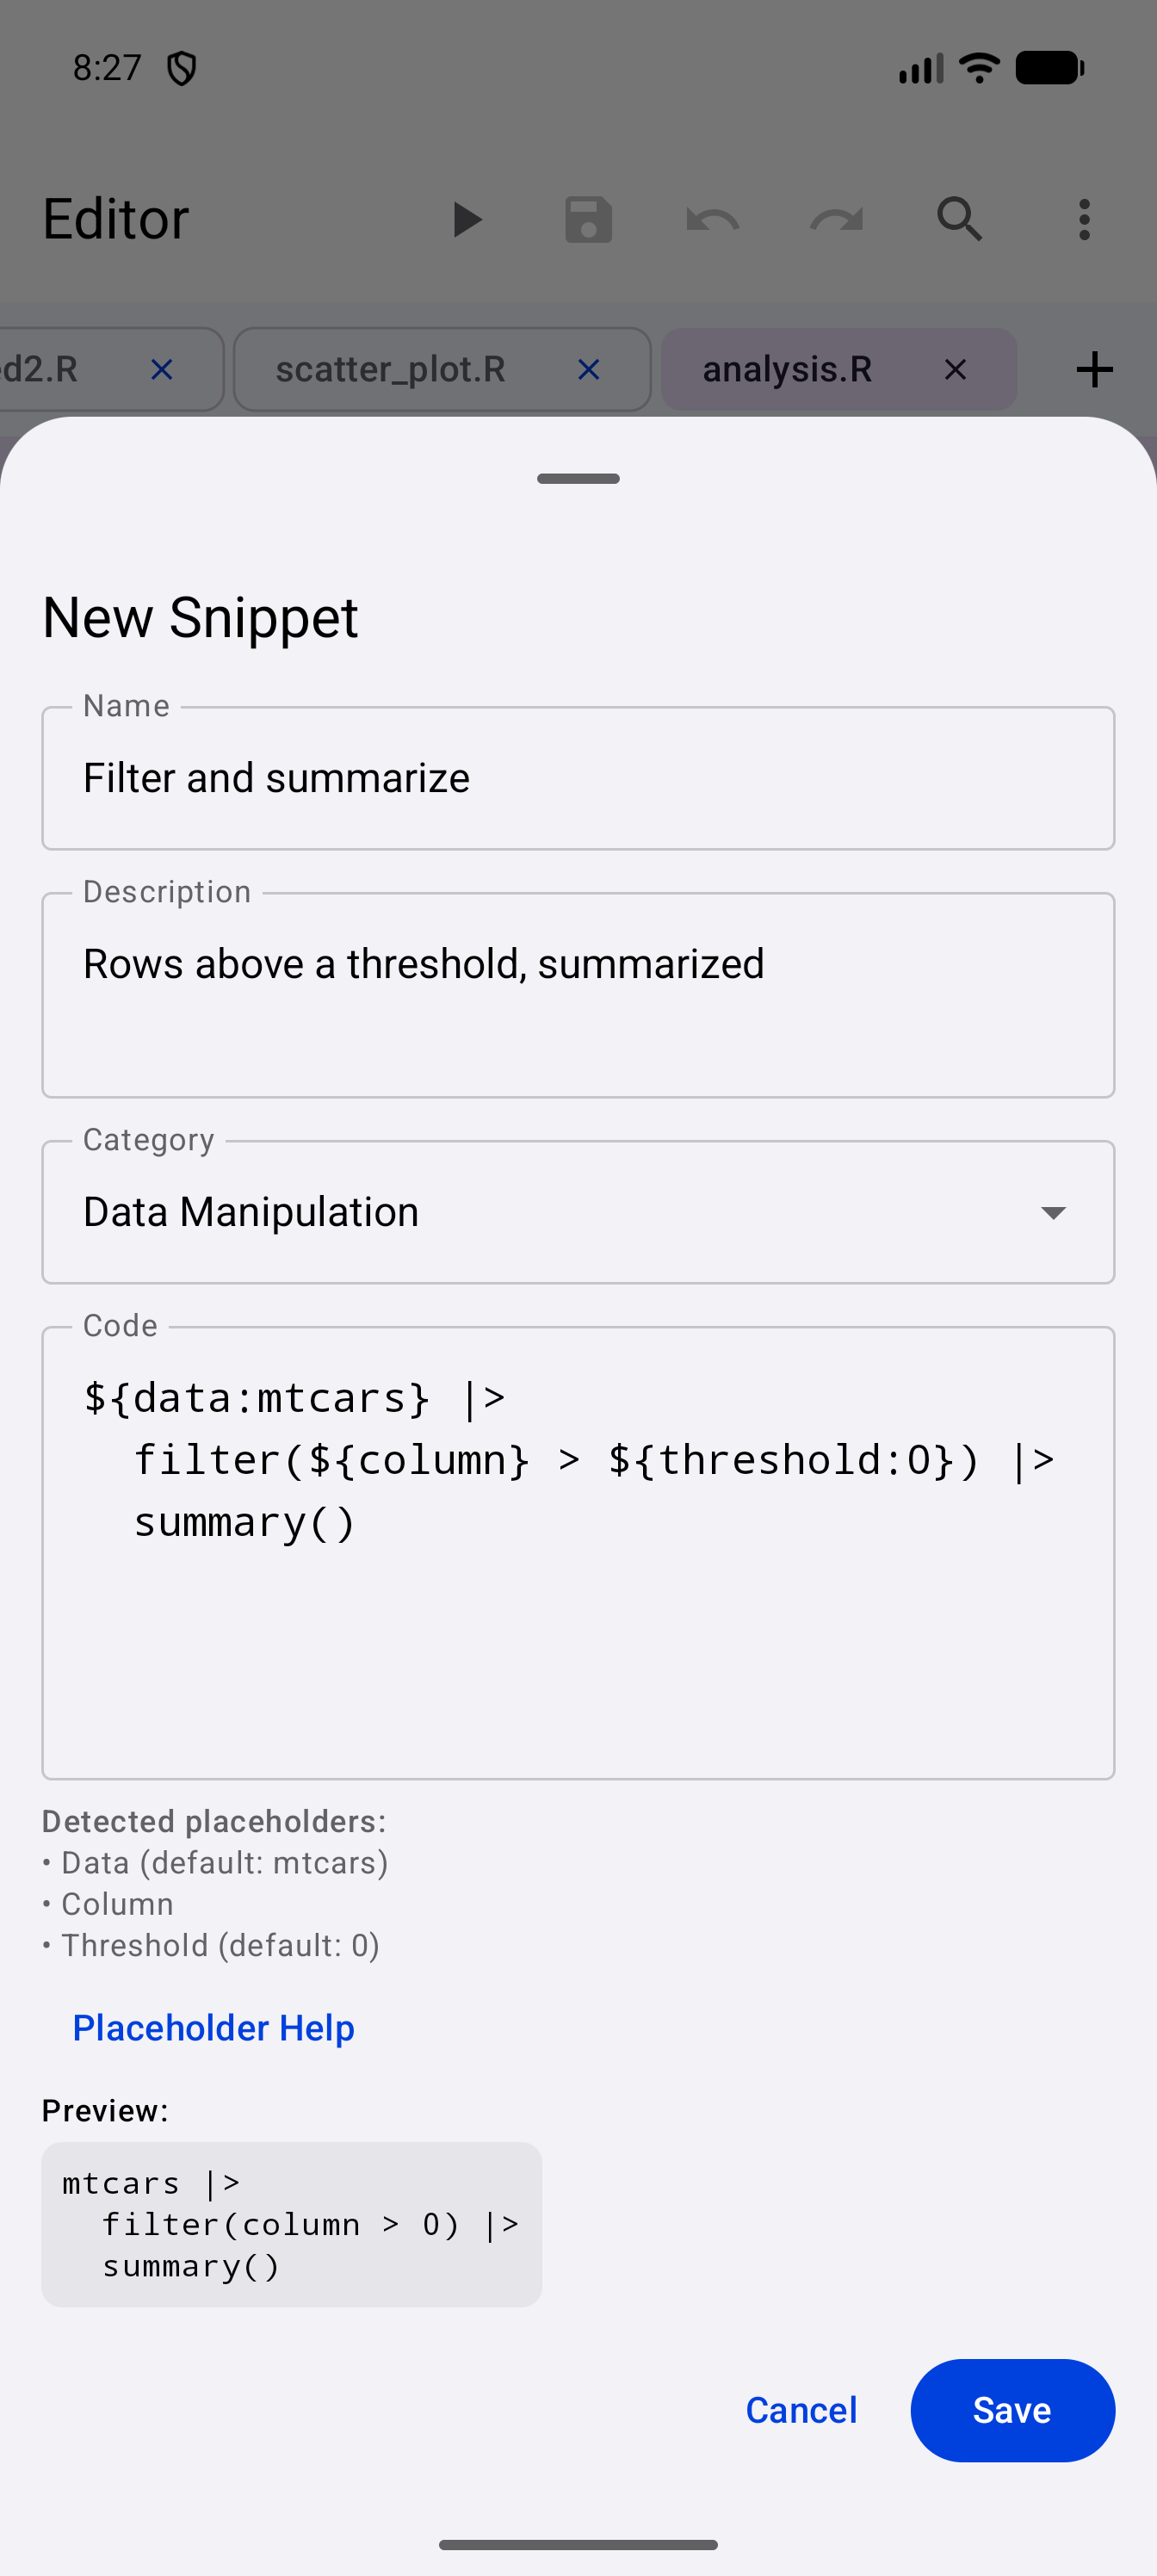
- Give it a name and, if you like, a short description. Choose a category from the list: Data Structures, Data Manipulation, Visualization, Statistics, Control Flow, Functions, Input/Output, Tidyverse, or Custom. A new snippet starts in Custom. Then write the code template in the Code field.
- Use placeholder syntax to mark the parts that should be filled in each time you use the snippet.
- Tap Save. It stays greyed out until the snippet has a name and some code.
Placeholders use the syntax ${name} for a value you fill in, or ${name:default} to supply a default value. As you write, the sheet lists the placeholders it has found and shows a preview of the code, with each placeholder replaced by its default, or by its name when it has none. Placeholder Help on the sheet reminds you of the syntax. When you insert a snippet that contains placeholders, a form appears where you can fill in each value before the code is inserted.
For example, a custom snippet like this:
${data:mtcars} |>
  filter(${column} > ${threshold:0}) |>
  summary()
will prompt you for three fields: Data (defaulting to mtcars), Column (with no default, for you to fill in), and Threshold (defaulting to 0). A field you leave empty gets its default, or, if it has none, the placeholder’s own name, such as column.
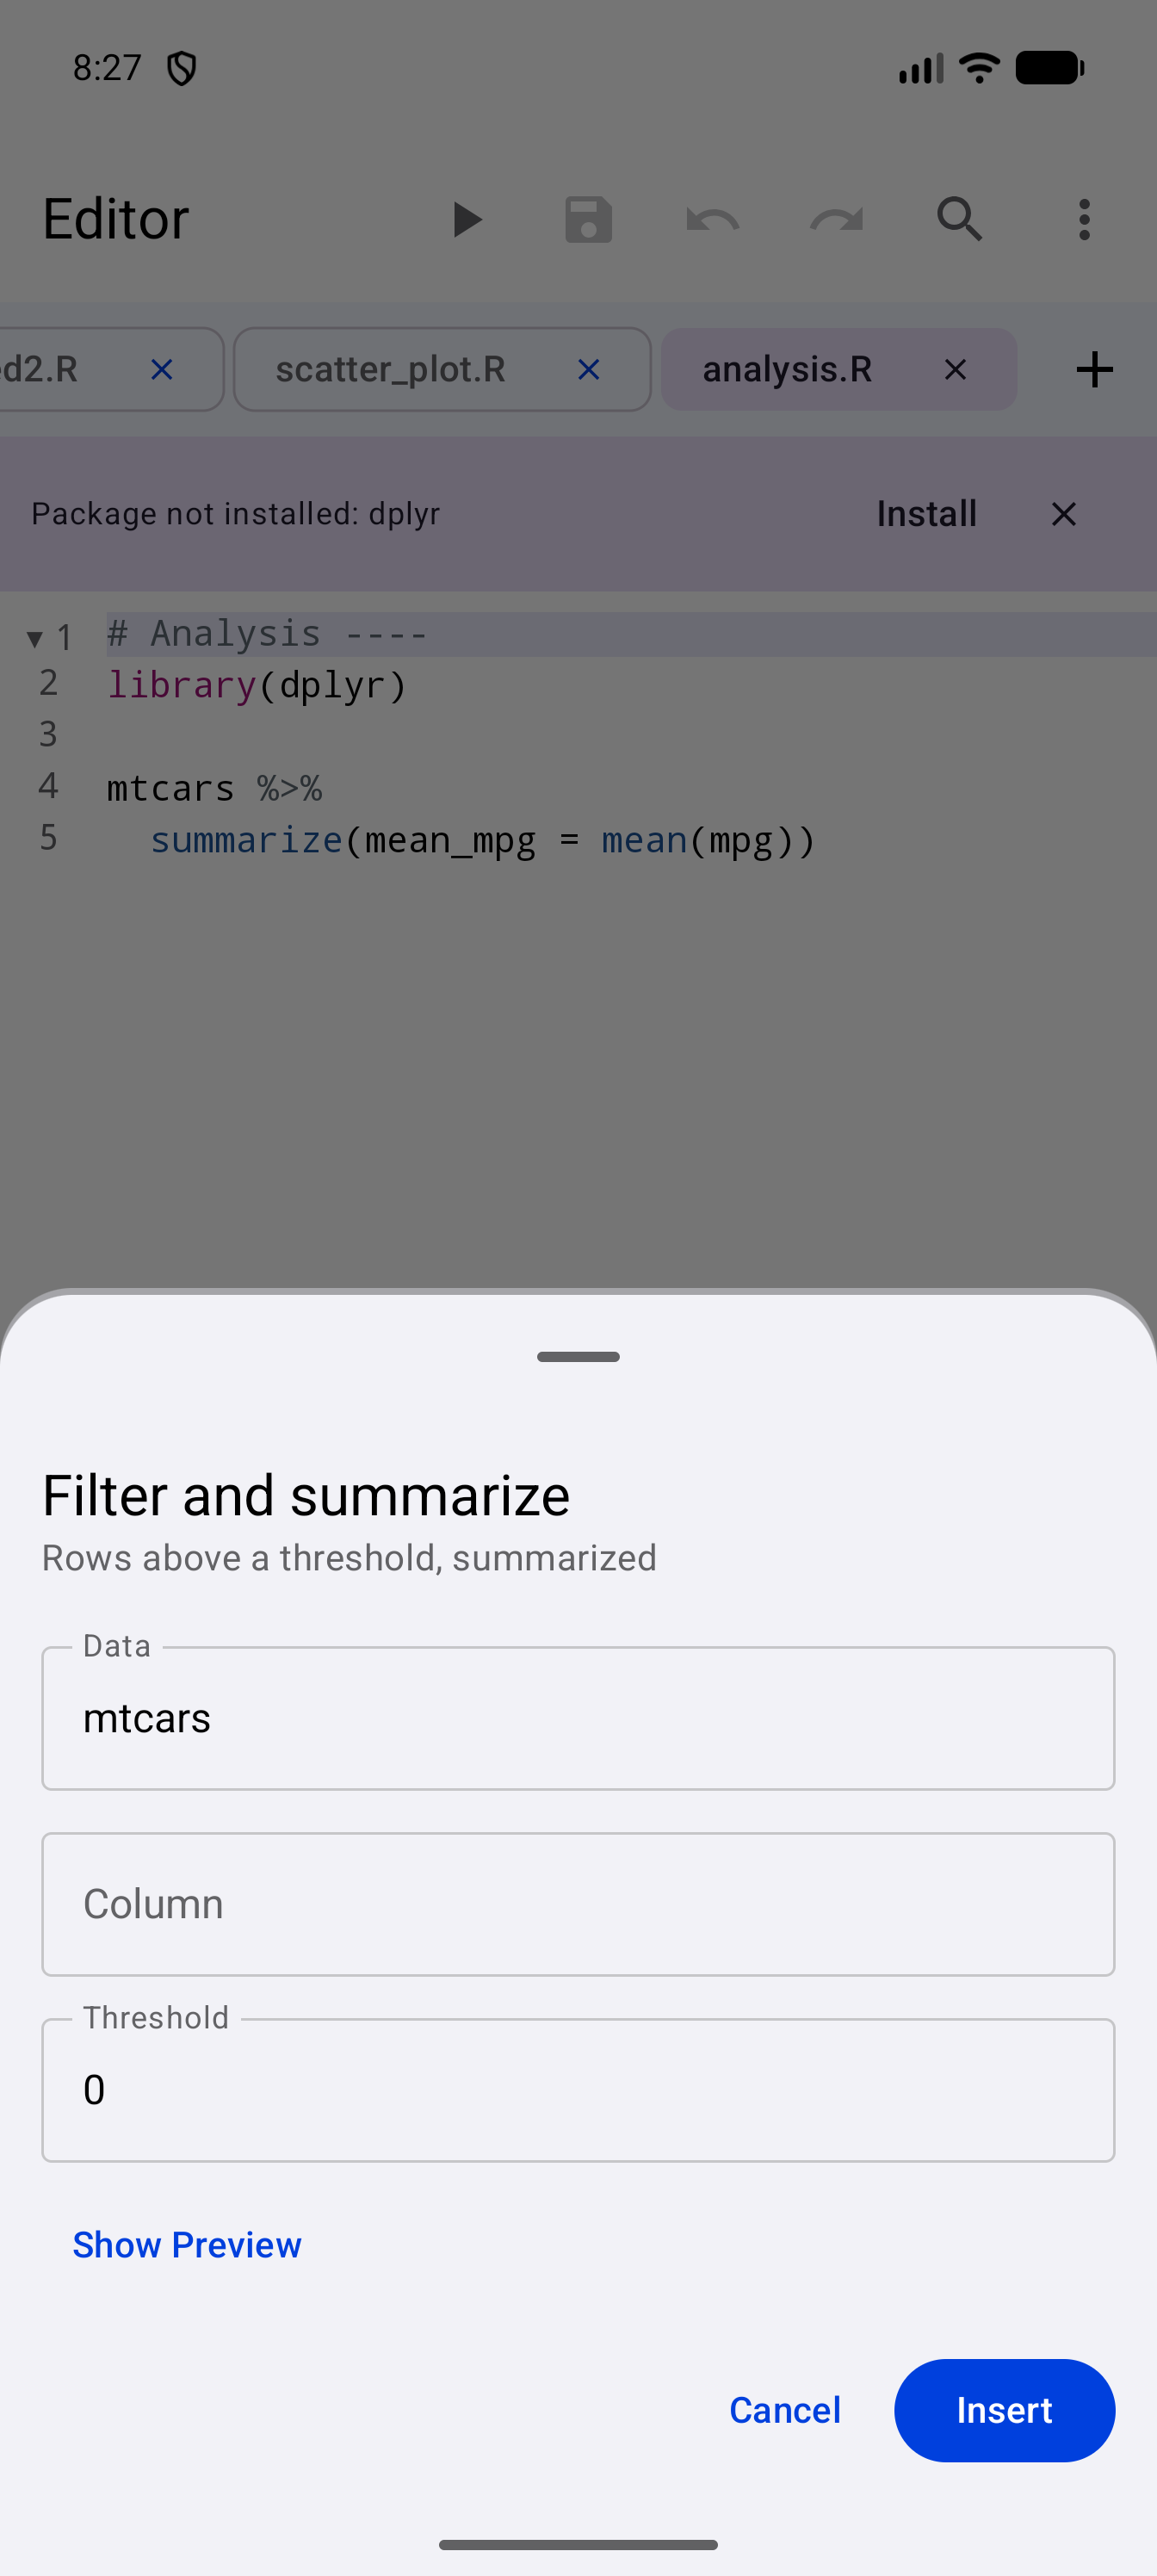
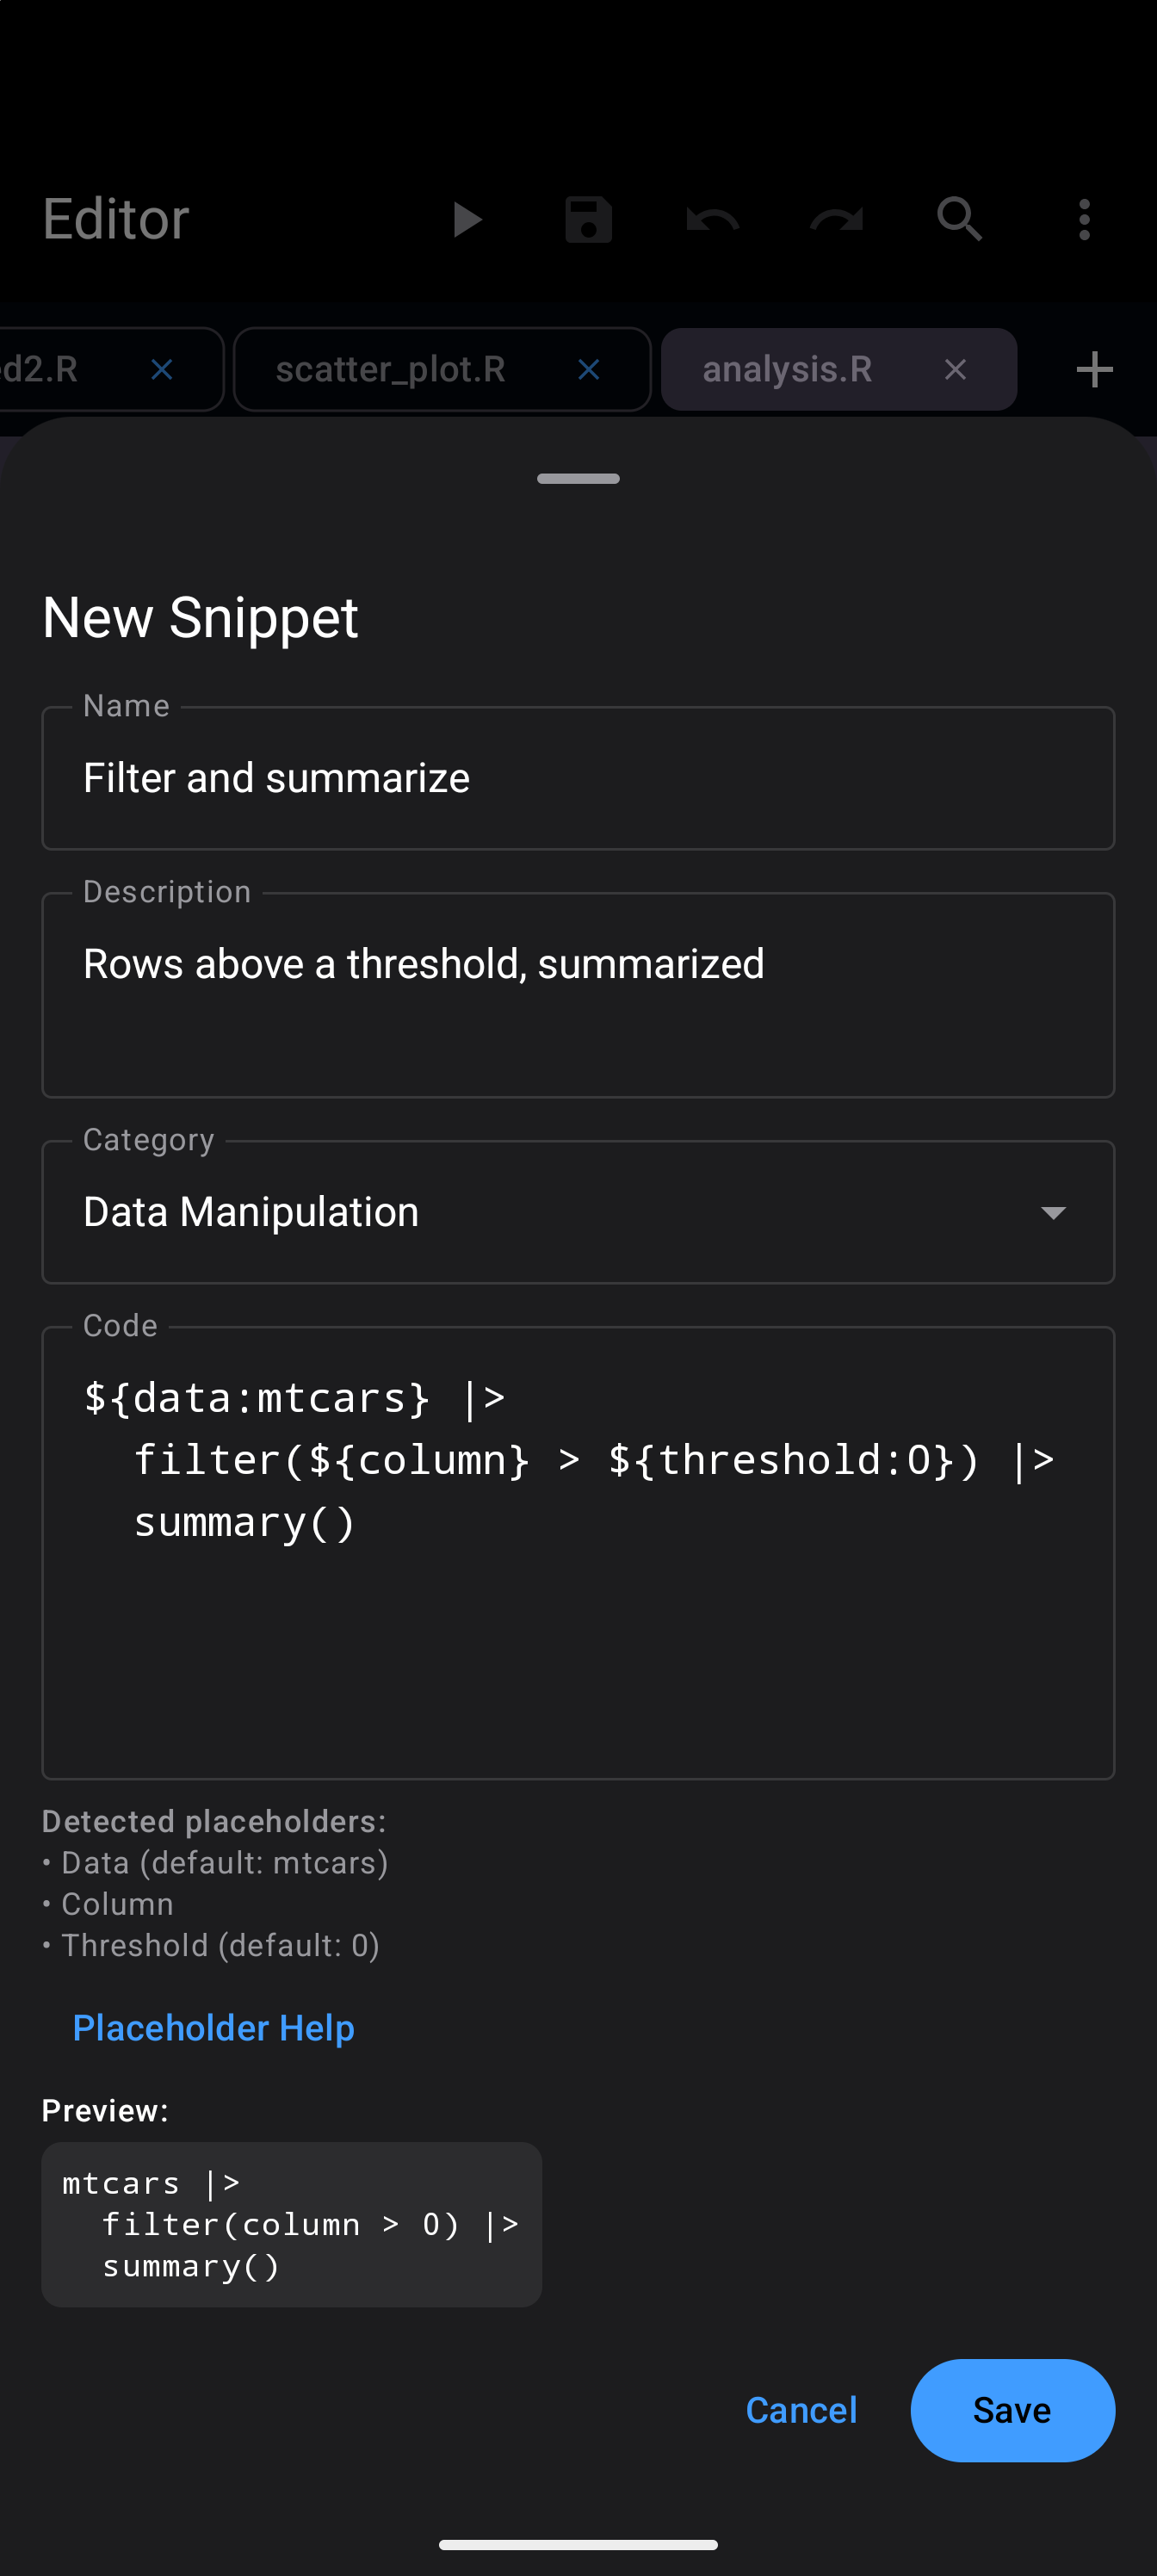
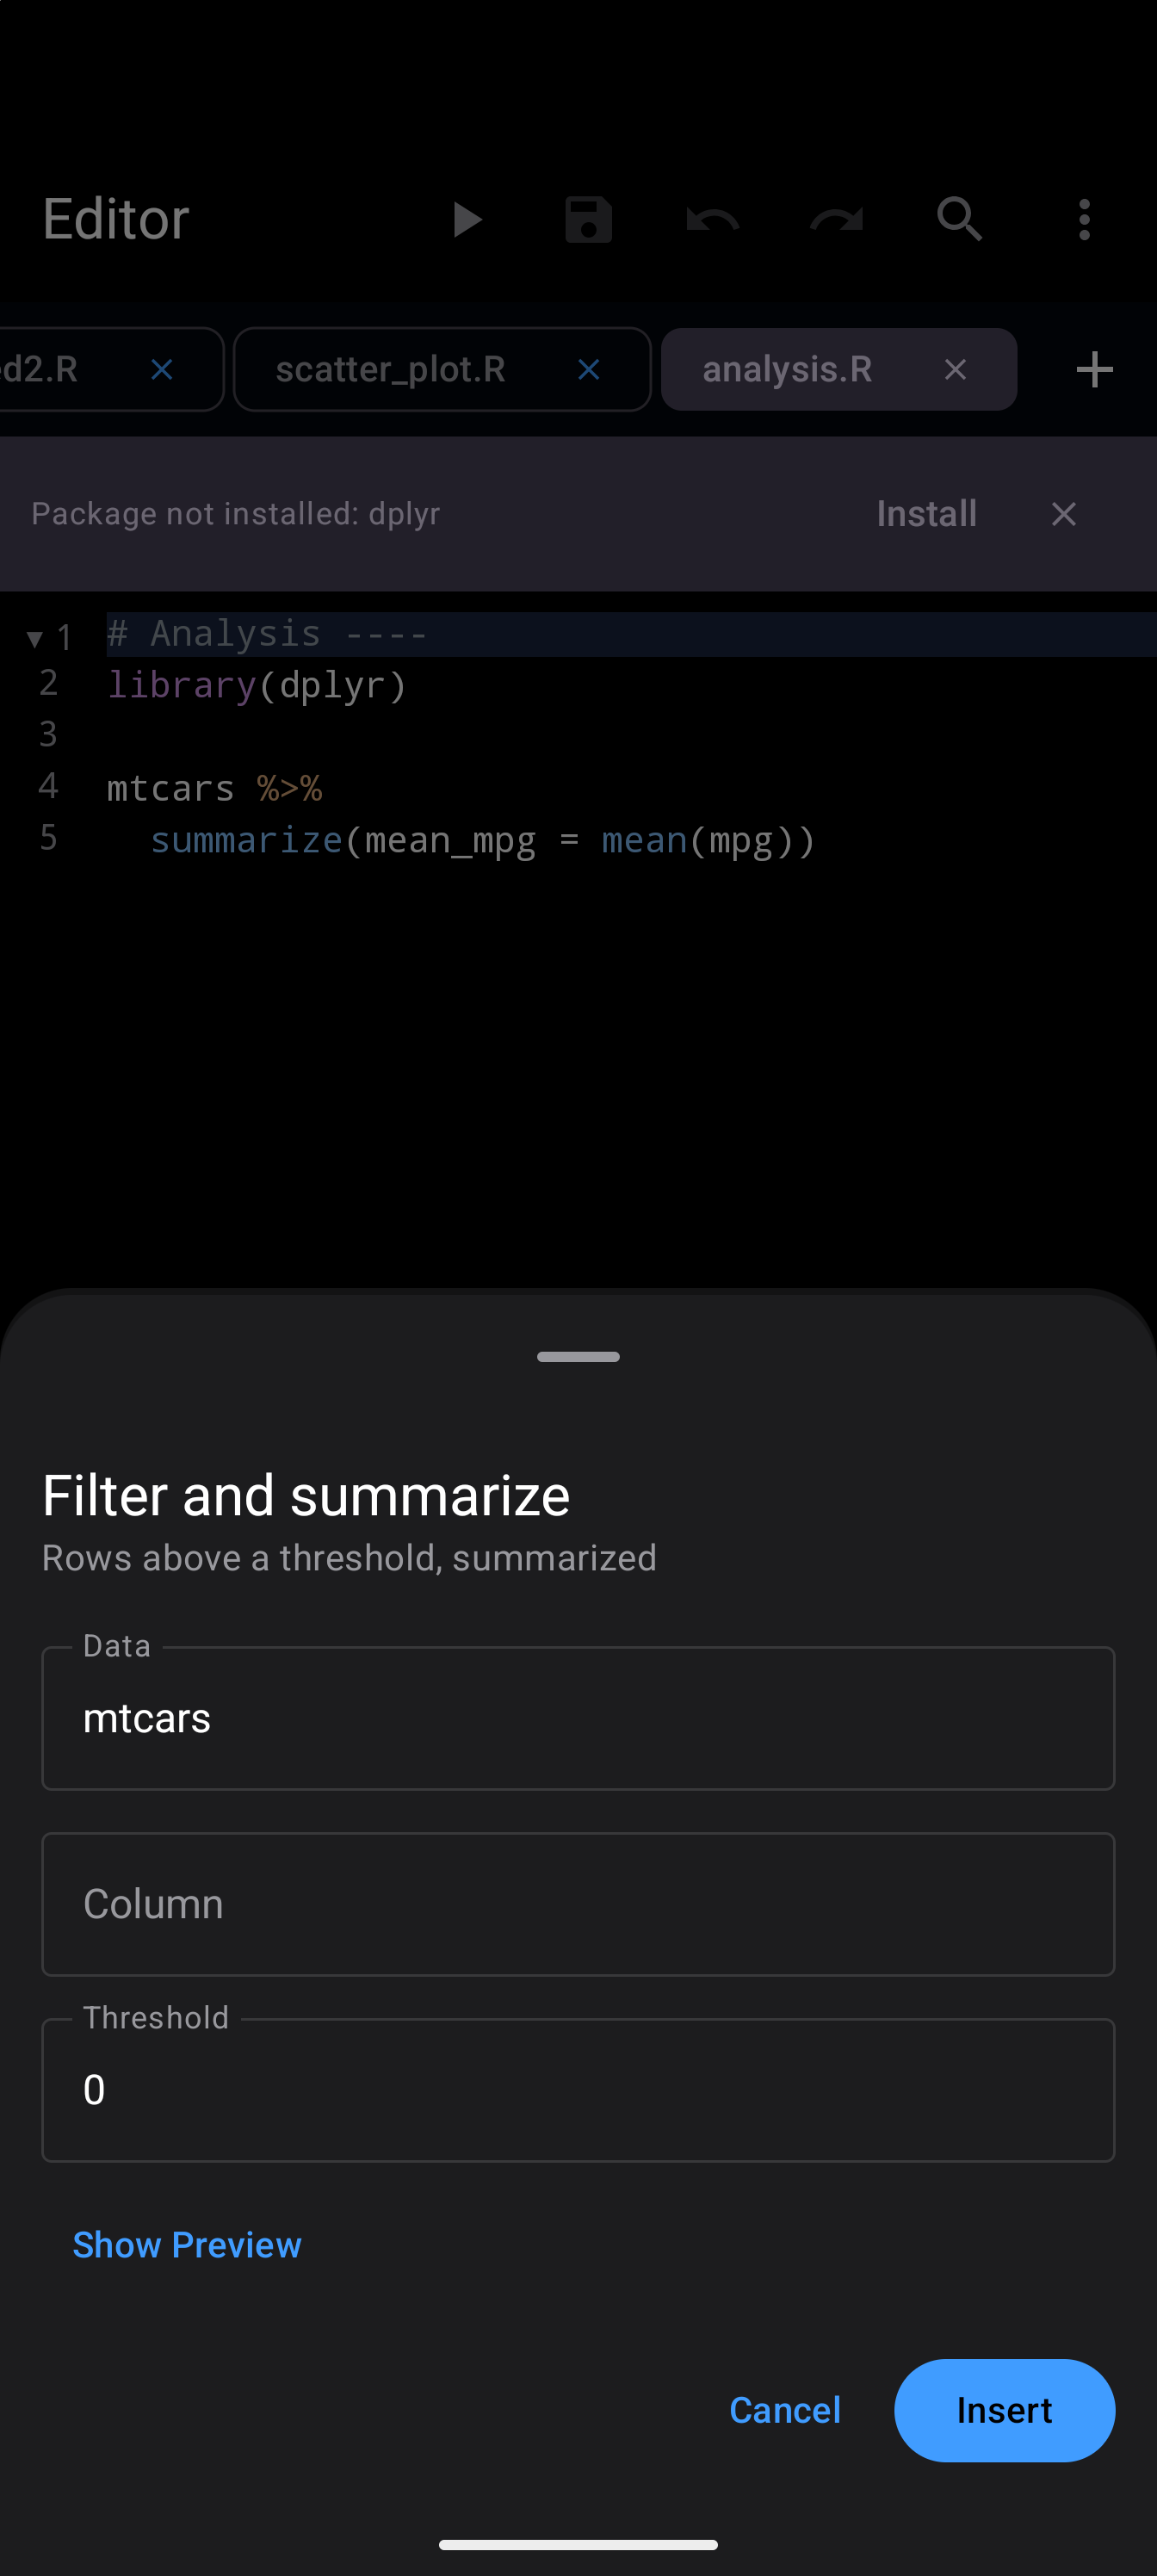
Your own snippets are listed under My Snippets, above the built-in templates. Tap one, or its + button, to insert it. The pencil button beside it edits it, and the bin button deletes it after asking you to confirm.
If you find yourself writing the same boilerplate over and over (a ggplot skeleton, a data import block, a function header), save it as a custom snippet.
Code Outline
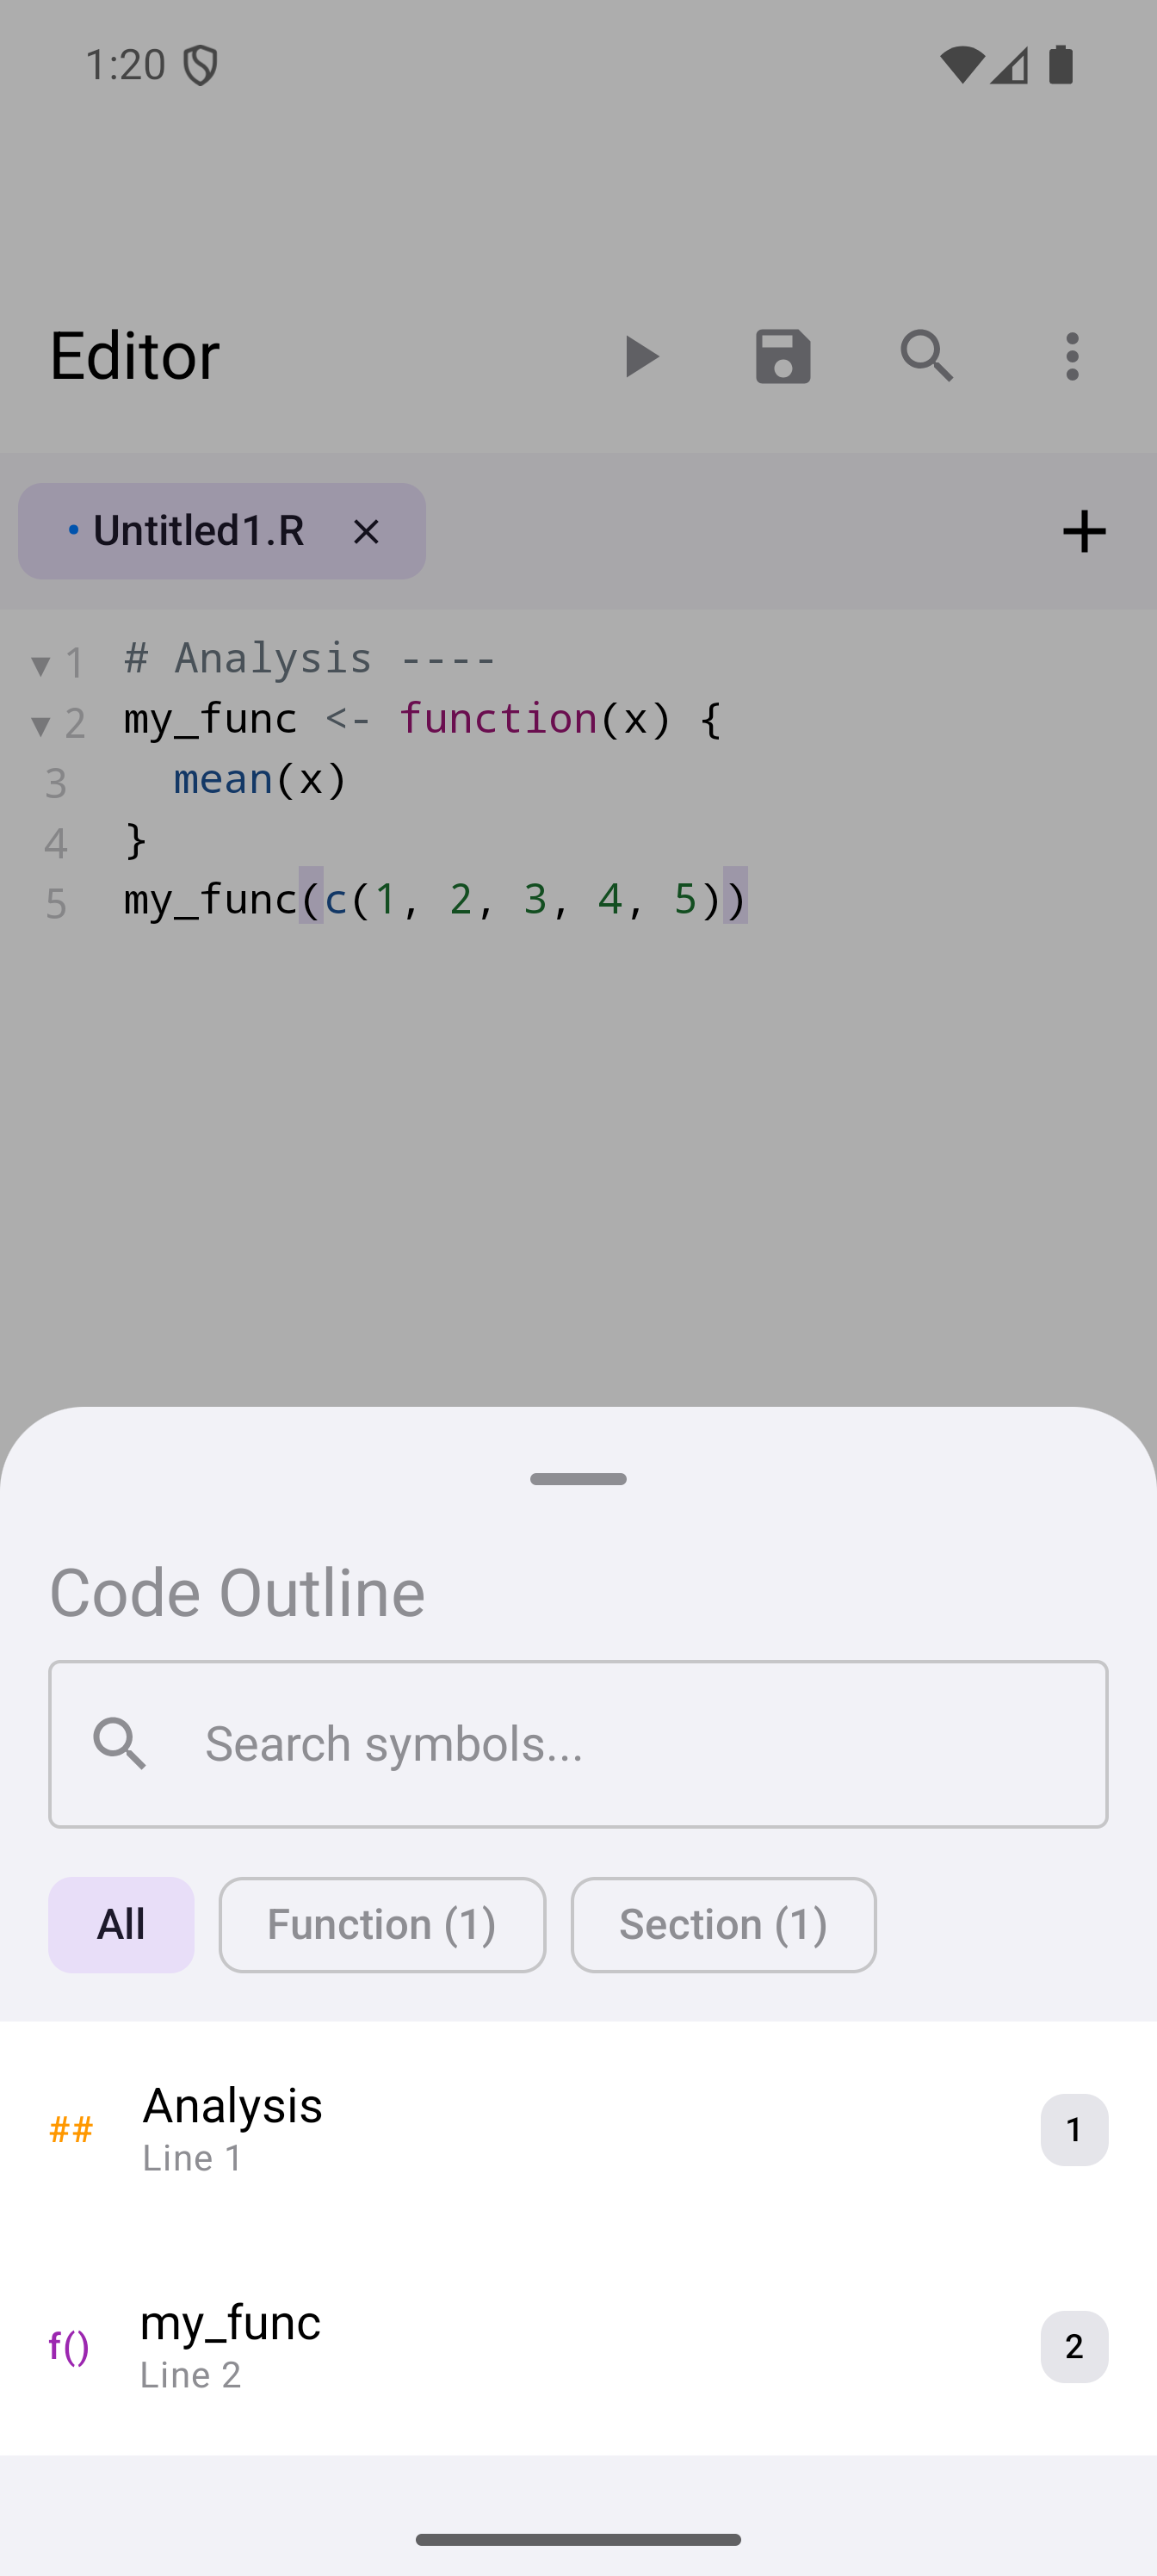
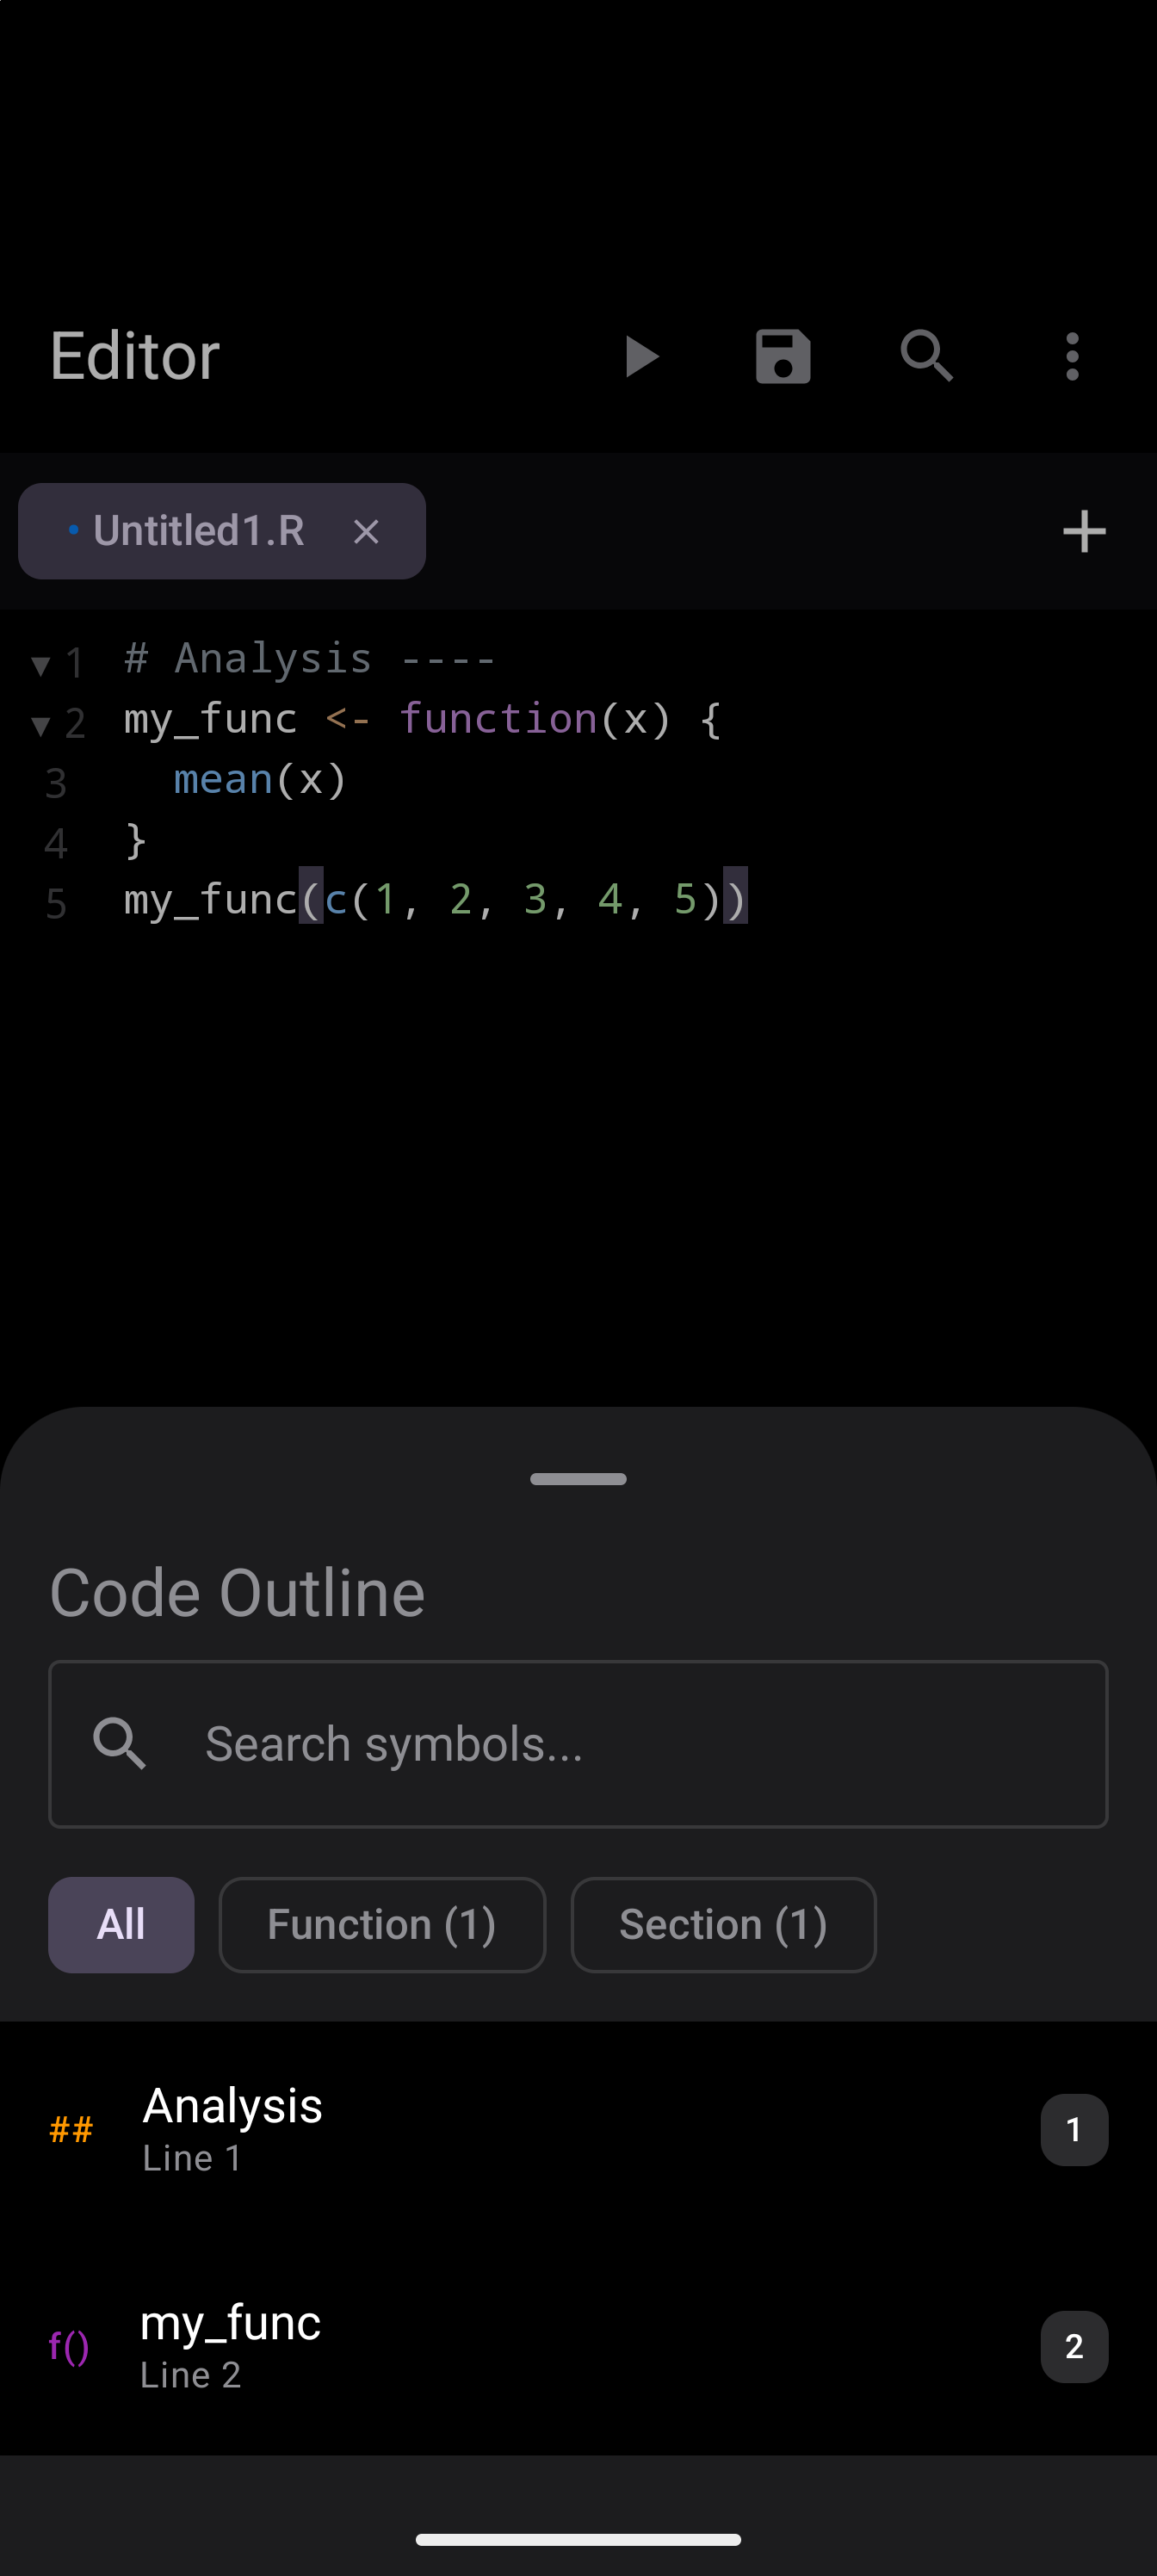
The Code Outline shows a structural overview of your script. It lists the functions, sections (marked with # Section Name ---- comments), and other top-level structures in your file.
Tap any item in the outline to jump directly to that location in your code. This is especially useful in longer scripts where scrolling to find a specific function takes too long.
Open the Code Outline from the editor actions menu.
Jump to Line
The editor overflow menu includes a Jump to Line option. Selecting it opens a dialog where you type a line number and tap Go to scroll directly to that line. This is a quick alternative to scrolling manually or using the Code Outline when you already know the exact line you need.
Gist Export
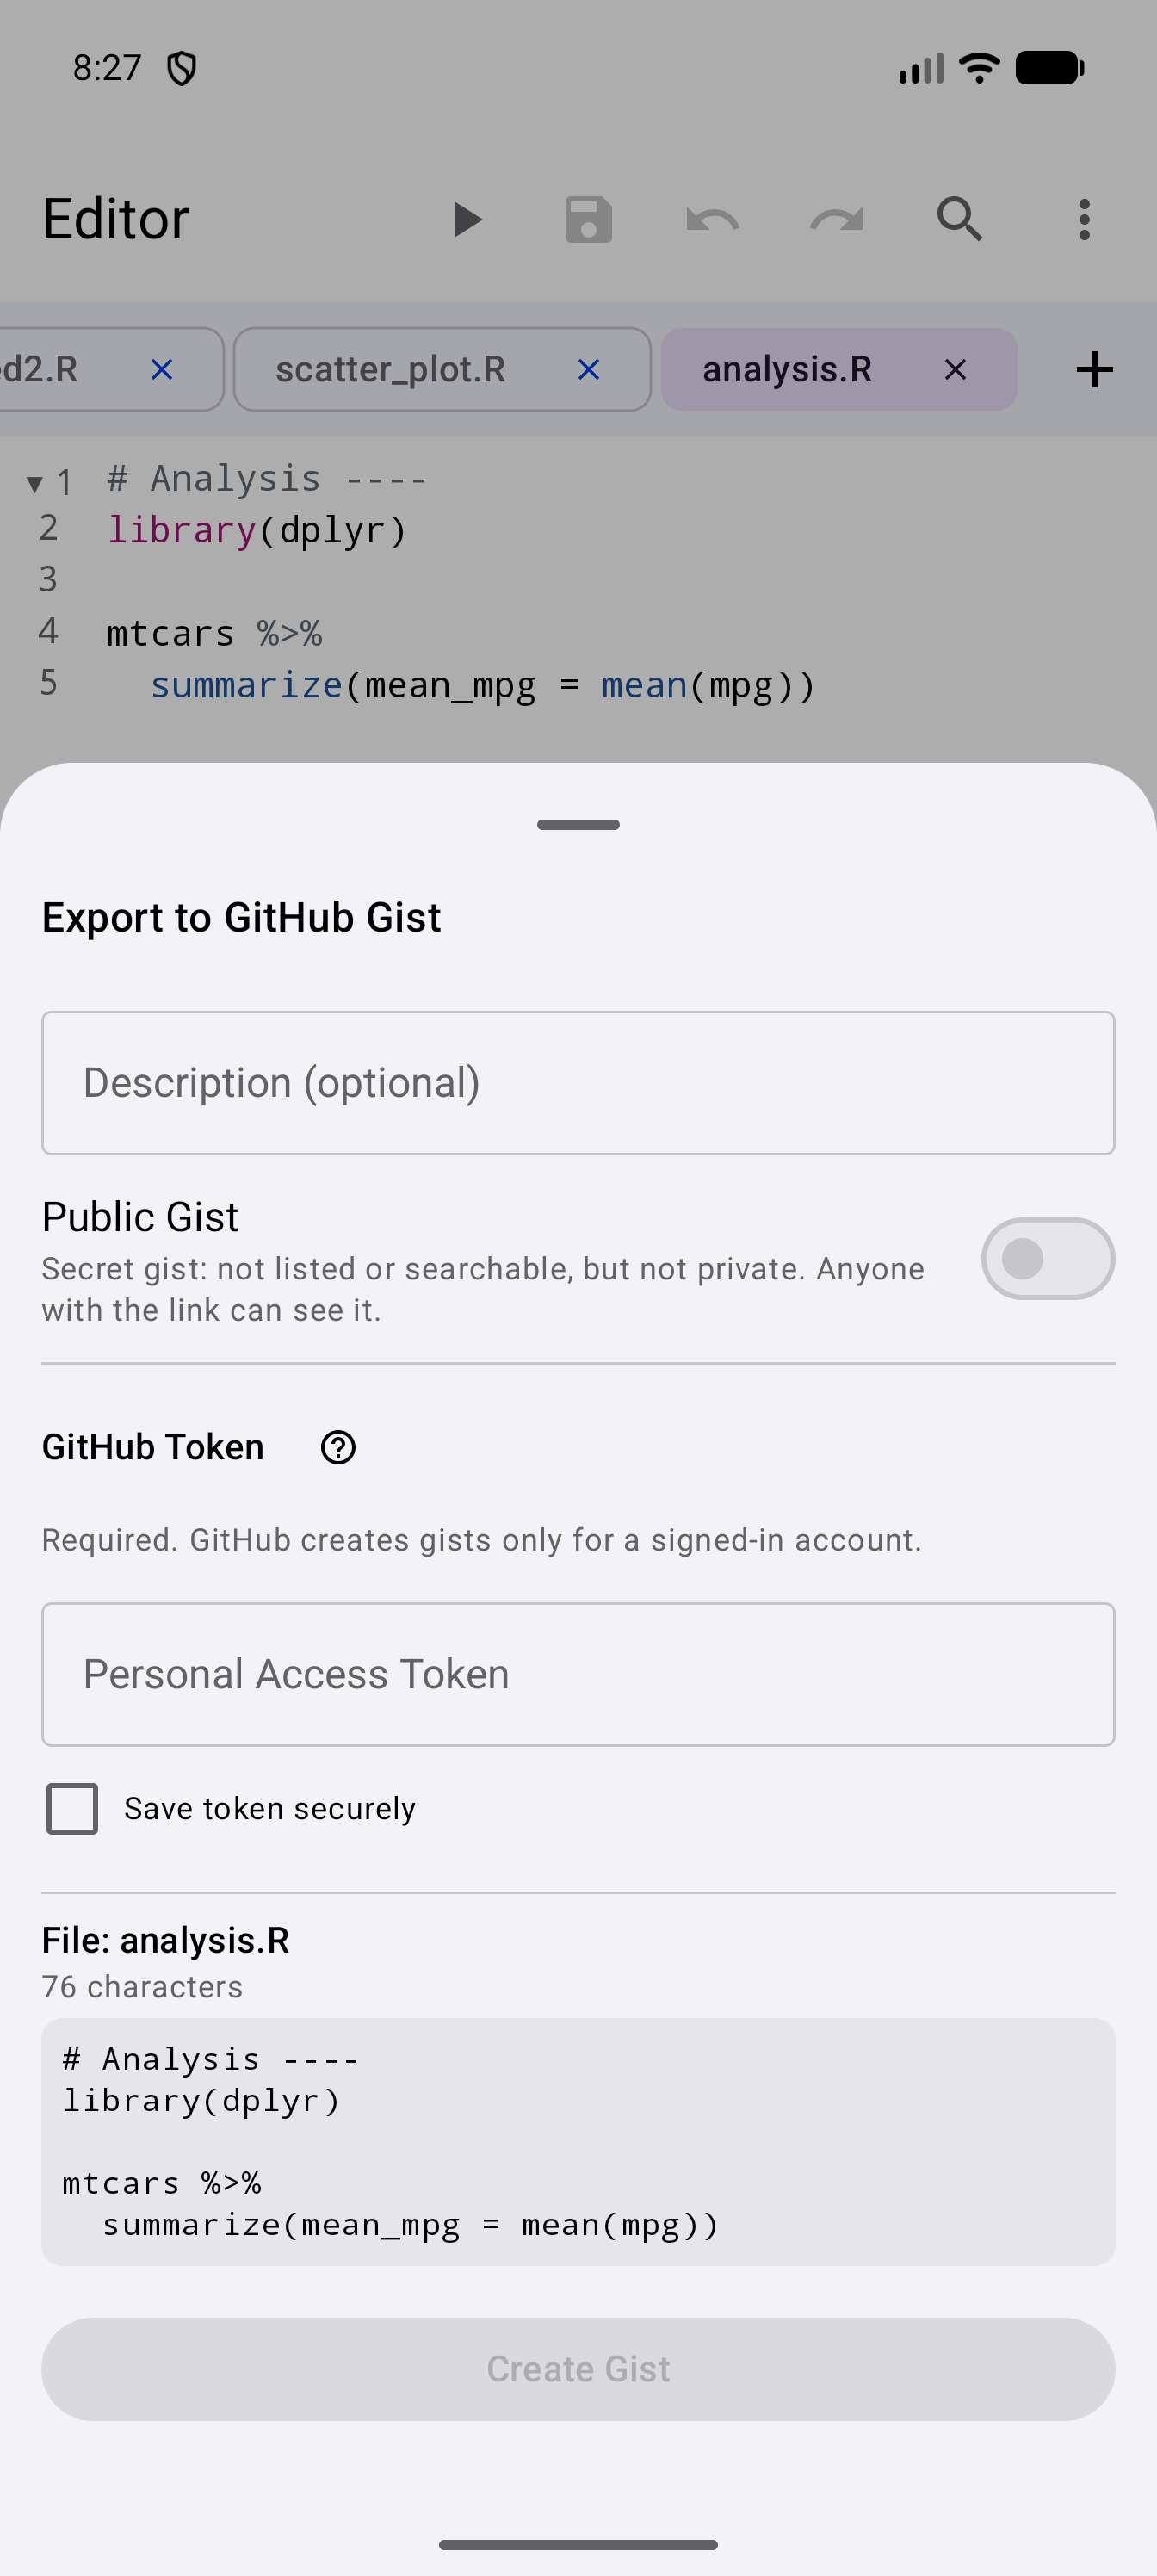
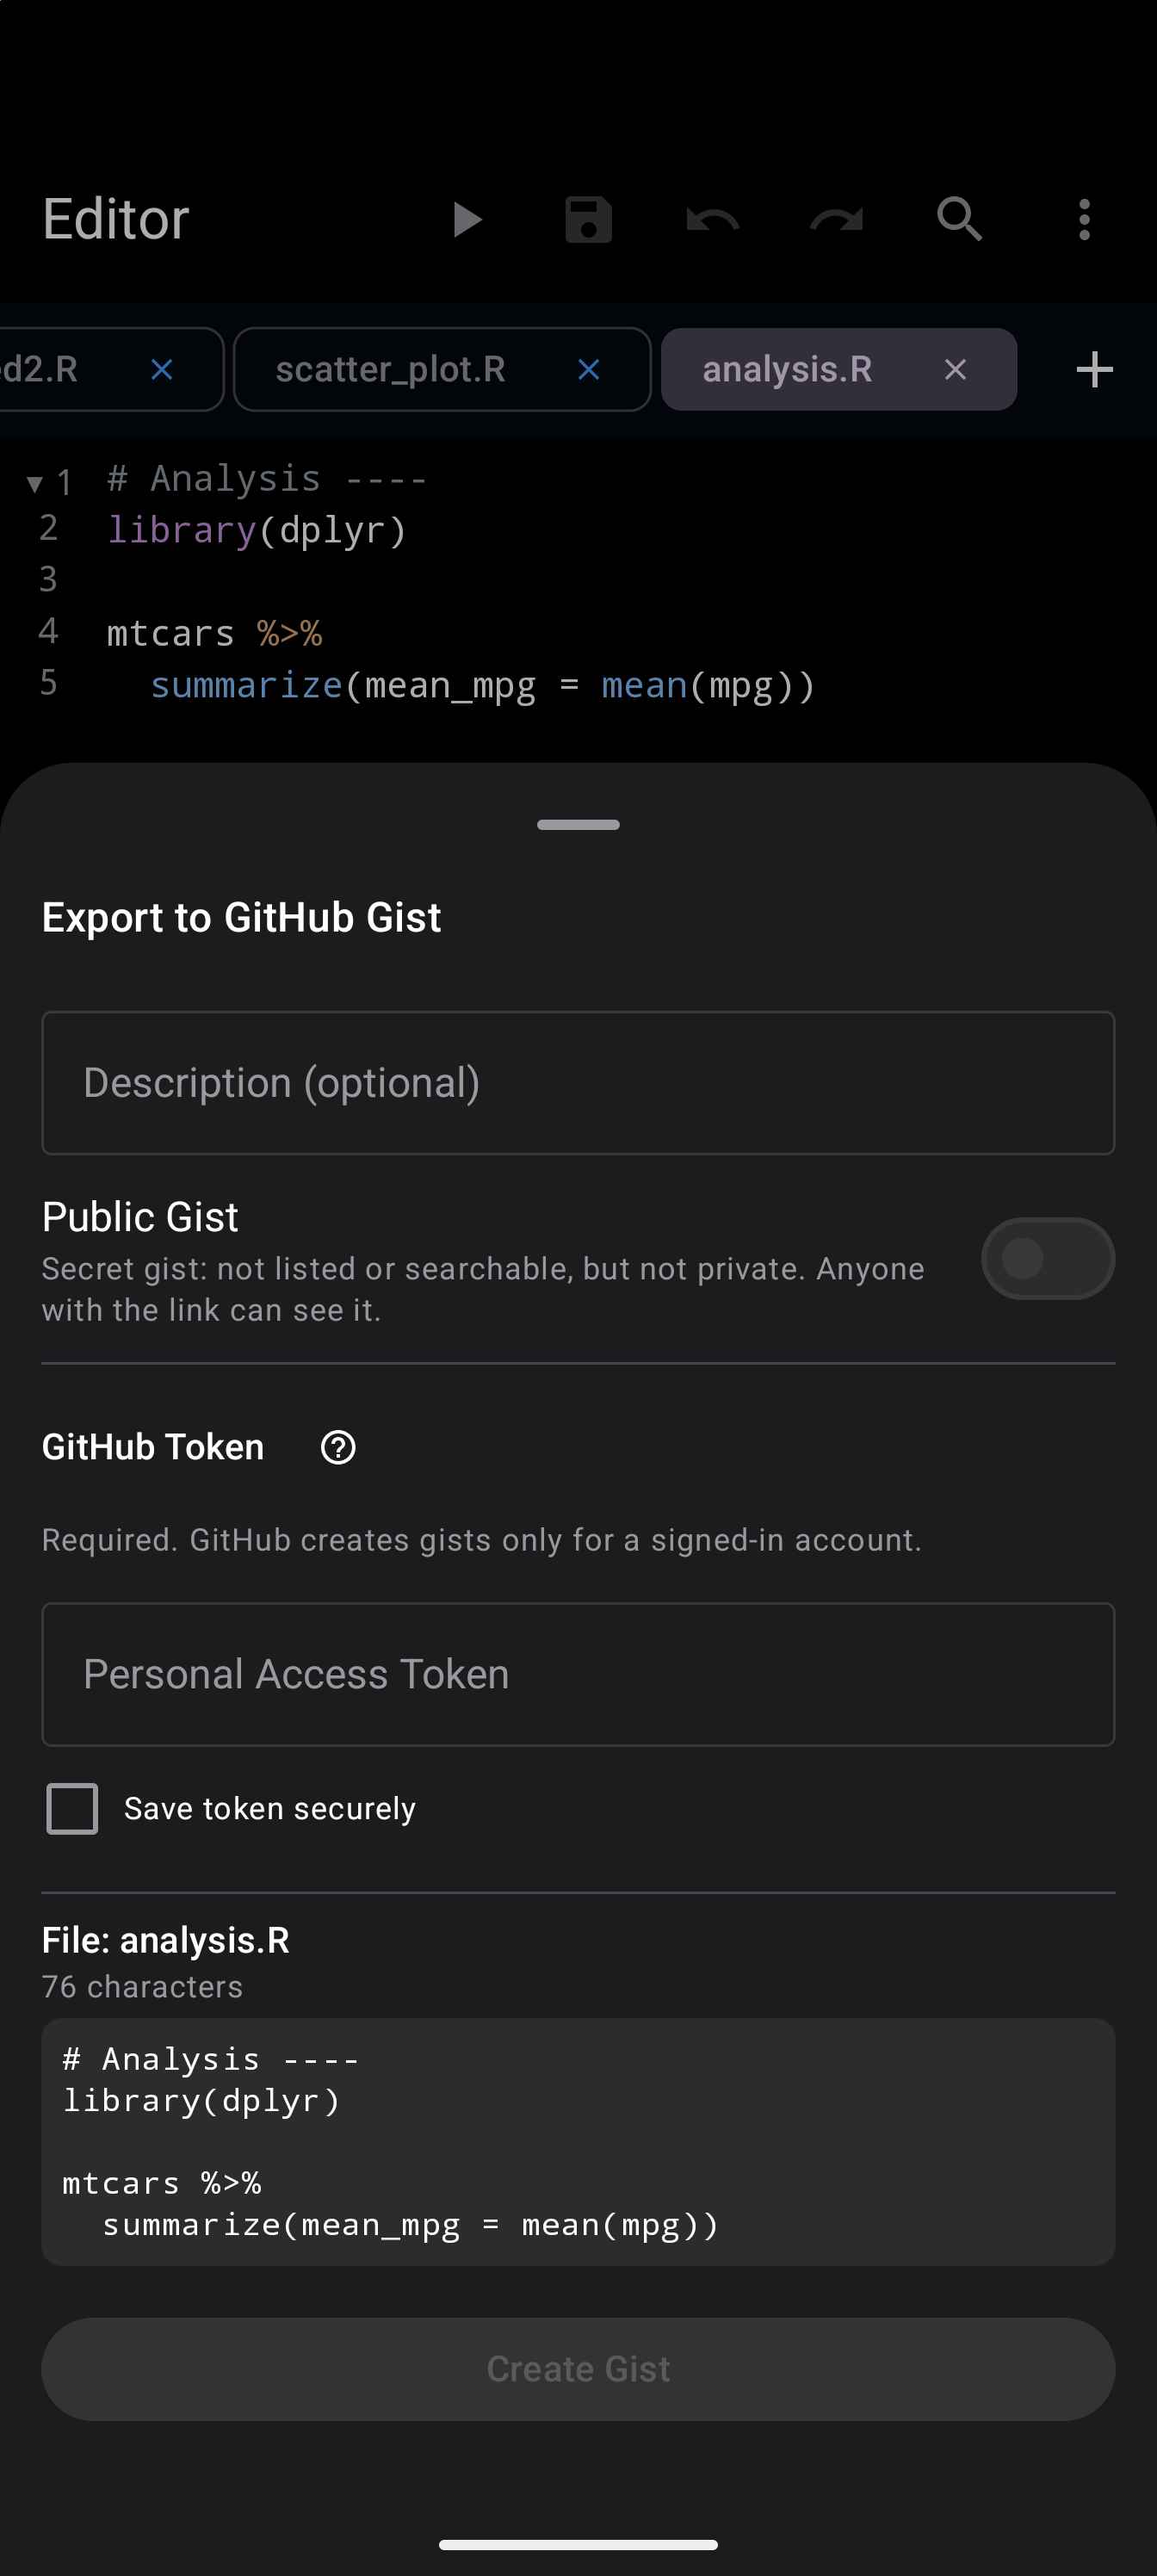
You can publish the file you are editing as a GitHub gist. Open the editor actions menu and choose Export to Gist. A sheet opens with everything the export needs, and nothing is sent until you tap Create Gist. When it succeeds you get the gist URL, with buttons to copy it or open it. If no app on the device can open a web page, Open here, and Open GitHub in the token help, copy the address to the clipboard instead and say so.
This is handy for:
- Sharing a script with a collaborator
- Posting a code example in a forum or discussion
- Creating a quick backup of a single file
The sheet has four things on it:
- Description, optional, shown on the gist. Left empty, the gist is described as “R code shared from webRoid”.
- Public Gist, a switch that is off by default, so the gist is created as a secret one. A note under the switch says what that means: a secret gist is not listed or searchable, but it is not private either, since anyone with the link can see it. With the switch on, the note says anyone can find the gist on GitHub.
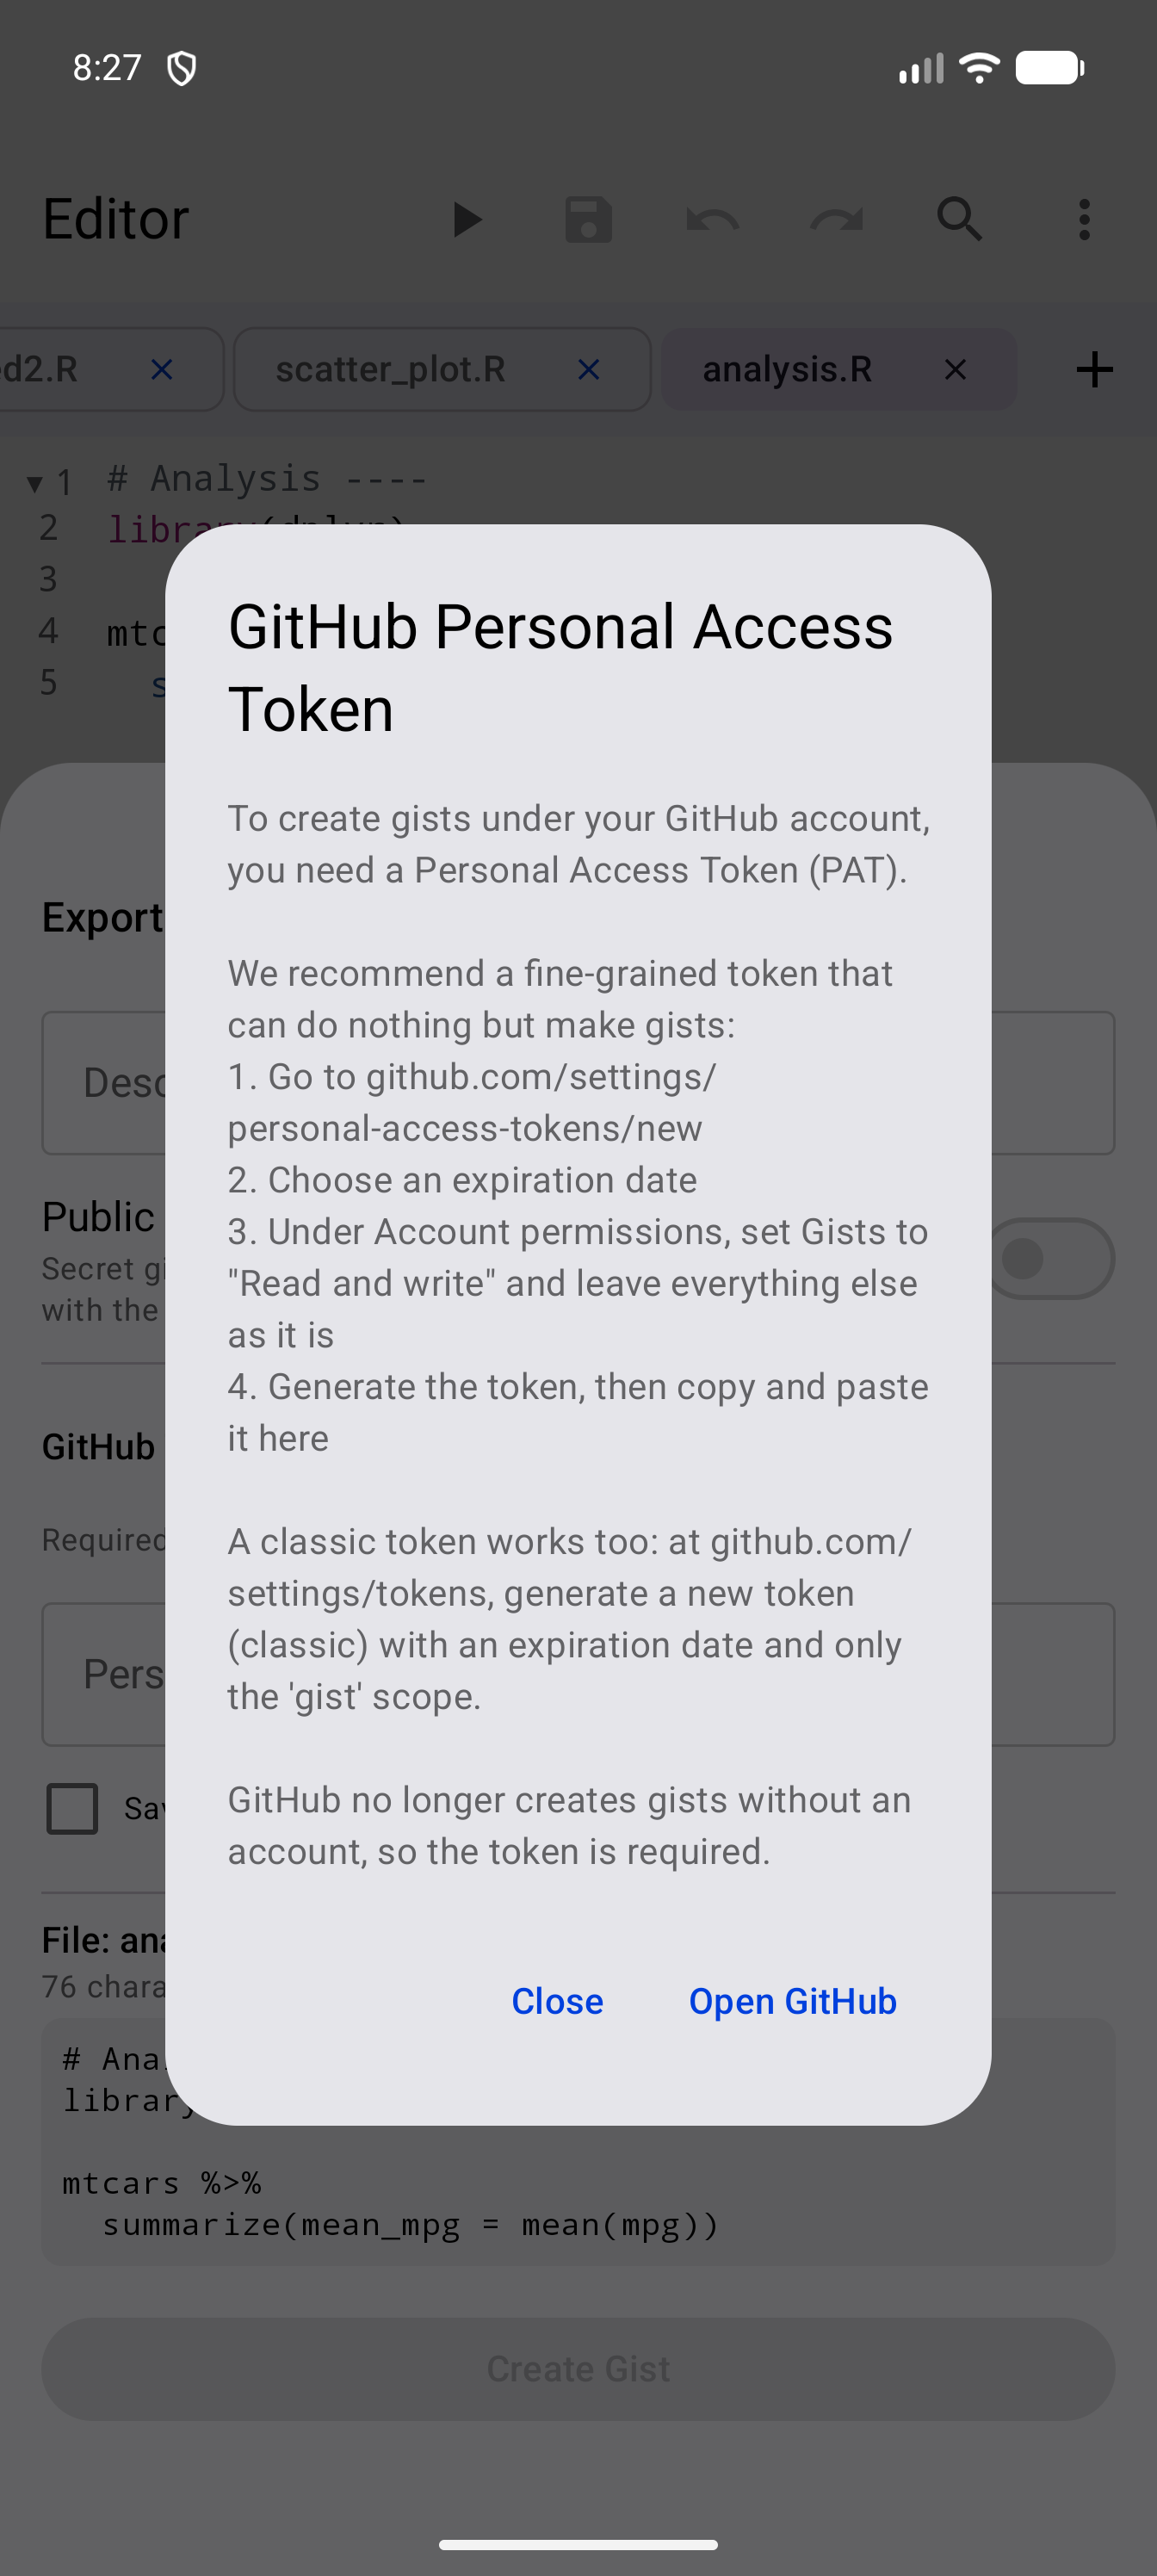
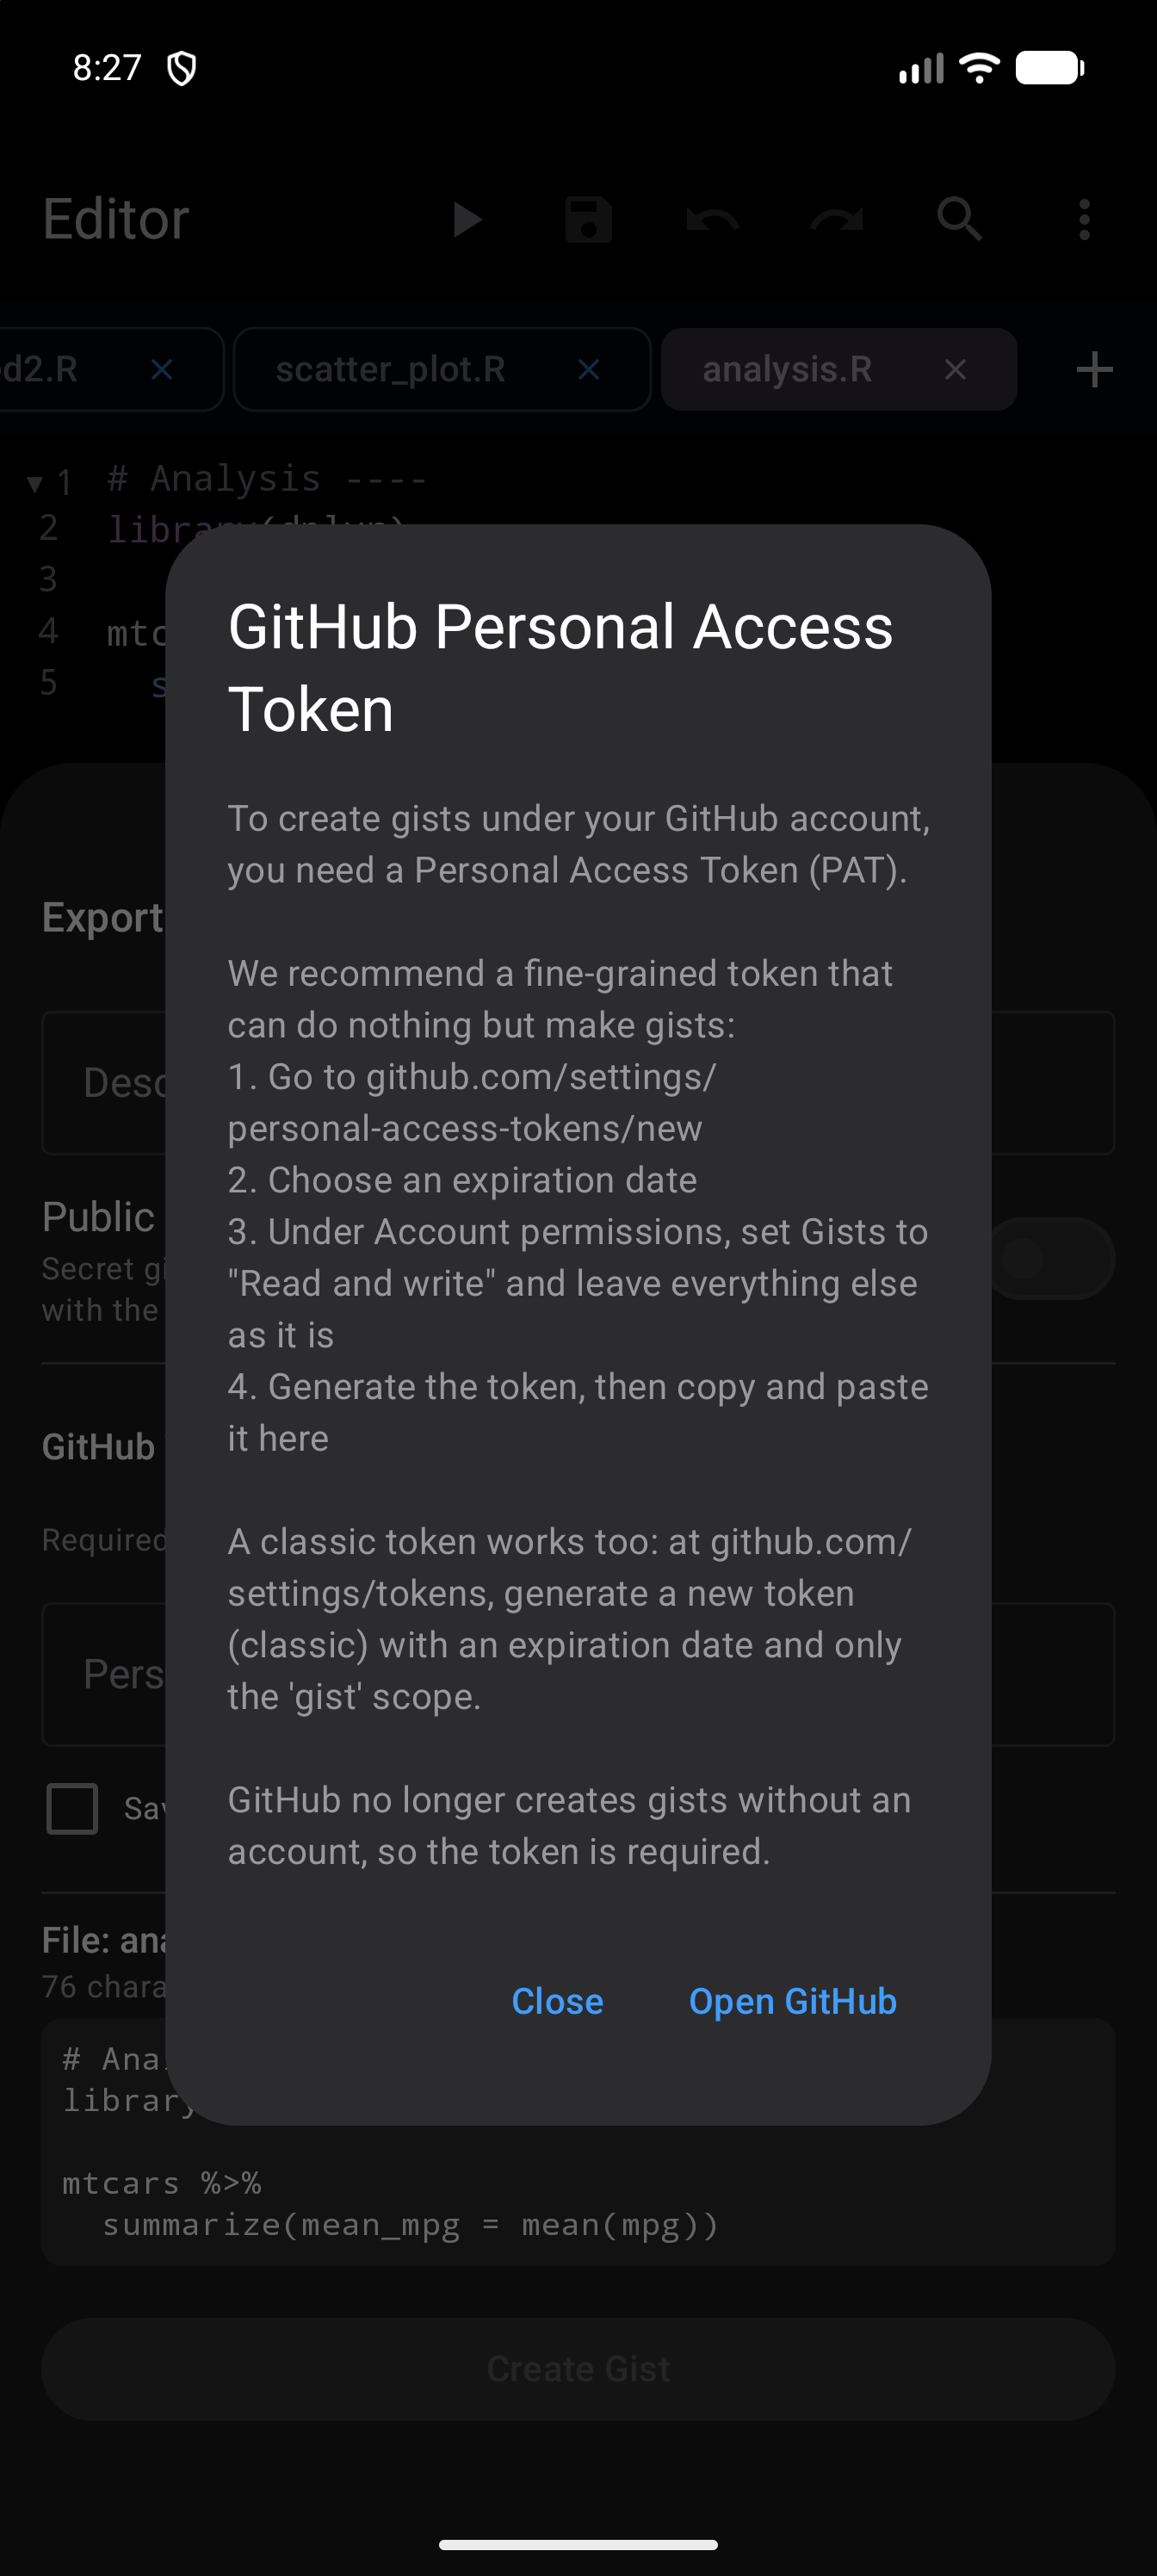
- GitHub Token, a personal access token that can create gists, and required: a fine-grained token needs the Gists permission set to Read and write, and a classic token the
gistscope. GitHub has not accepted anonymous gists since 2018, so Create Gist stays disabled until you enter one (and while the file is empty). The help icon beside the heading recommends a fine-grained token that can do nothing but make gists: under Account permissions, set Gists to Read and write, leave everything else as it is, and give it an expiration date. Its Open GitHub button goes to github.com/settings/personal-access-tokens/new, where you make one. A classic token works too, made at github.com/settings/tokens with an expiration date and only thegistscope. Save token securely keeps it on the device, encrypted, for next time; leave it unticked and it is used once and forgotten. When a token is saved, the sheet fills it in with the box ticked, and unticking it before Create Gist forgets the saved one. A saved token can also be removed at any time from Settings > GitHub. - A preview of the file and its length in characters, so you can see what you are about to publish.
If the gist is not created, the sheet says why in red under the preview and keeps what you entered, so you can put it right and tap Create Gist again. The message says which of these happened:
- GitHub did not accept the token: it may be mistyped, expired or revoked.
- The token is not allowed to create gists; see the scope and permission above.
- GitHub is limiting requests from your account, with how long to wait when GitHub says.
- GitHub rejected the gist itself, with the part it objected to.
- GitHub is having trouble of its own.
- The app could not reach GitHub at all, so check your connection.
- GitHub refused for some other reason, such as a 403 that is not about the token’s permissions; the message gives GitHub’s status code and its own explanation.
Rarely, GitHub creates the gist but its reply cannot be read. The sheet then says so and asks you to check your gists on GitHub, because tapping Create Gist again would make a second copy.
Choose the visibility before you tap Create Gist. GitHub can turn a secret gist into a public one afterwards, but not the other way round: once a gist has been public, deleting it is the only way back.
Your token is sent to api.github.com as an authorization header and nowhere else, and the file goes to your GitHub account, not to us. See the Privacy Policy.
Split Pane
You can split the Editor into two side-by-side panes, each showing a different file. This lets you reference one file while editing another. For example, you can view a data processing script on the left while writing a visualization script on the right. Split Editor is in the menu on every phone and tablet, whichever way you hold it, but it works best on a tablet or with your phone turned sideways. On a phone held upright, each pane gets only half of a narrow screen.
To enable split pane:
- Open at least two files. Split Editor stays greyed out while only one is open.
- Open the editor actions menu.
- Select Split Editor. The file you were on stays in the left pane, and another open file appears in the right one.
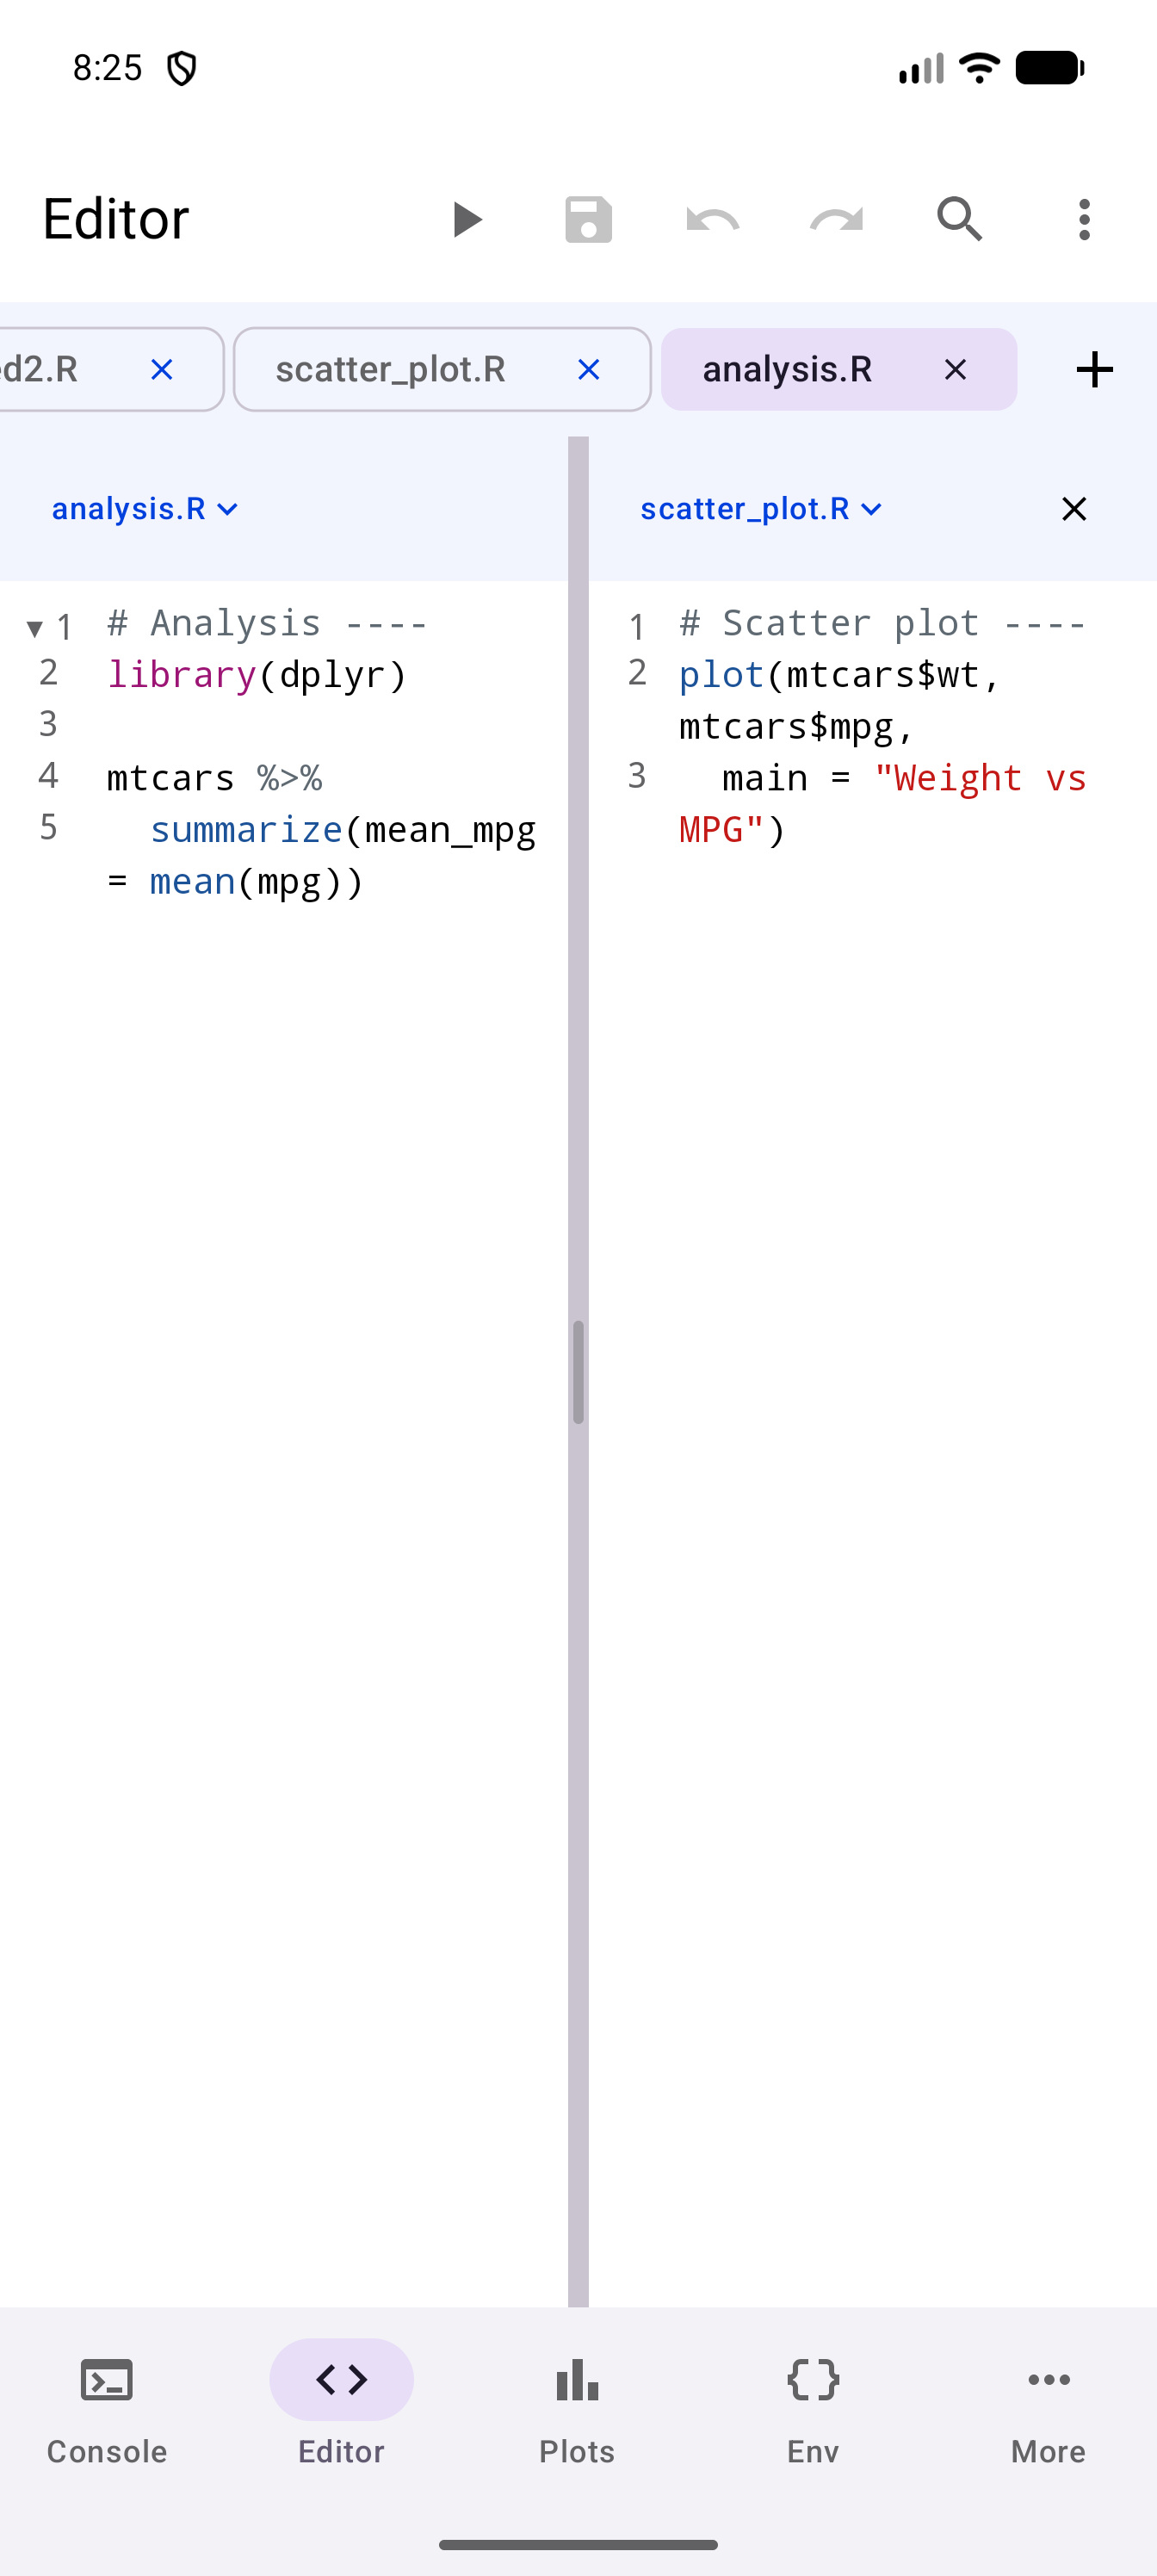
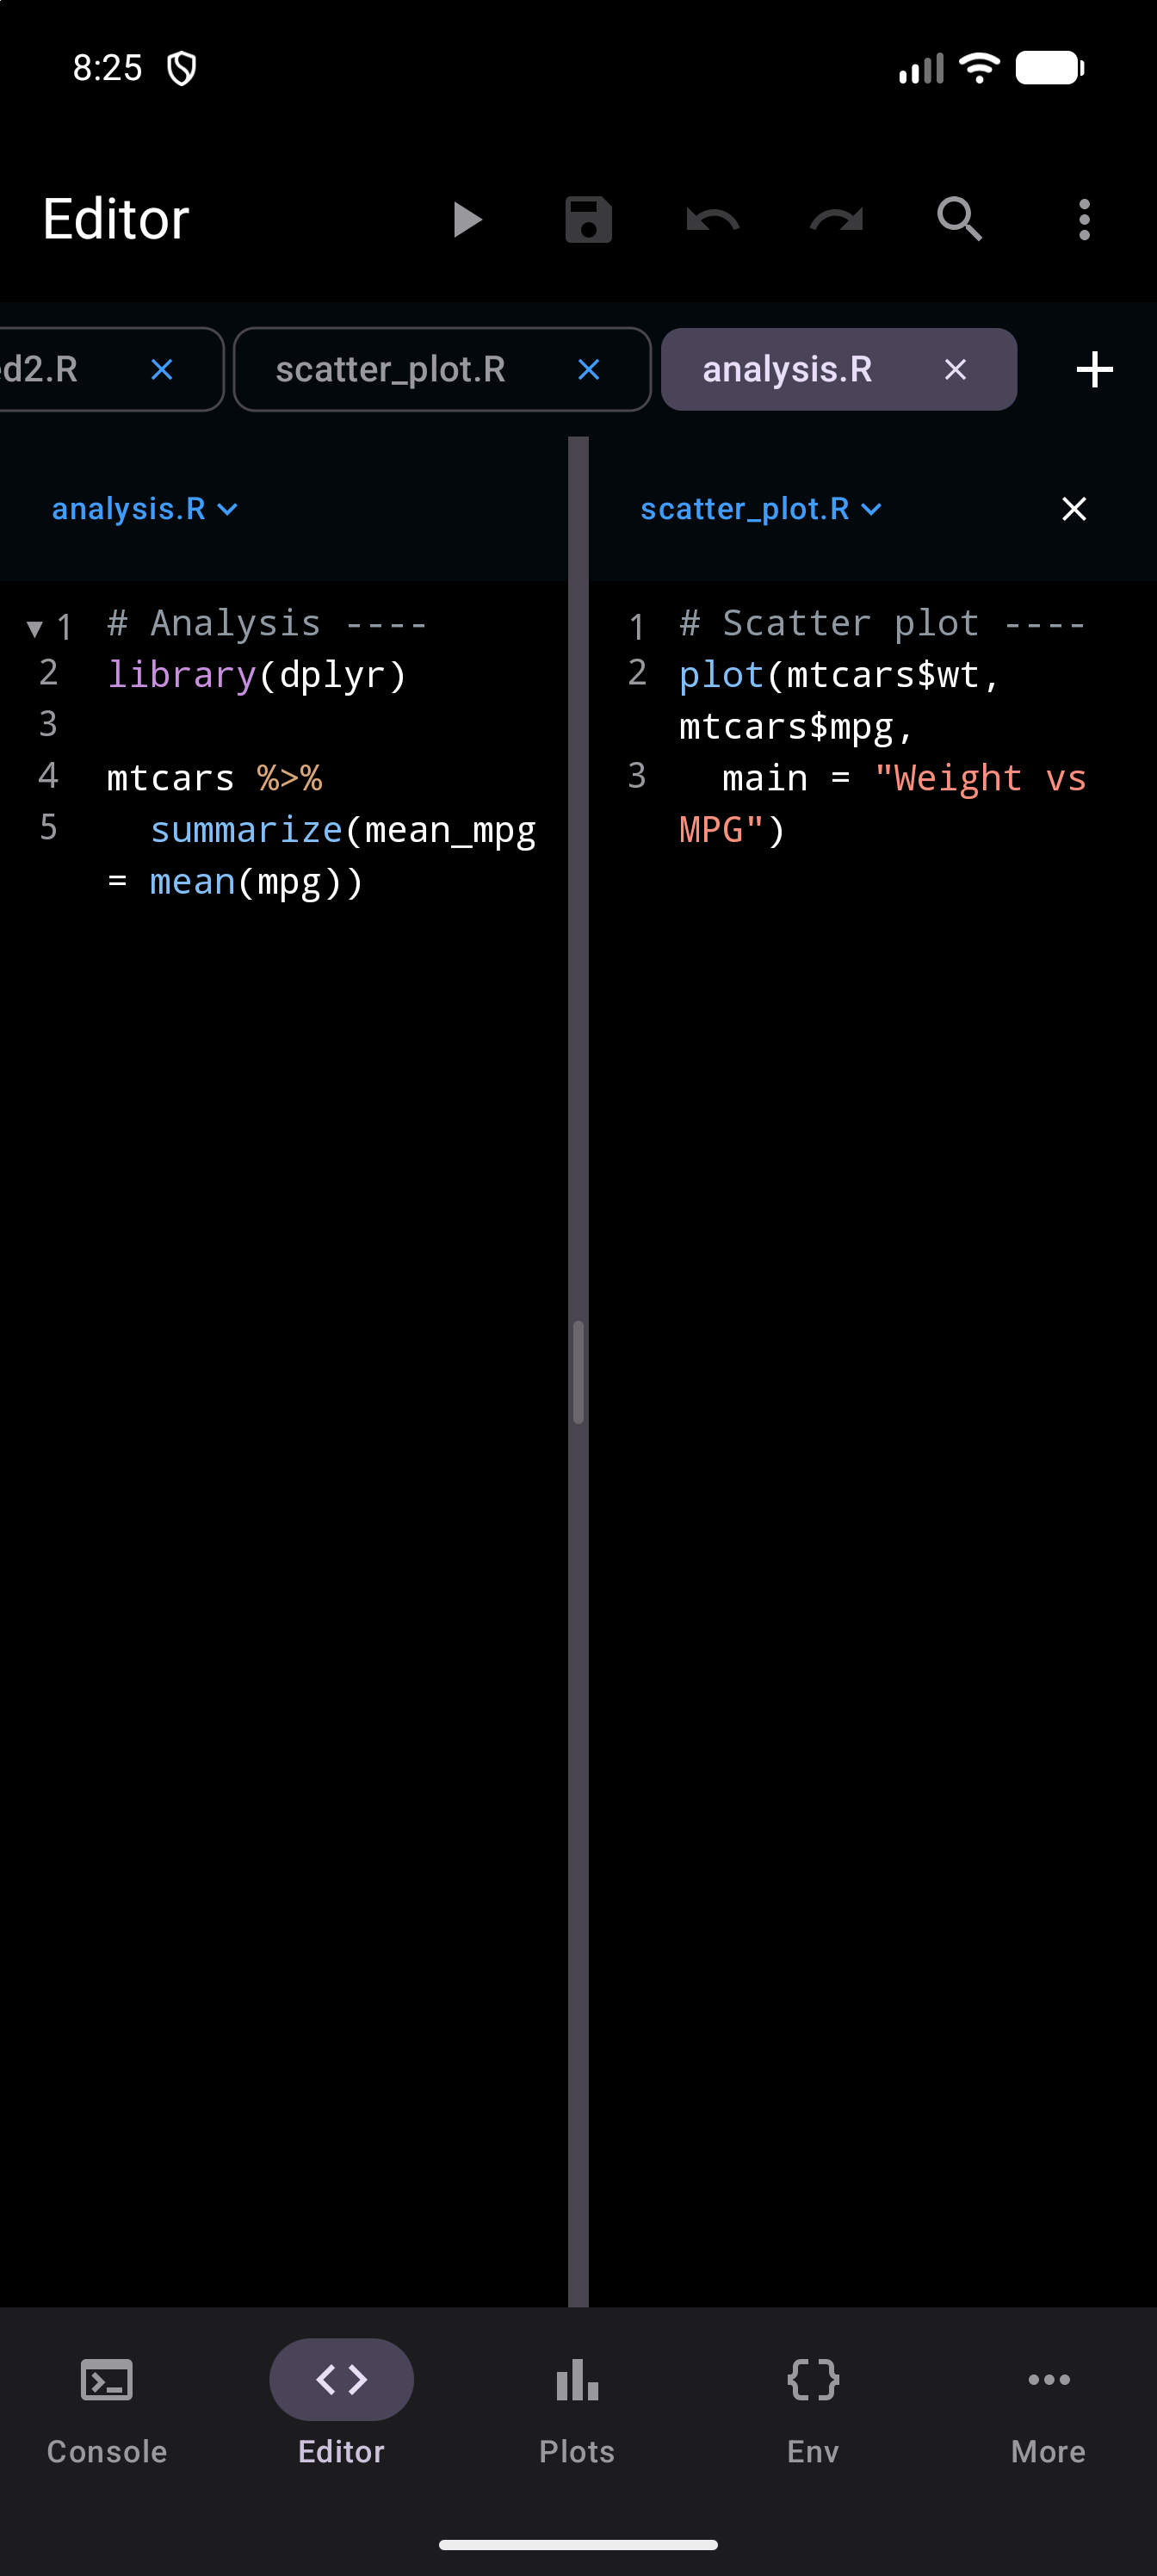
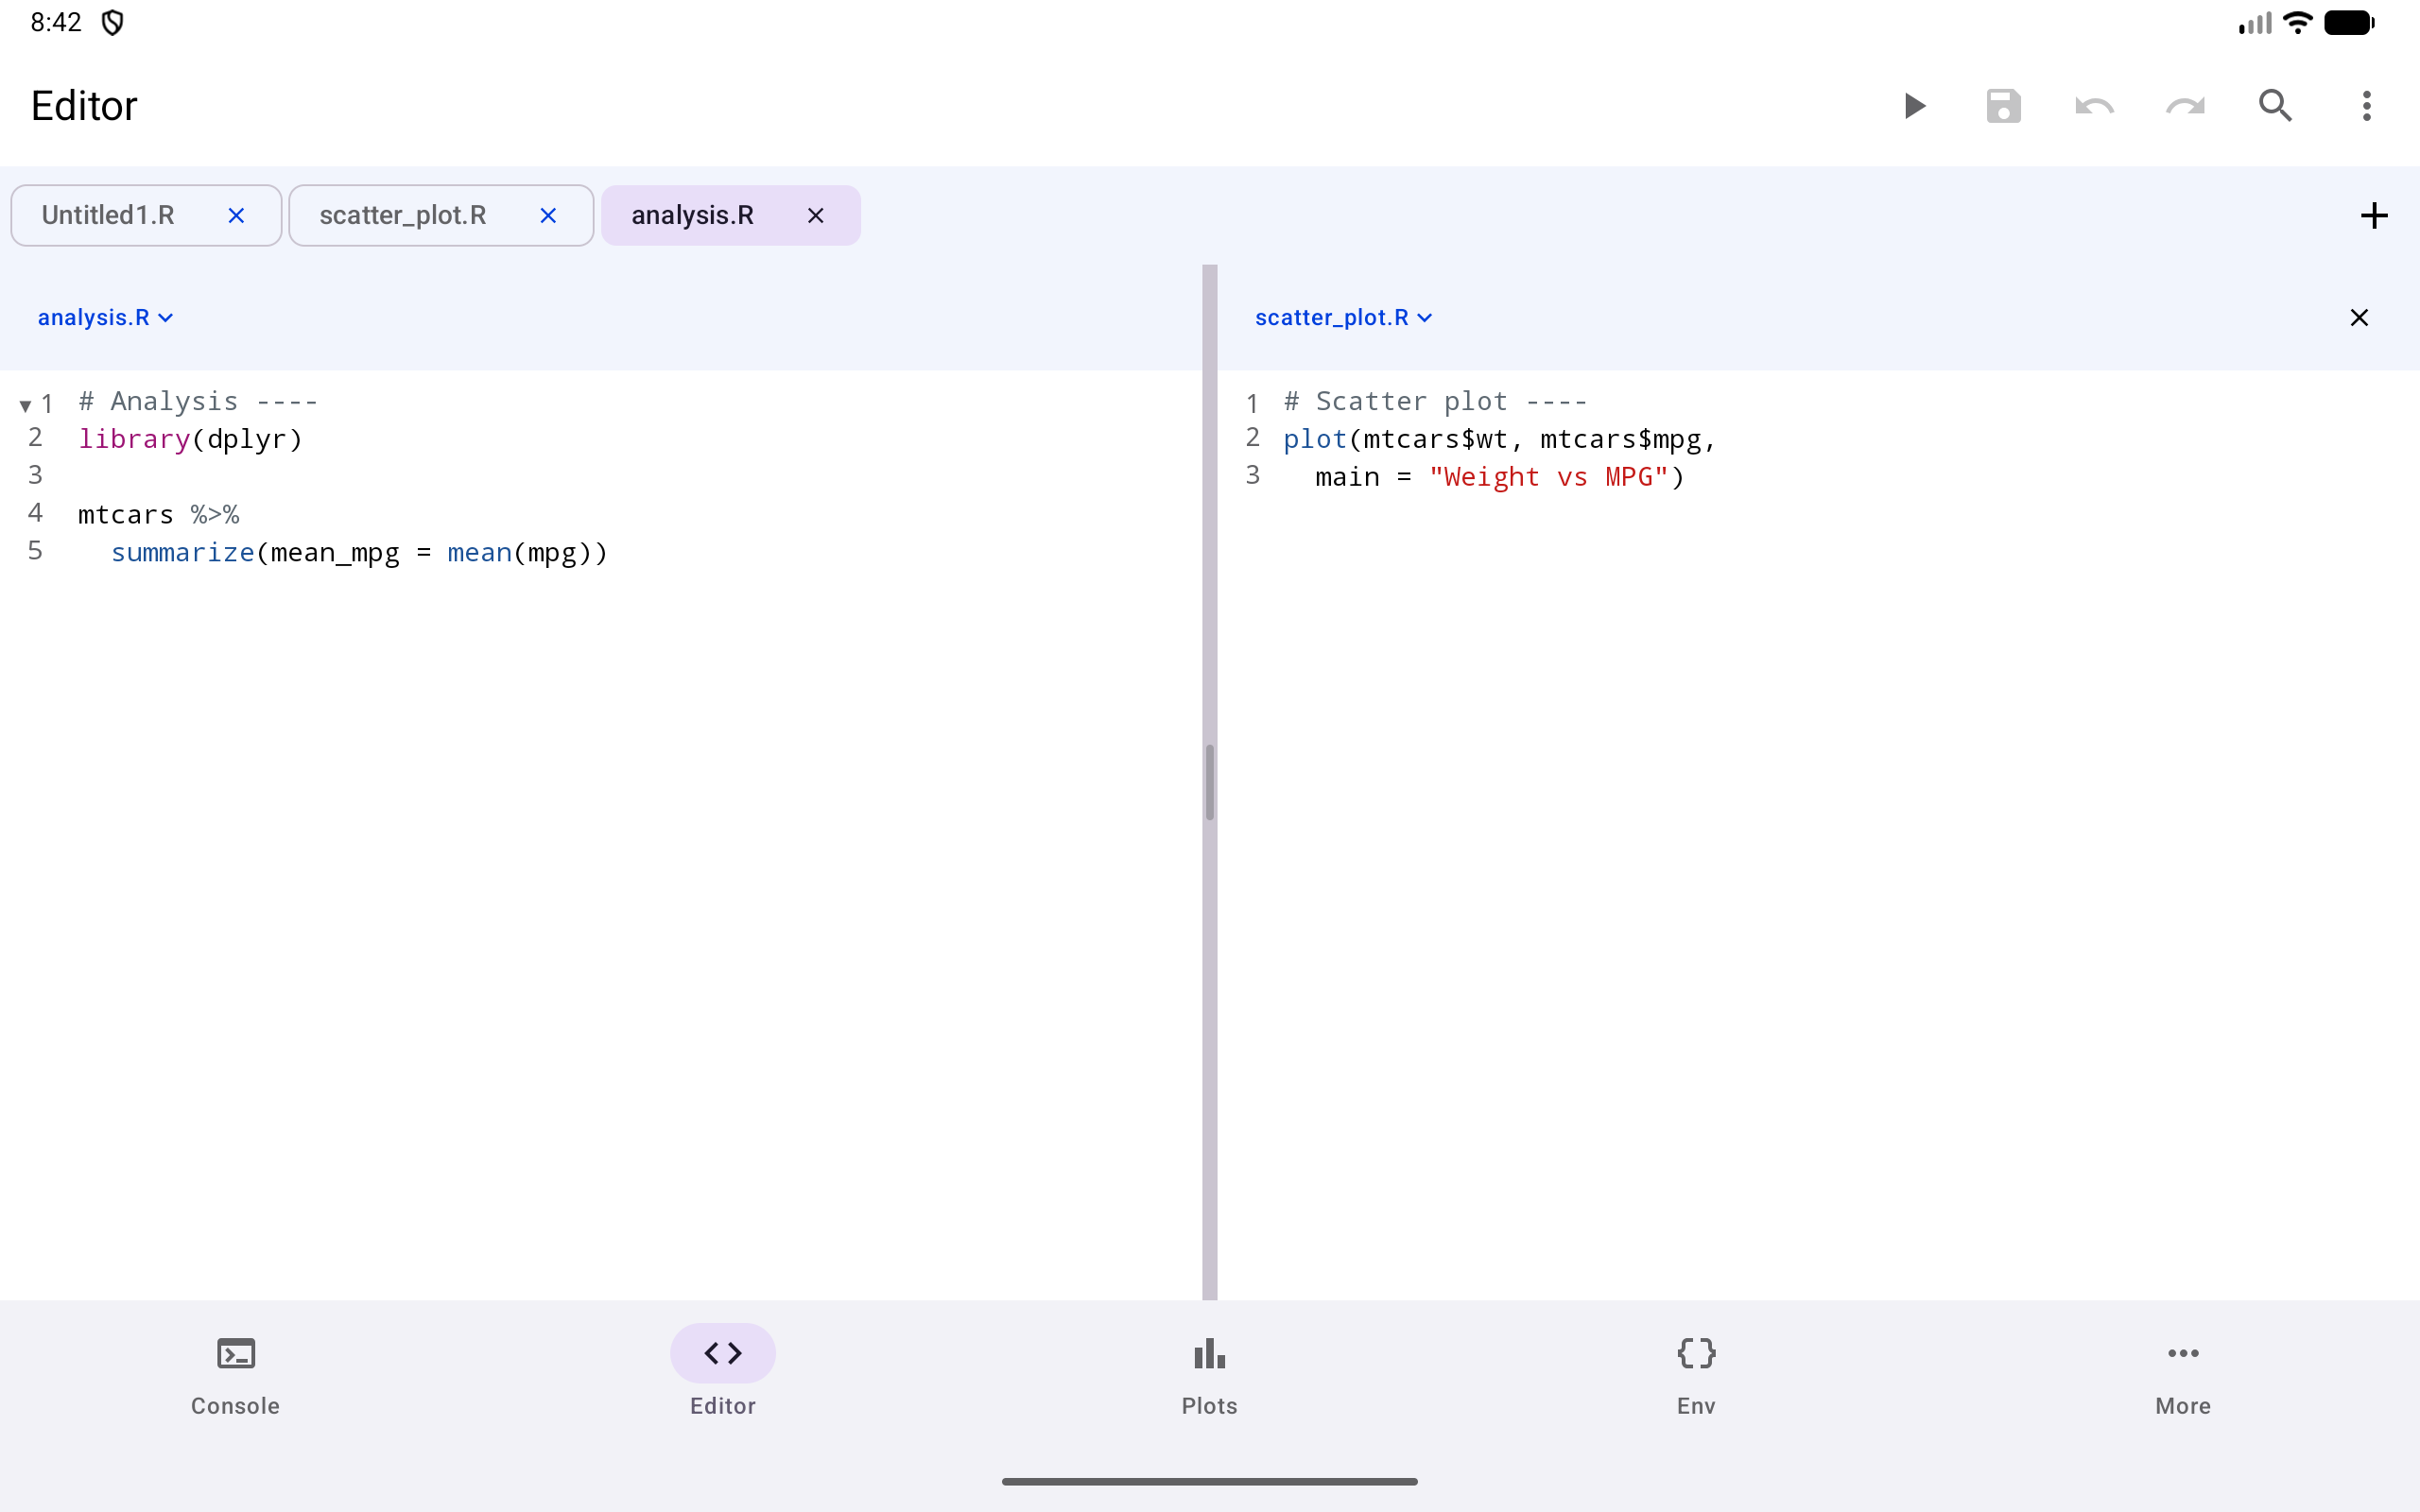
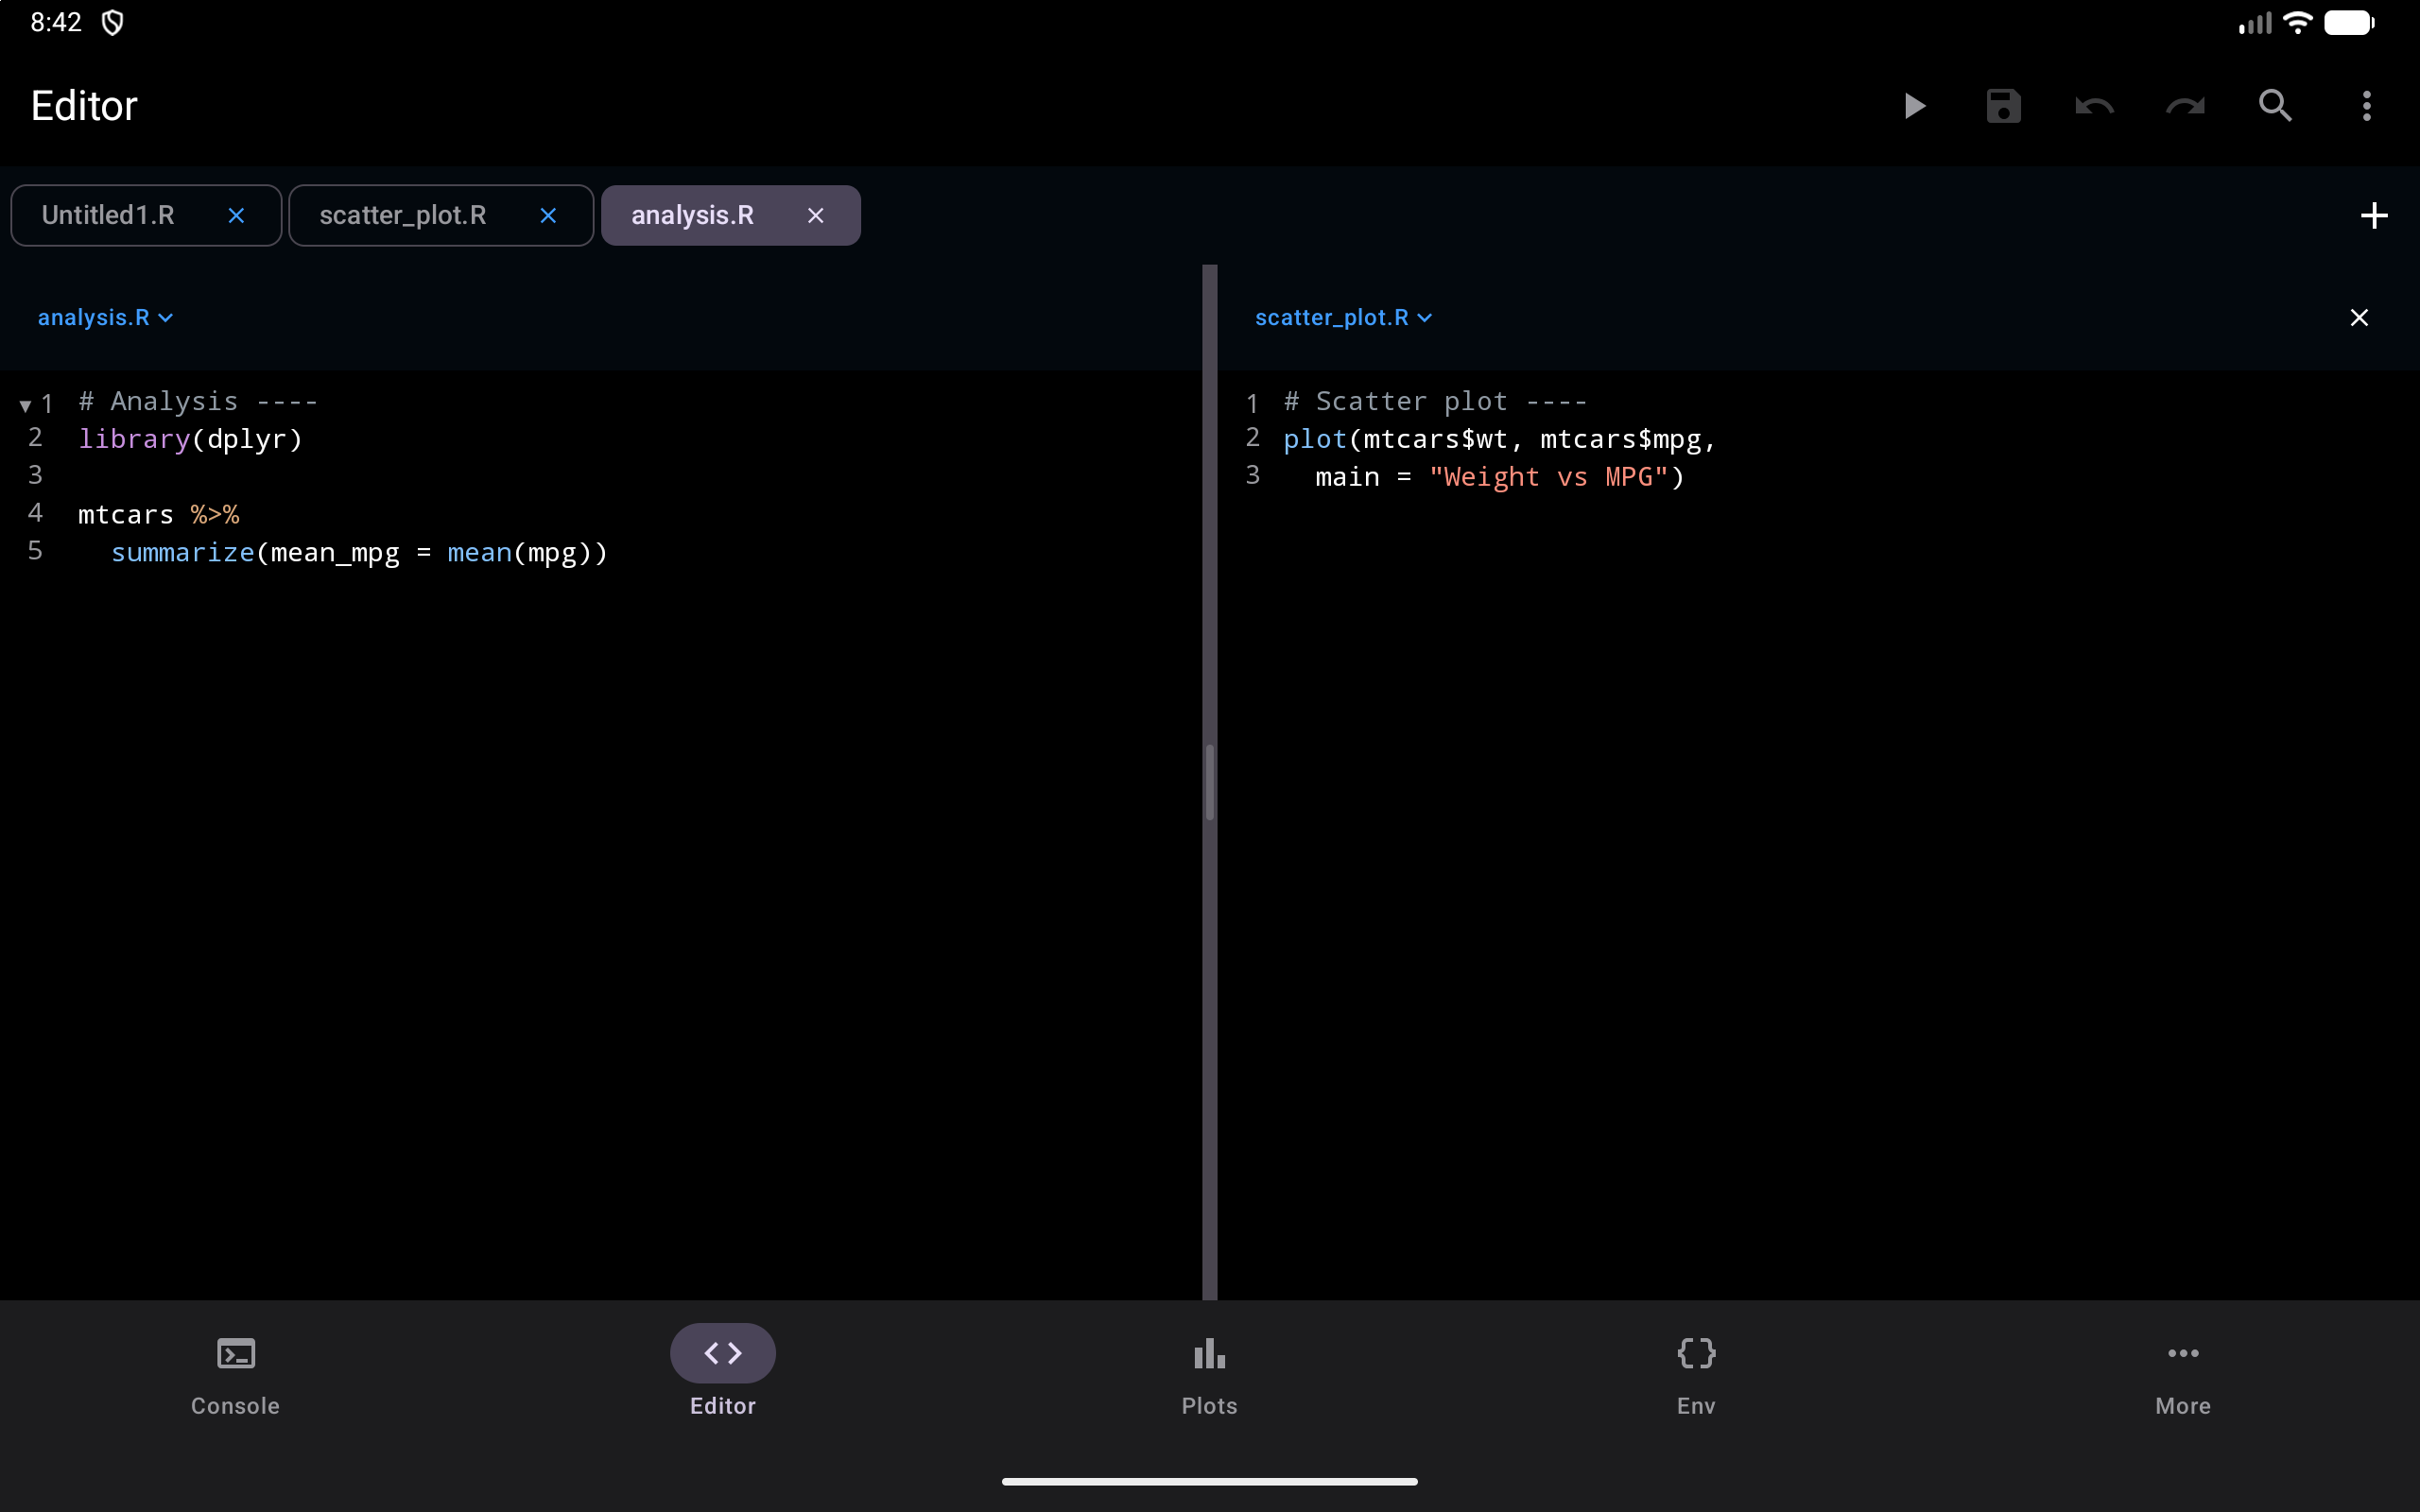
Each pane has a header naming its file; tap the name to choose another open file for that pane. The two panes never show the same file: choosing the file the other pane is showing, in a pane’s header, in the tab bar, or by opening it again from Files, swaps the two files between the panes so both stay in view. After a swap from the tab bar or Files, the file you were typing in keeps the cursor in its new pane, so Save still saves it; a file chosen in a pane’s header is the one you edit next.
You can run code from either pane, and the output panel is shared between them. In the Workspace, both panes run their code in the Console pane. Whatever runs, saves or changes code acts on the pane you are editing, the one you last tapped or typed in: Run, Run Selection, Ctrl+Enter and Ctrl+Shift+Enter; Save, Ctrl+S and Save As; Undo and Redo; Find & Replace; the R Keyboard Toolbar, Alt+-, Ctrl+Shift+M and snippets; Toggle Comment, Duplicate Line and Rename Variable. So do Rename, Export to Gist, Code Outline, Jump to Line and Ctrl+W, which closes the file in that pane. You can pinch to zoom in either pane. Only the left pane folds code, so Fold All and Unfold All act on it from either pane.
Drag the divider between the panes, by touch, mouse or trackpad, to give one of them more room, anywhere from a quarter to three quarters of the width. Over the divider, a mouse pointer turns into a left-right resize arrow. With a hardware keyboard, move focus to the divider and use the Left and Right arrow keys.
To close the split, choose Close Split View in the editor actions menu, or tap the X in the right pane’s header. Closing the right pane’s file closes the split too. Closing the left pane’s file shows the next open file in the left pane and leaves the right pane as it is; if the right pane’s file is the only one left, the split closes and that file fills the Editor.
If the panes feel cramped on a phone, turn it sideways, or drag the divider to give the file you are editing more room.