History
The History screen keeps a complete record of every R command you have executed, whether from the Console or the Editor. You can search past commands, filter by source or outcome, review execution statistics, and send any previous command back to the Console or Editor with a single tap.
Overview
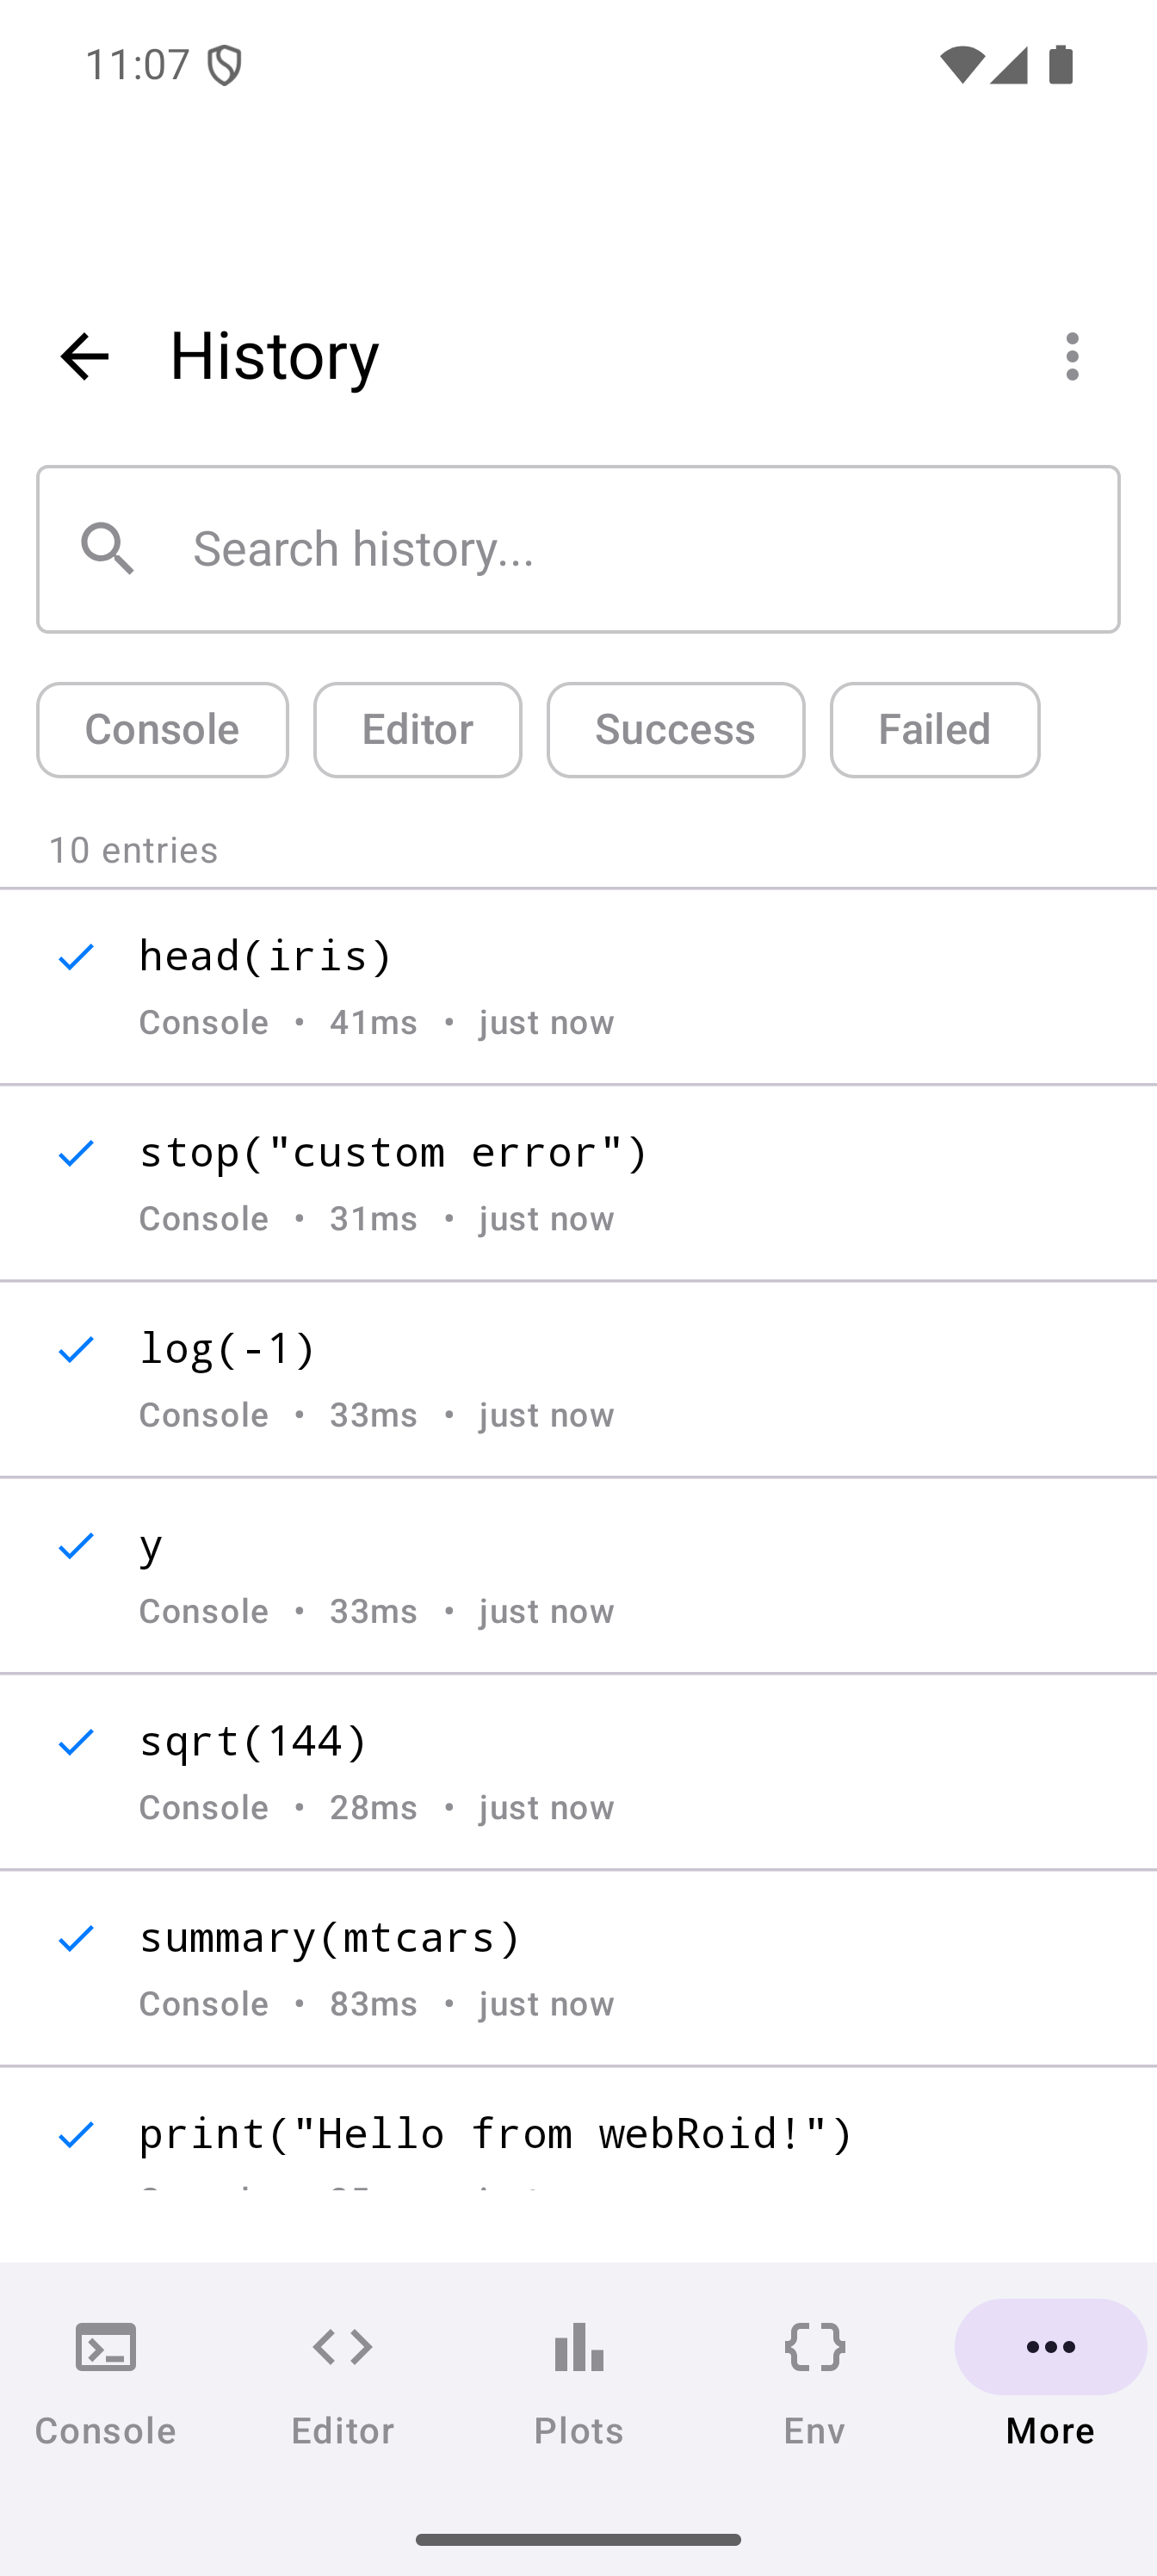
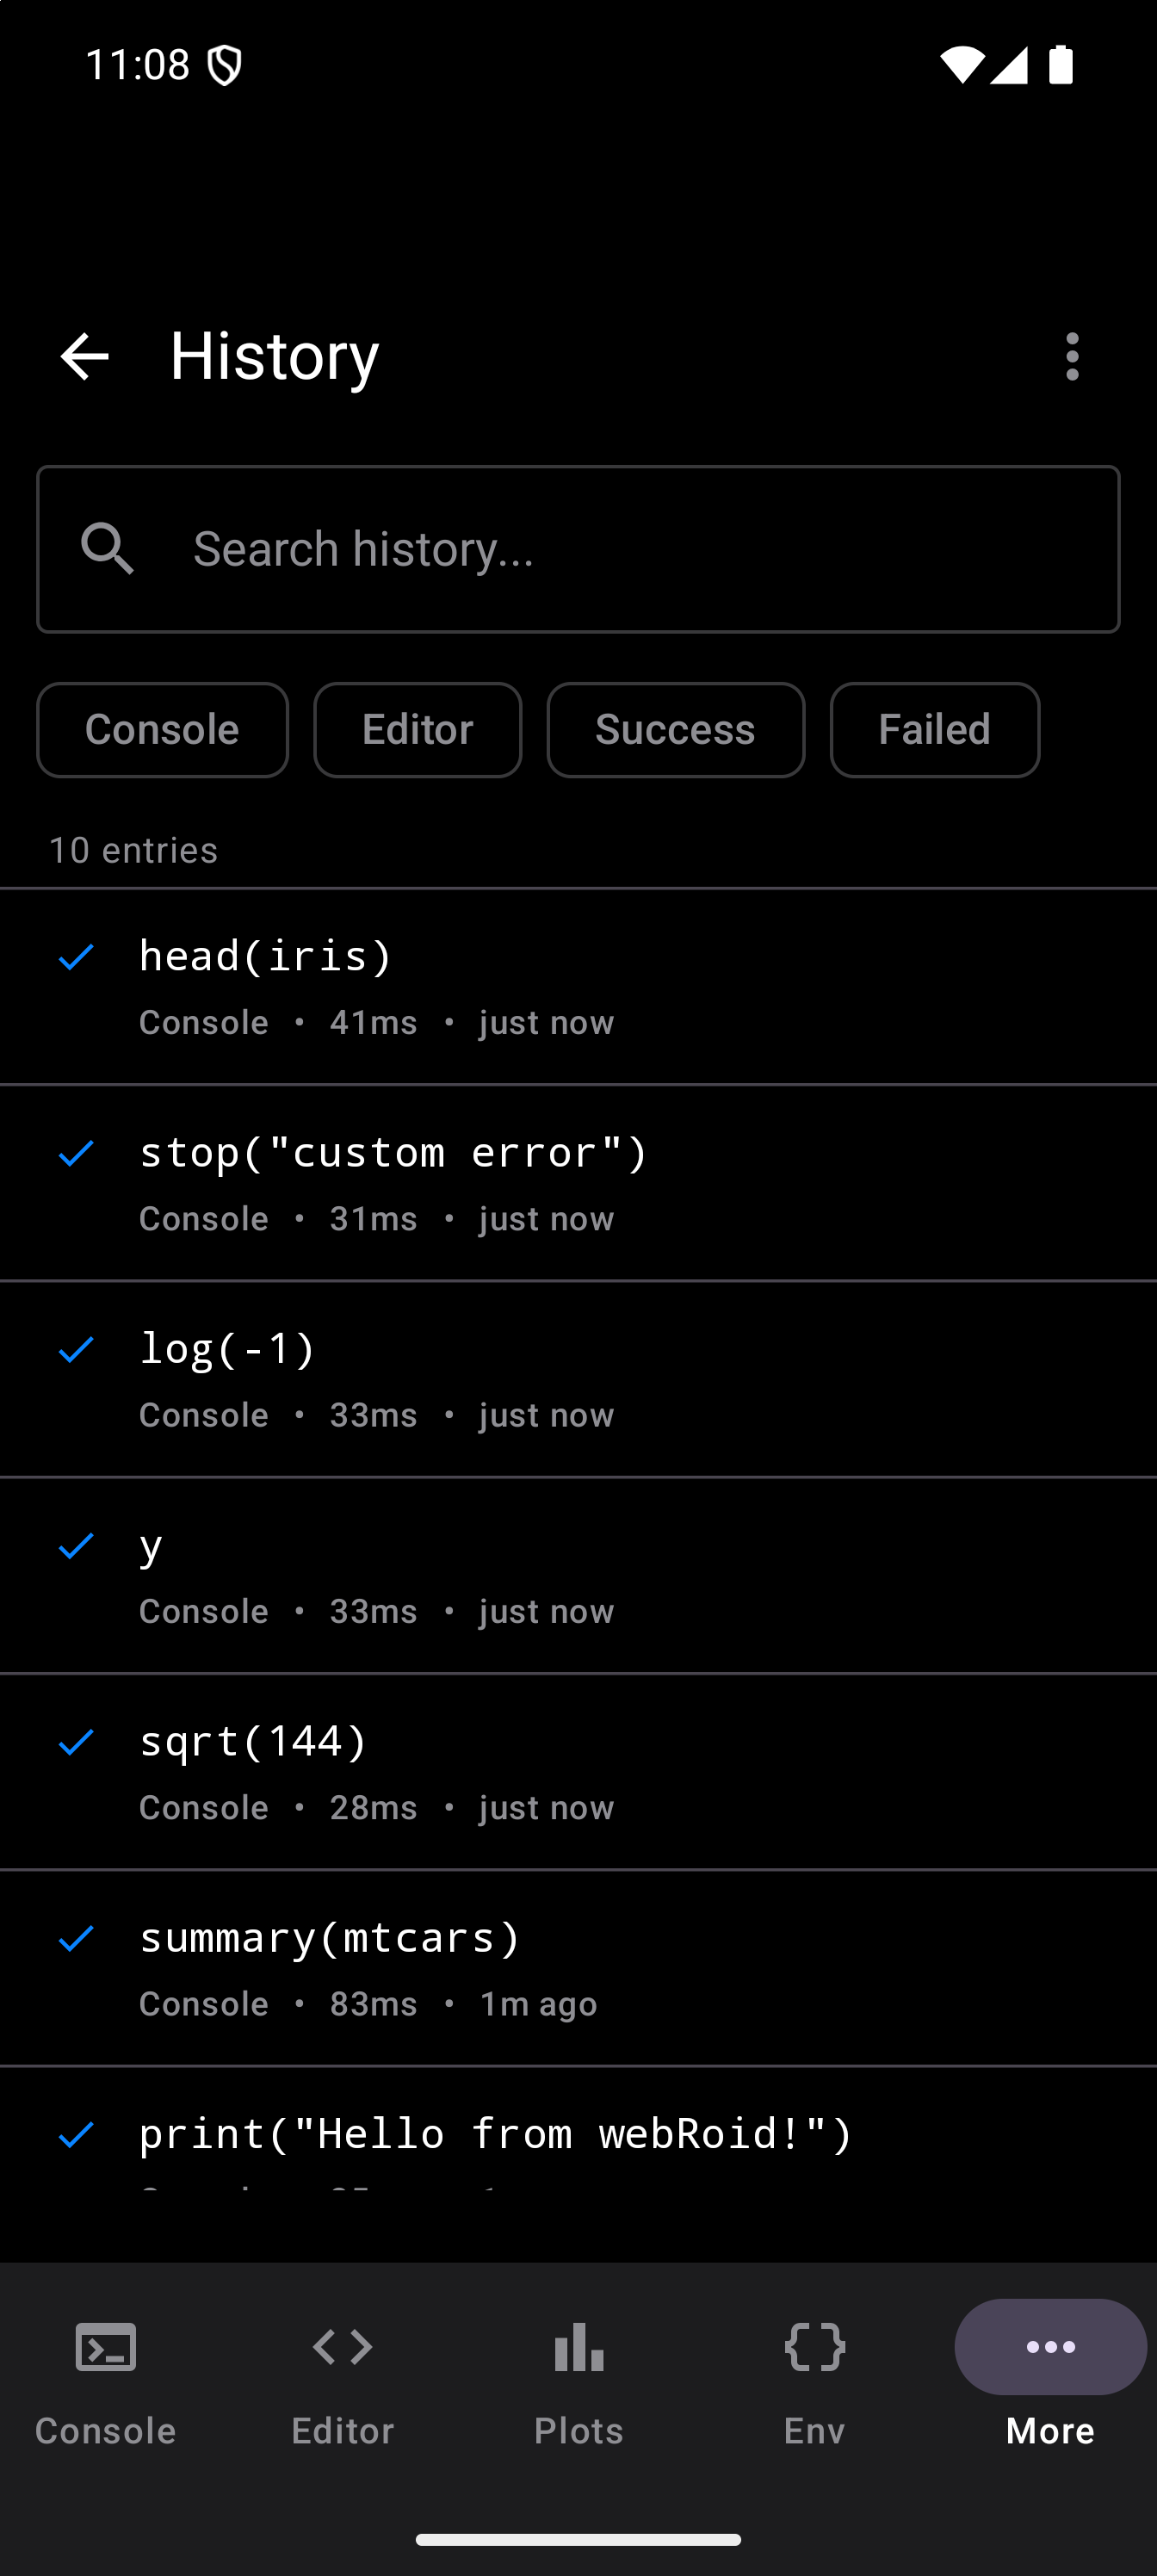
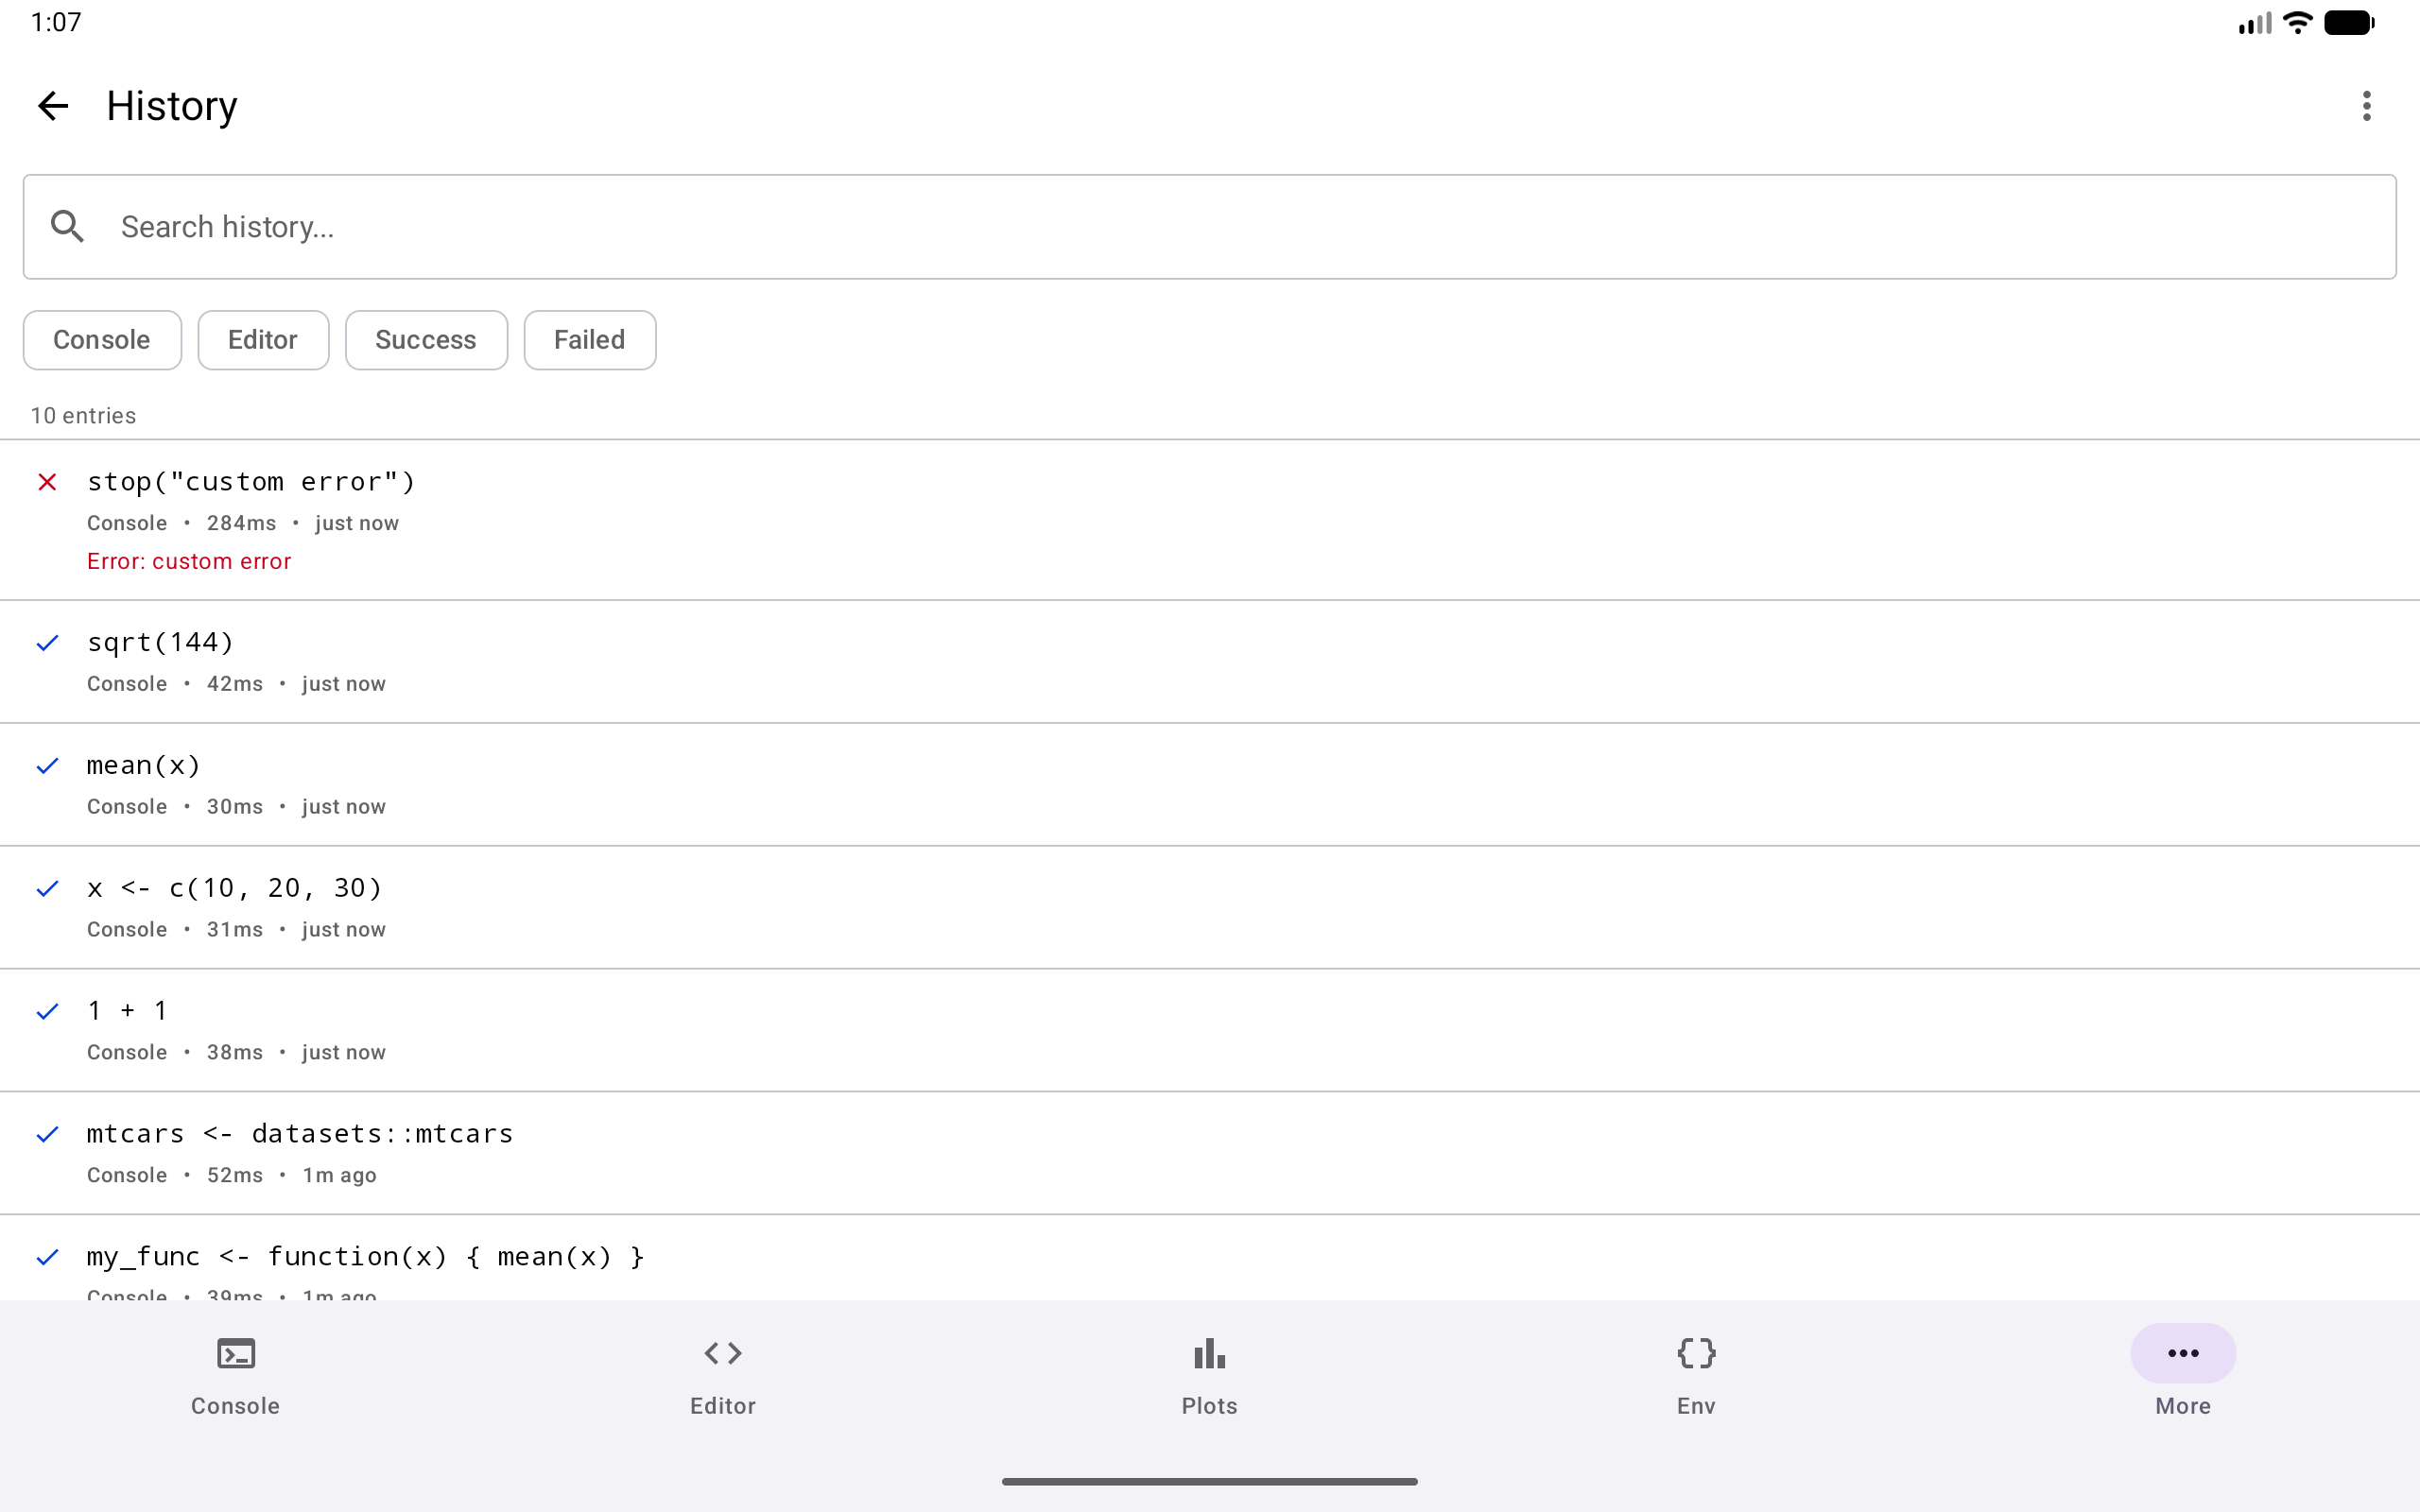
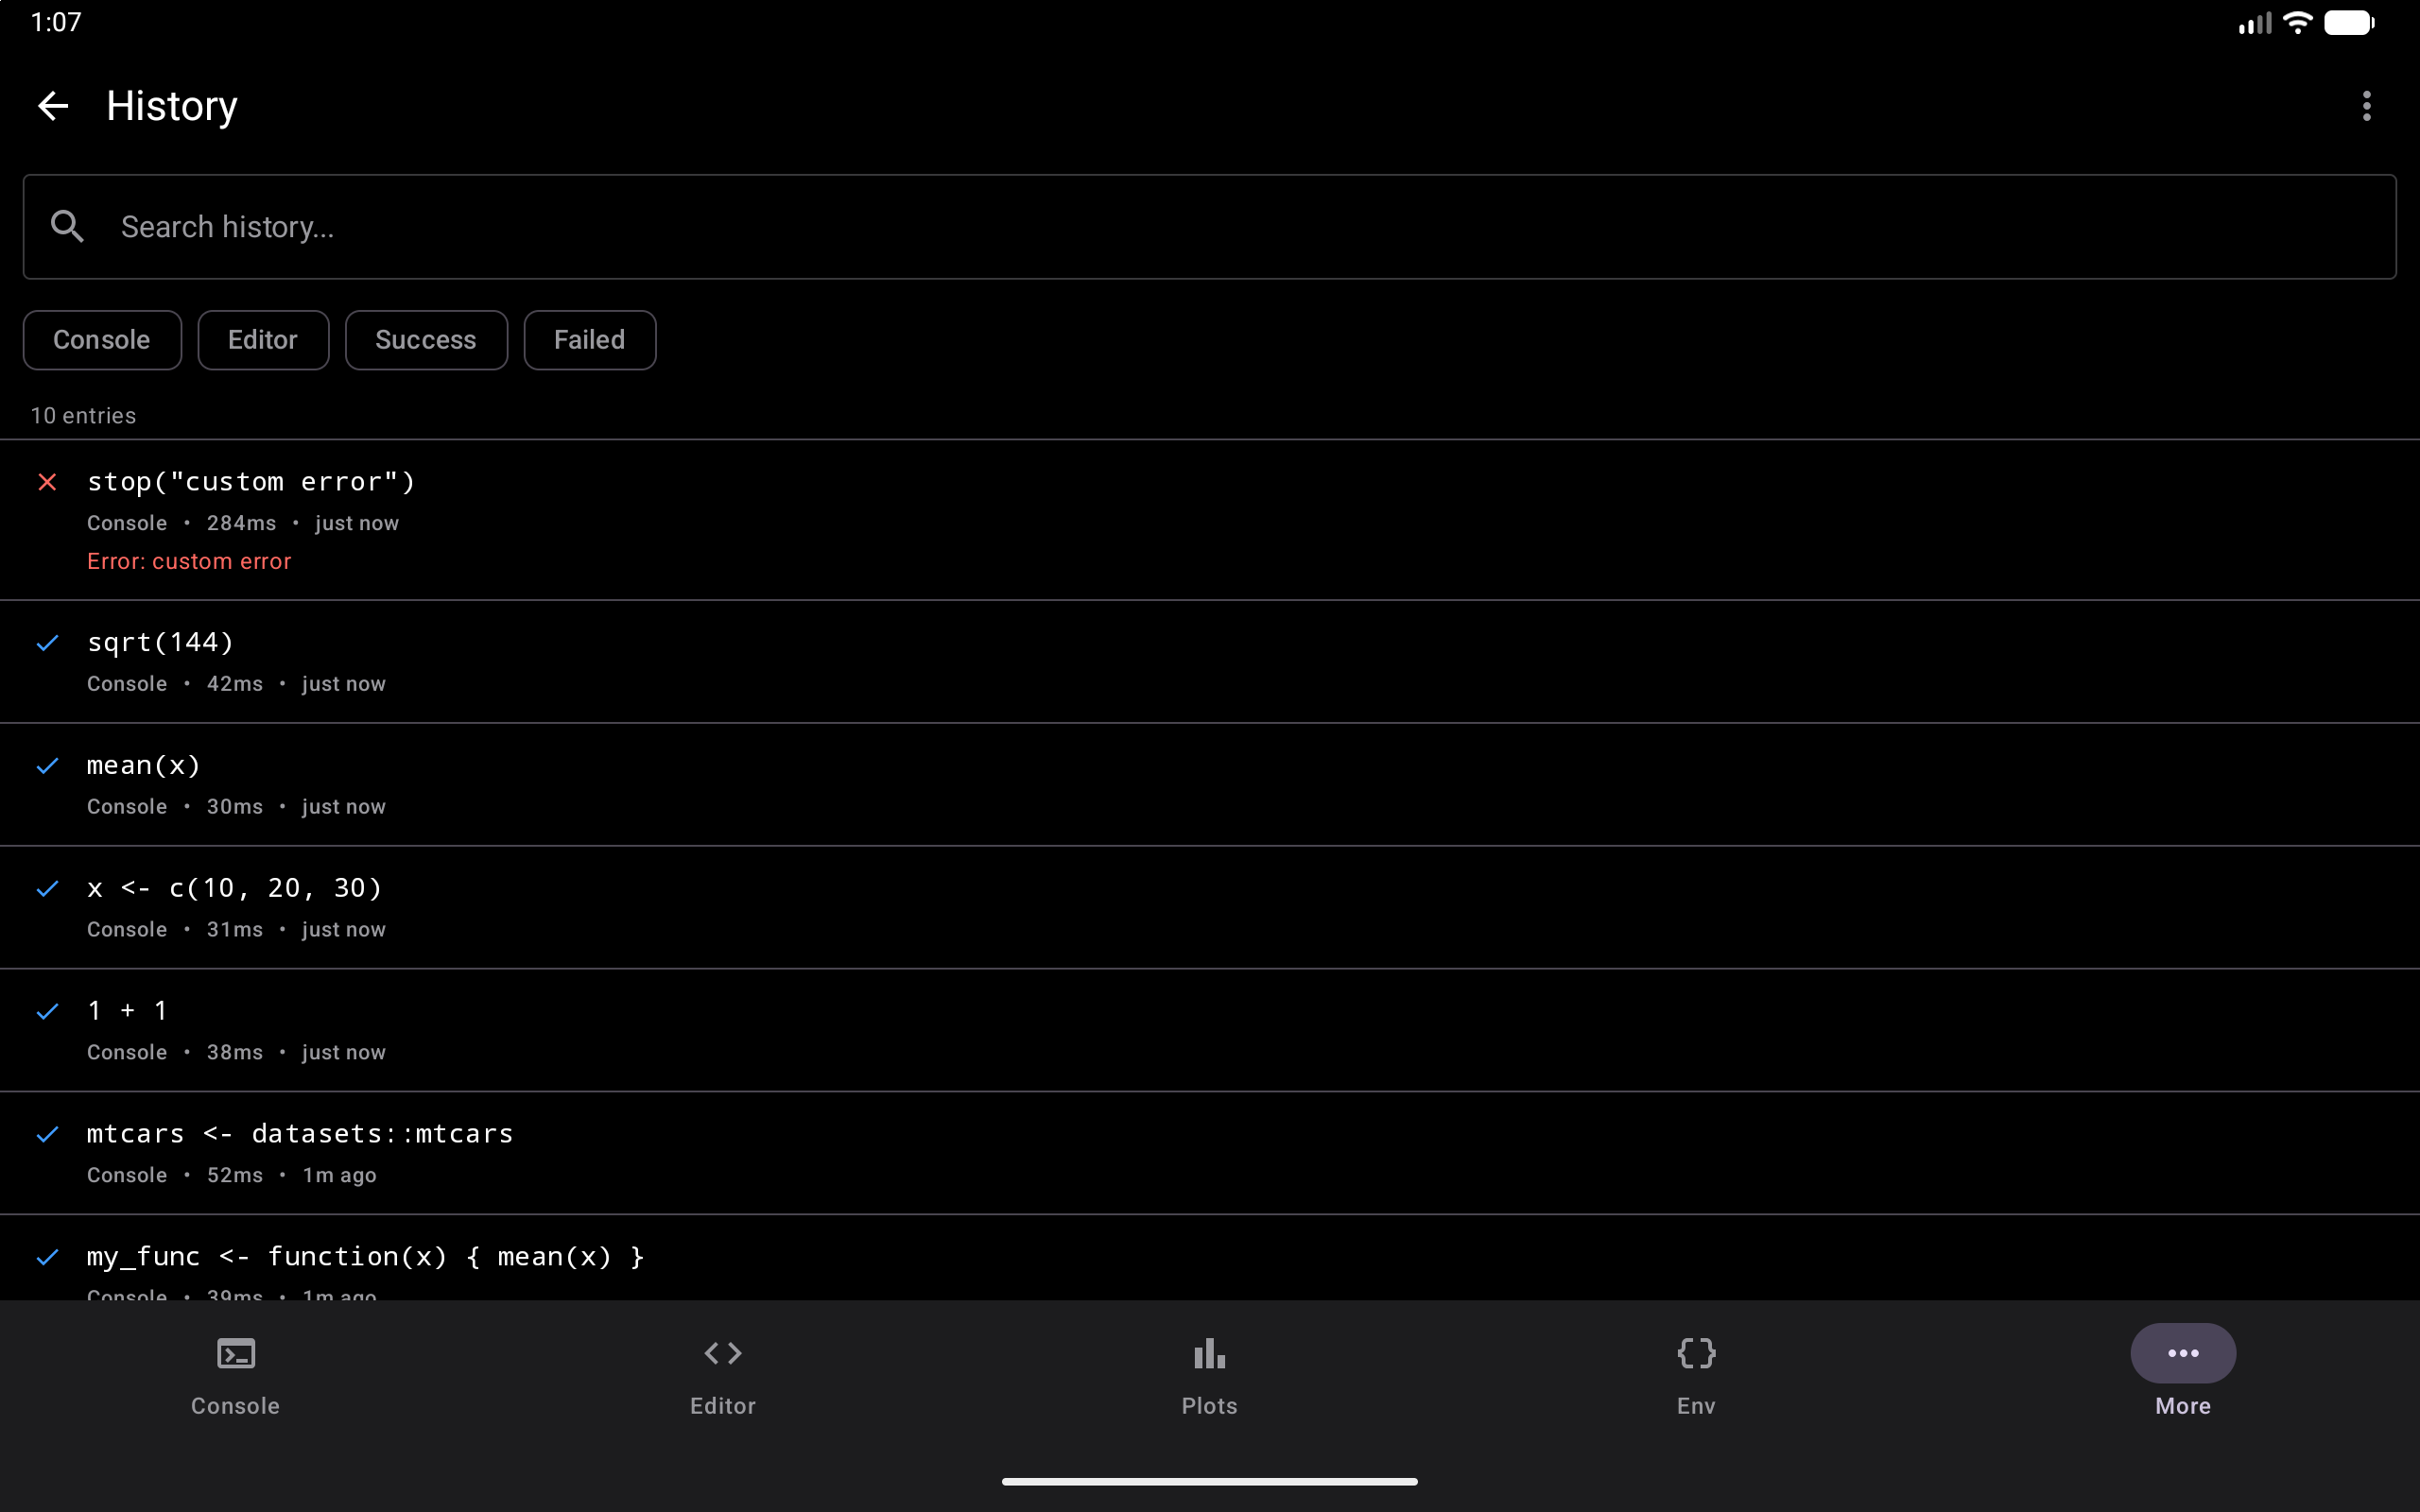
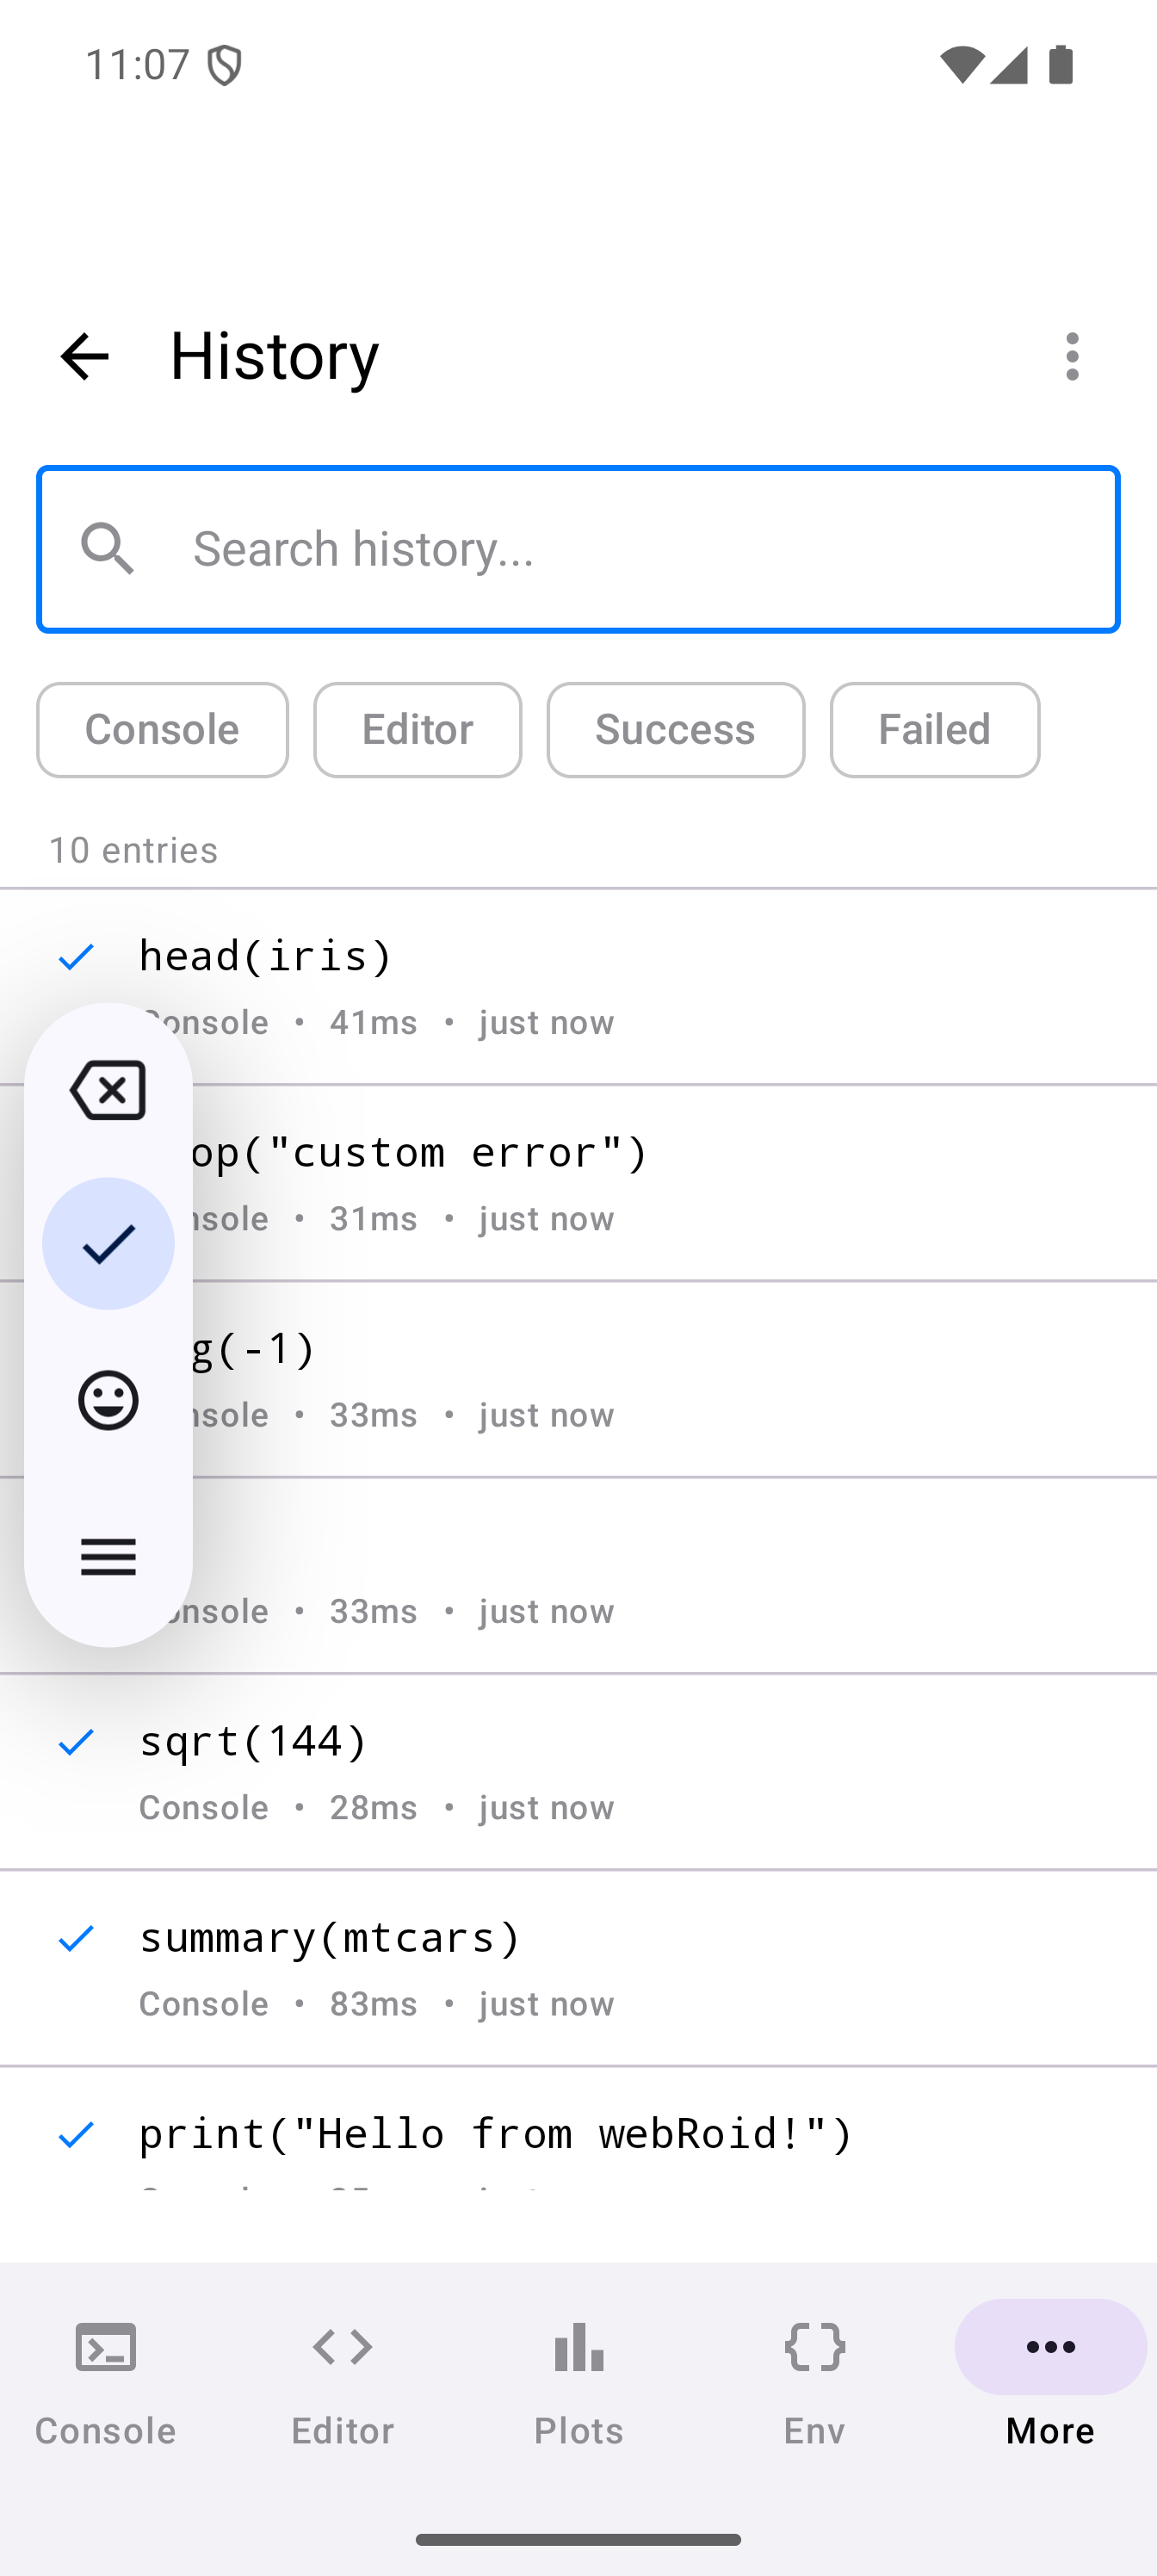
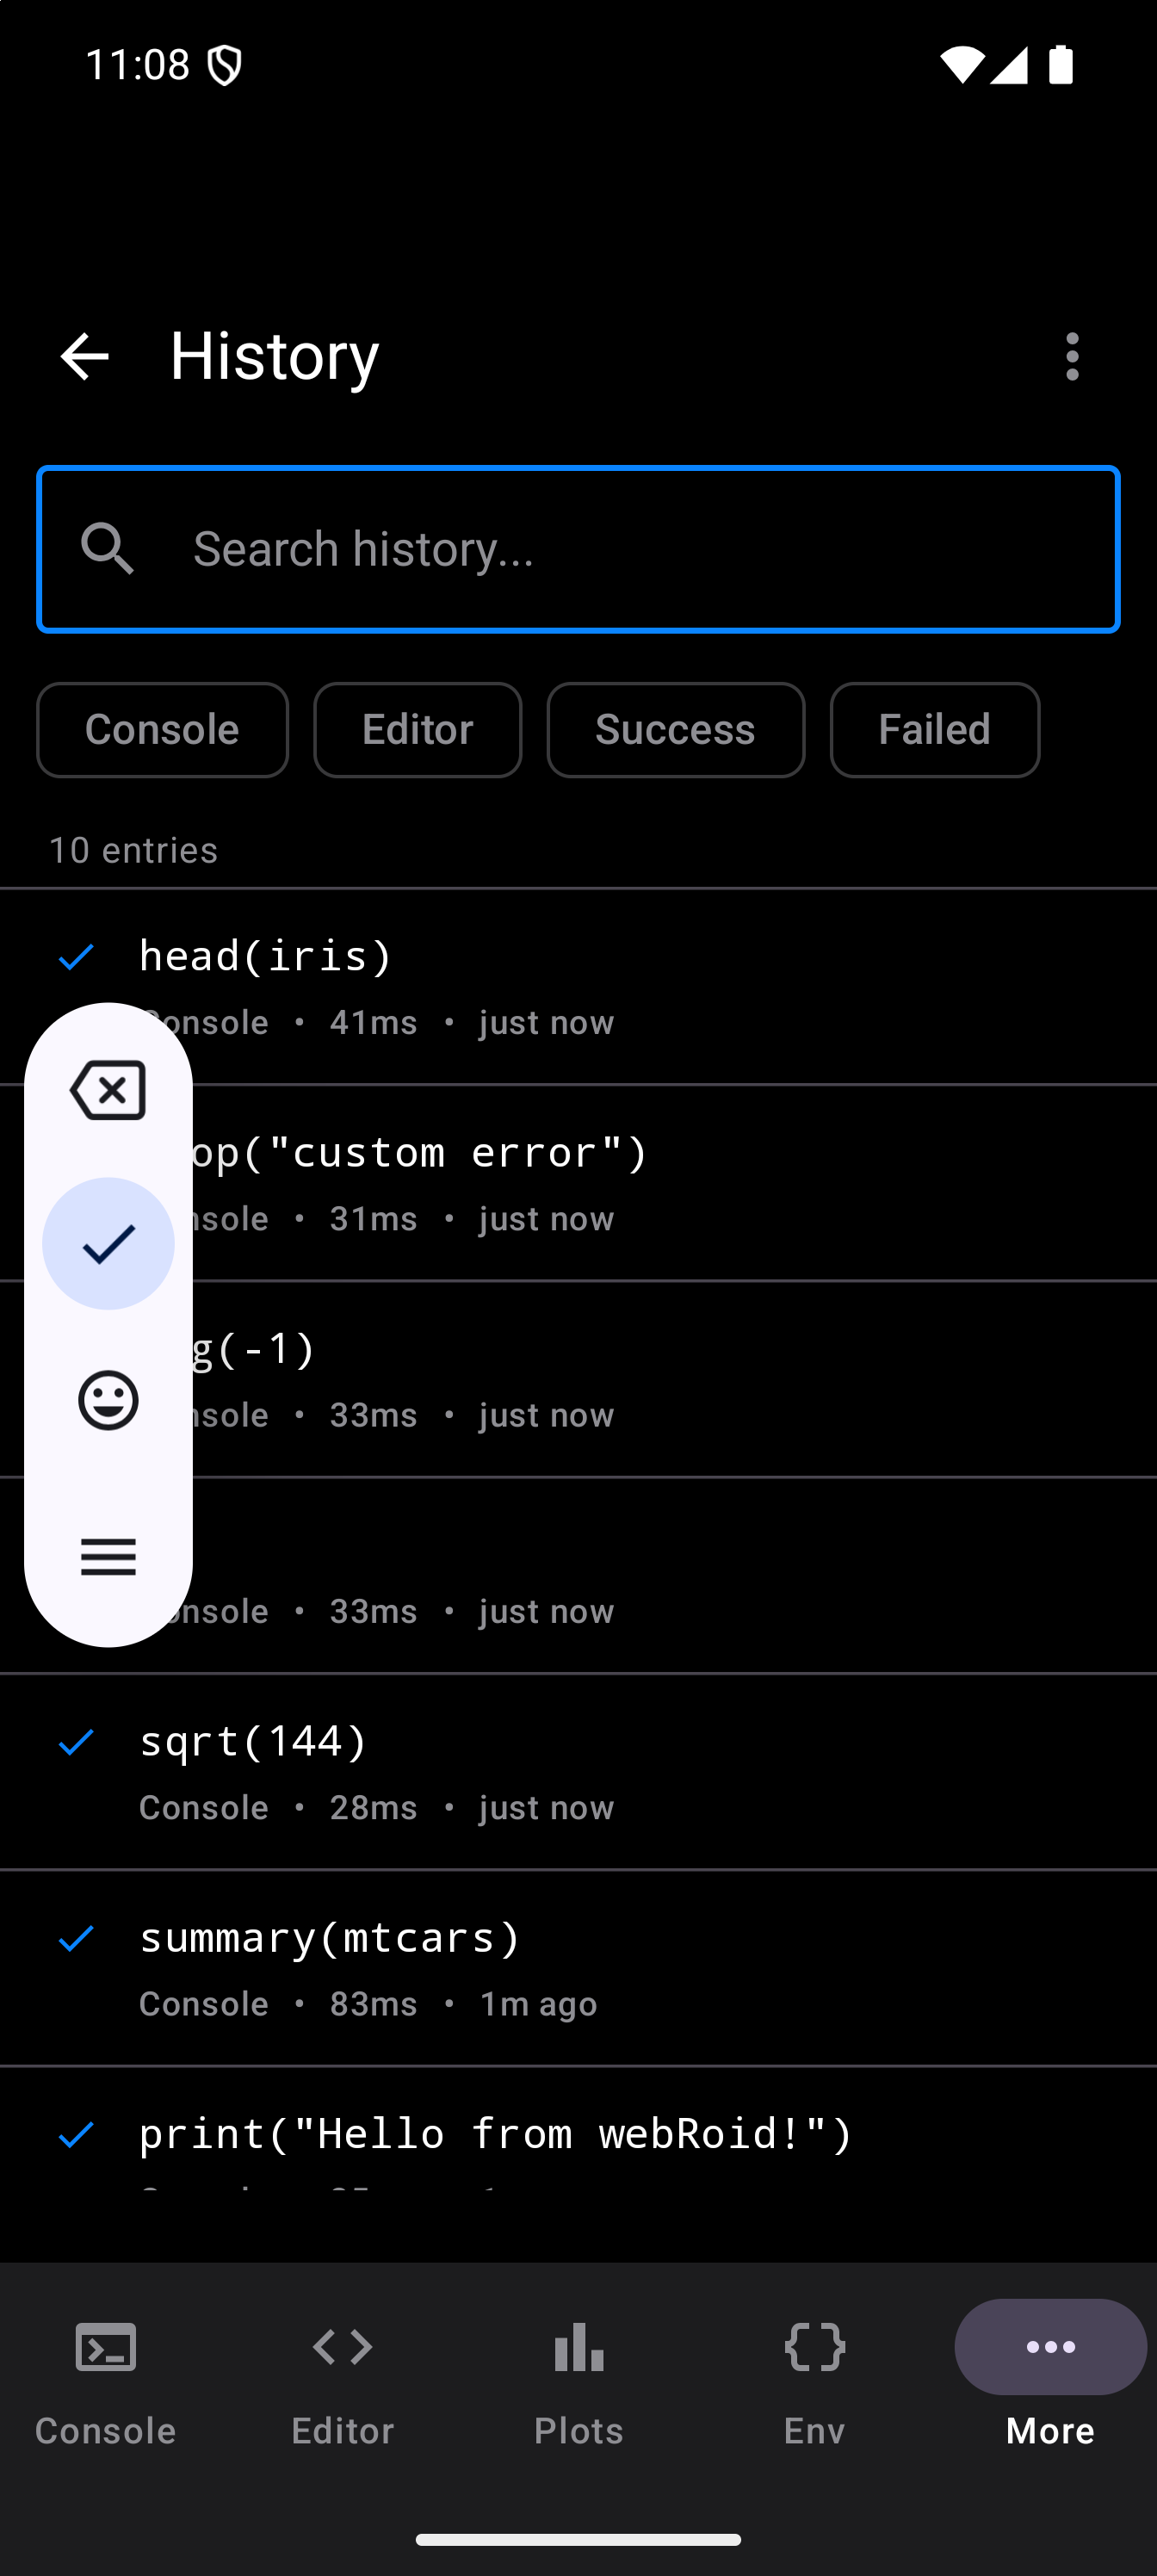
The History screen has the following layout:
- Title bar showing “History” with a back arrow and an overflow menu (three-dot icon)
- Search bar for filtering entries by keyword
- Filter chips for narrowing results by source (Console, Editor) and outcome (Success, Failed)
- Entry count showing how many entries match the current filters
- Entry list with each row showing a code preview, source label, execution duration, relative timestamp, and a success or failure icon
Accessing History
Navigate to More > History to open the History screen, or open it from Settings > Support > Execution History.
The Console has its own, smaller history search: the magnifier beside the input field searches the commands you have typed there and puts one back in the input. It does not open this screen. See History Navigation.
Entry List
Each entry in the list displays:
| Element | Description |
|---|---|
| Status icon | A checkmark (success) or an X (failure) on the left side of the row |
| Code preview | The first line of the command, truncated if it exceeds 50 characters |
| Source label | “Console” or “Editor”, indicating where the command was run (a run from the Workspace’s Editor pane says “Console”) |
| Duration | How long the command took (e.g., “42ms”, “1.3s”) |
| Relative time | When the command was run (e.g., “5m ago”, “2h ago”, “3d ago”, or a date like “Mar 1”) |
| Error preview | For failed commands, a one-line preview of the error message appears below the metadata |
Tap any entry to open its detail sheet. Swipe an entry from right to left to delete it, as described in Swipe to Delete. If you would rather not swipe, the detail sheet has a Delete button, and TalkBack offers Delete in its actions menu on each row.
Searching
The search bar at the top of the screen filters entries in real time as you type. The search checks against:
- The command code itself
- Output summaries (if present)
- Error messages (if present)
Matching is case-insensitive. Tap the clear button (X icon) in the search field to reset the search.
Filtering
Below the search bar, four filter chips let you narrow the list:
| Chip | Effect |
|---|---|
| Console | Show only commands run from the Console |
| Editor | Show only commands run from the Editor |
| Success | Show only commands that completed without errors |
| Failed | Show only commands that produced errors |
In the Workspace, code you run from the Editor pane runs in the Console pane, so each run is one entry under Console, not Editor.
Filters are toggles: tap a chip to activate it, tap it again to deactivate it. You can combine one source filter with one outcome filter (e.g., “Console” + “Failed” to see only failed console commands).
When any filter is active, a Clear button appears at the end of the chip row. Tap it to reset all filters and the search query at once.
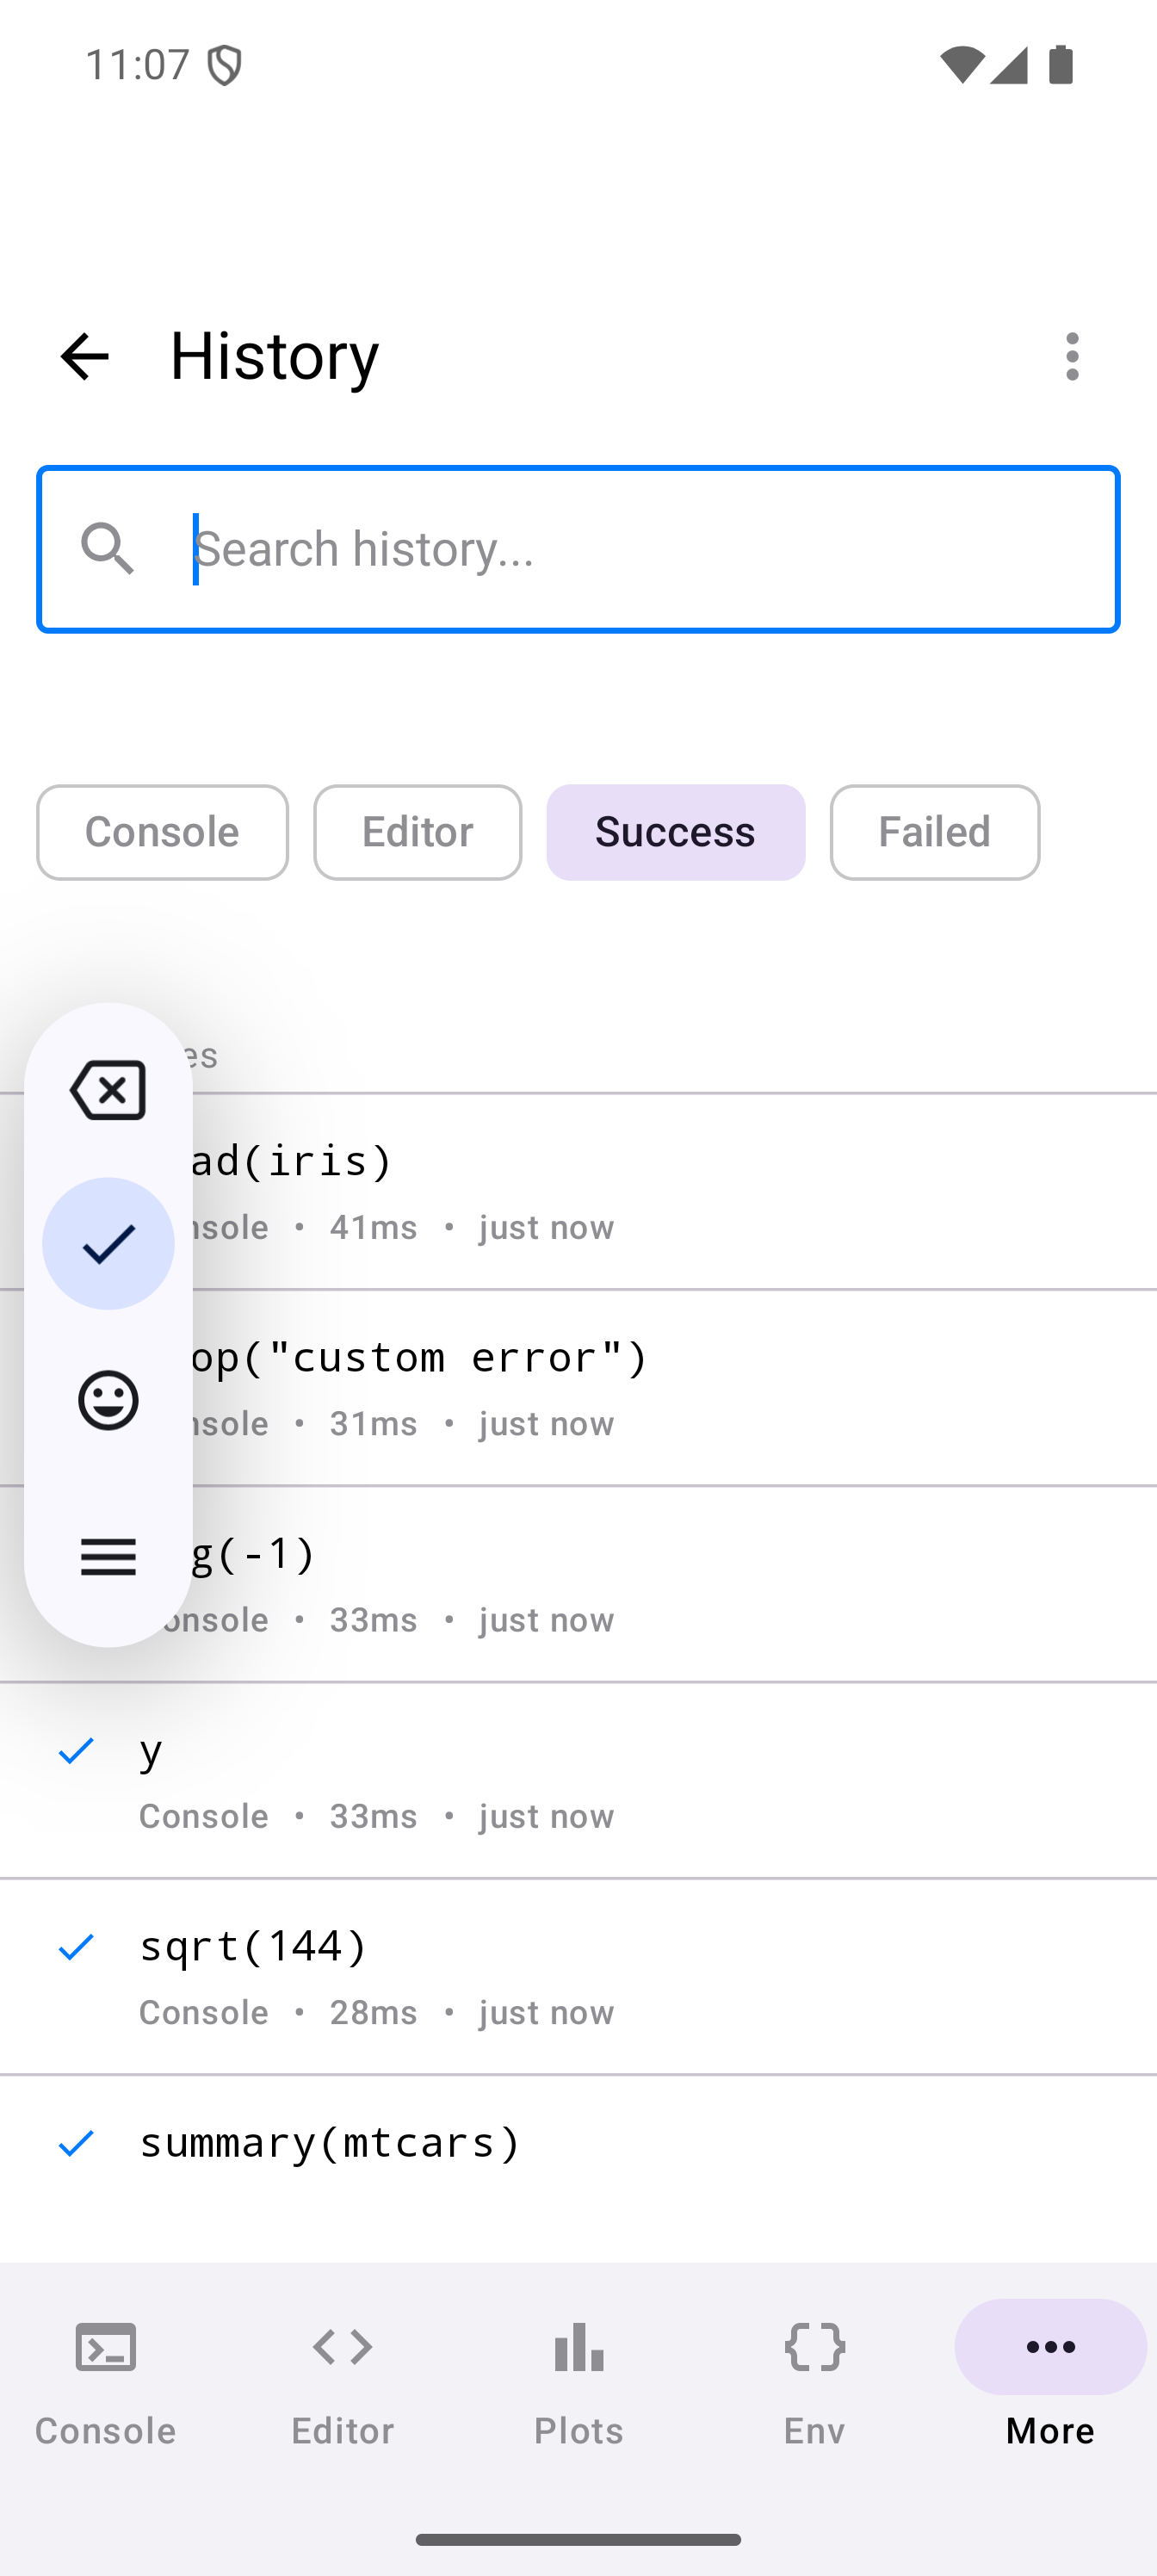
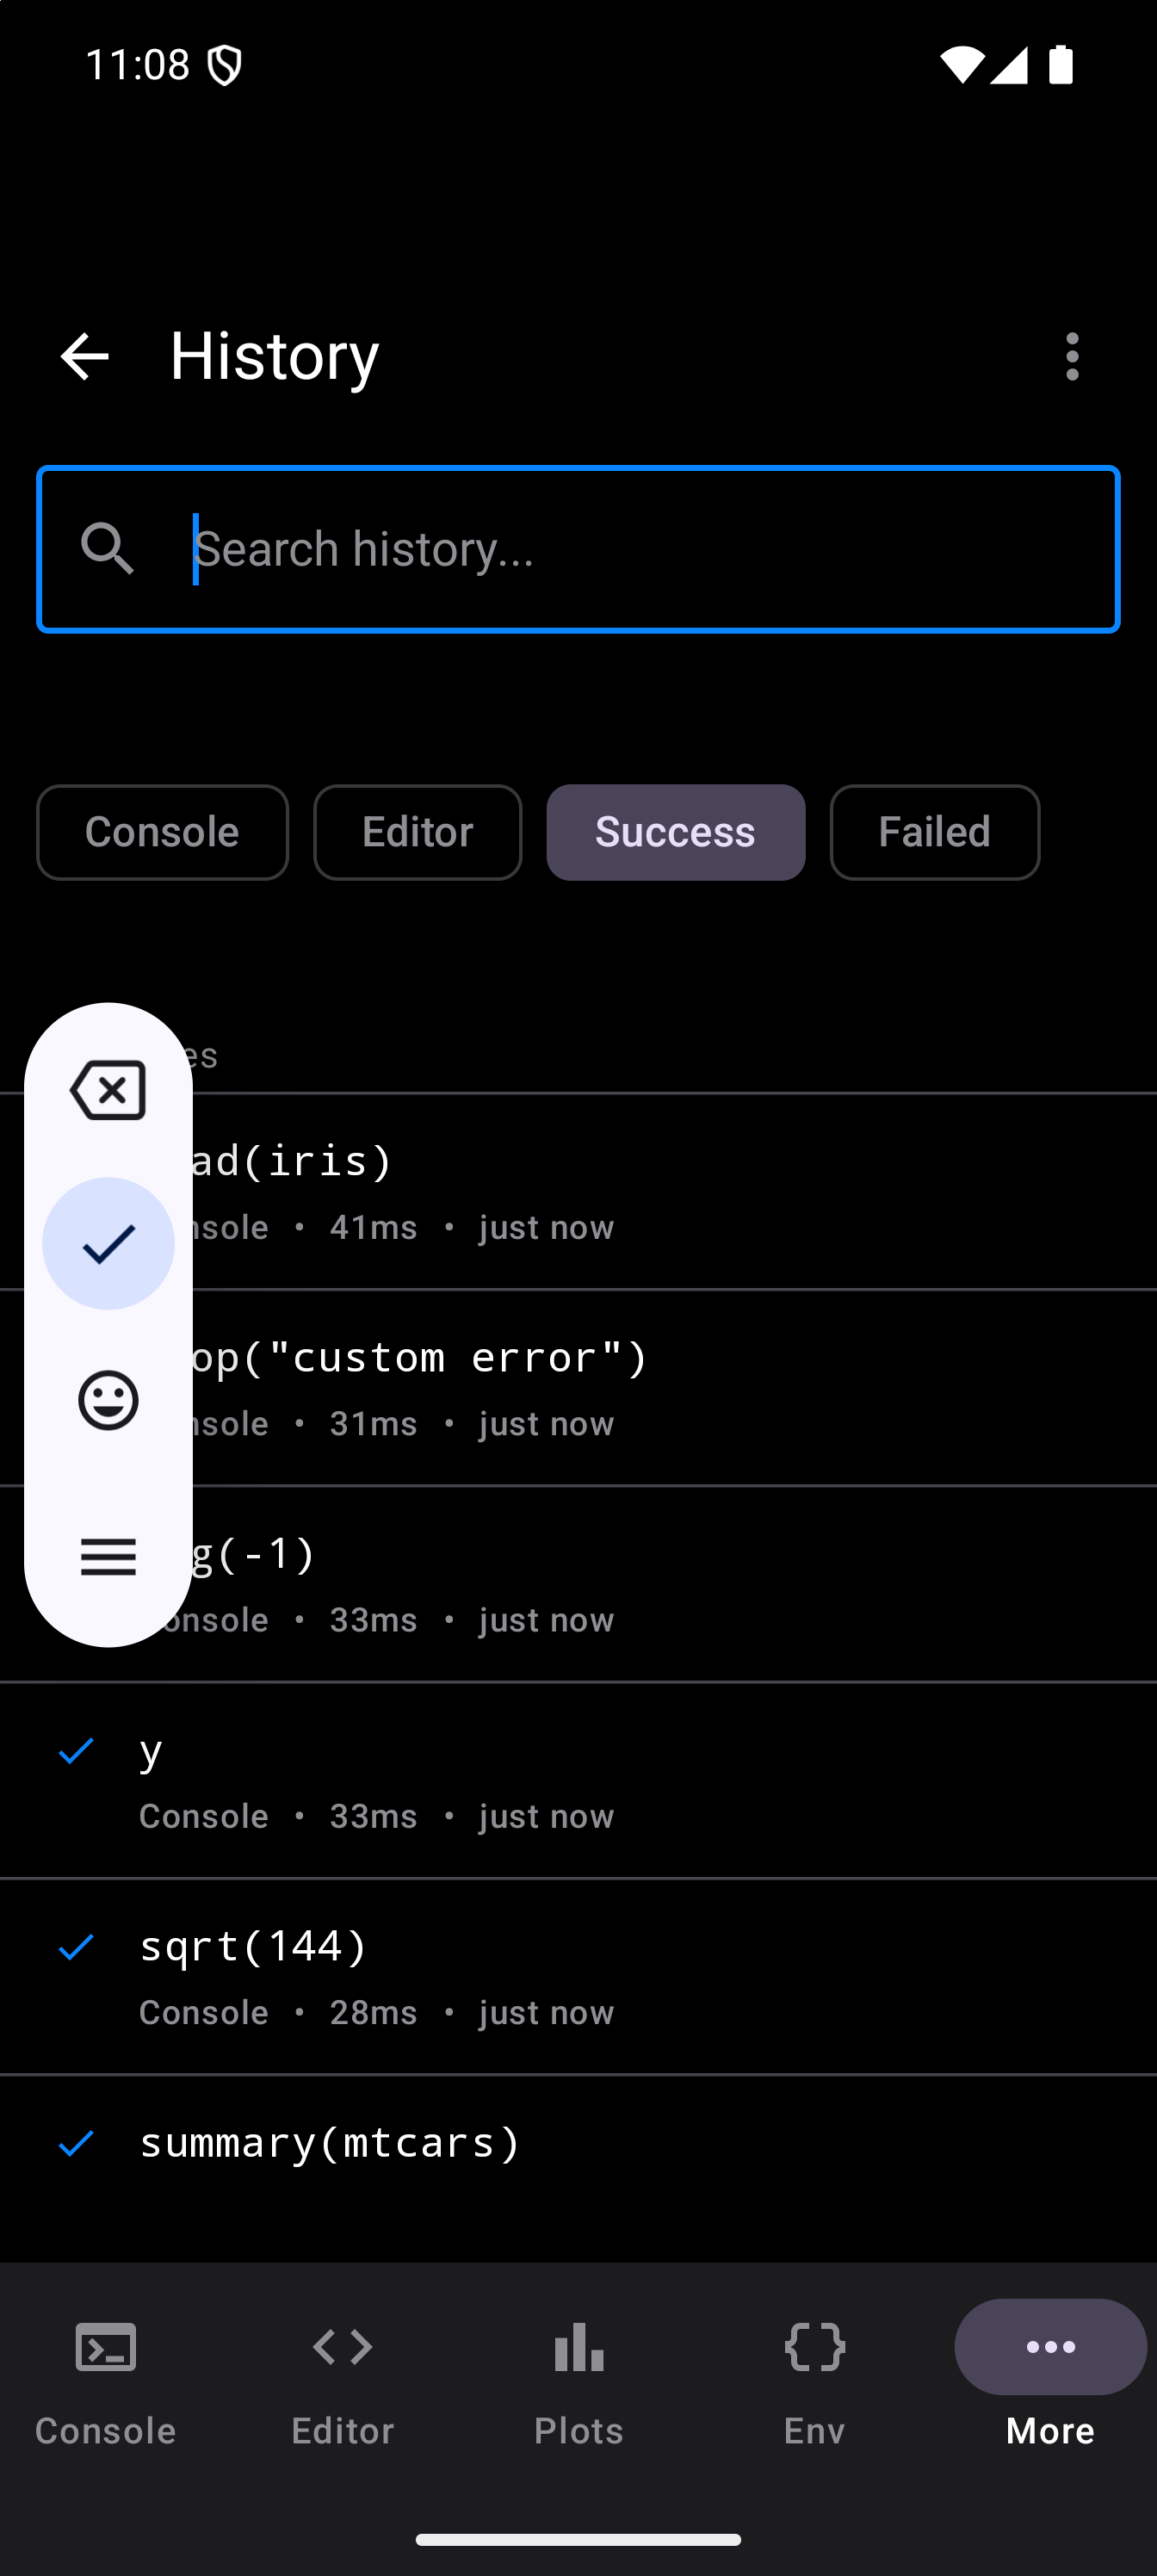
The entry count below the filter row updates to reflect the number of matching entries (e.g., “12 entries” or “1 entry”).
Entry Details
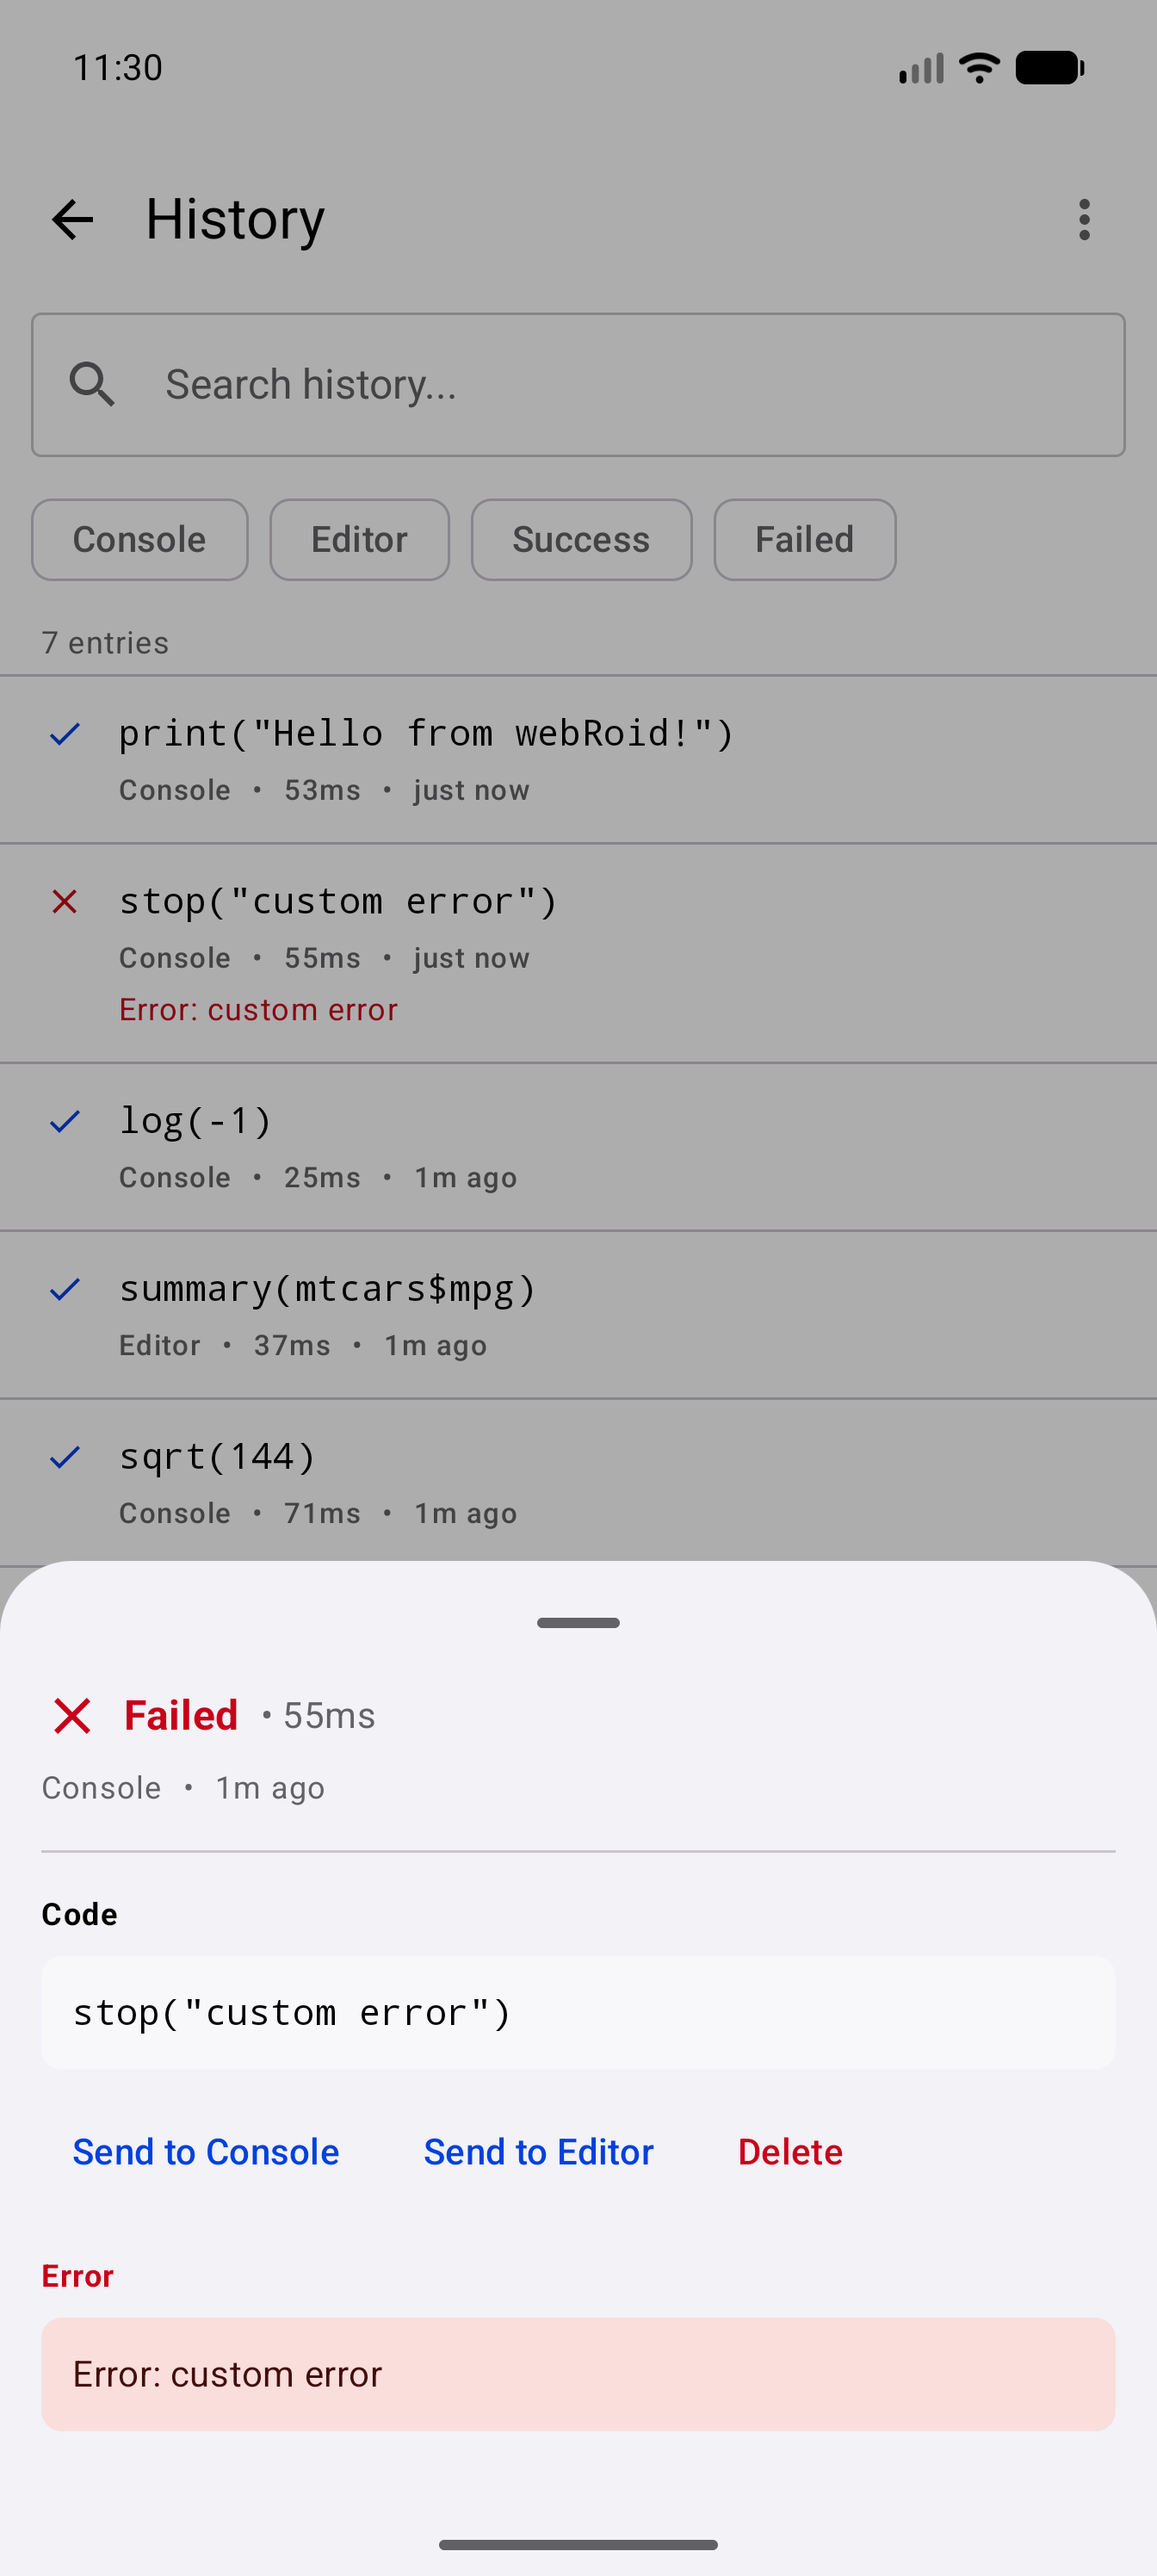
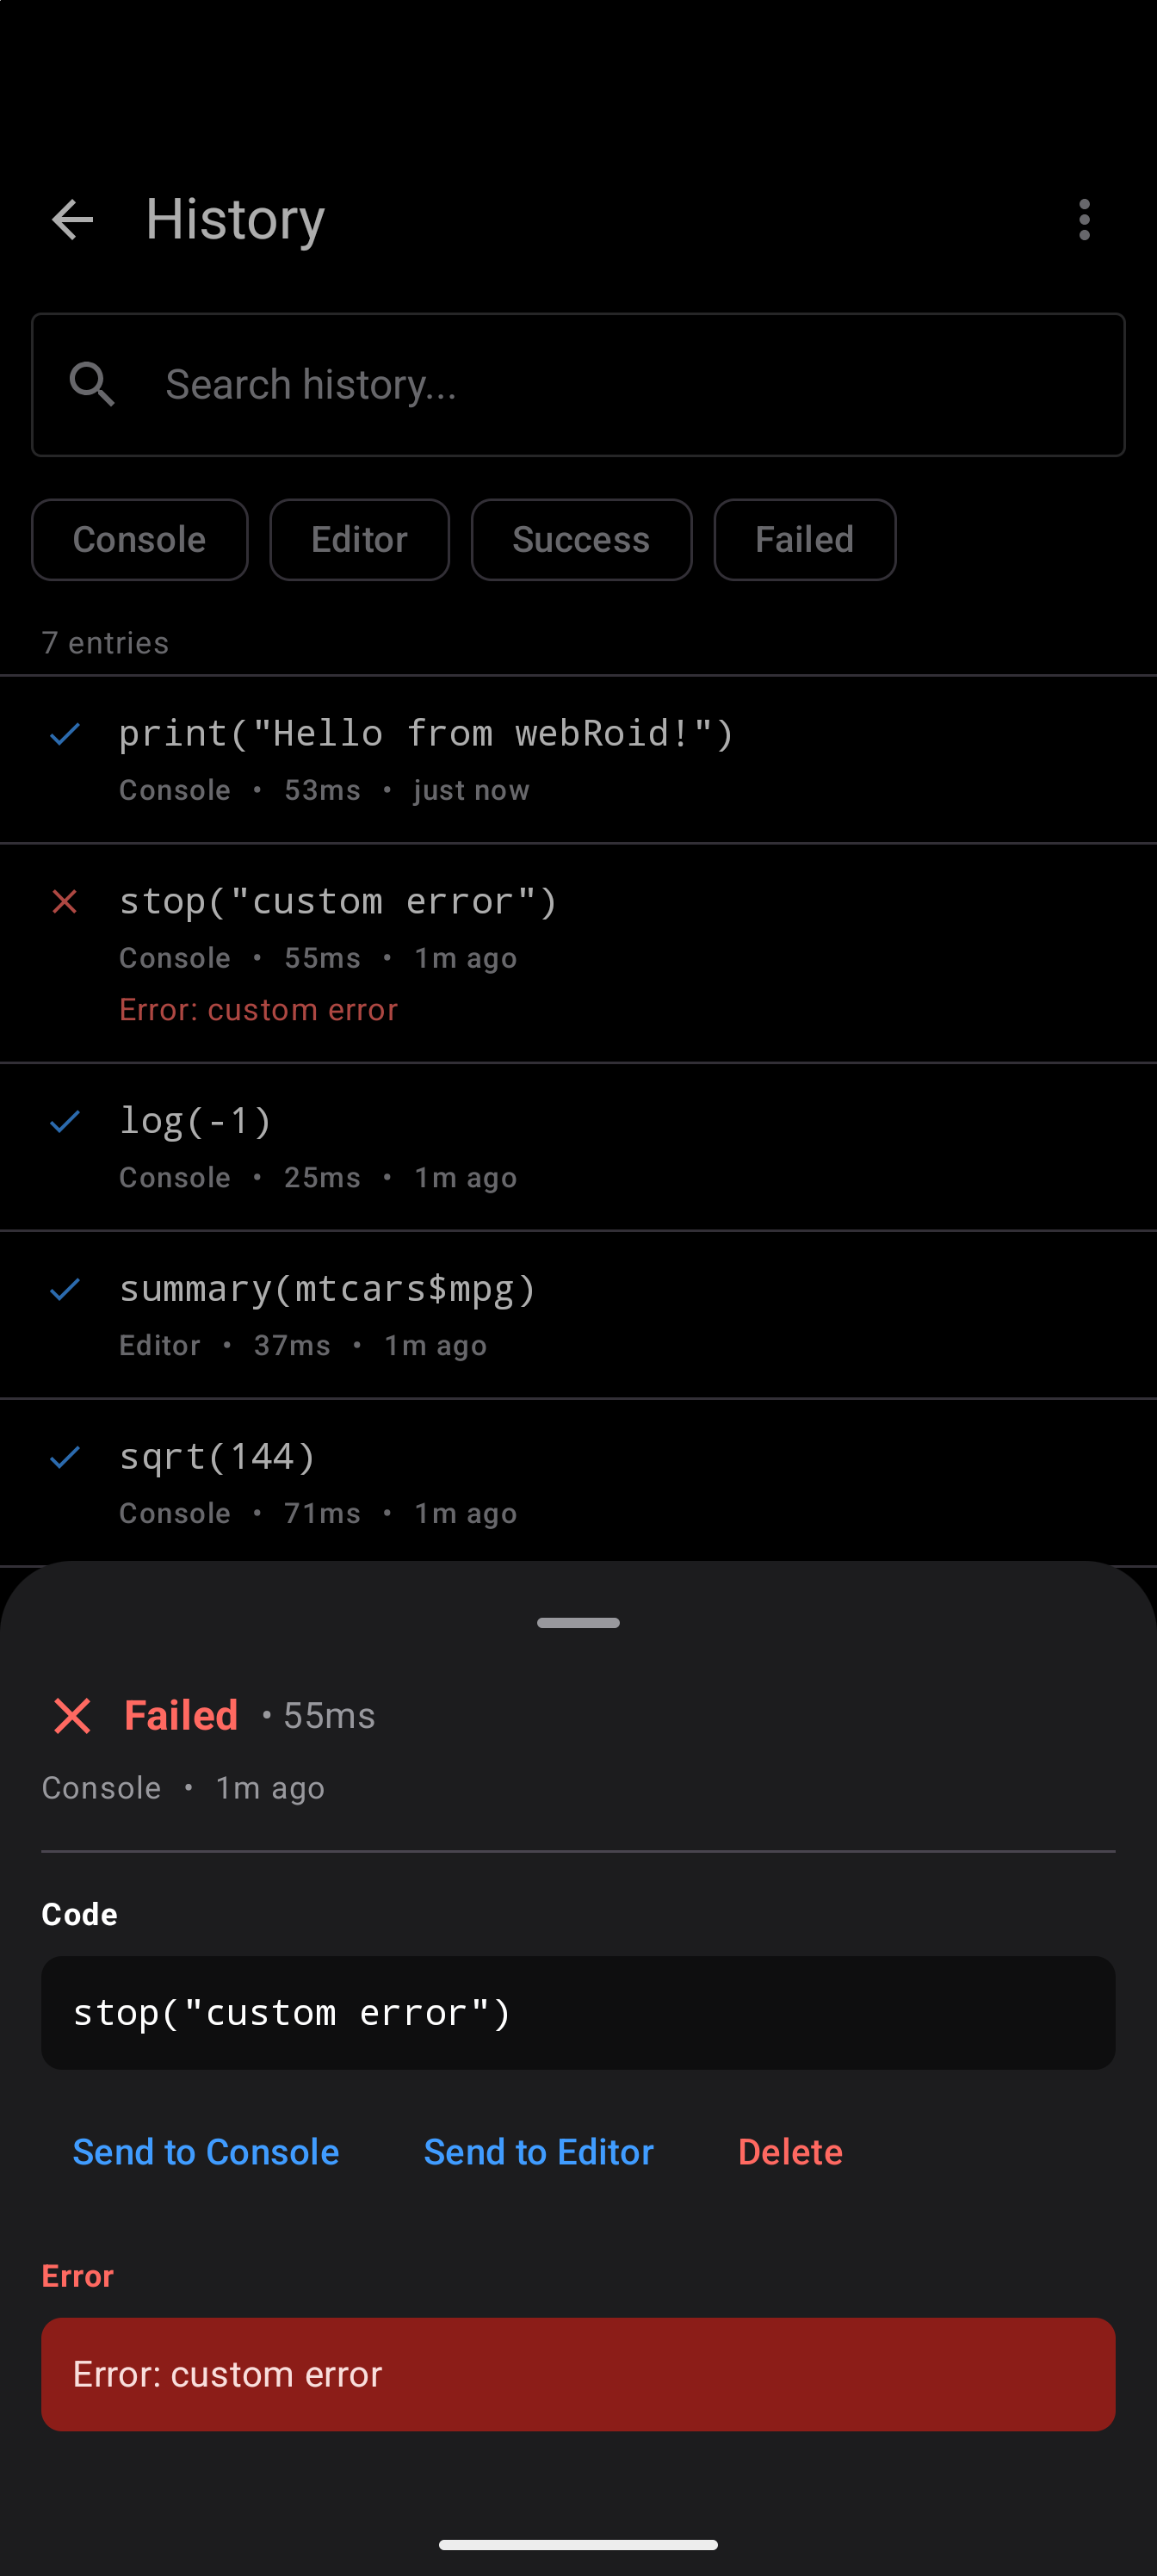
Tapping an entry opens a bottom sheet with full details:
- Status header showing “Success” or “Failed” with the execution duration
- Source and timestamp (e.g., “Console • 5m ago”)
- Code section with the full command displayed in a monospaced font on a shaded background
- Action buttons to send the code to the Console or Editor, and Delete to remove the entry
- Error section (for failed commands) showing the complete error message on a red-tinted background
- Output section (when available) showing a summary of the command’s output
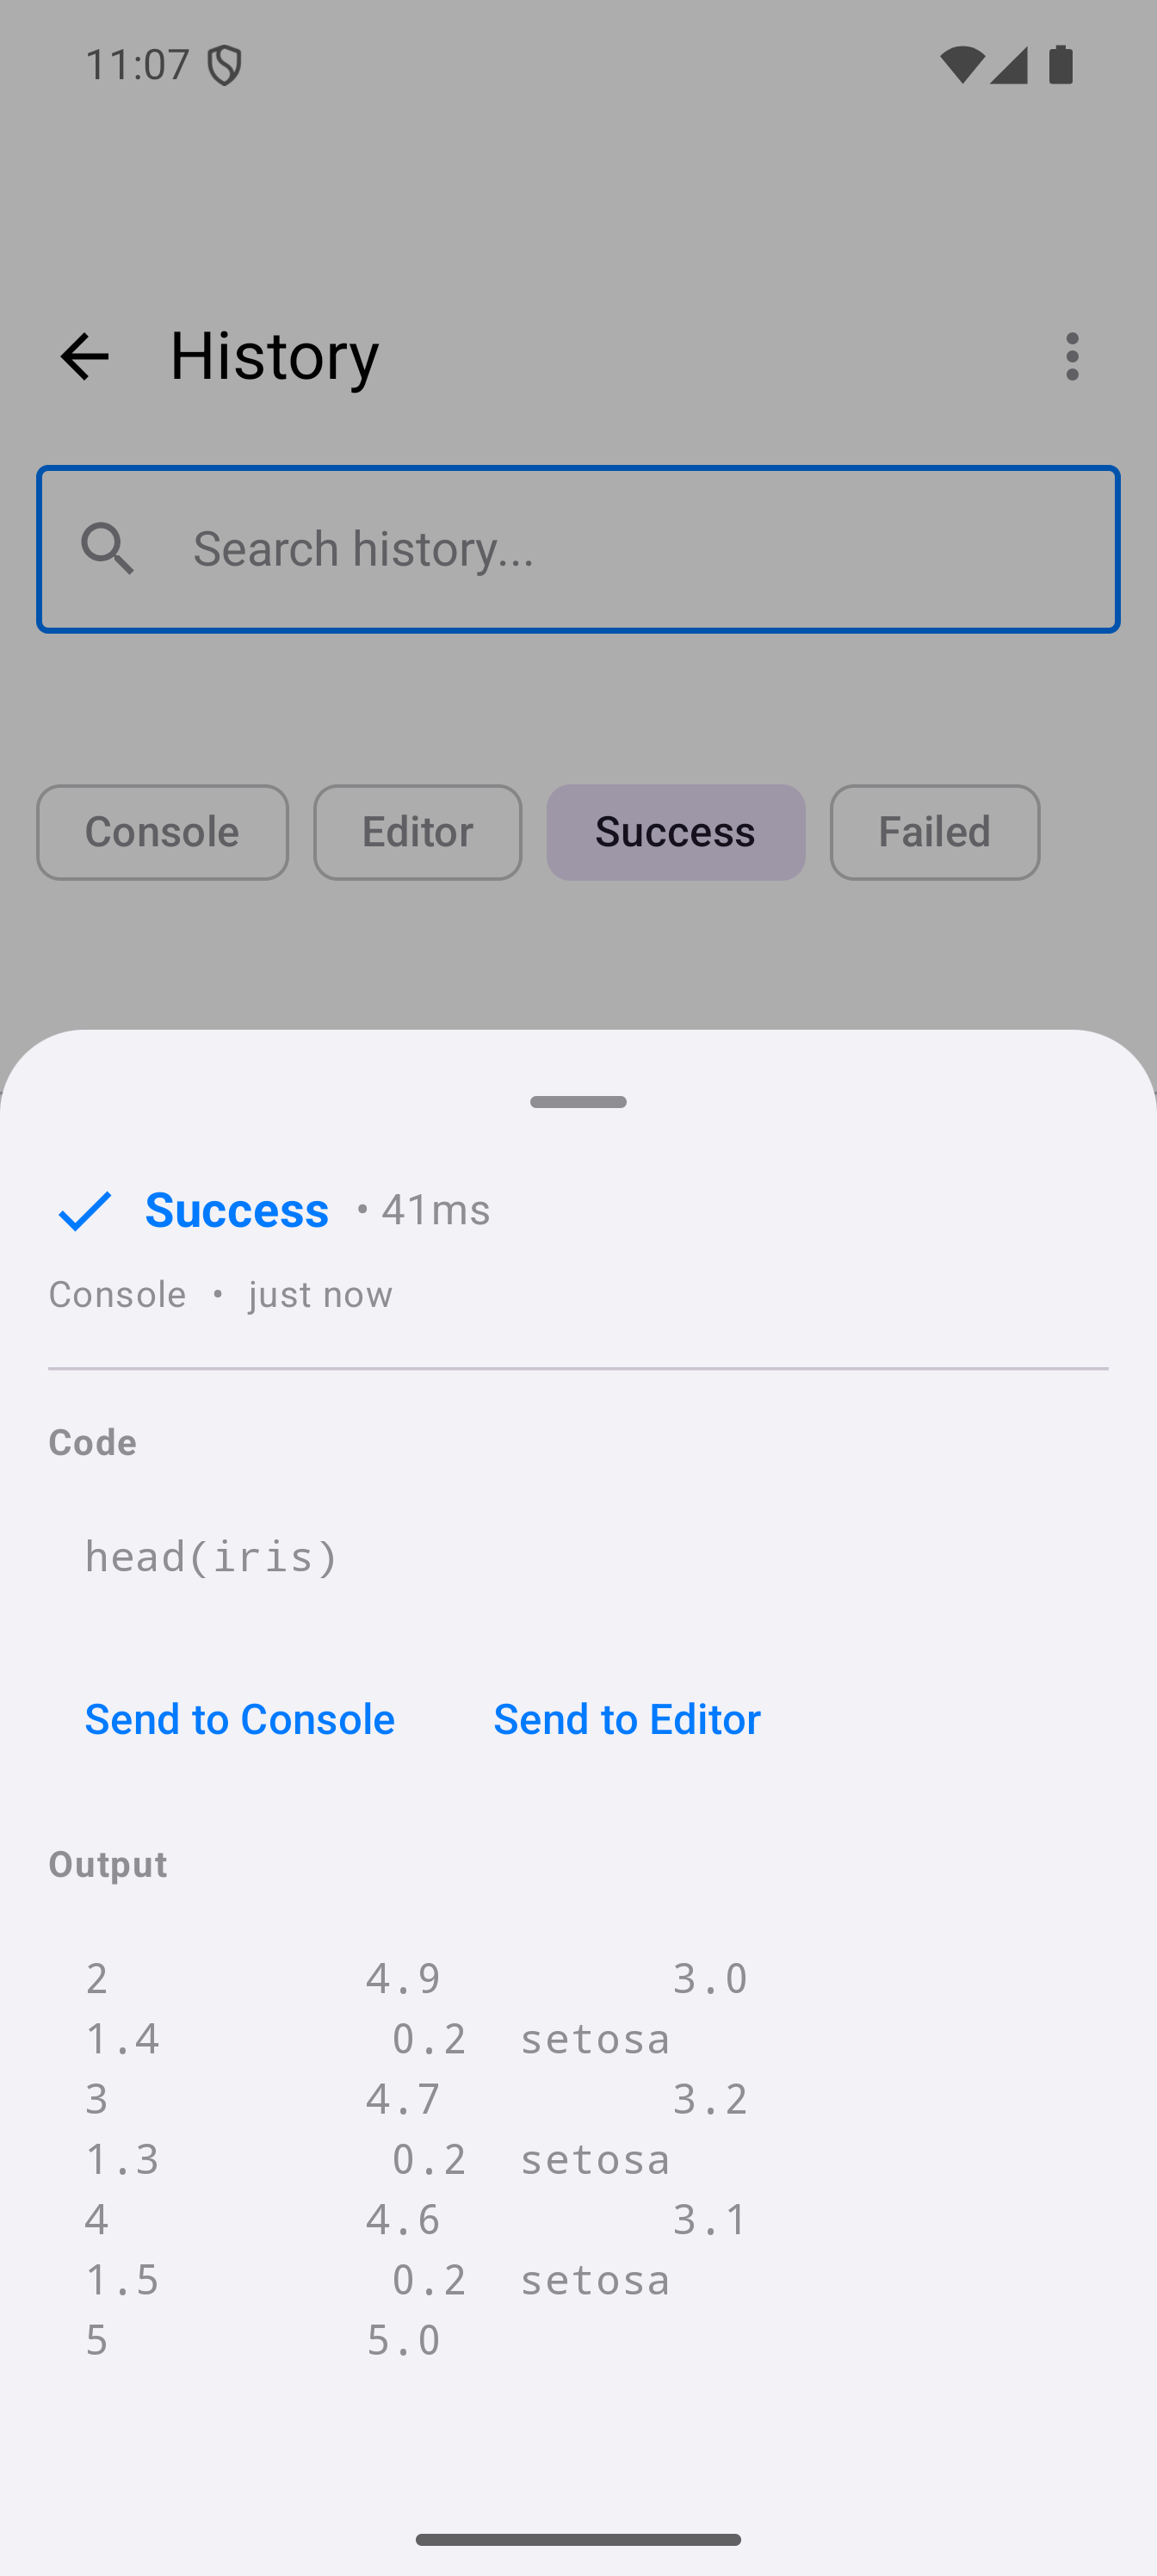
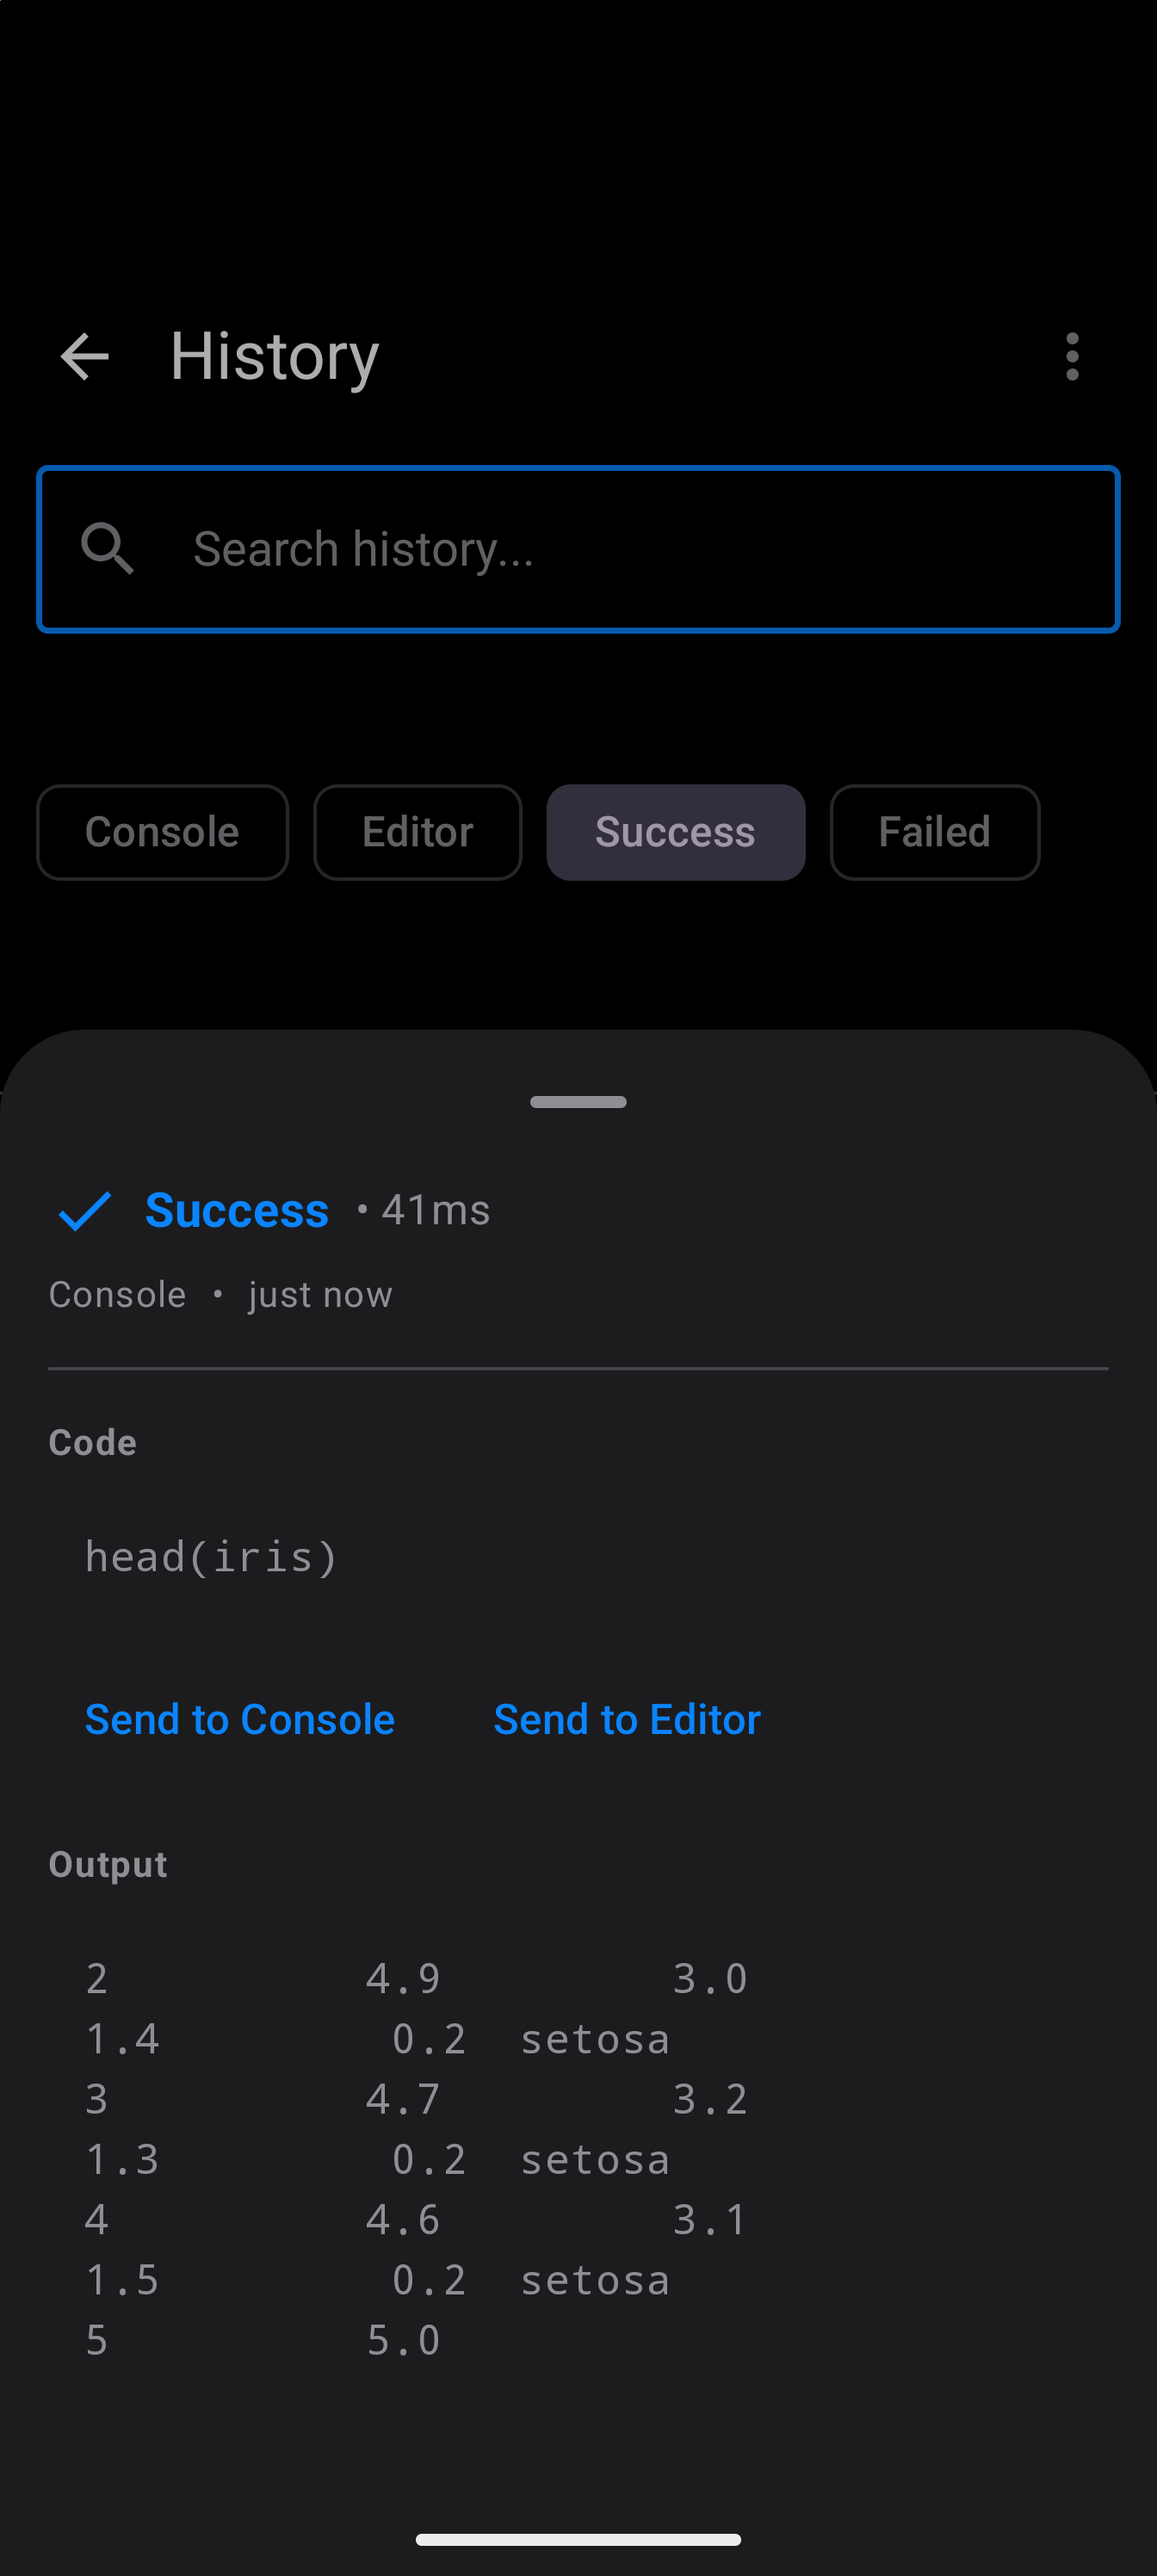
For a command that failed, the header says Failed in red, and the error message has its own Error section below the buttons:
Send to Console
Tap Send to Console to put the command in the Console’s input field, with the cursor at its end. It is not run: edit it if you like, then tap Run. The History screen closes and the Console comes up with its input field focused. In the Workspace layout, where History opens from Settings, the Settings dialog closes and the Console pane’s input takes focus. This is useful for re-running or tweaking a previous command.
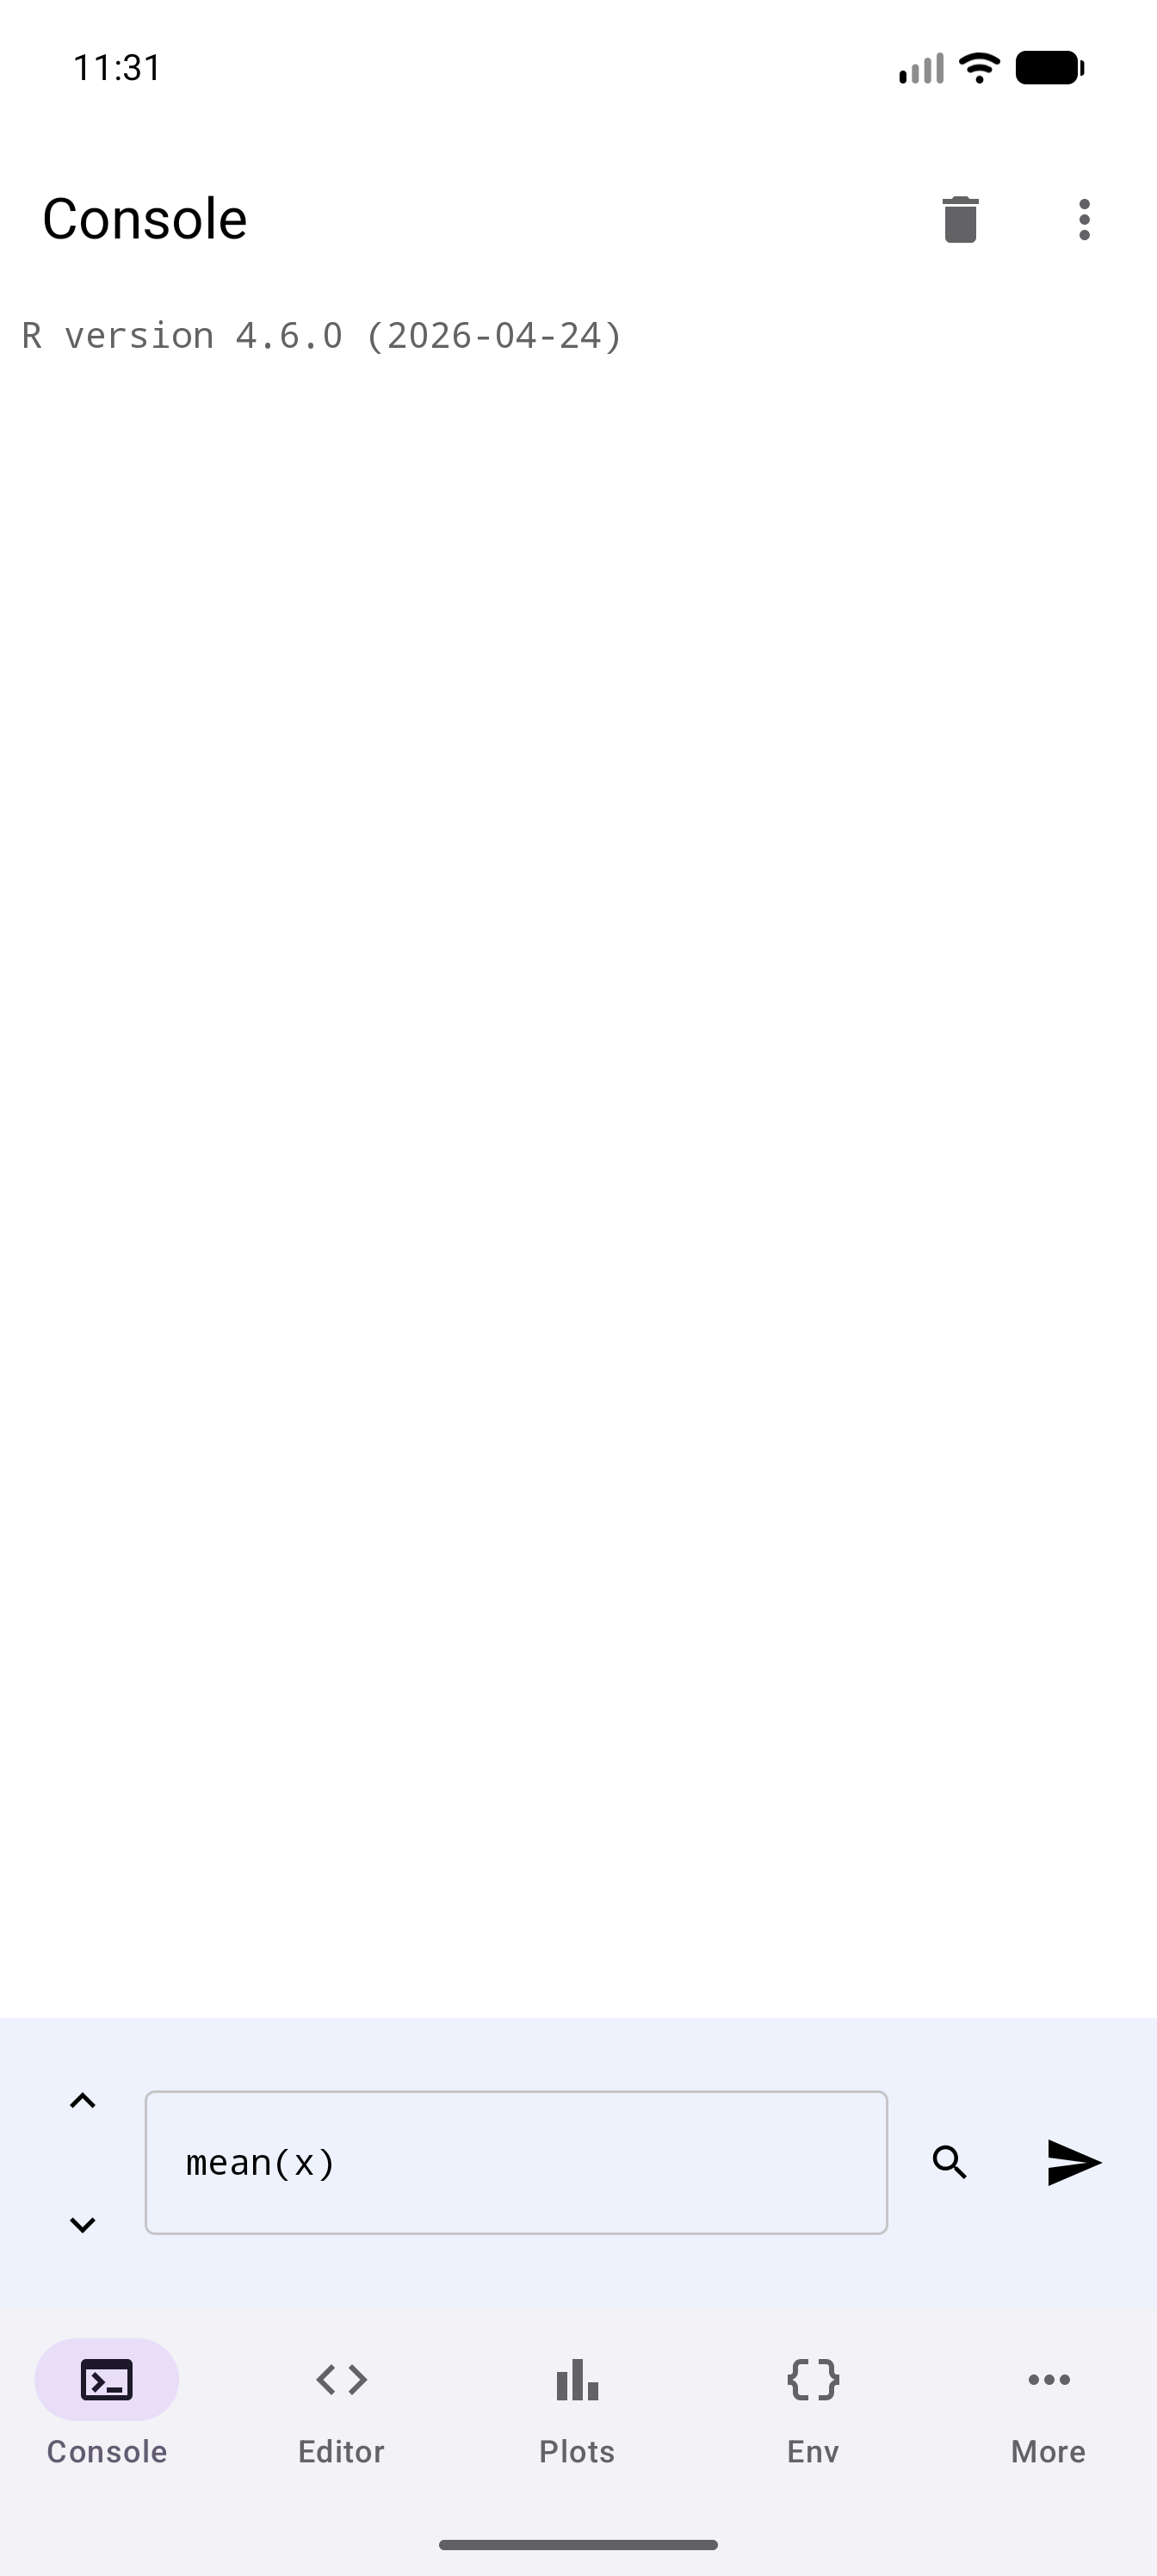
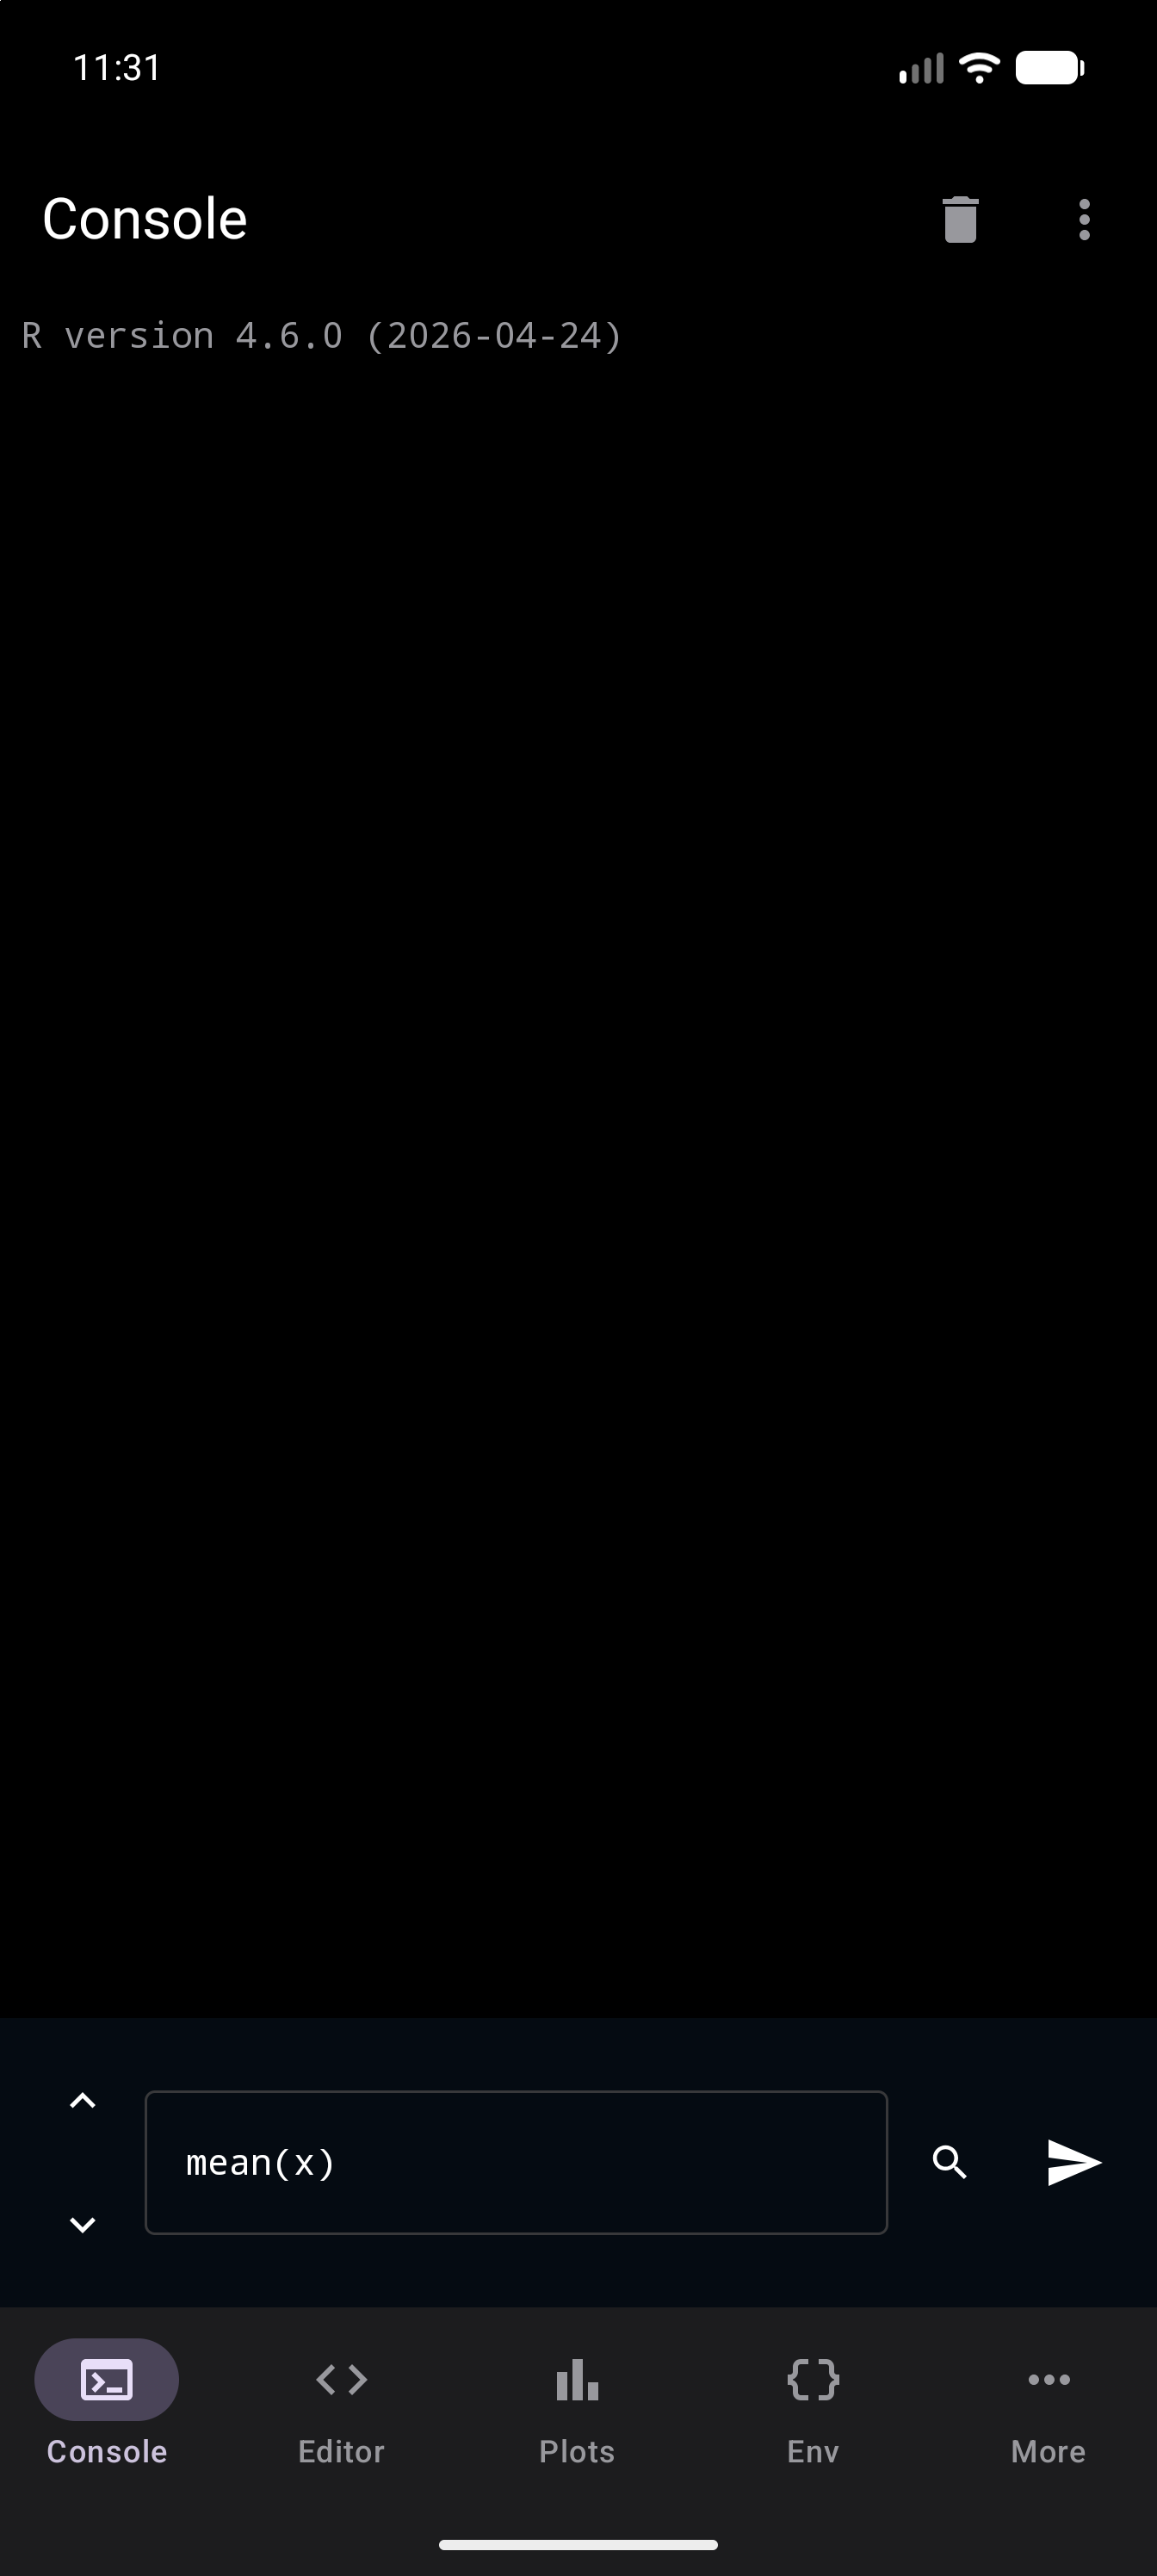
Anything you had half typed in the Console is kept, as it is when you recall a command with the up arrow: press down to get it back, or it returns to the input as soon as you run the sent command. See History Navigation.
Send to Editor
Tap Send to Editor to insert the command into the Editor. This is helpful when you want to build on a command you originally ran interactively.
Statistics
To view aggregate statistics about your execution history:
- Tap the overflow menu (three-dot icon) in the title bar.
- Tap Statistics.
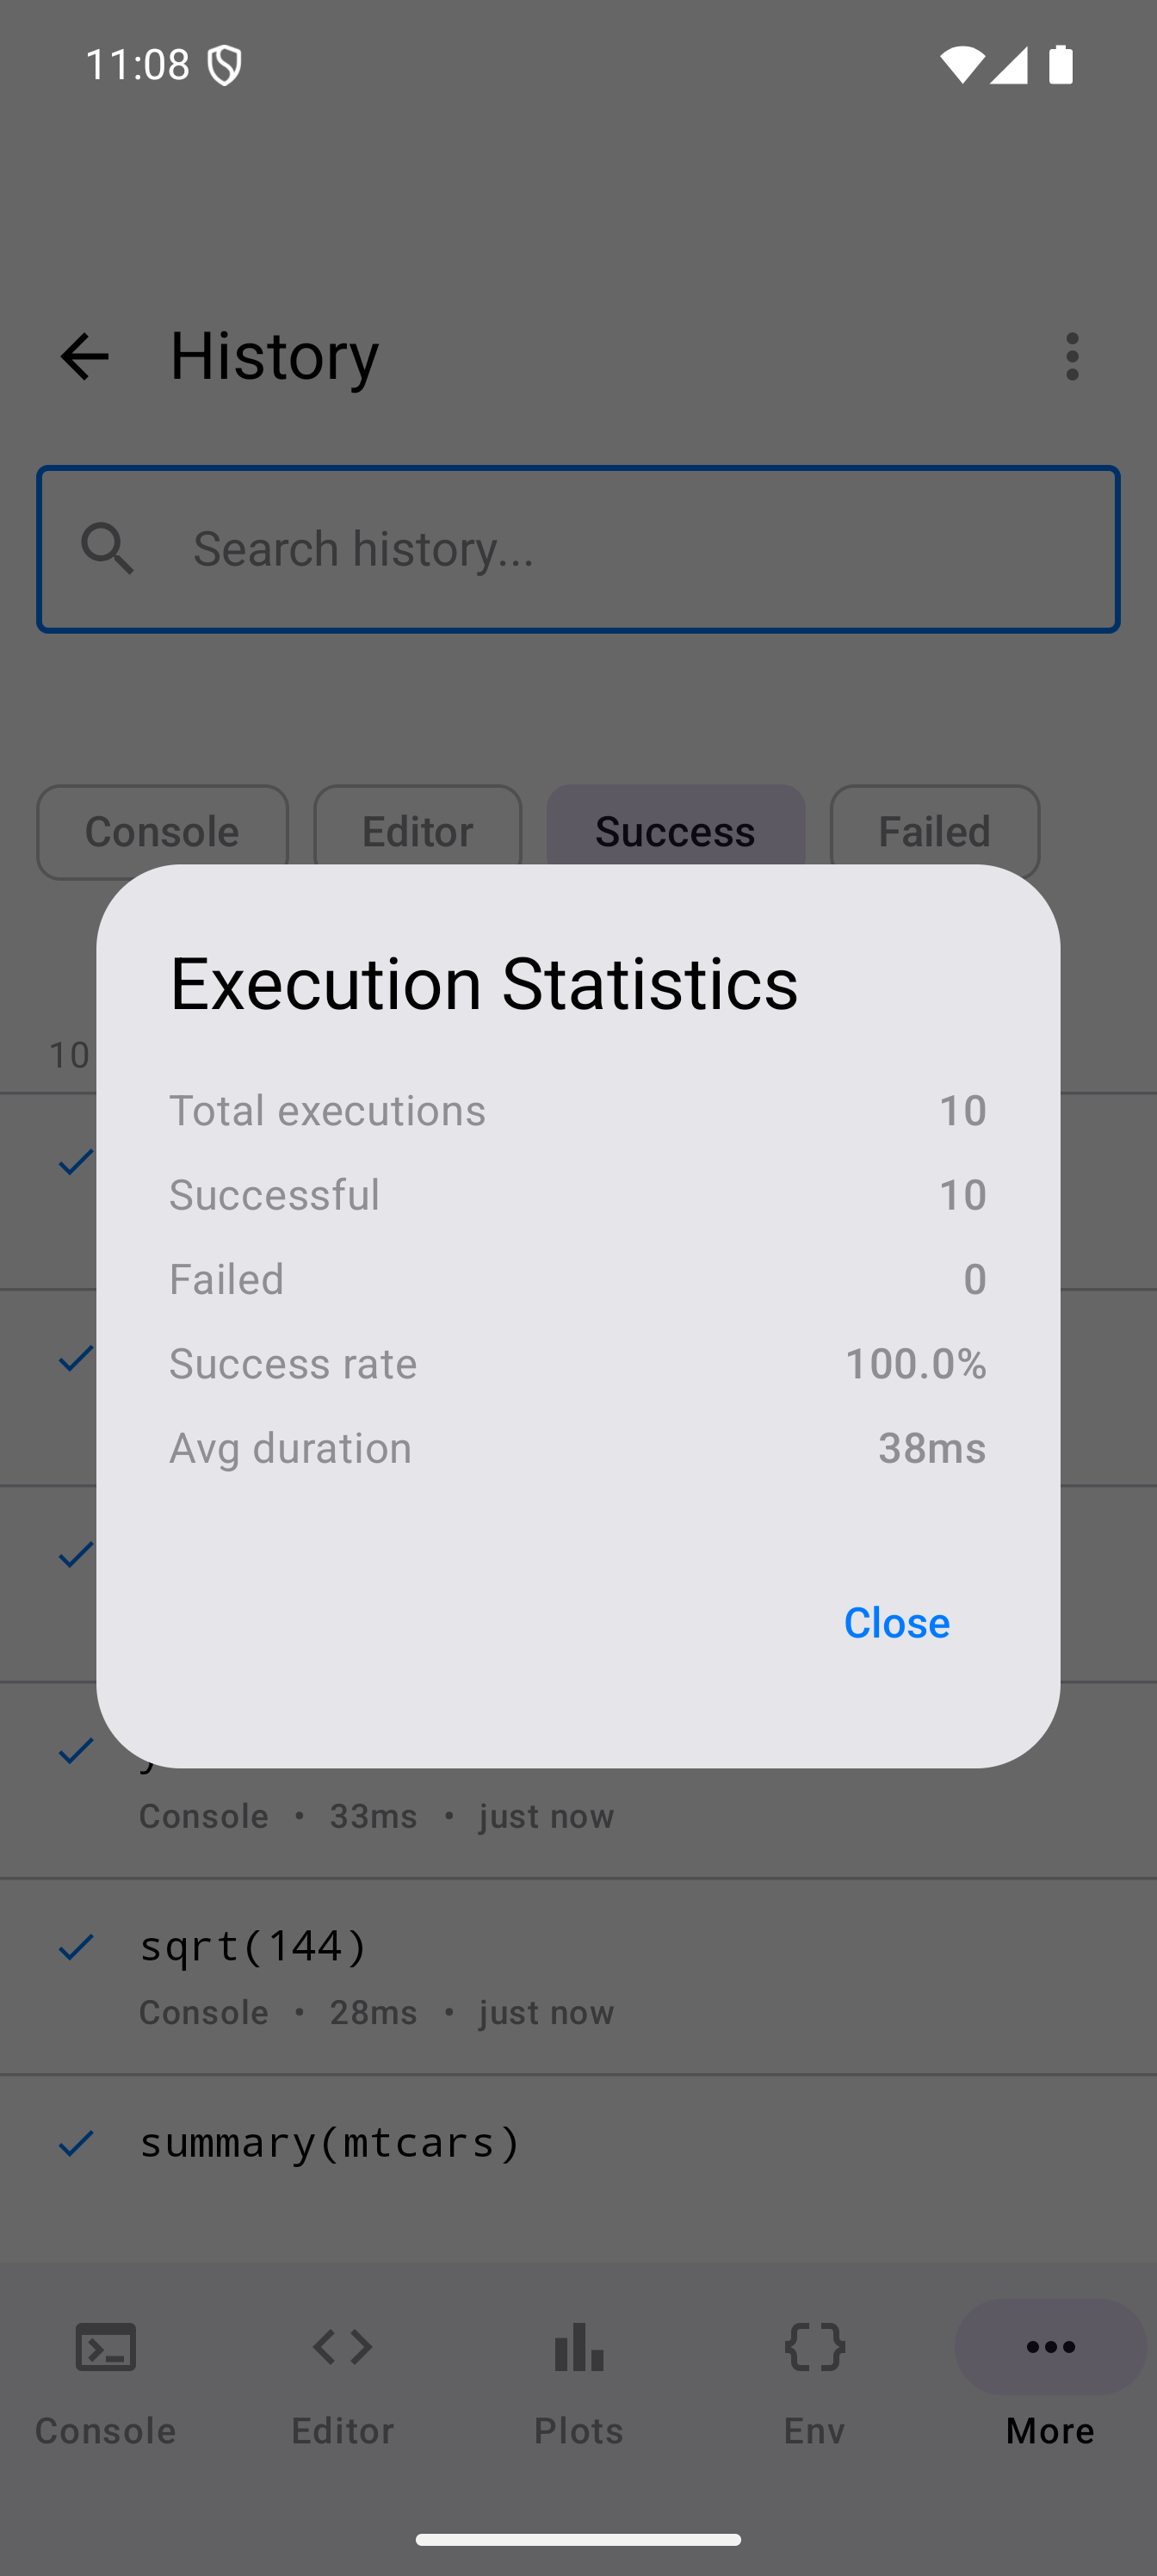
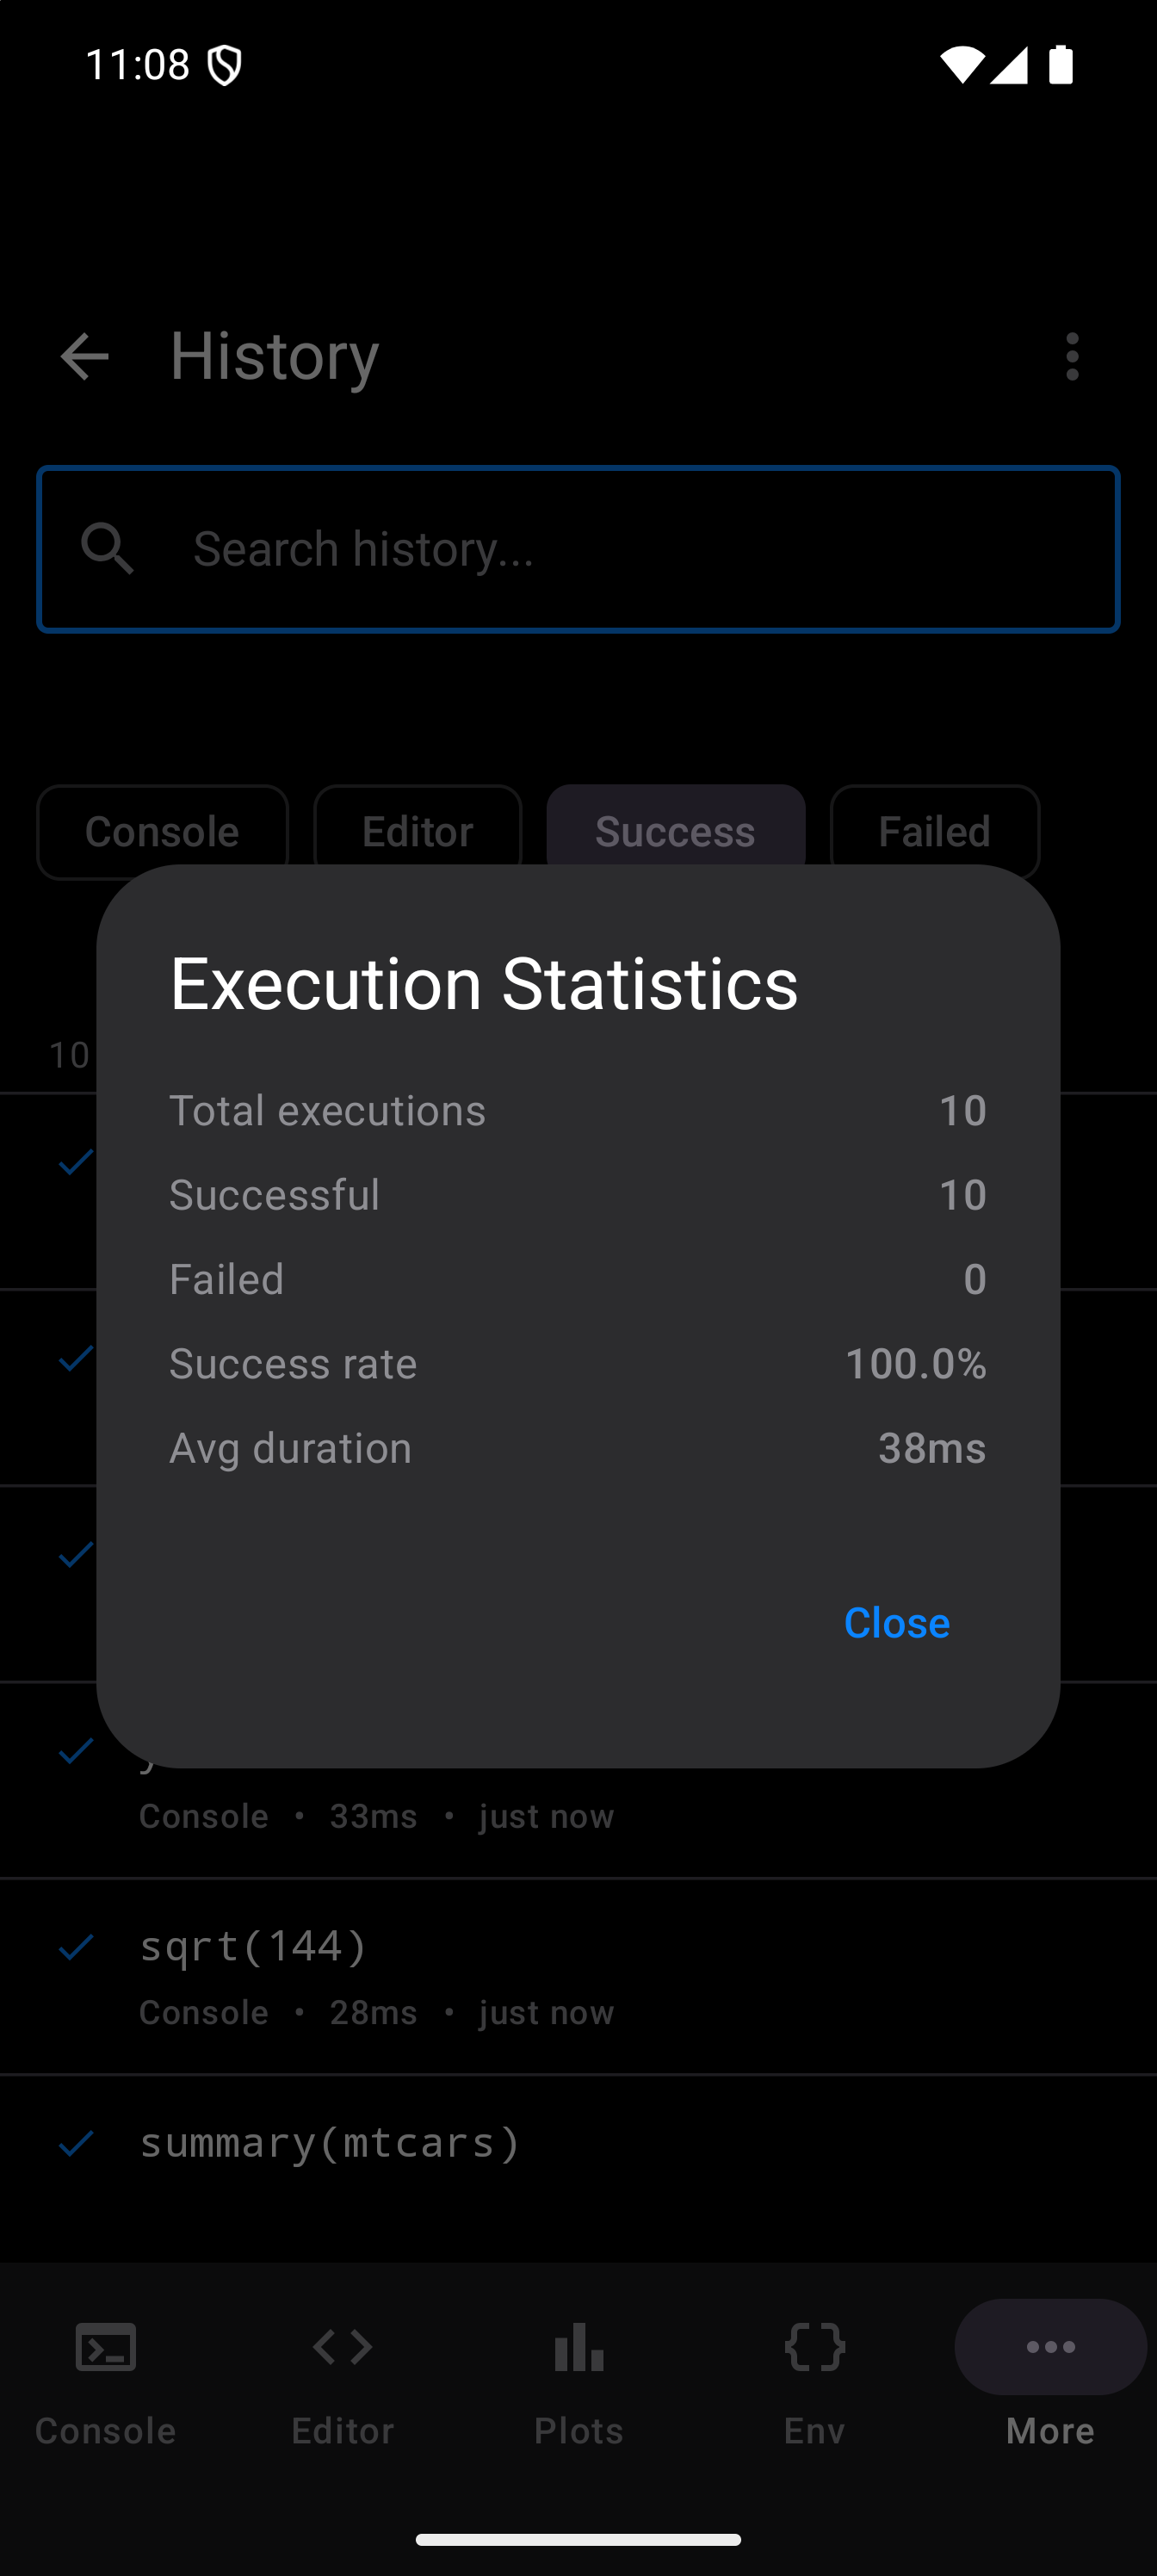
A dialog appears with the following metrics:
| Statistic | Description |
|---|---|
| Total executions | The total number of commands recorded |
| Successful | How many commands completed without errors |
| Failed | How many commands produced errors |
| Success rate | The percentage of successful executions (e.g., “87.5%”) |
| Avg duration | The average execution time across all commands |
Tap Close to dismiss the dialog.
Exporting History
To keep a copy of your history outside the app:
- Tap the overflow menu (three-dot icon) in the title bar.
- Tap Export as Text… for a readable log, or Export as JSON… for a file other tools can read.
- Android’s file picker opens; choose where to save it.
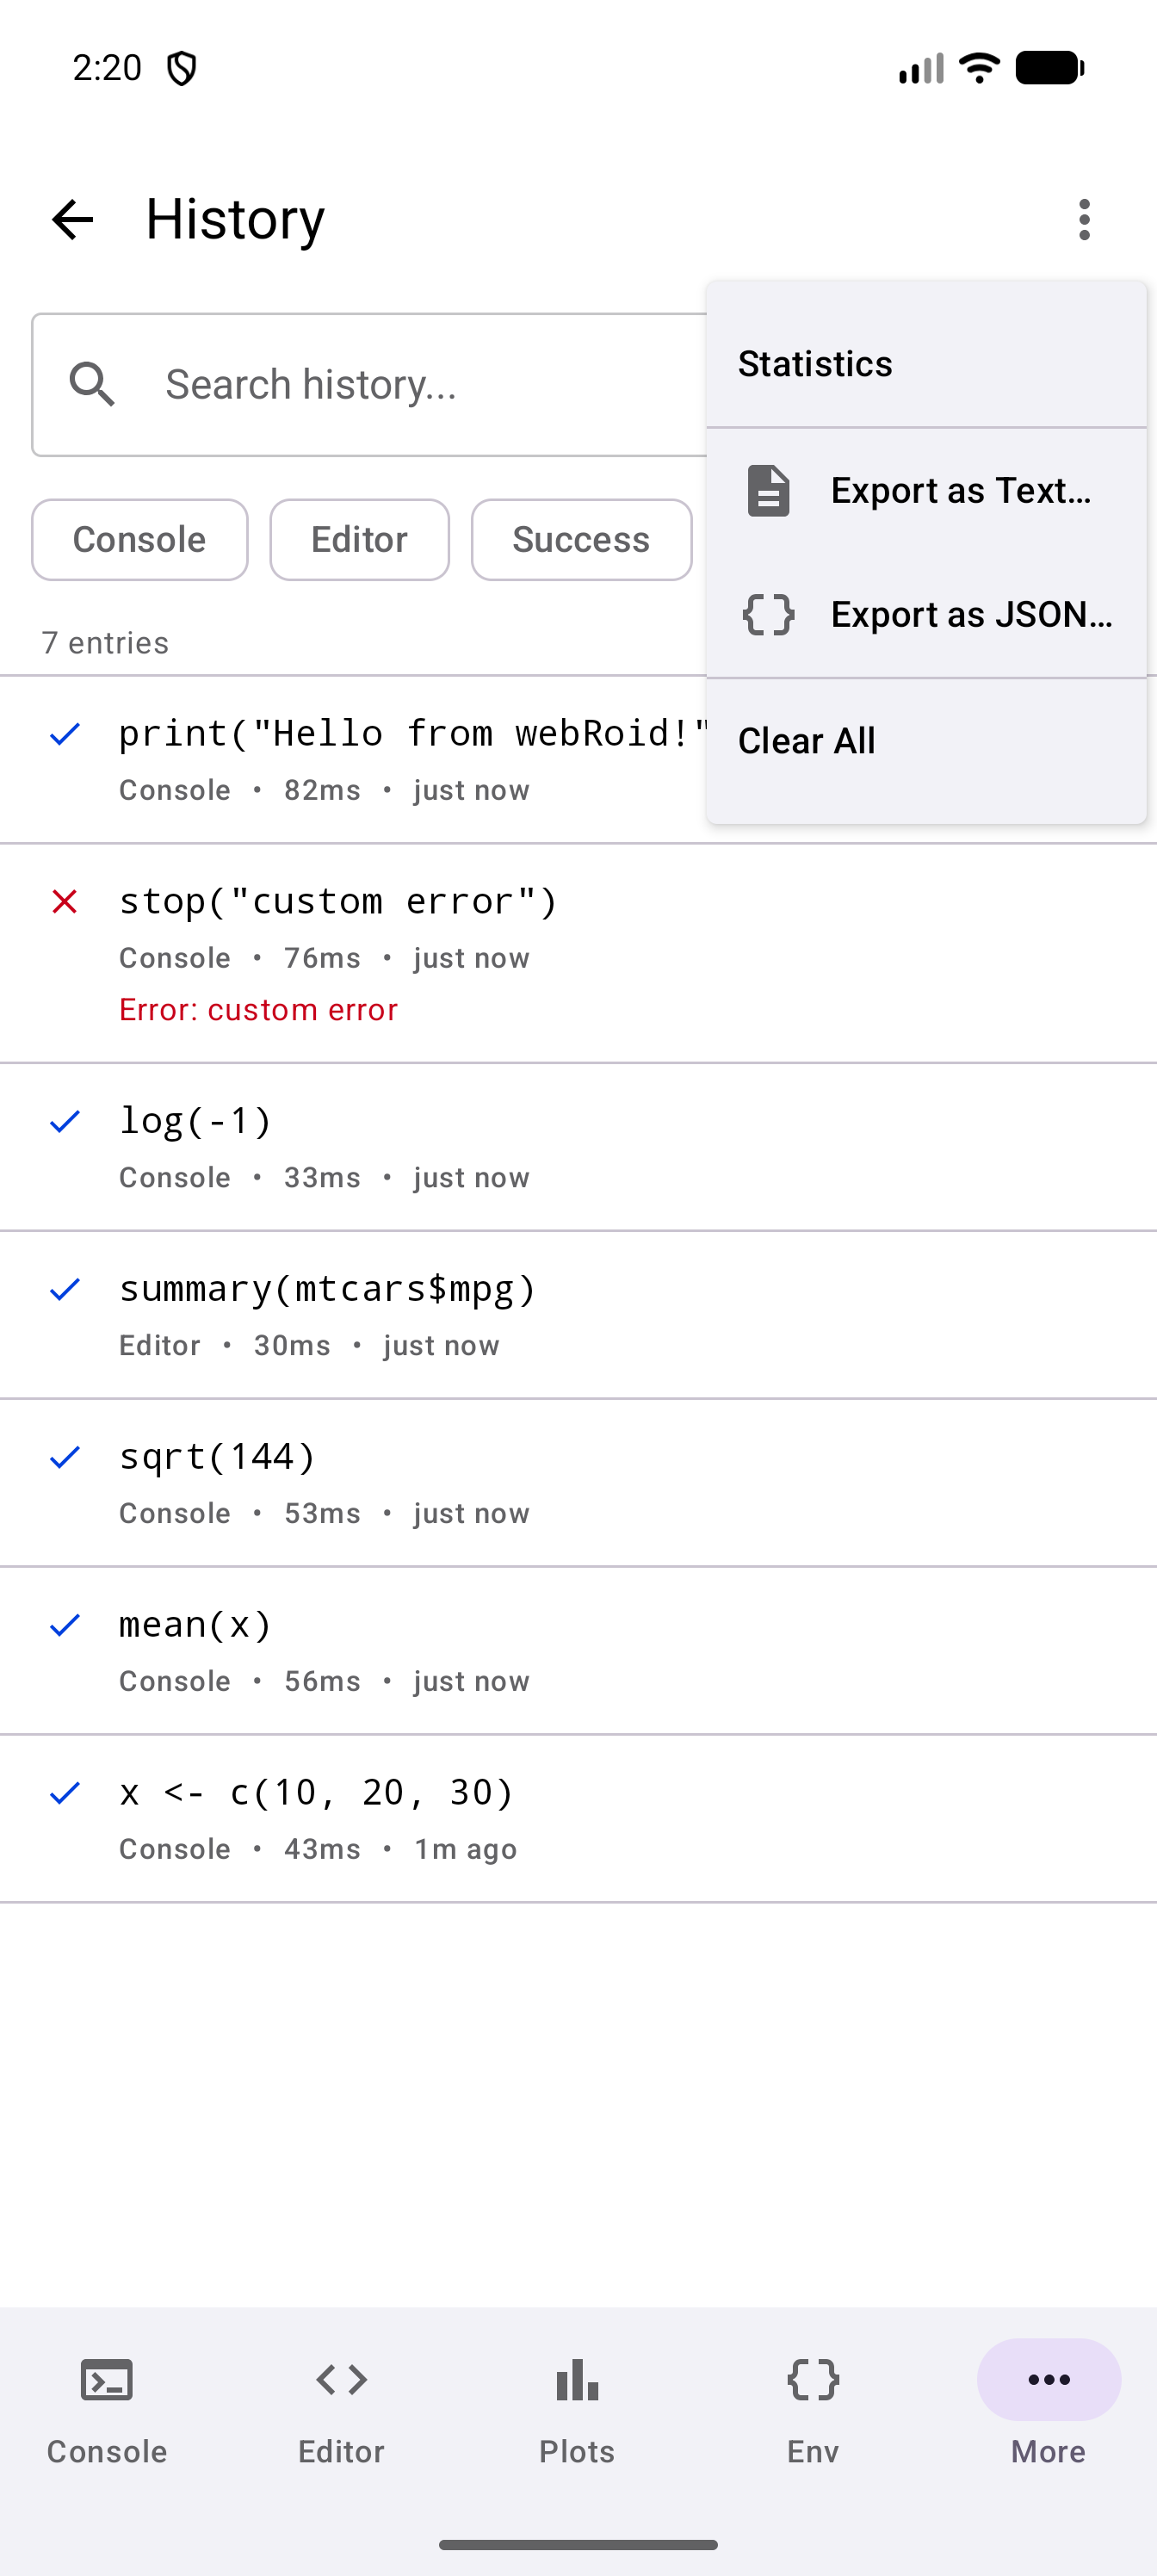
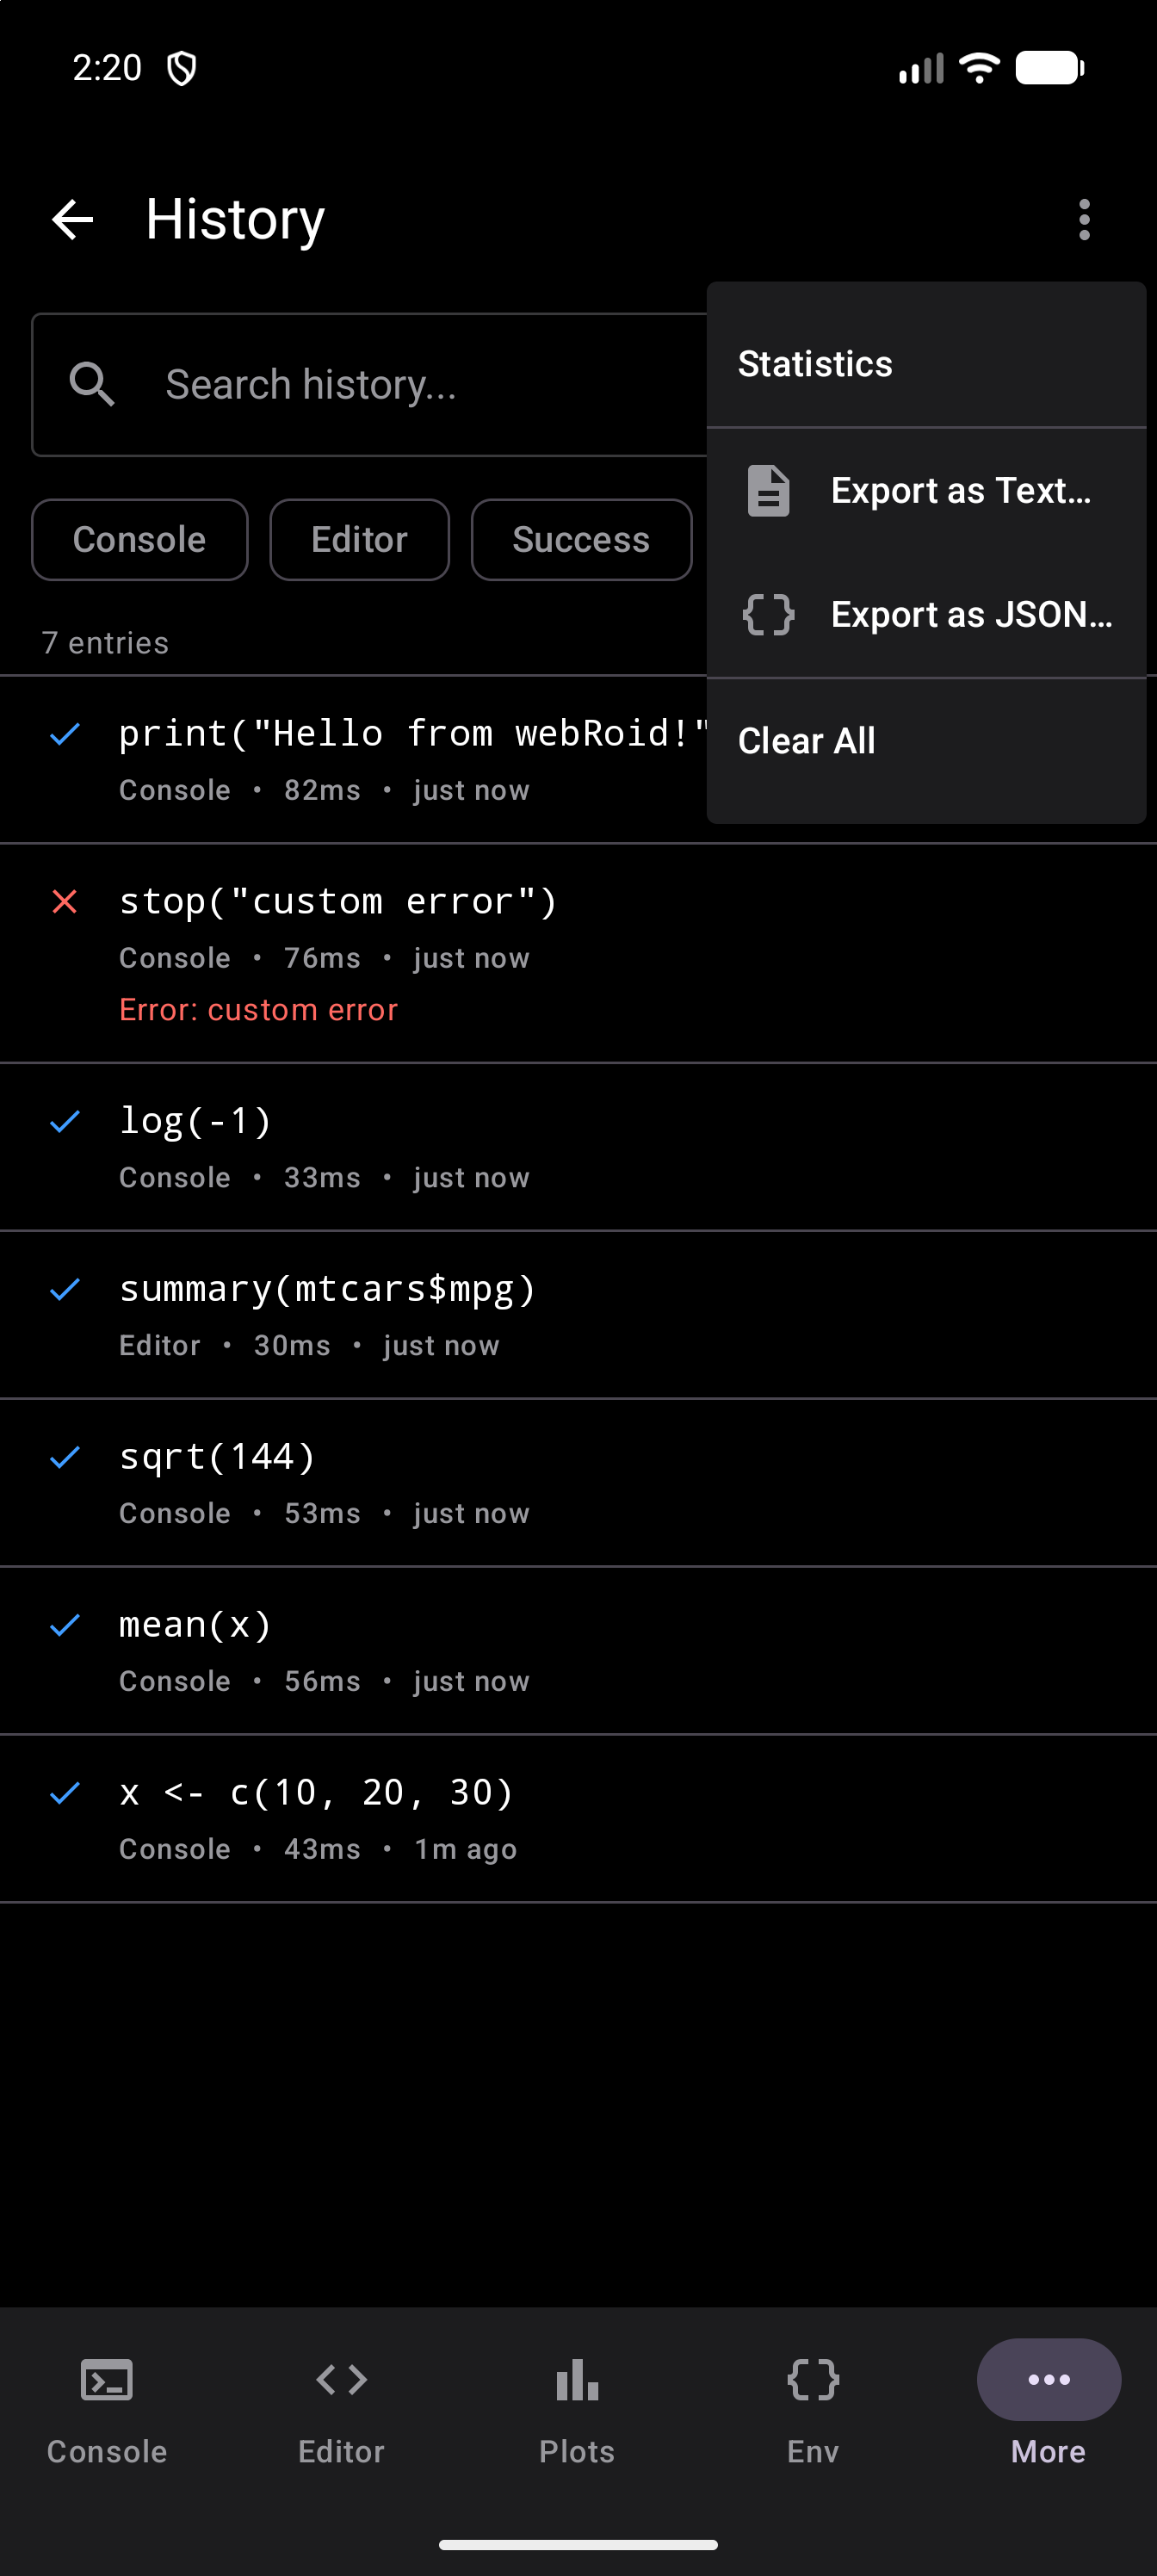
The export holds what the list is showing, so set the search and filters first if you want only part of it. The text log gives each entry its time, outcome, duration, source and code, then any error and output. The JSON uses the same field names as the iOS app, webRios, so exports from the two read alike.
Deleting Entries
You can remove entries from the history in three ways:
Swipe to Delete
Swipe any entry from right to left. As the row slides away, a trash icon shows in the space it leaves behind. Once you have dragged the row about halfway across, that space turns red and the entry is deleted straight away, without waiting for you to lift your finger. If you let go before halfway, the row slides back and nothing is deleted. A quick flick to the left is the exception: it carries the row the rest of the way, and the entry is deleted. A swipe removes a single entry permanently.
Delete from the Detail Sheet
Open an entry and tap Delete beside the Send buttons. This also removes that one entry permanently.
Clear All
To delete the entire history:
- Tap the overflow menu (three-dot icon) in the title bar.
- Tap Clear All.
- A Clear All History dialog warns that this will permanently delete all entries and cannot be undone.
- Tap Clear All to confirm, or Cancel to keep your history.
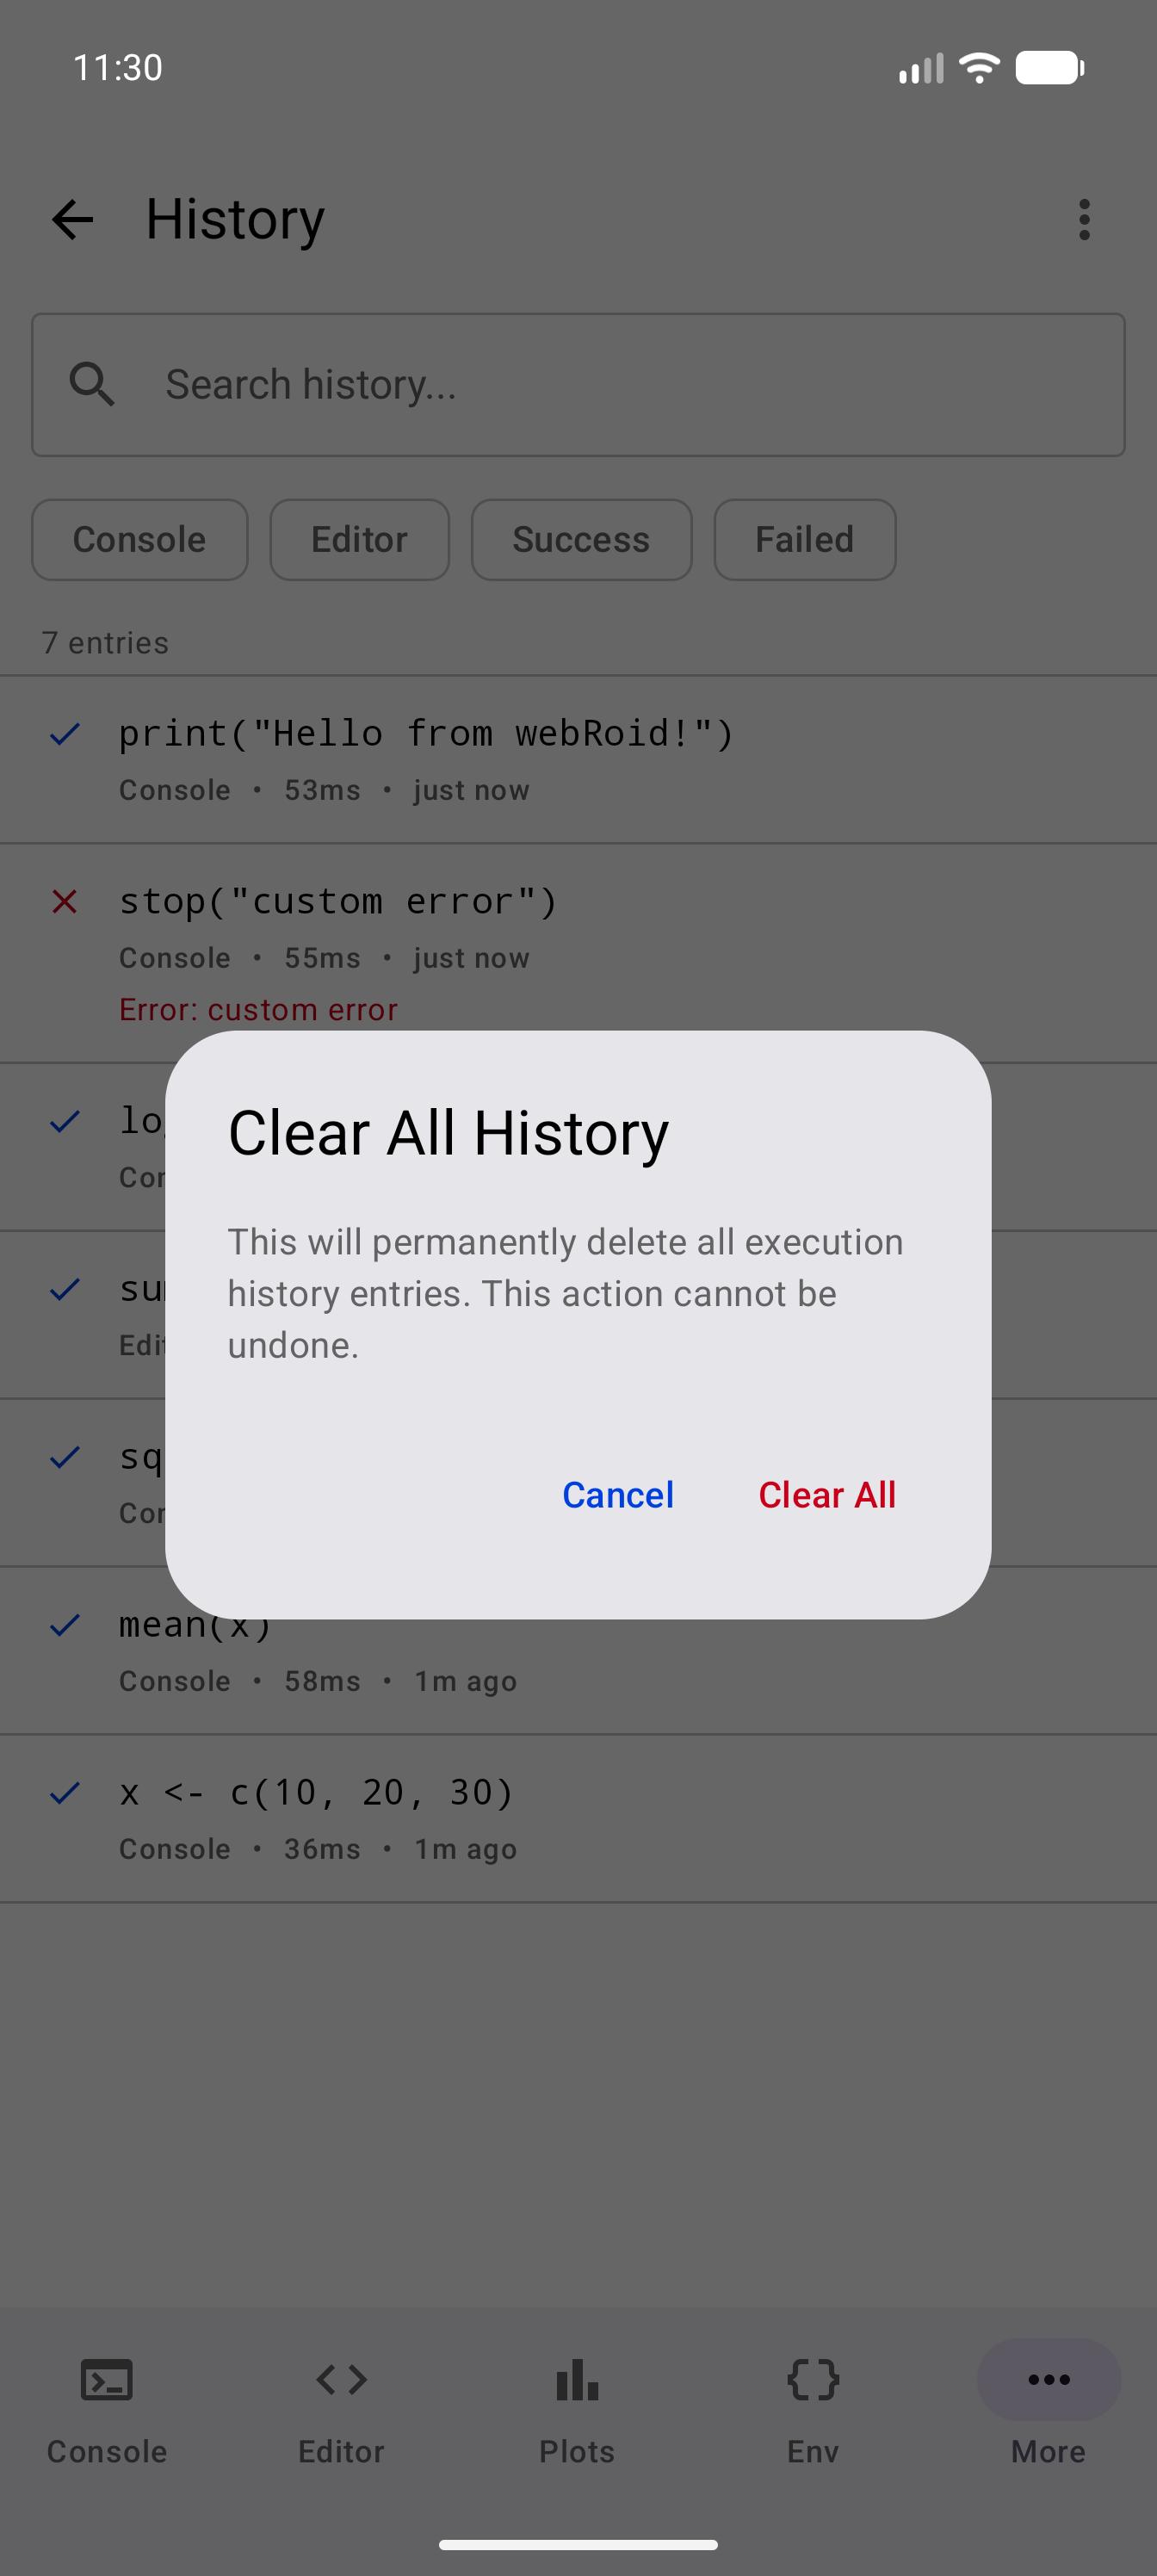
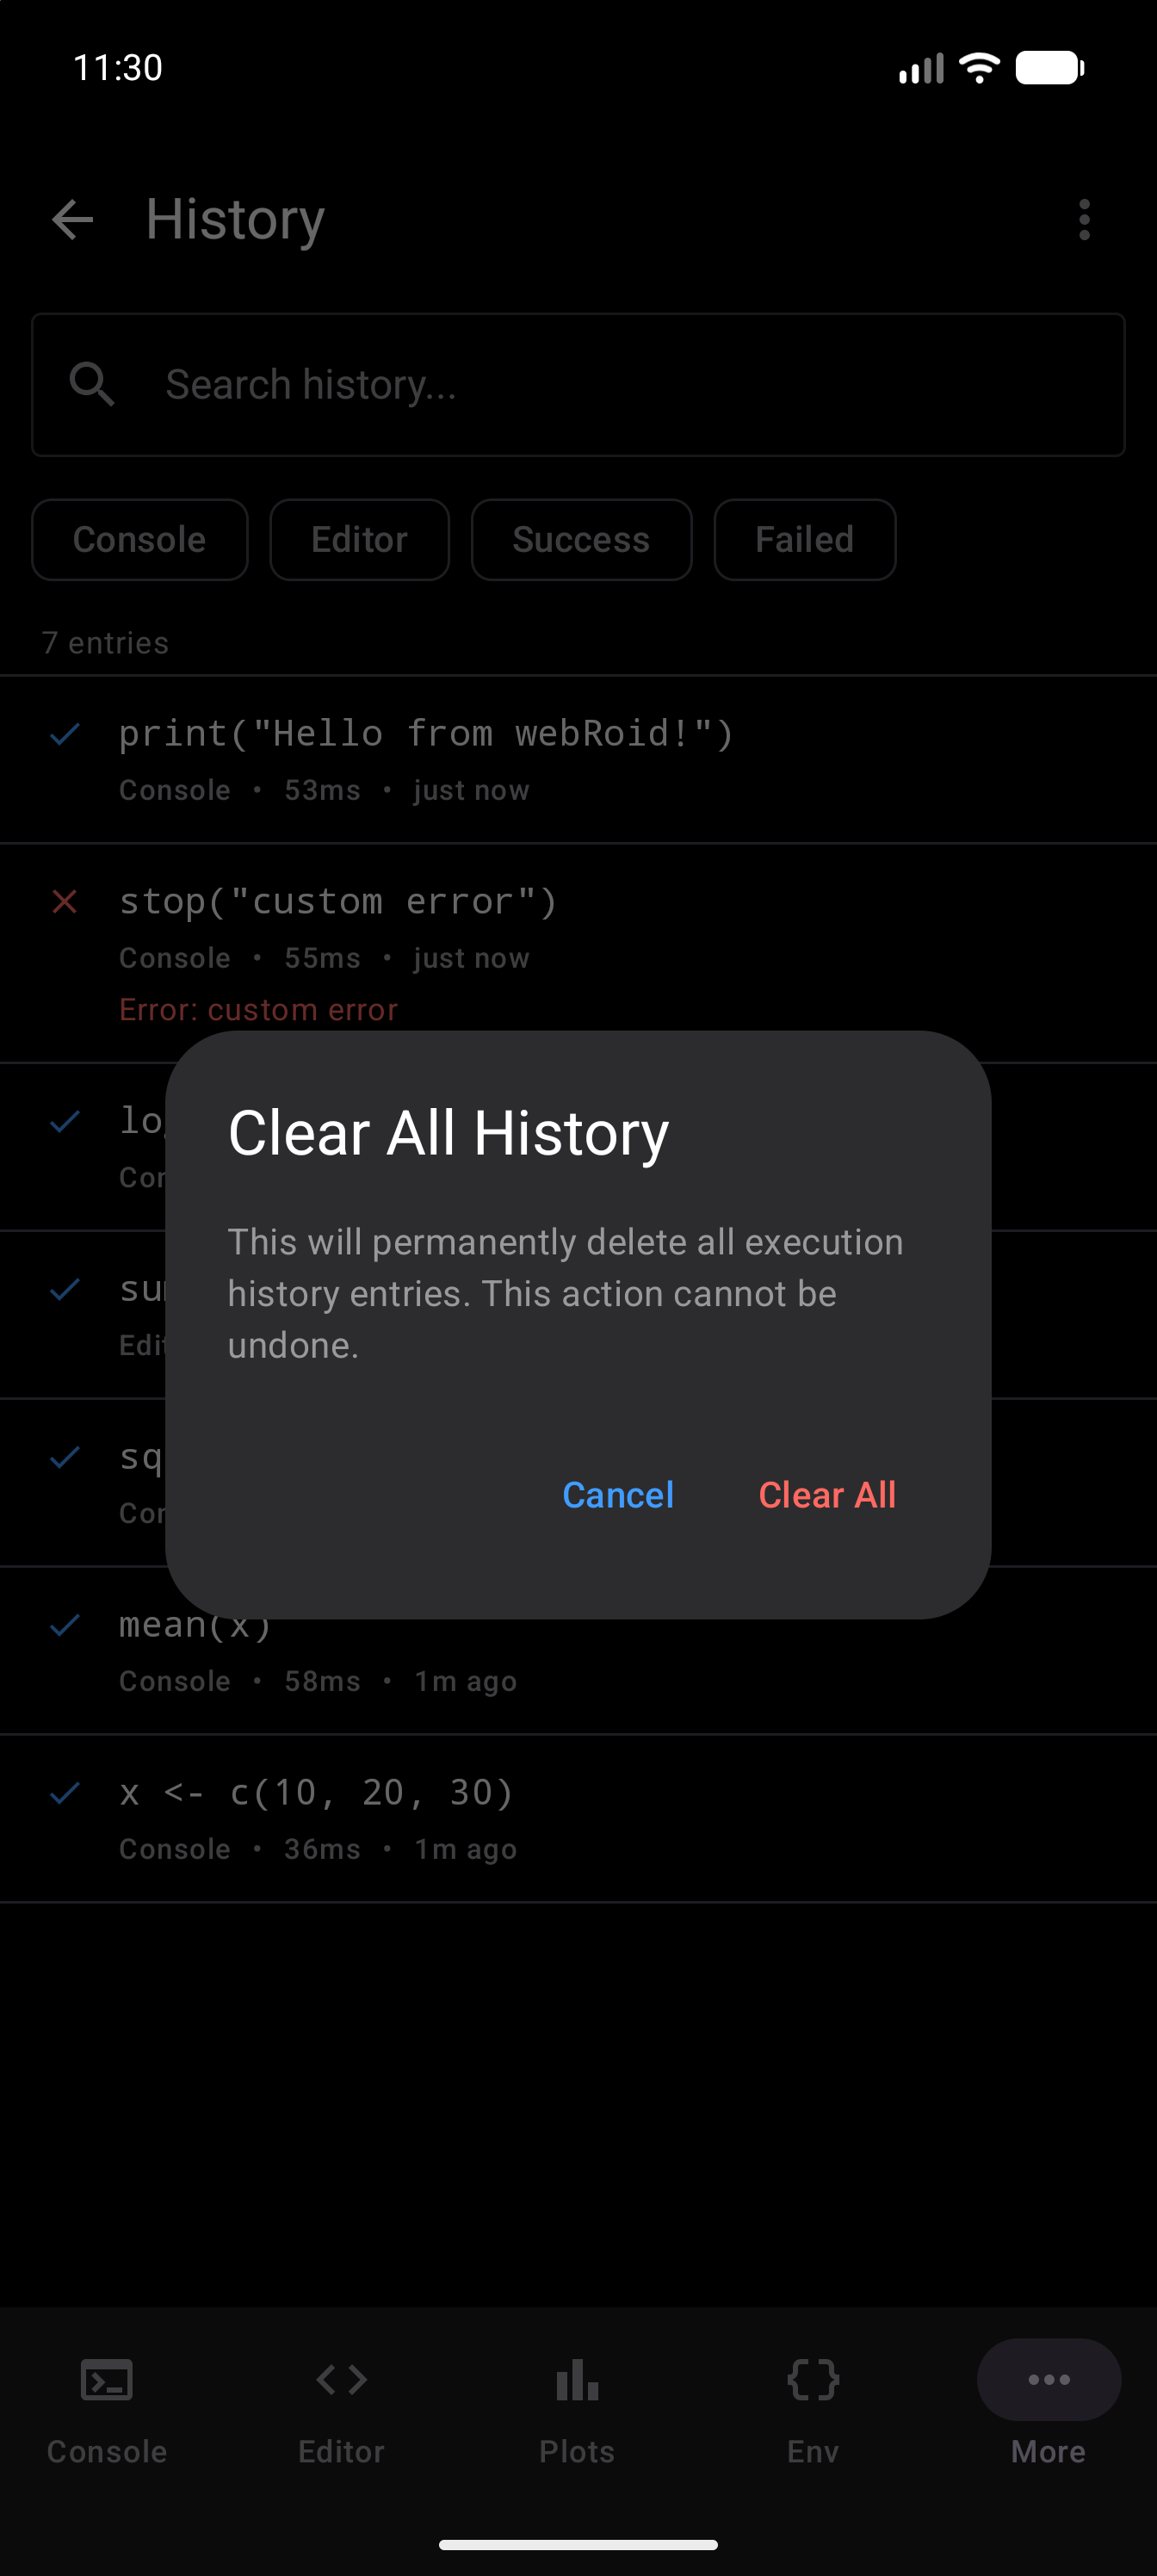
Clearing all history is irreversible. There is no way to recover deleted entries.
Persistence
History entries are saved to persistent storage on your device. Your full execution history carries over between sessions, so you can close the app and return later to find all your past commands intact.
If you ran a useful command days ago and cannot remember the exact syntax, open History, search for a keyword, and send it back to the Console or Editor. No need to retype it from scratch.