Settings
Settings is where you tailor webRoid to the way you work. It is one long screen that you scroll through, divided into labeled sections: Appearance, Custom Themes, Layout, Plots, Console, Editor, R Session, GitHub, Storage, Support, and About. Reset All Settings sits on its own at the very end.
Appearance
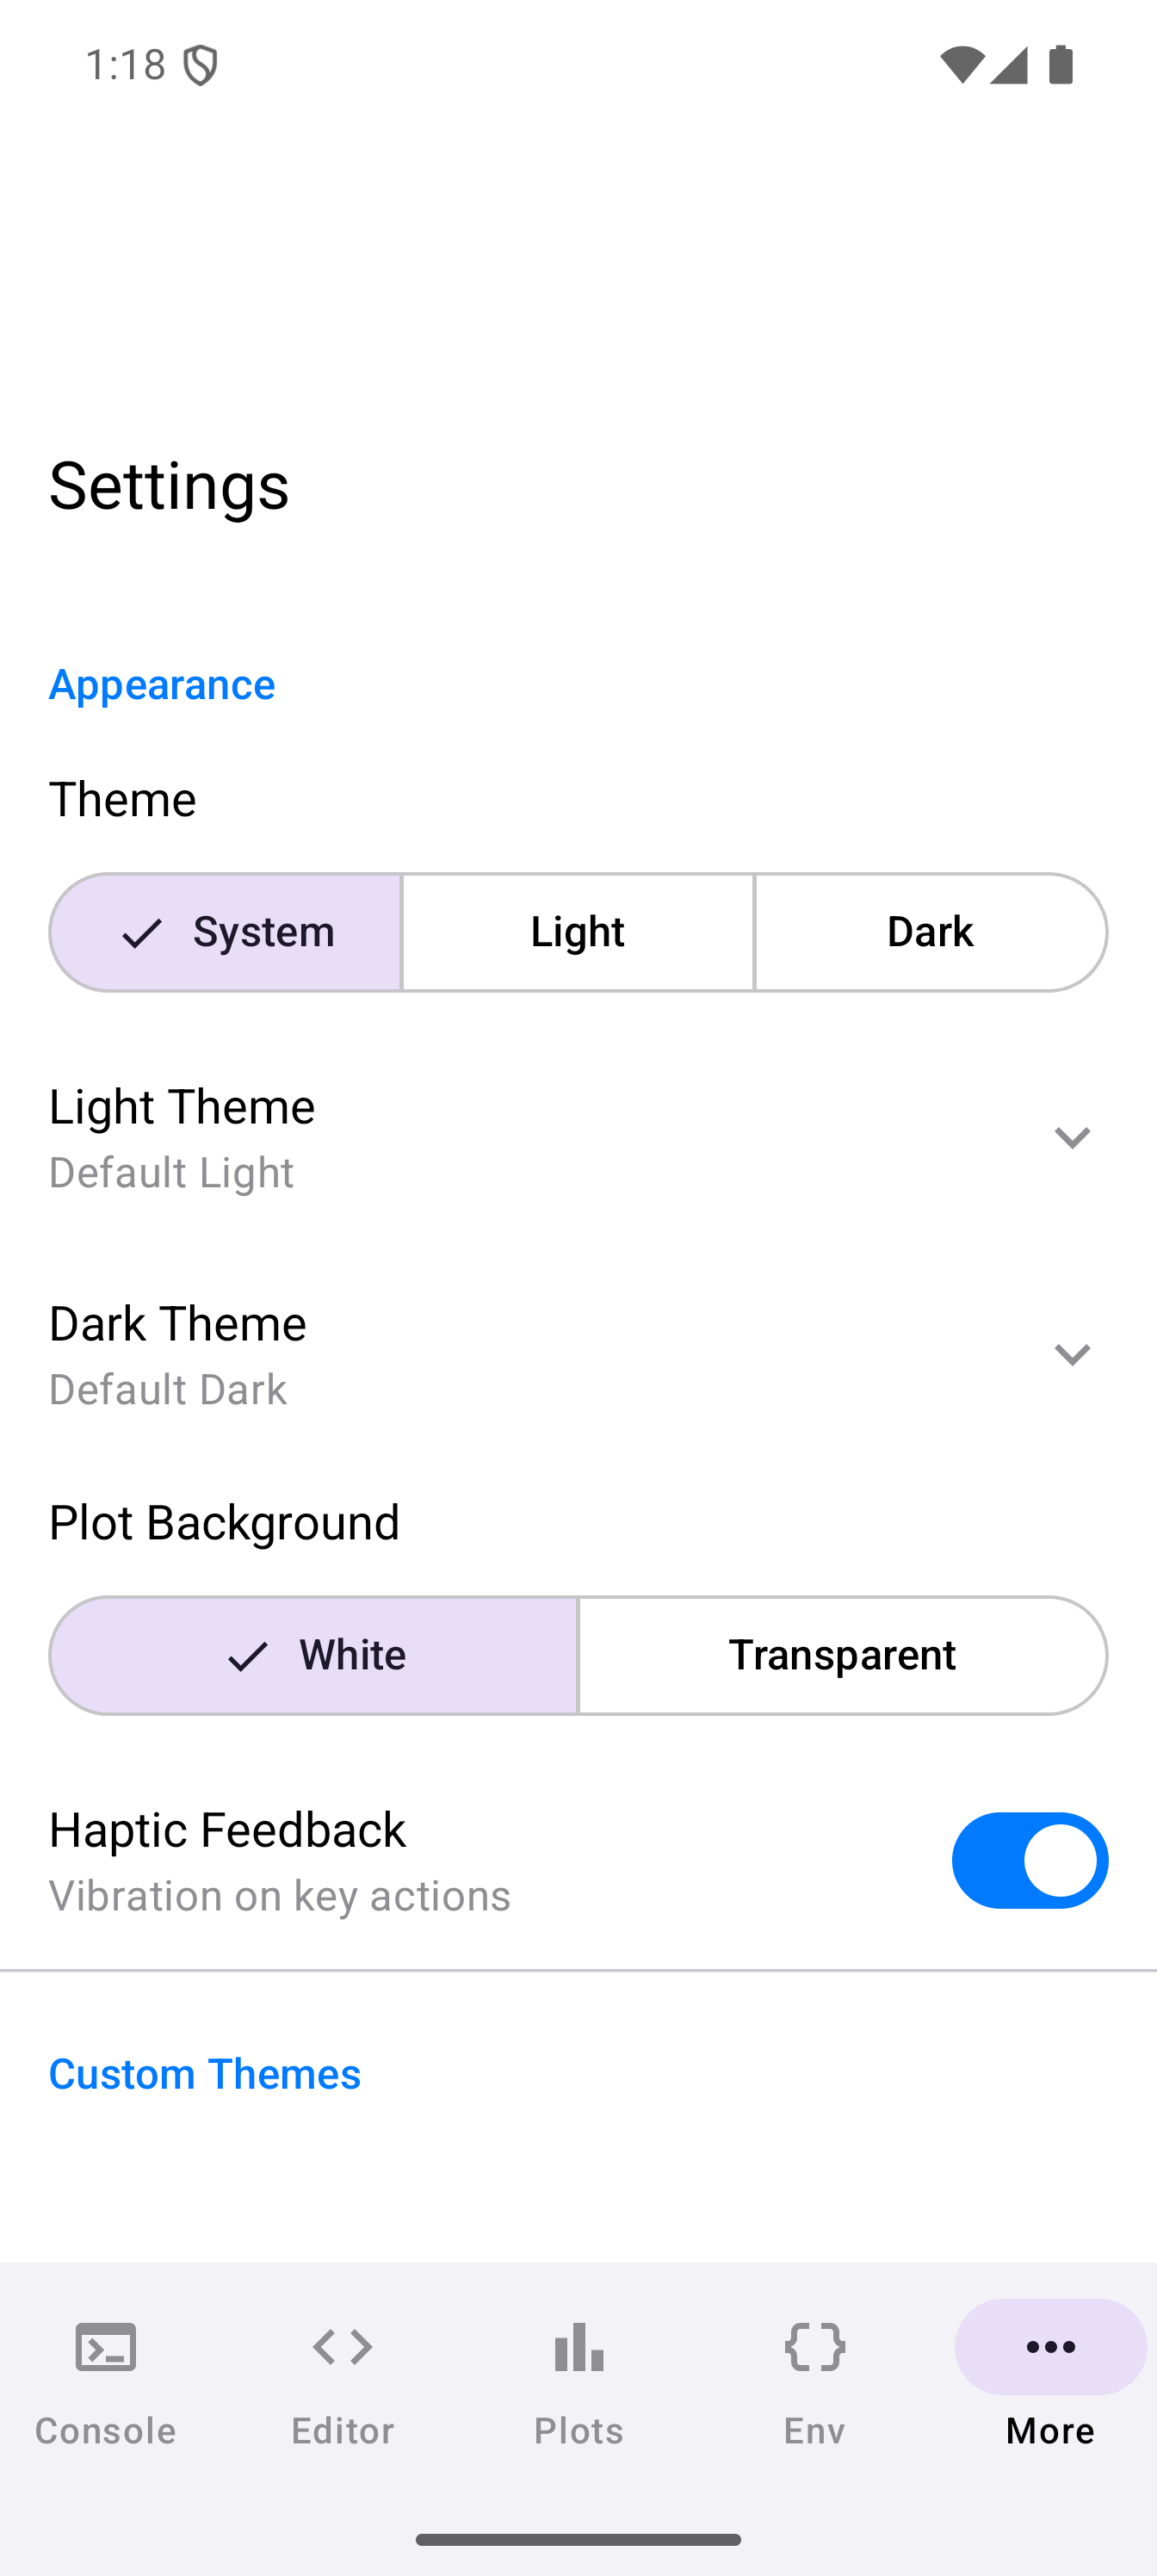
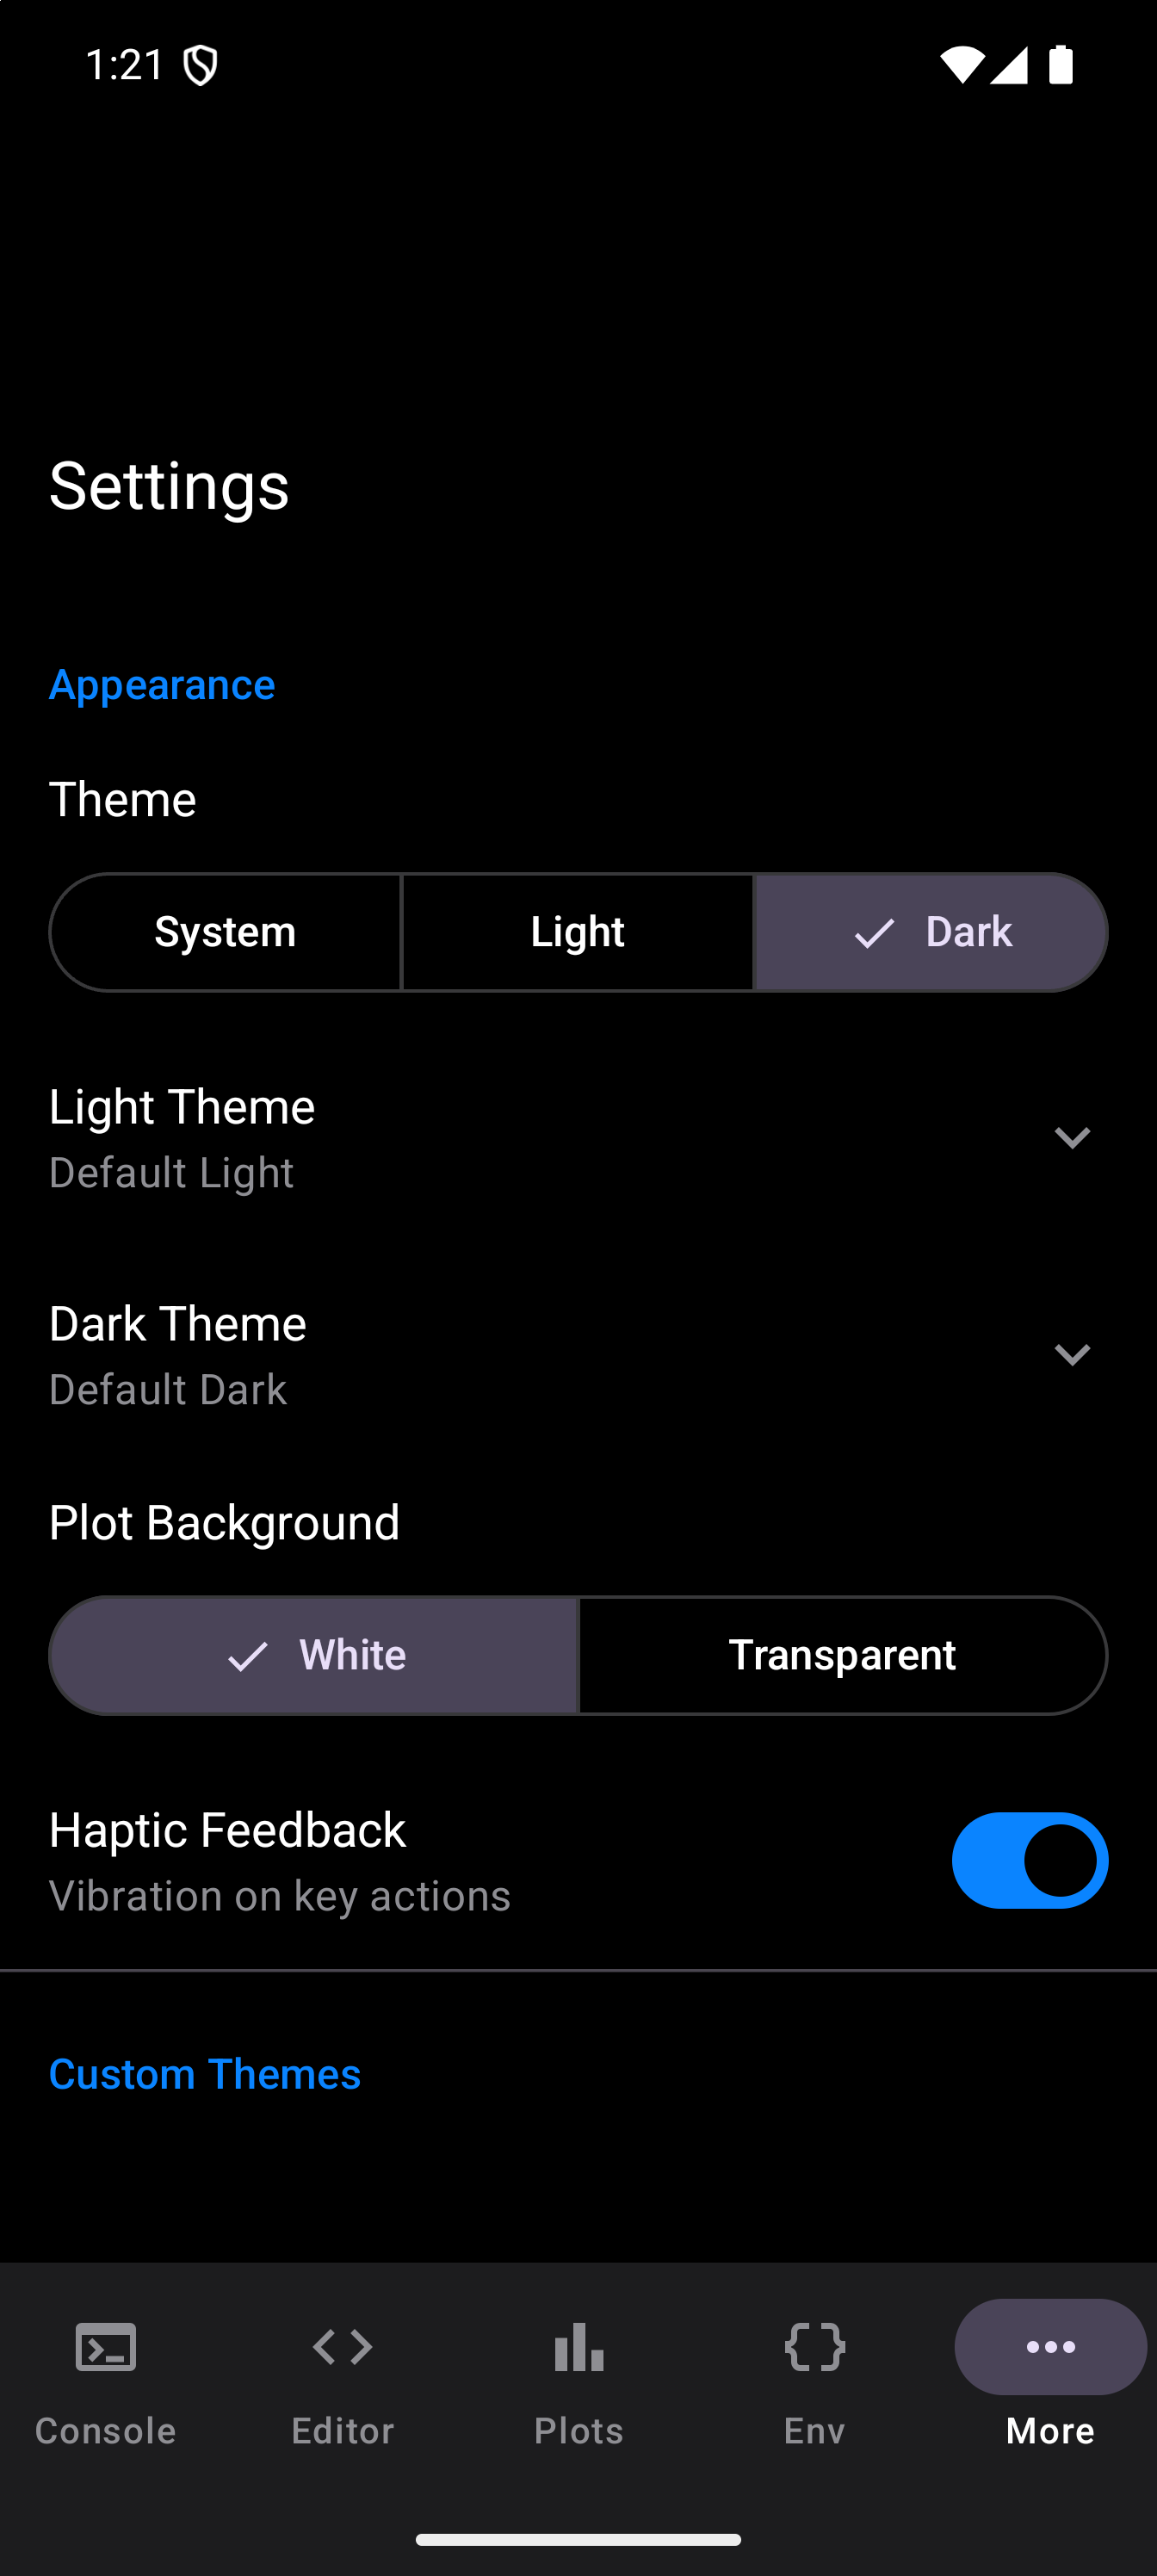
The Appearance section holds five settings:
| Setting | What it does |
|---|---|
| Theme | System, Light, or Dark. System follows your device’s dark mode switch. |
| Light Theme | Which color scheme to use in light mode. Tap the row to expand the list. |
| Dark Theme | The same, for dark mode. Each mode remembers its own choice. |
| Plot Background | White or Transparent: the background R draws new plots on, which exported images keep. |
| Haptic Feedback | A short vibration on key actions, such as running code, saving a file or installing a package. Turn it off if you find it distracting. |
For full details on choosing, creating, and importing color schemes, see the Themes guide. That page also covers Plot Background in more detail, and how Android’s contrast setting raises the contrast of whichever theme you pick.
Custom Themes
Themes you create or import get their own section, directly below Appearance. Each row shows the theme’s name and whether it is light or dark, with icons to share or delete it; tapping the row opens it in the theme editor. Below the list are Create New Theme and Import Theme.
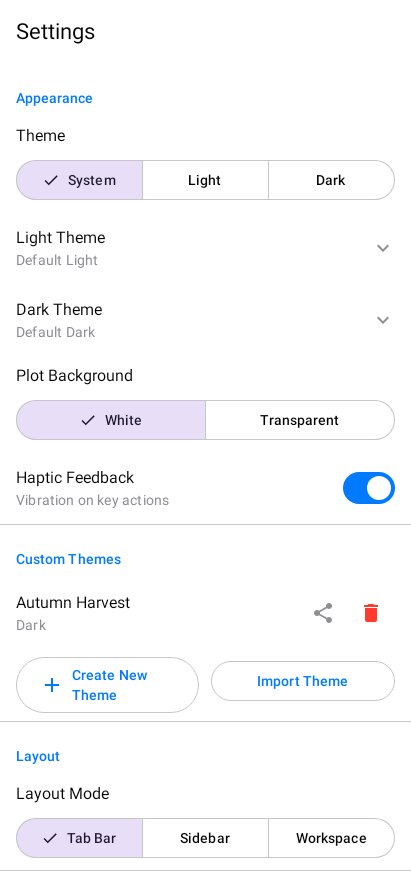
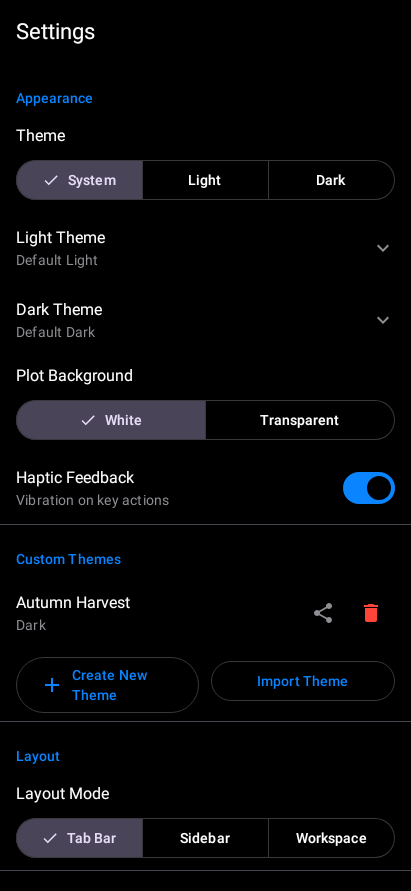
If you have not made one yet, the section reads “No custom themes”. See Creating Custom Themes.
Layout Modes
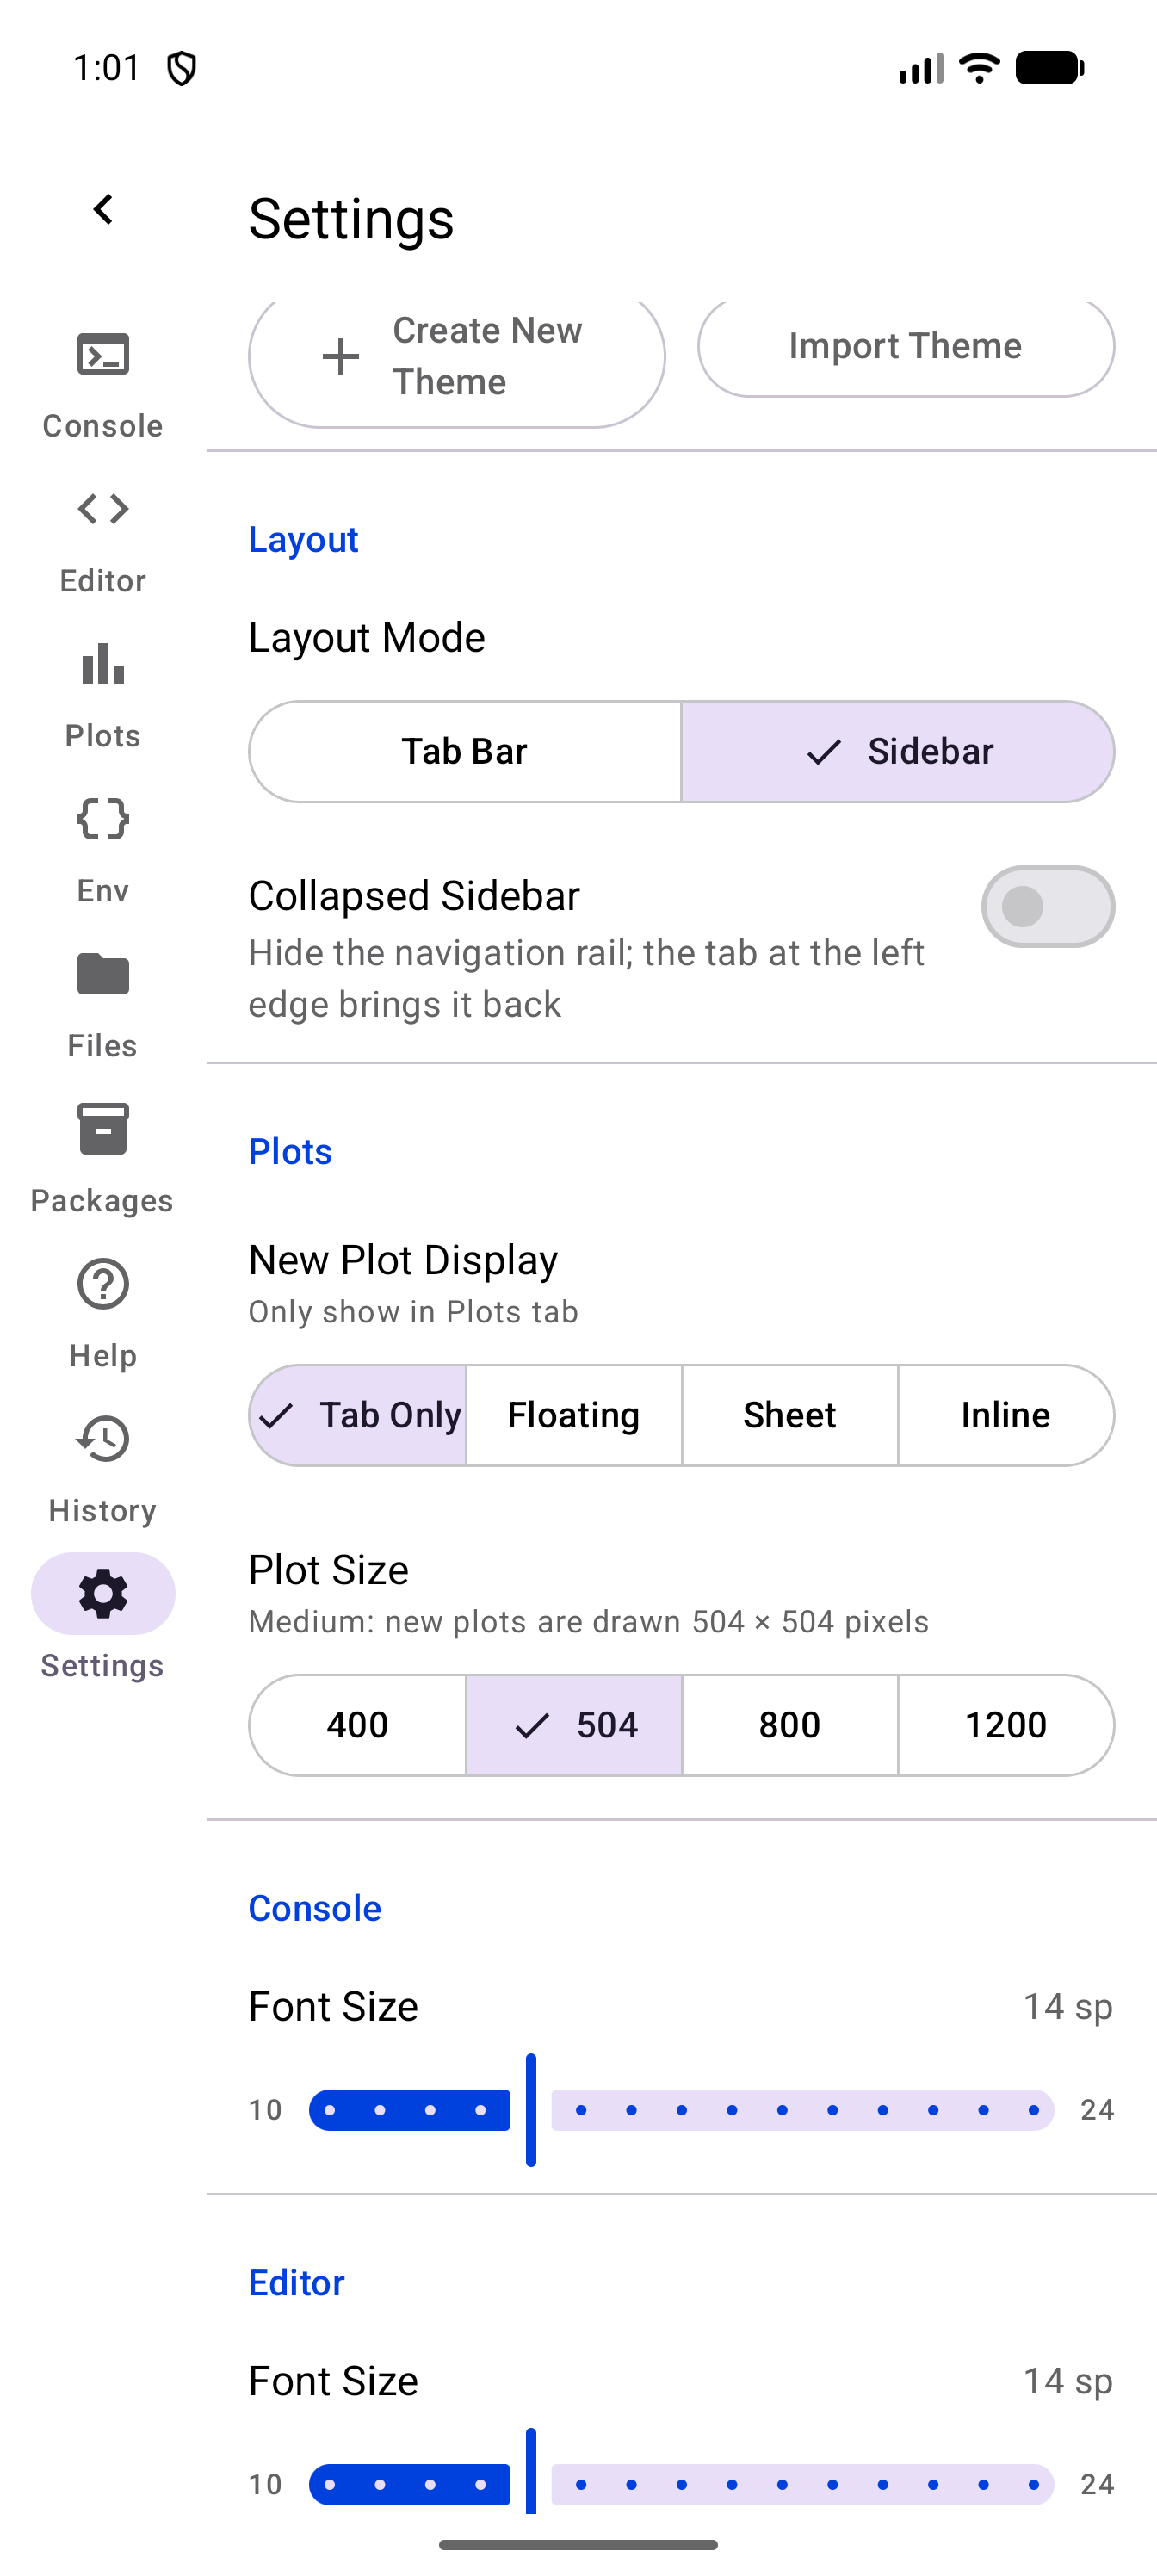
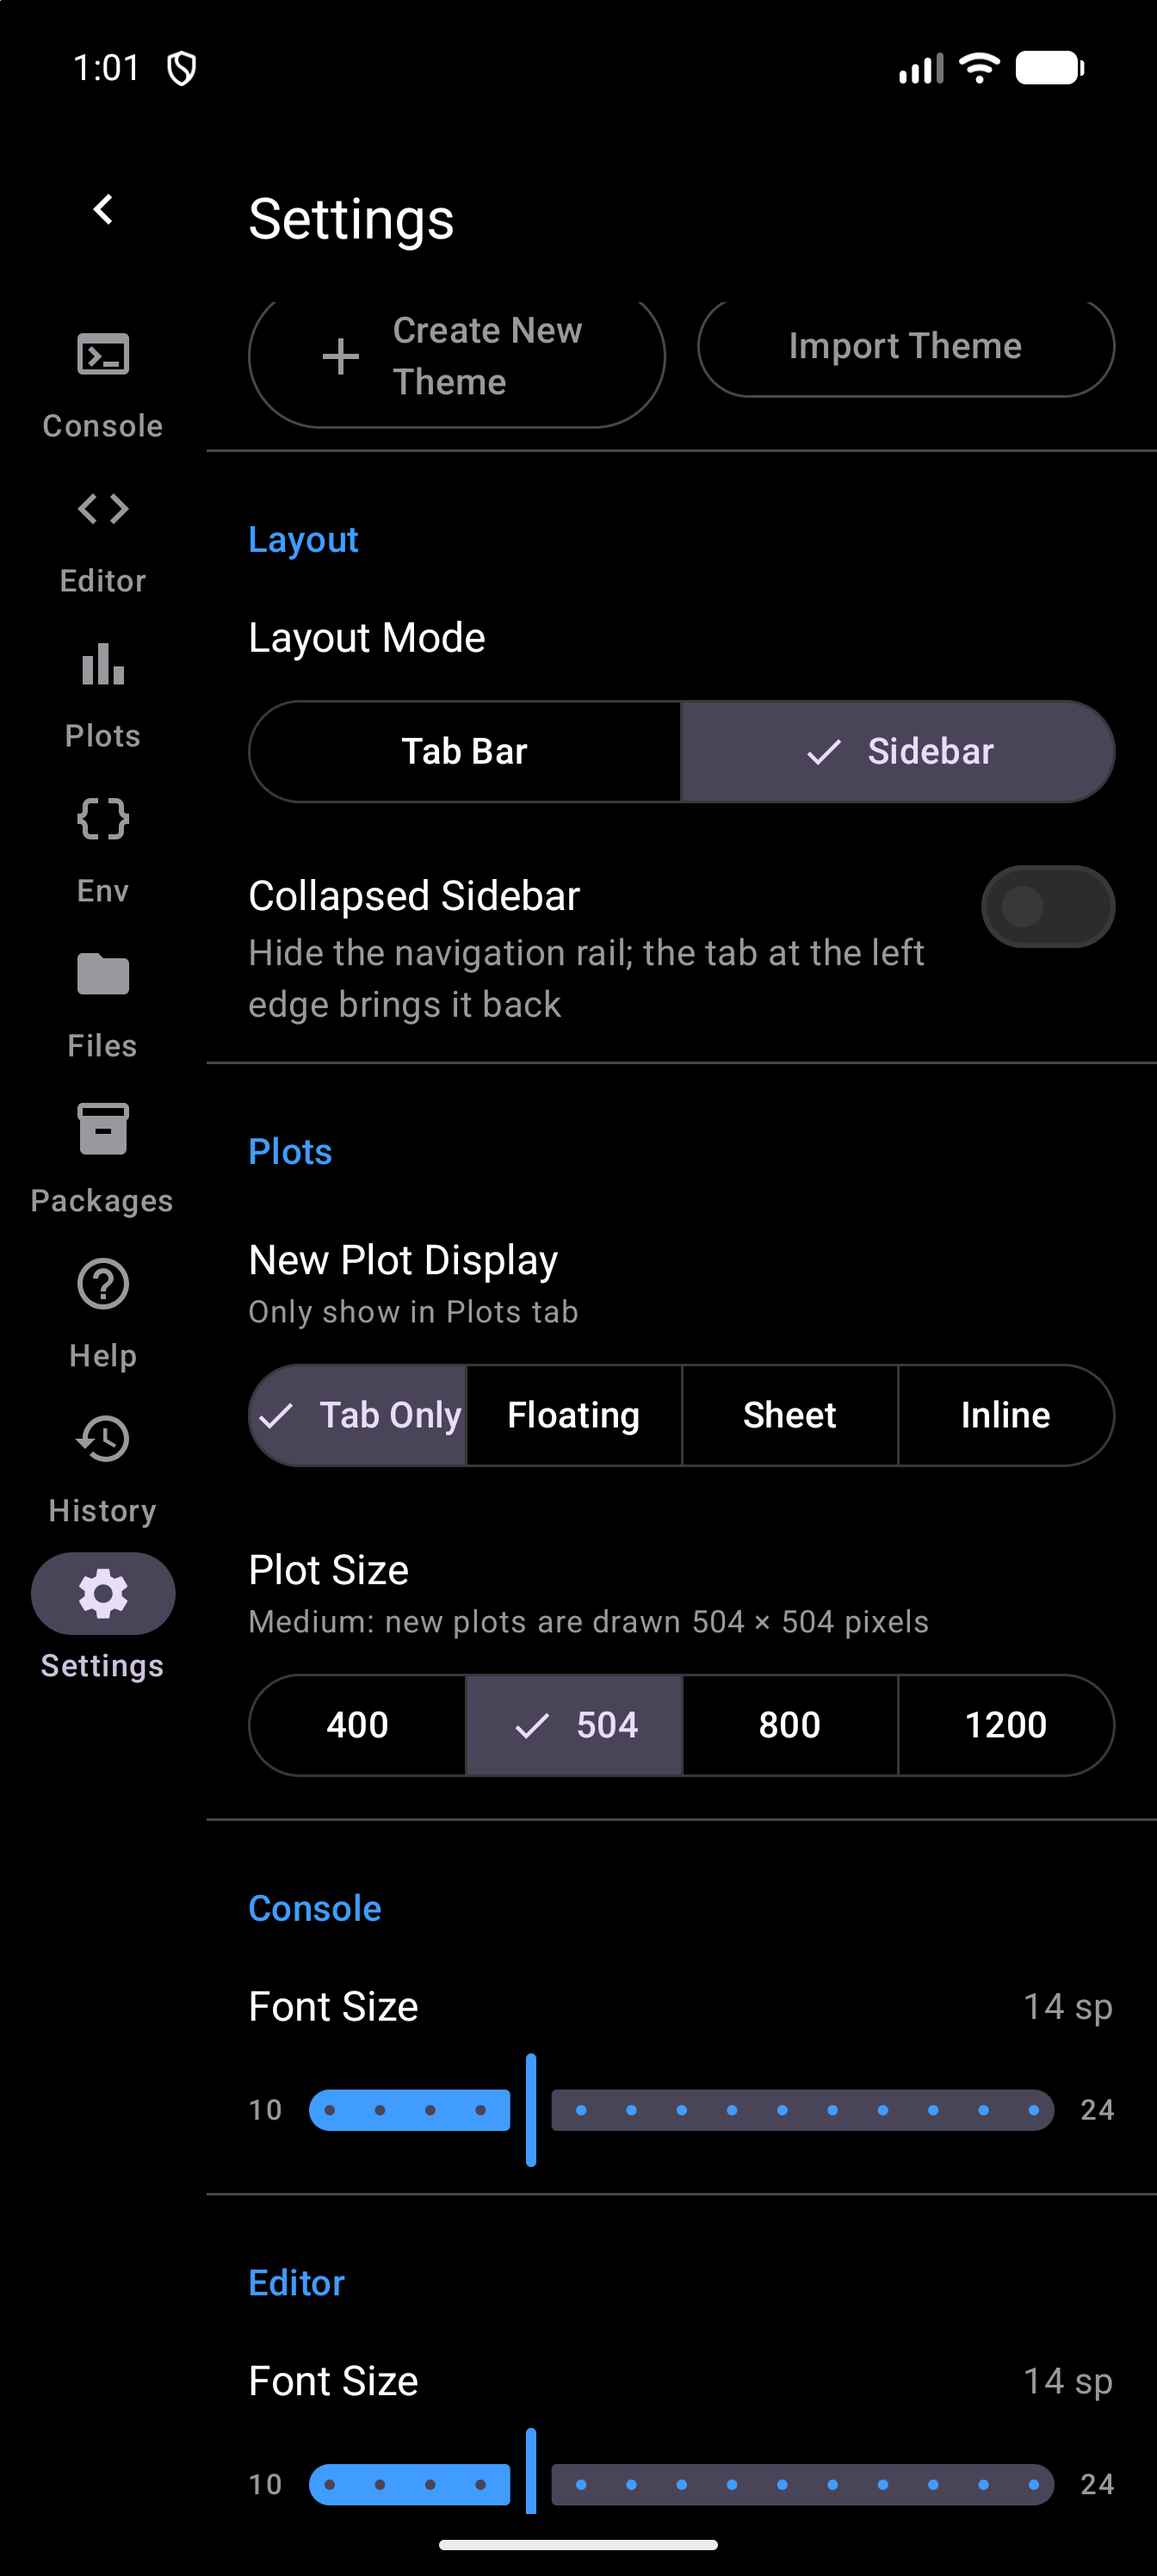
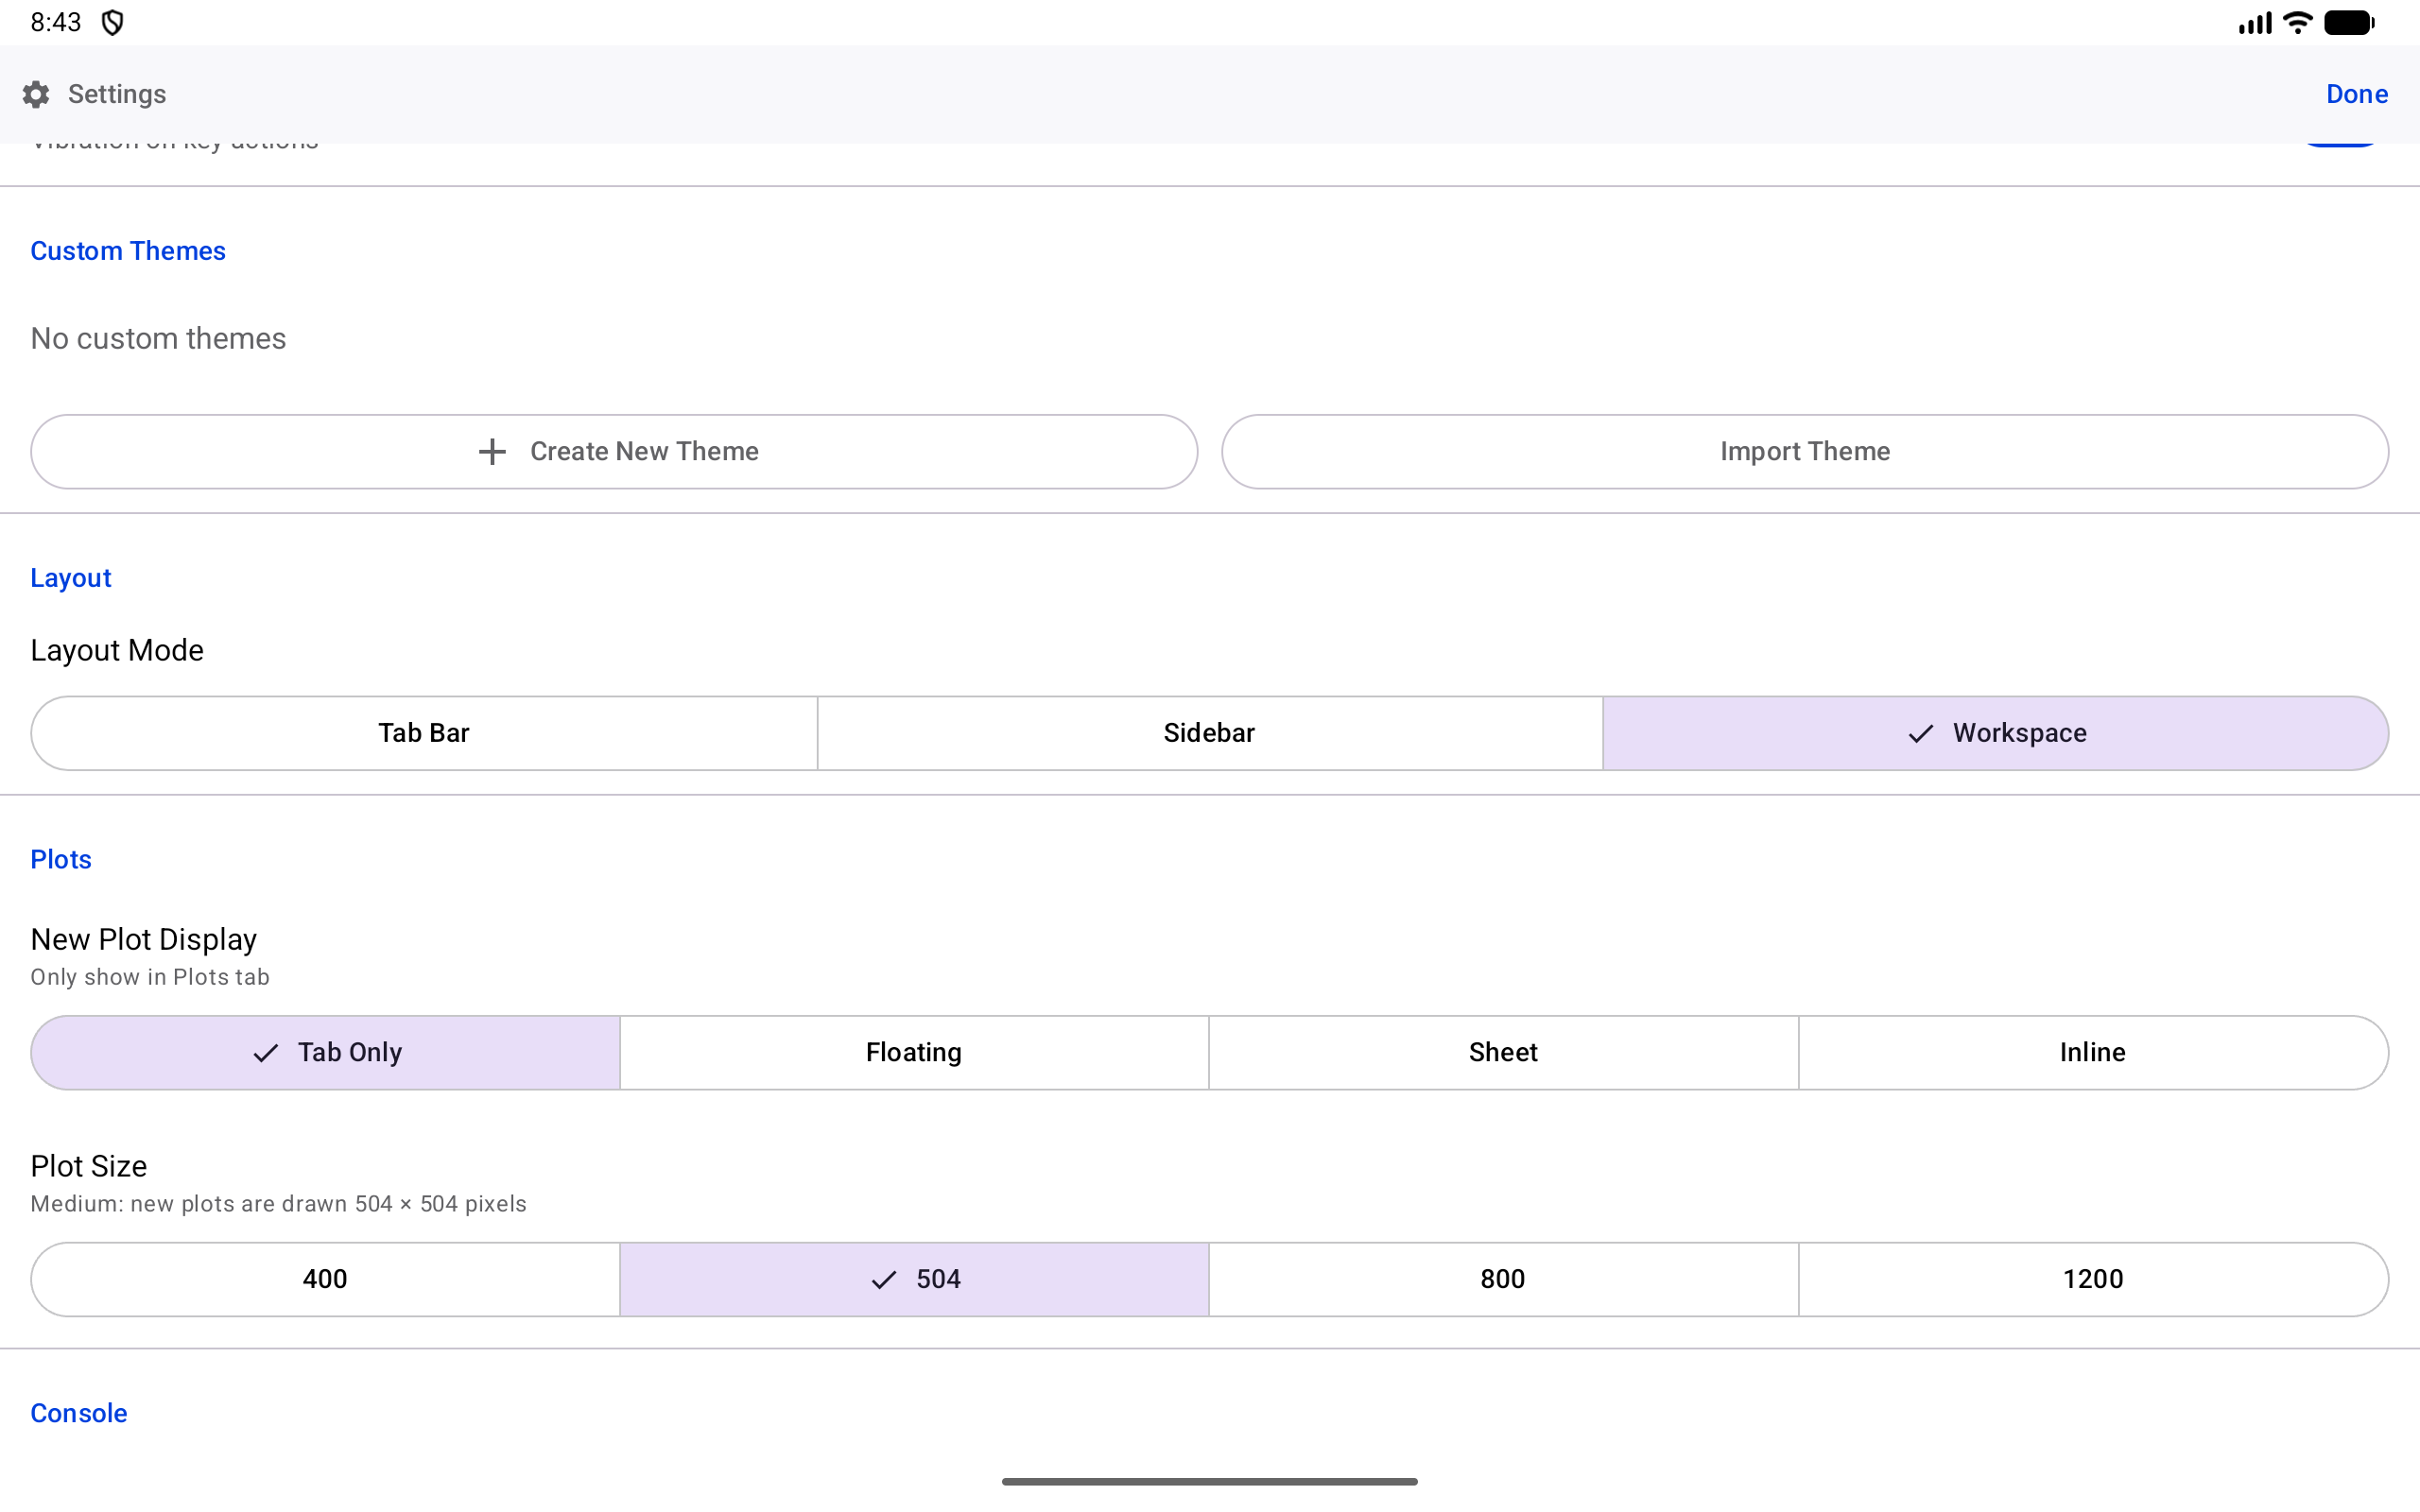
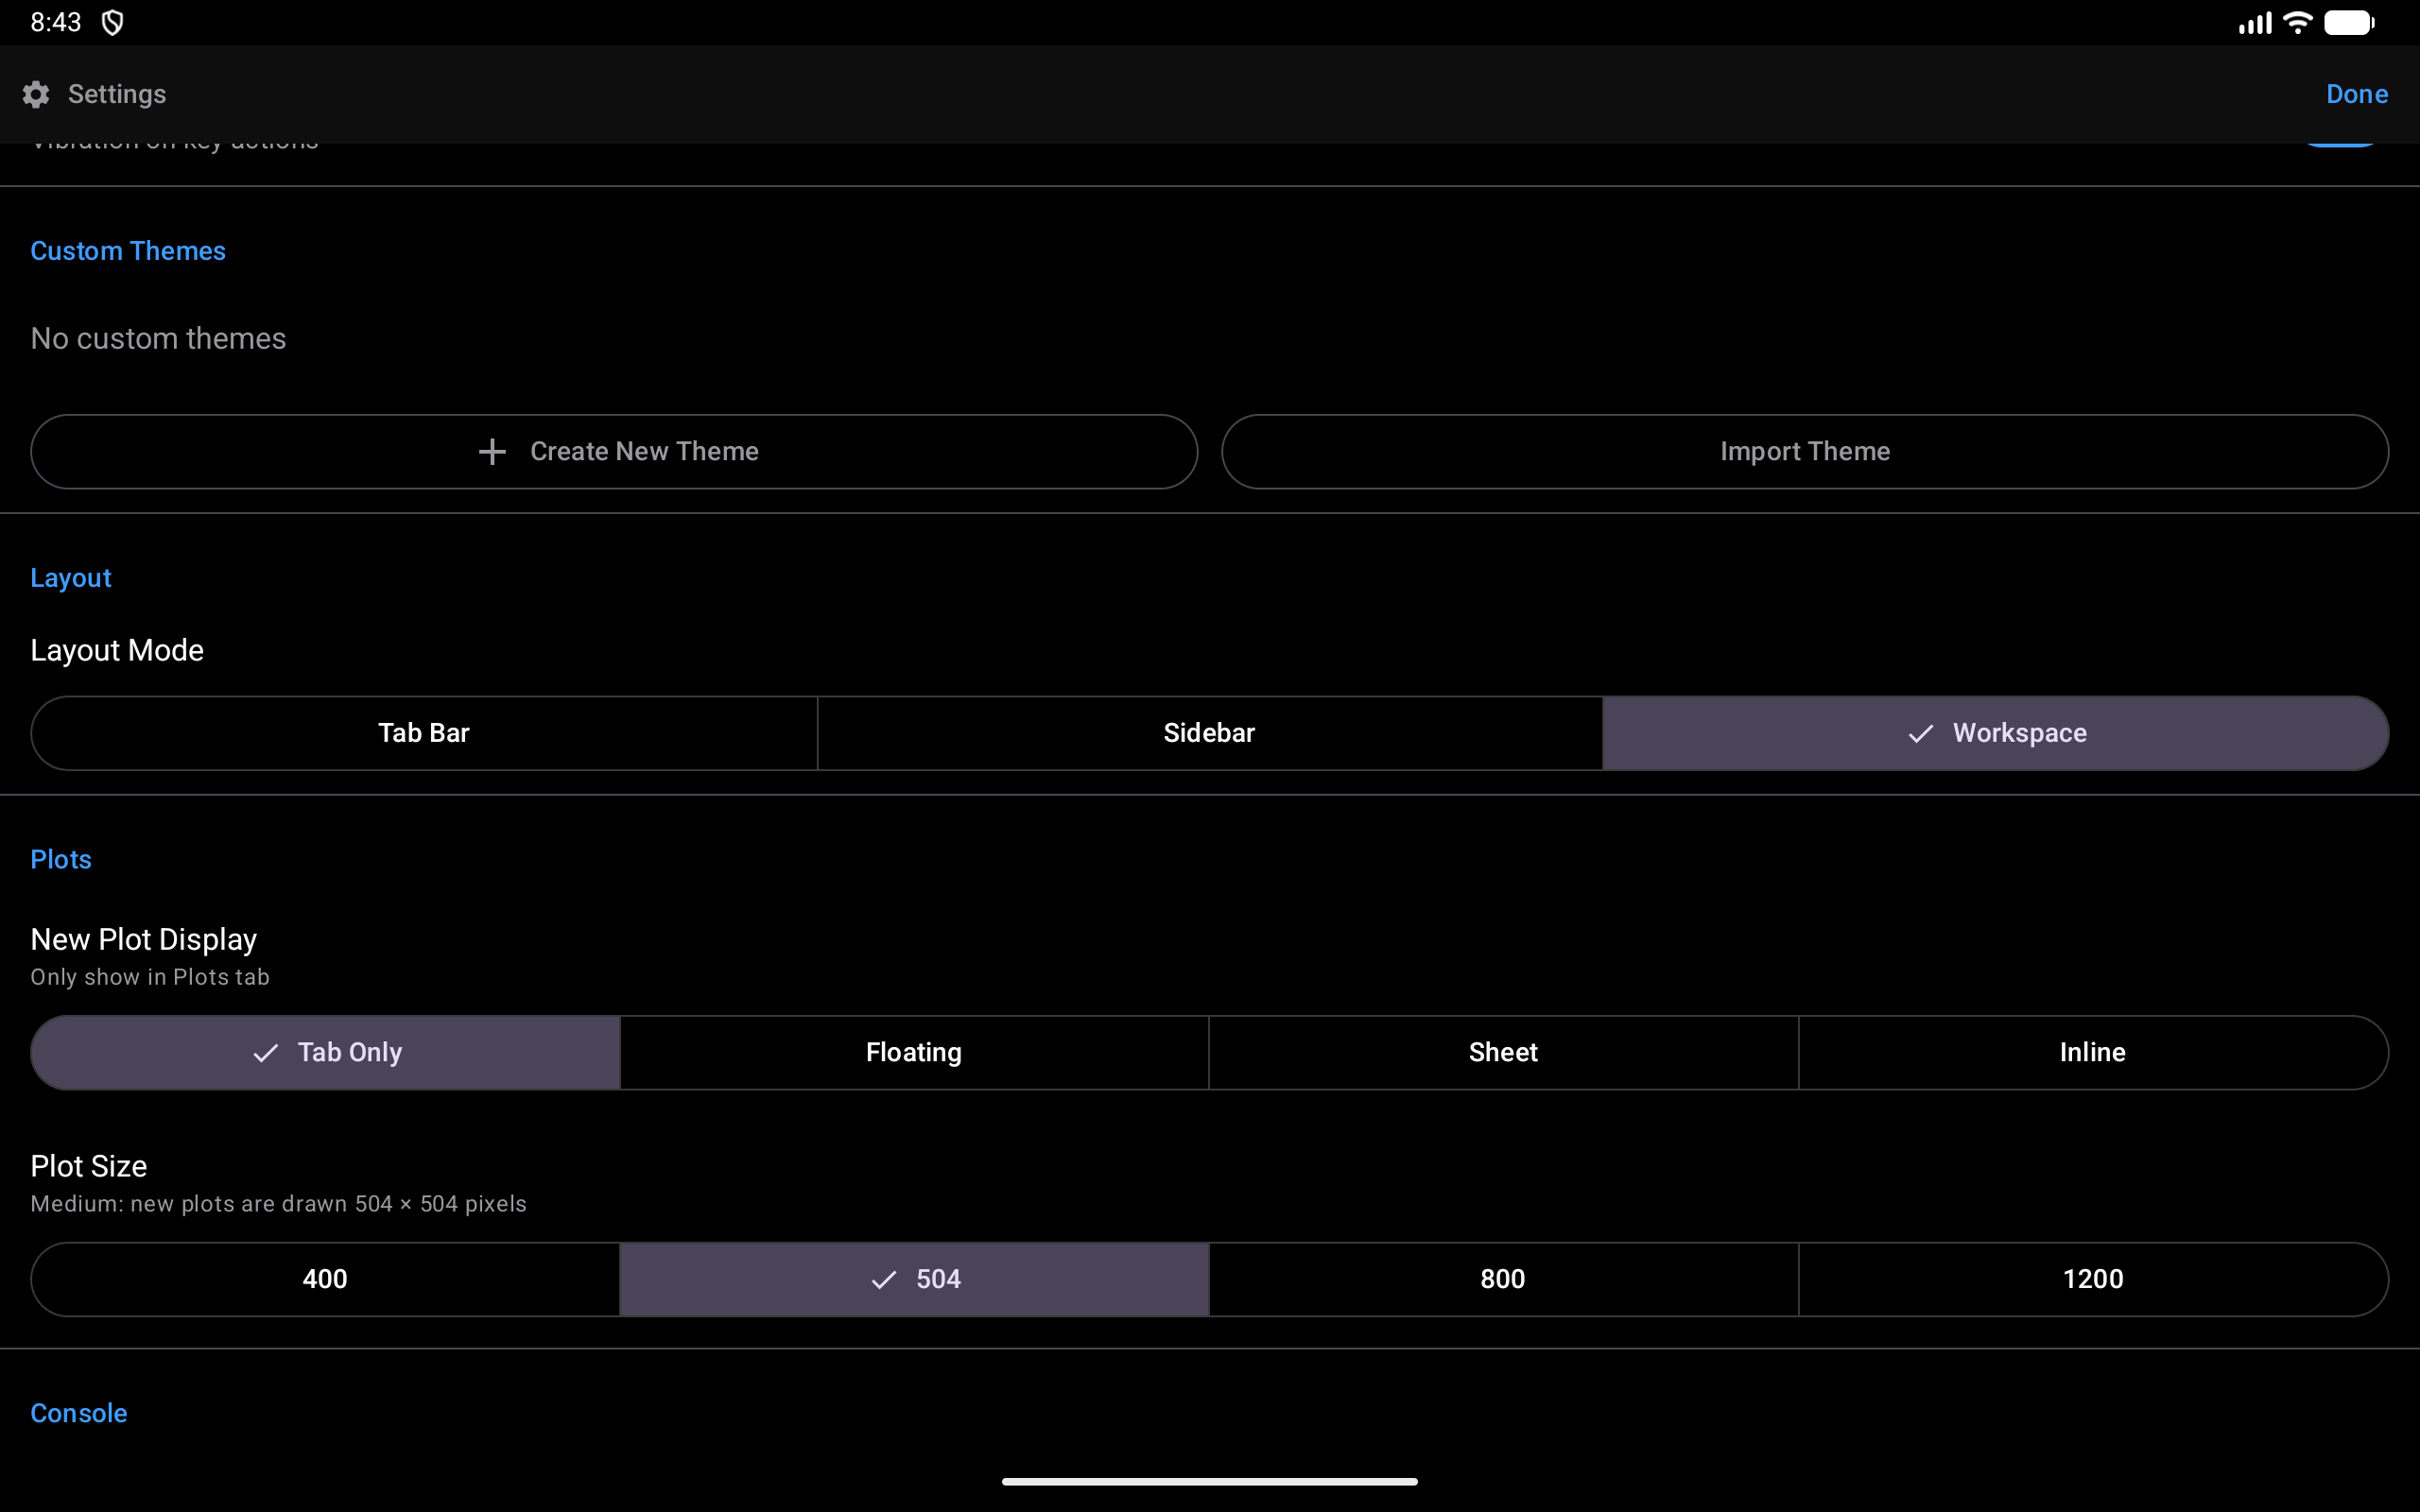
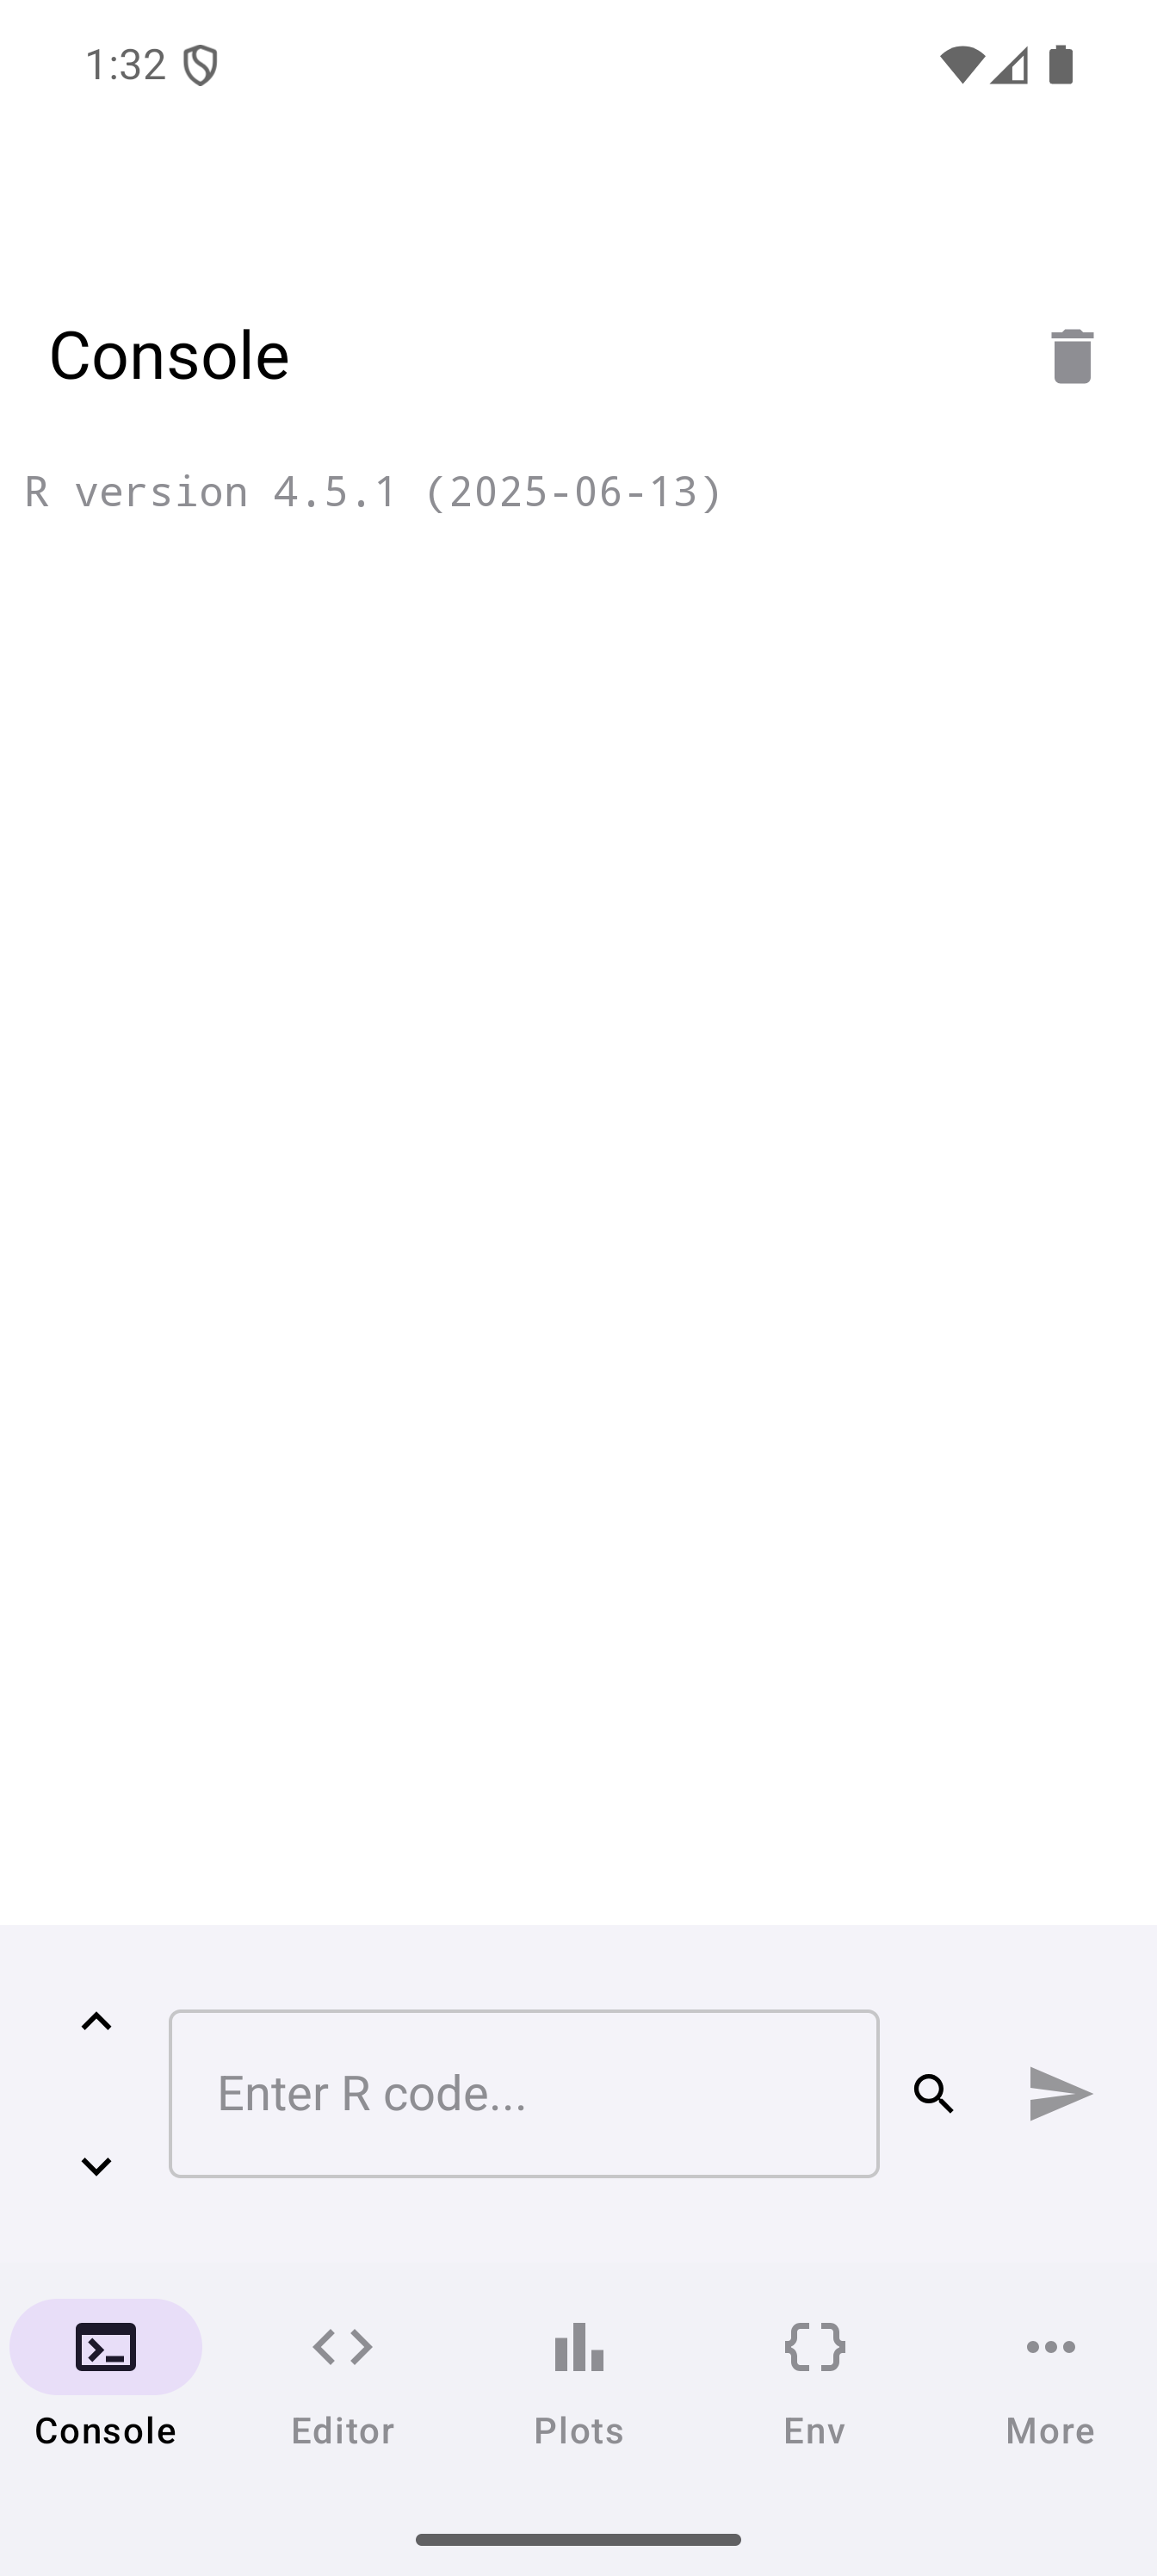
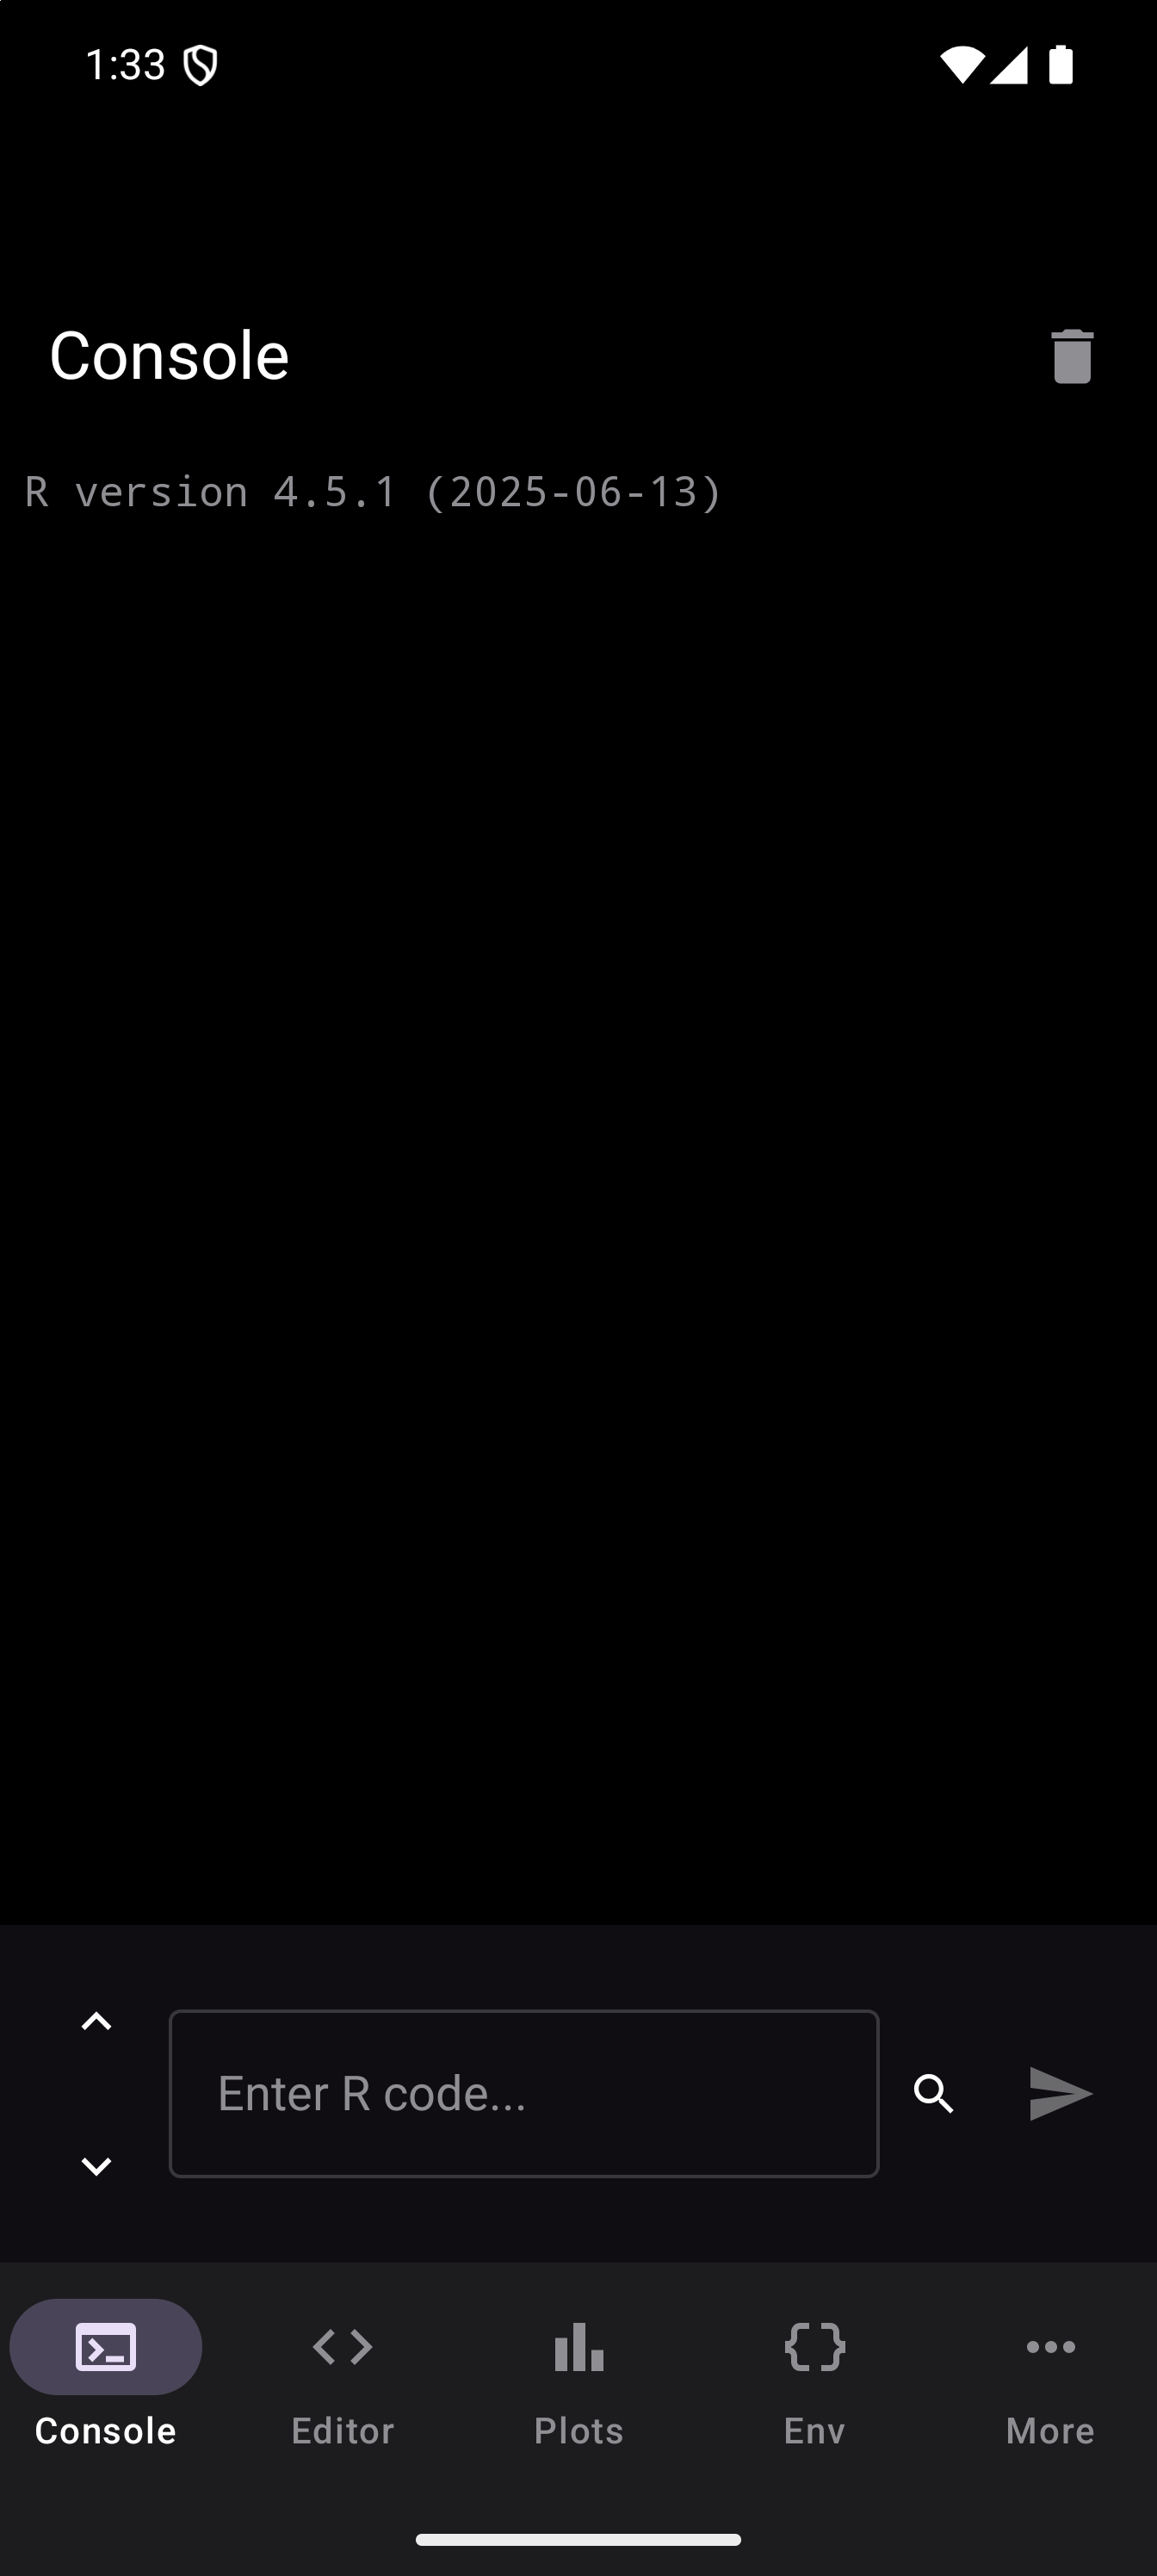
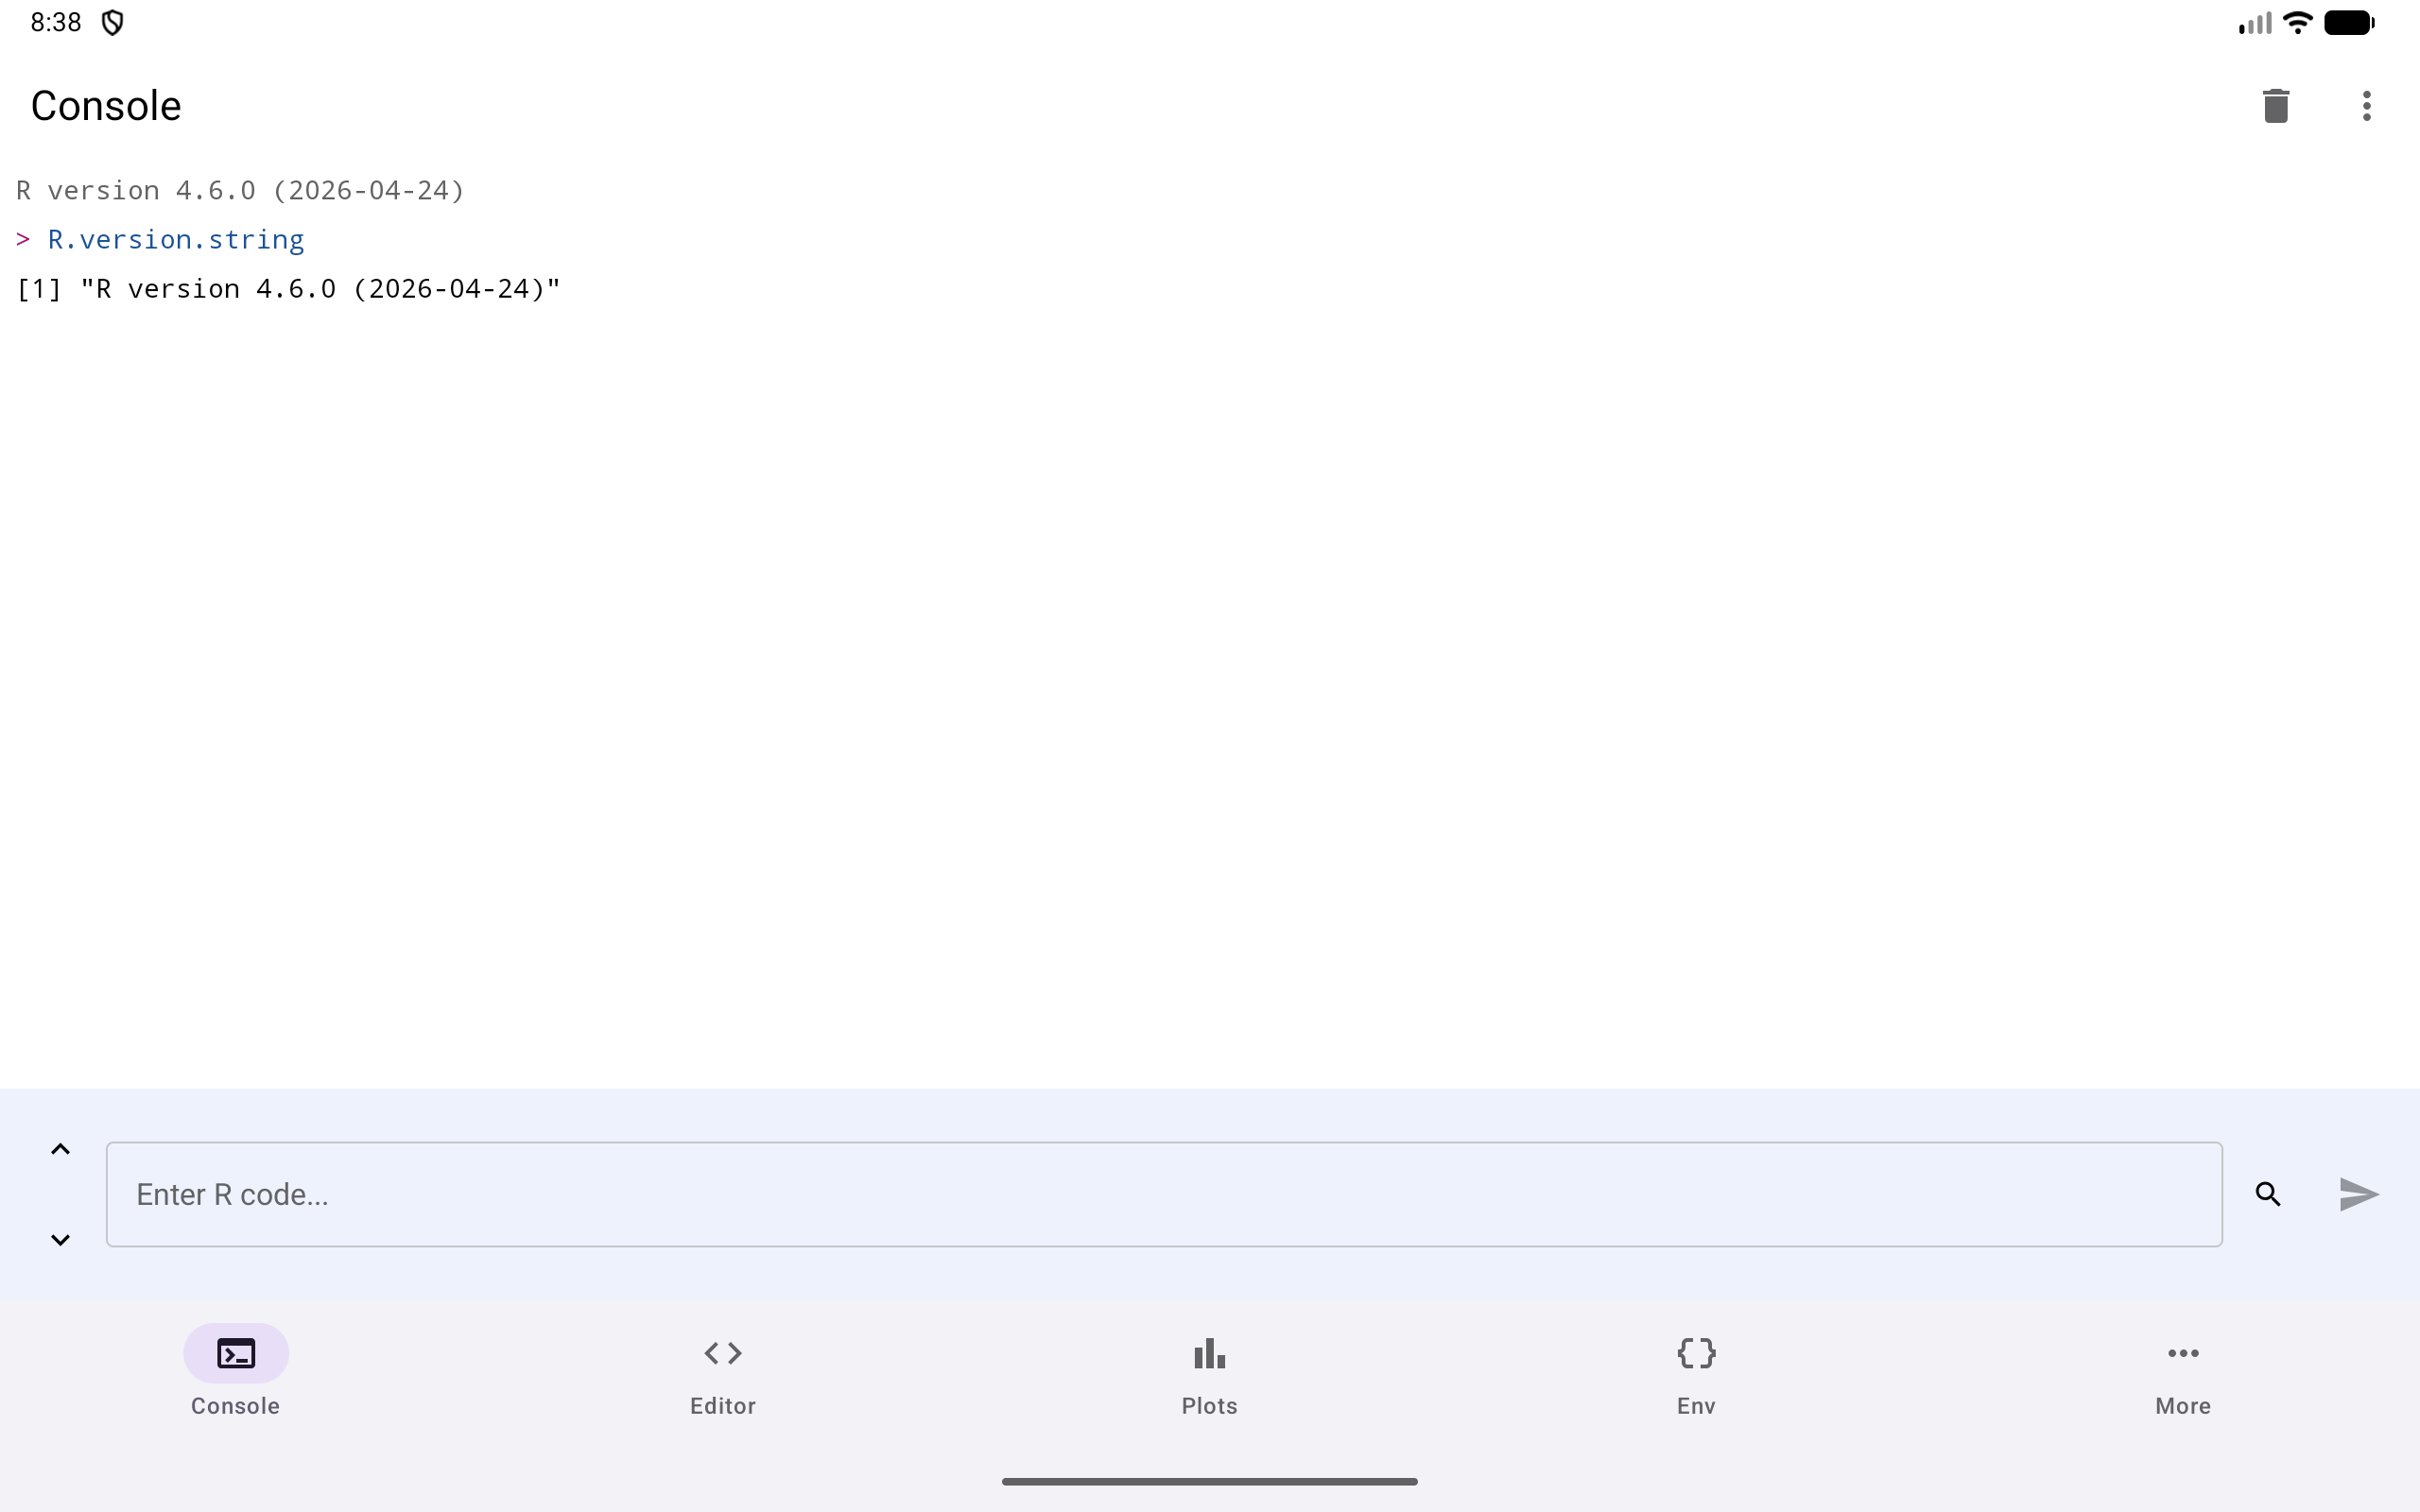
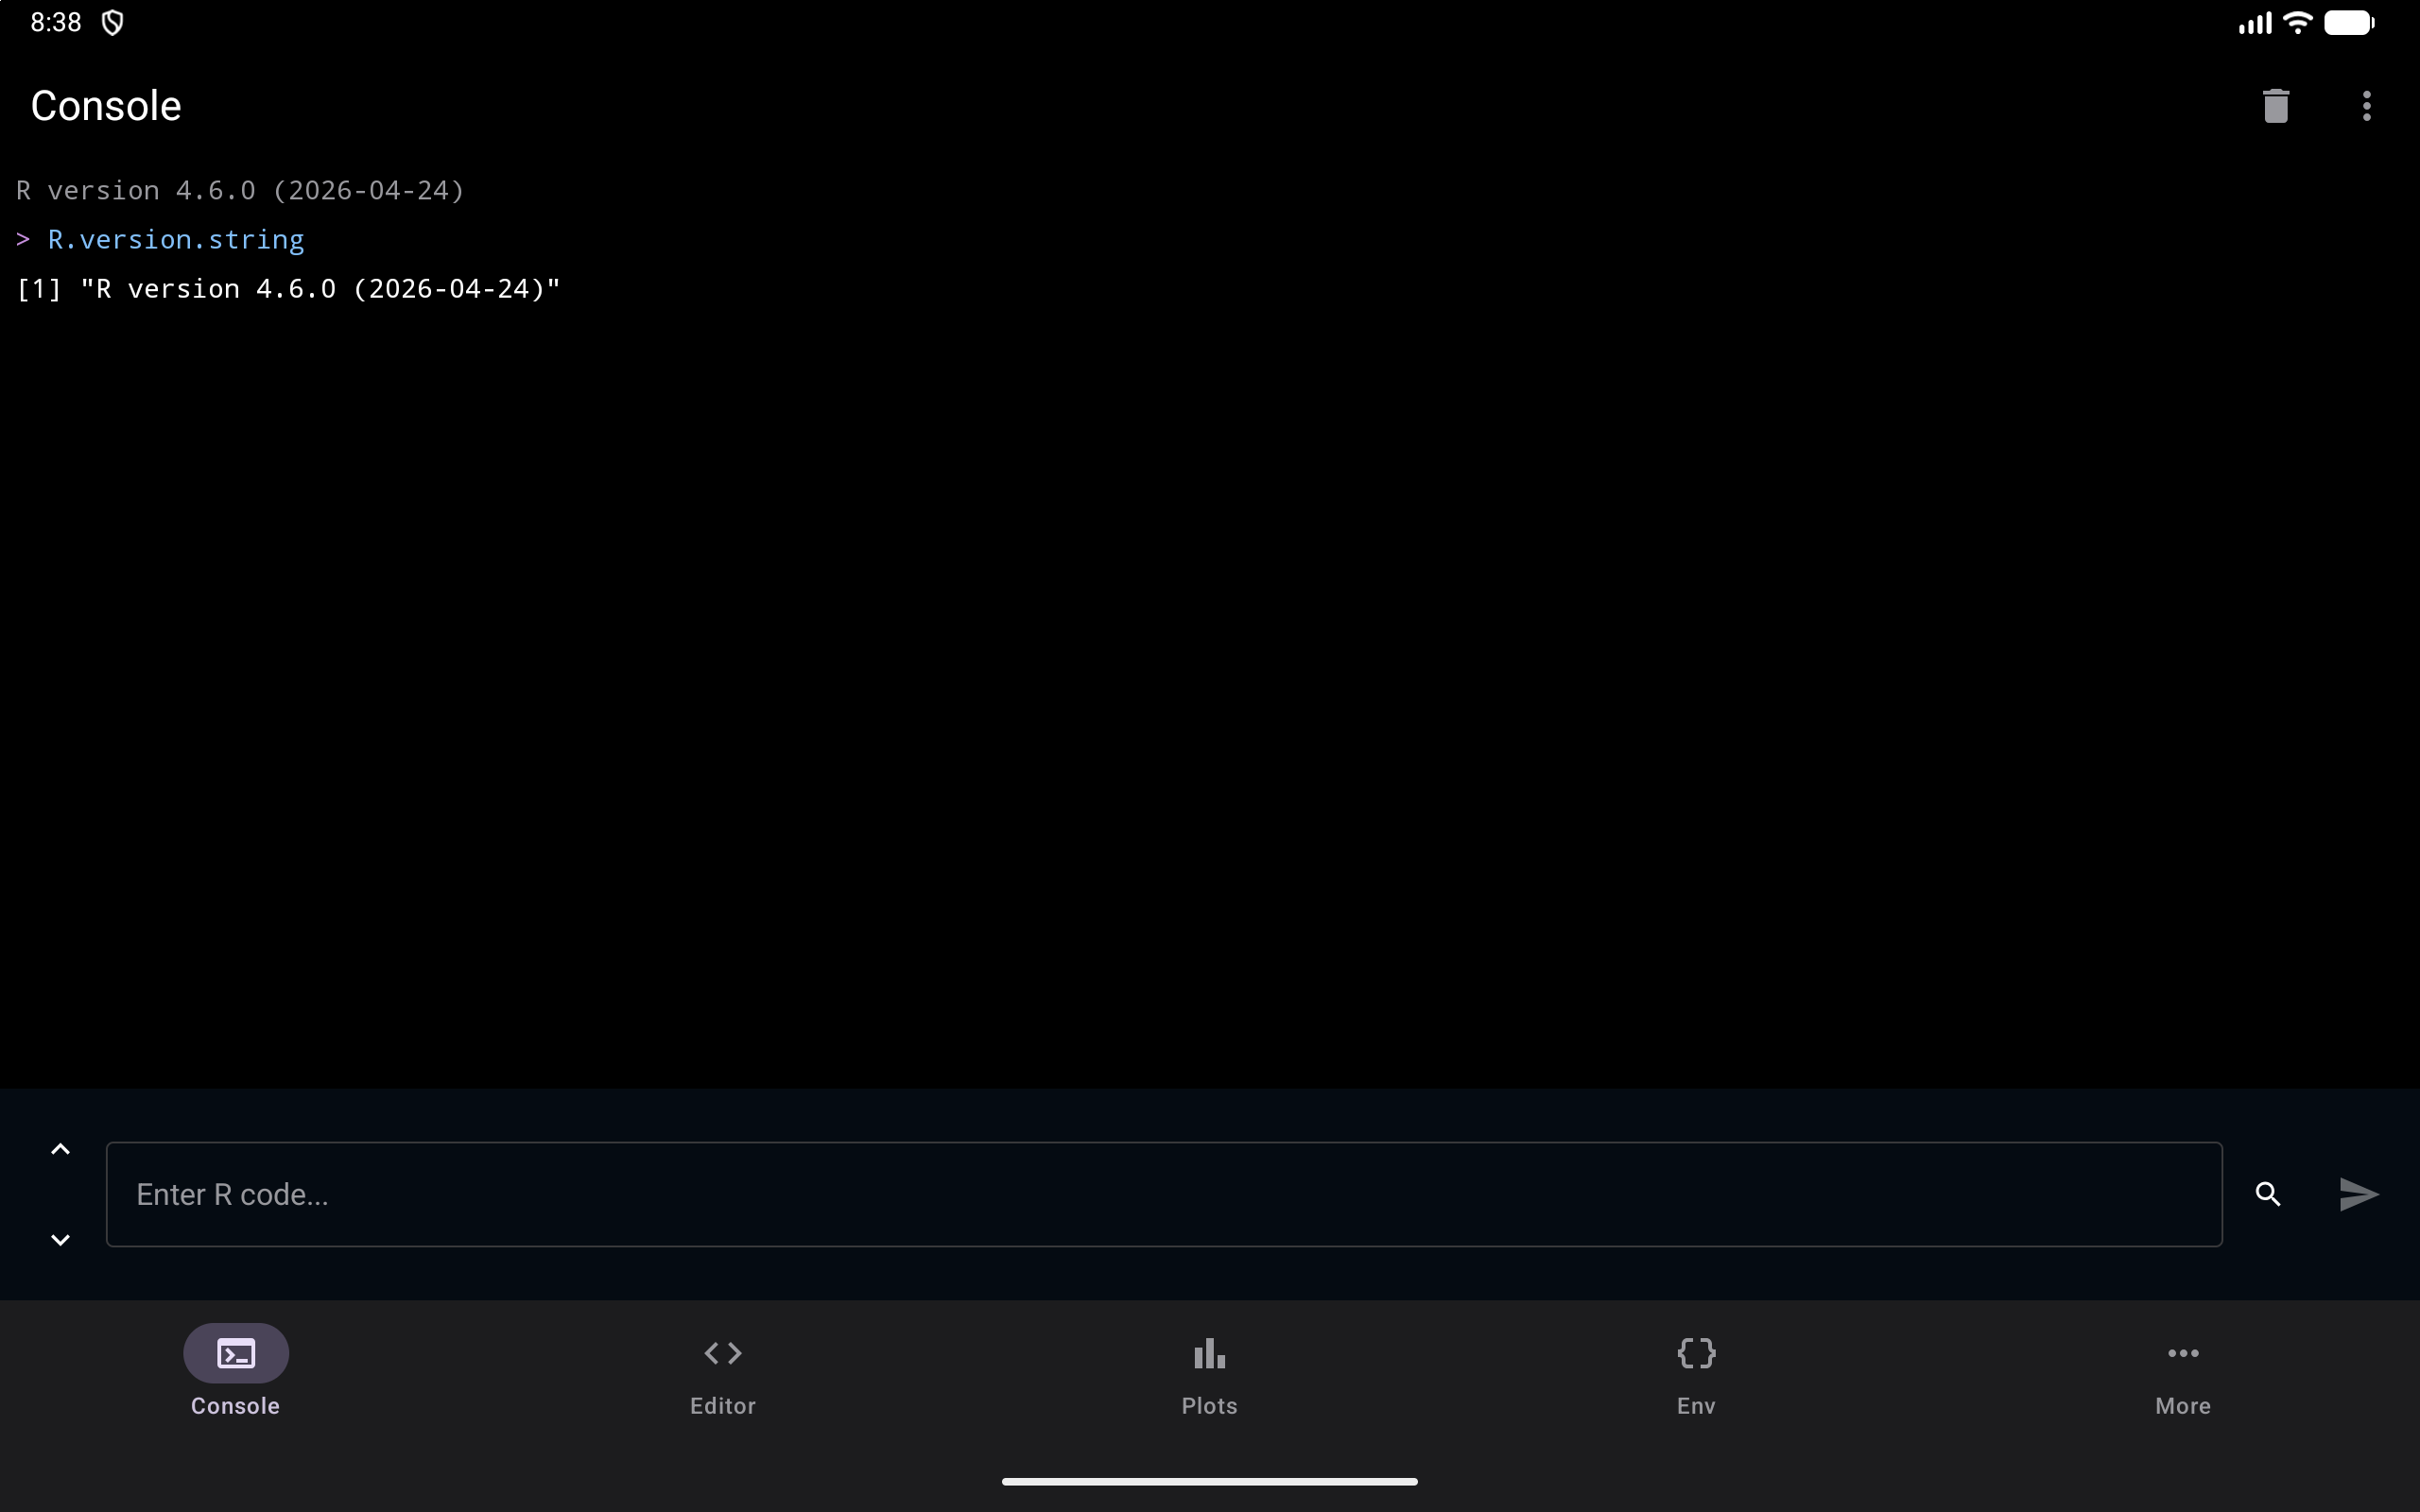
The Layout Mode setting controls how you navigate between the Console, Editor, Plots, Environment, and other sections of the app. A segmented button gives you the choices this device can show: Tab Bar and Sidebar everywhere, plus Workspace on a tablet. In the phone picture below, Sidebar is chosen, which adds the Collapsed Sidebar switch described under Sidebar. In the tablet picture, all three choices are there, with Workspace chosen.
Tab Bar
The default layout on a phone. A row of icons sits along the bottom of the screen, just like most Android apps. Tap an icon to switch to that section. Each section takes up the full screen.
Tab Bar is the simplest option. It works well on phones and on tablets when you only need to focus on one thing at a time.
Sidebar
A navigation rail down the left side of the screen, with the content area on the right. Tap an entry to switch sections, the same way the tab bar works, with more of them visible at once.
In a window too short to show every entry, such as a phone in landscape, the rail scrolls, so Help, History and Settings can always be reached.
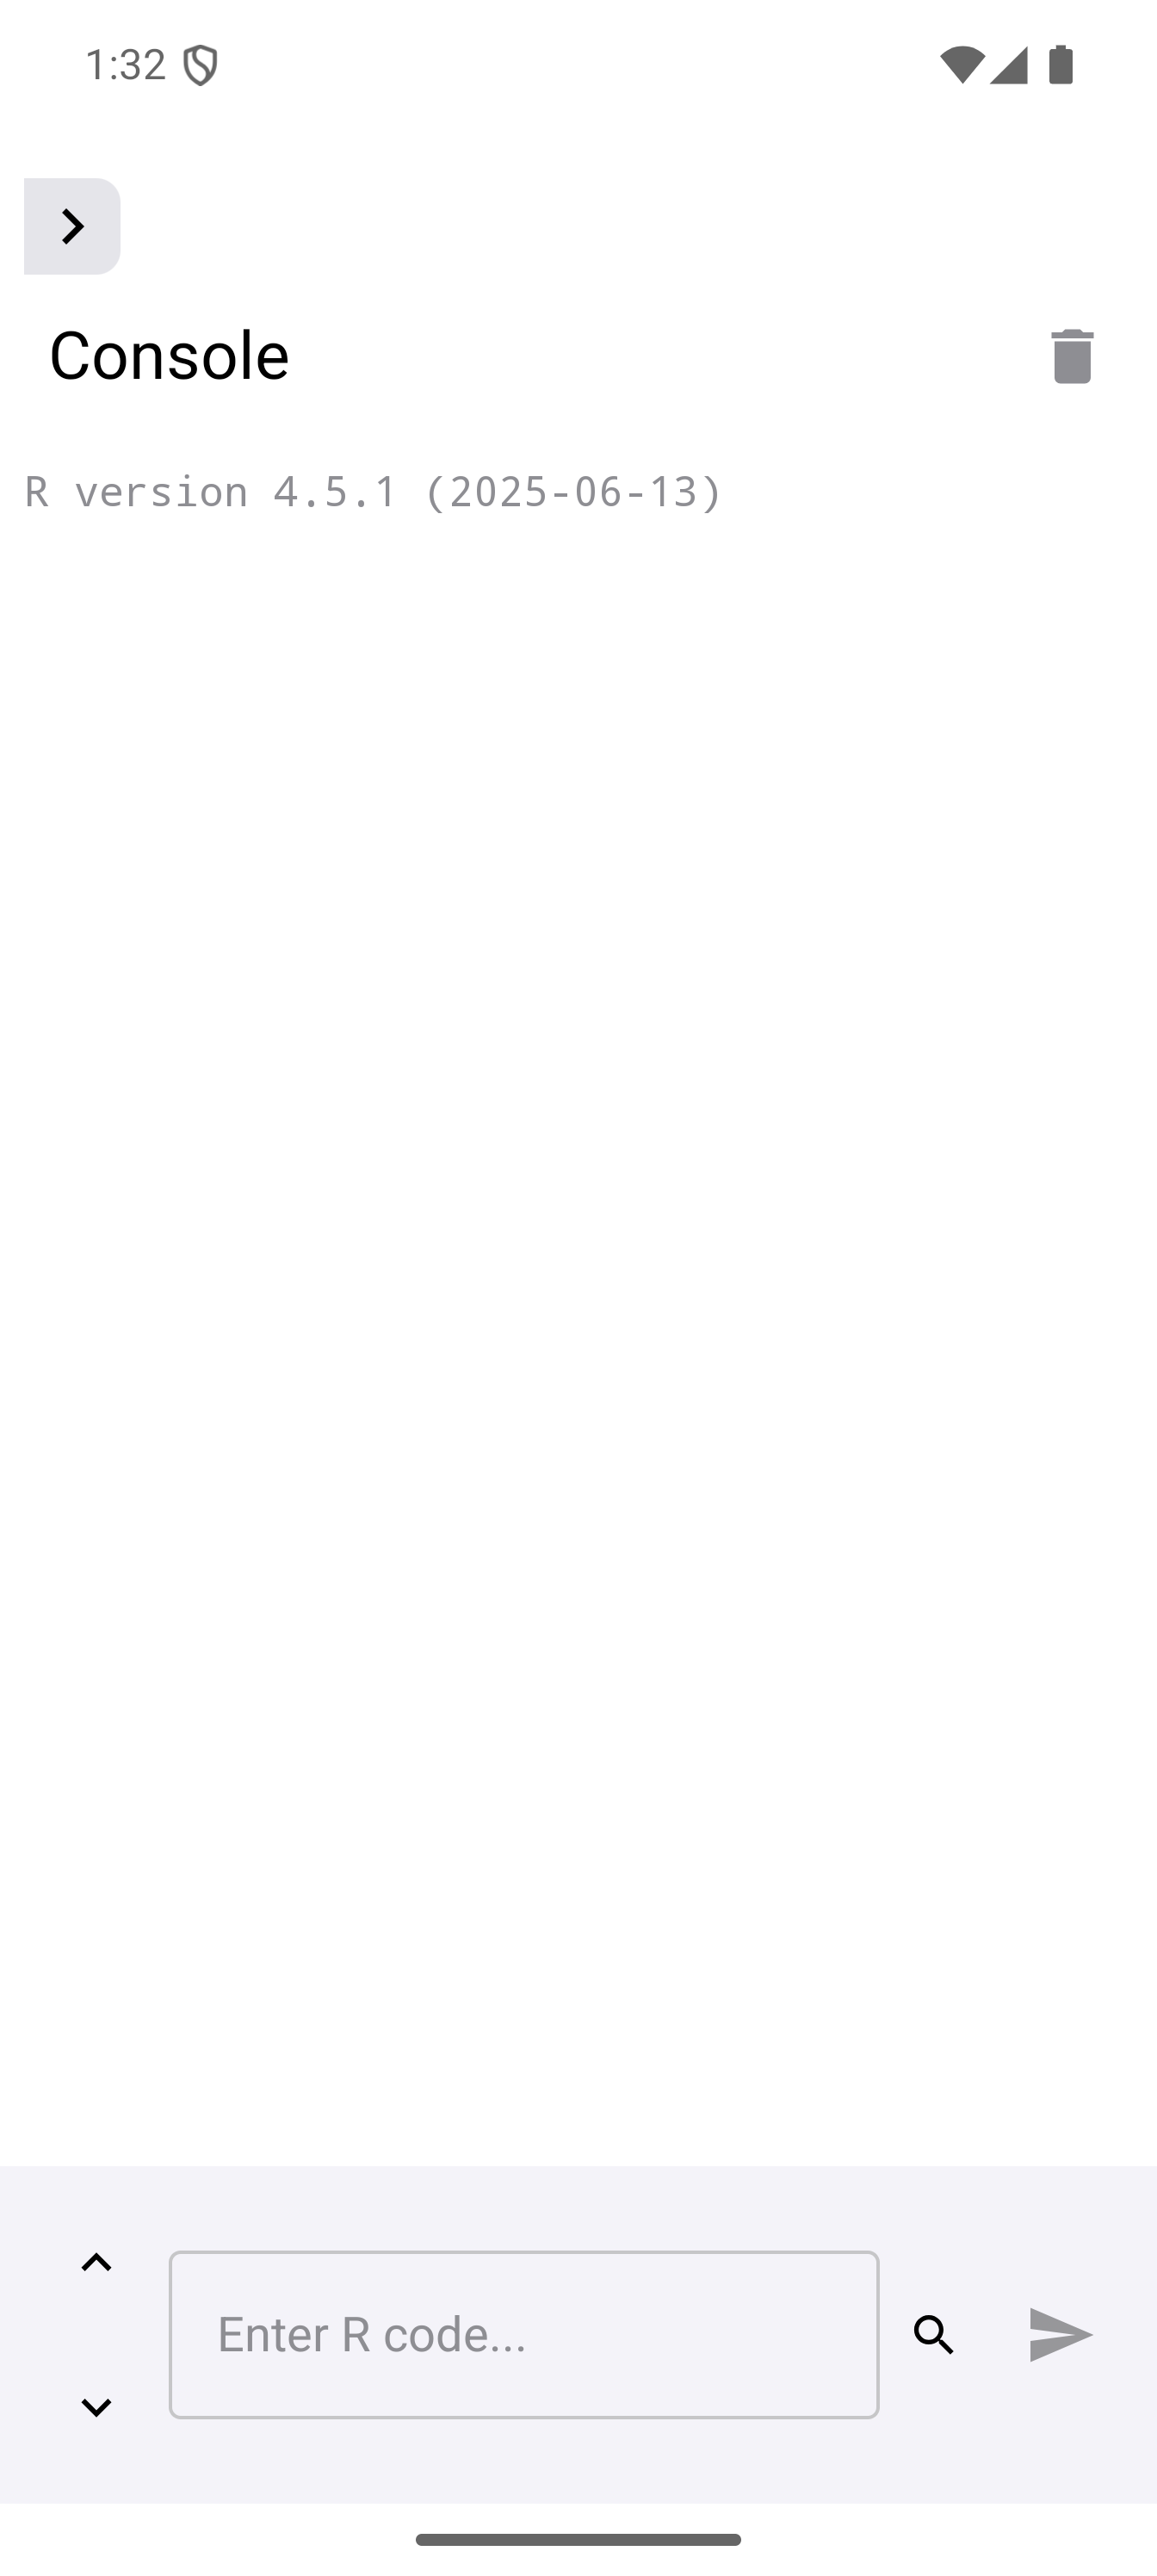
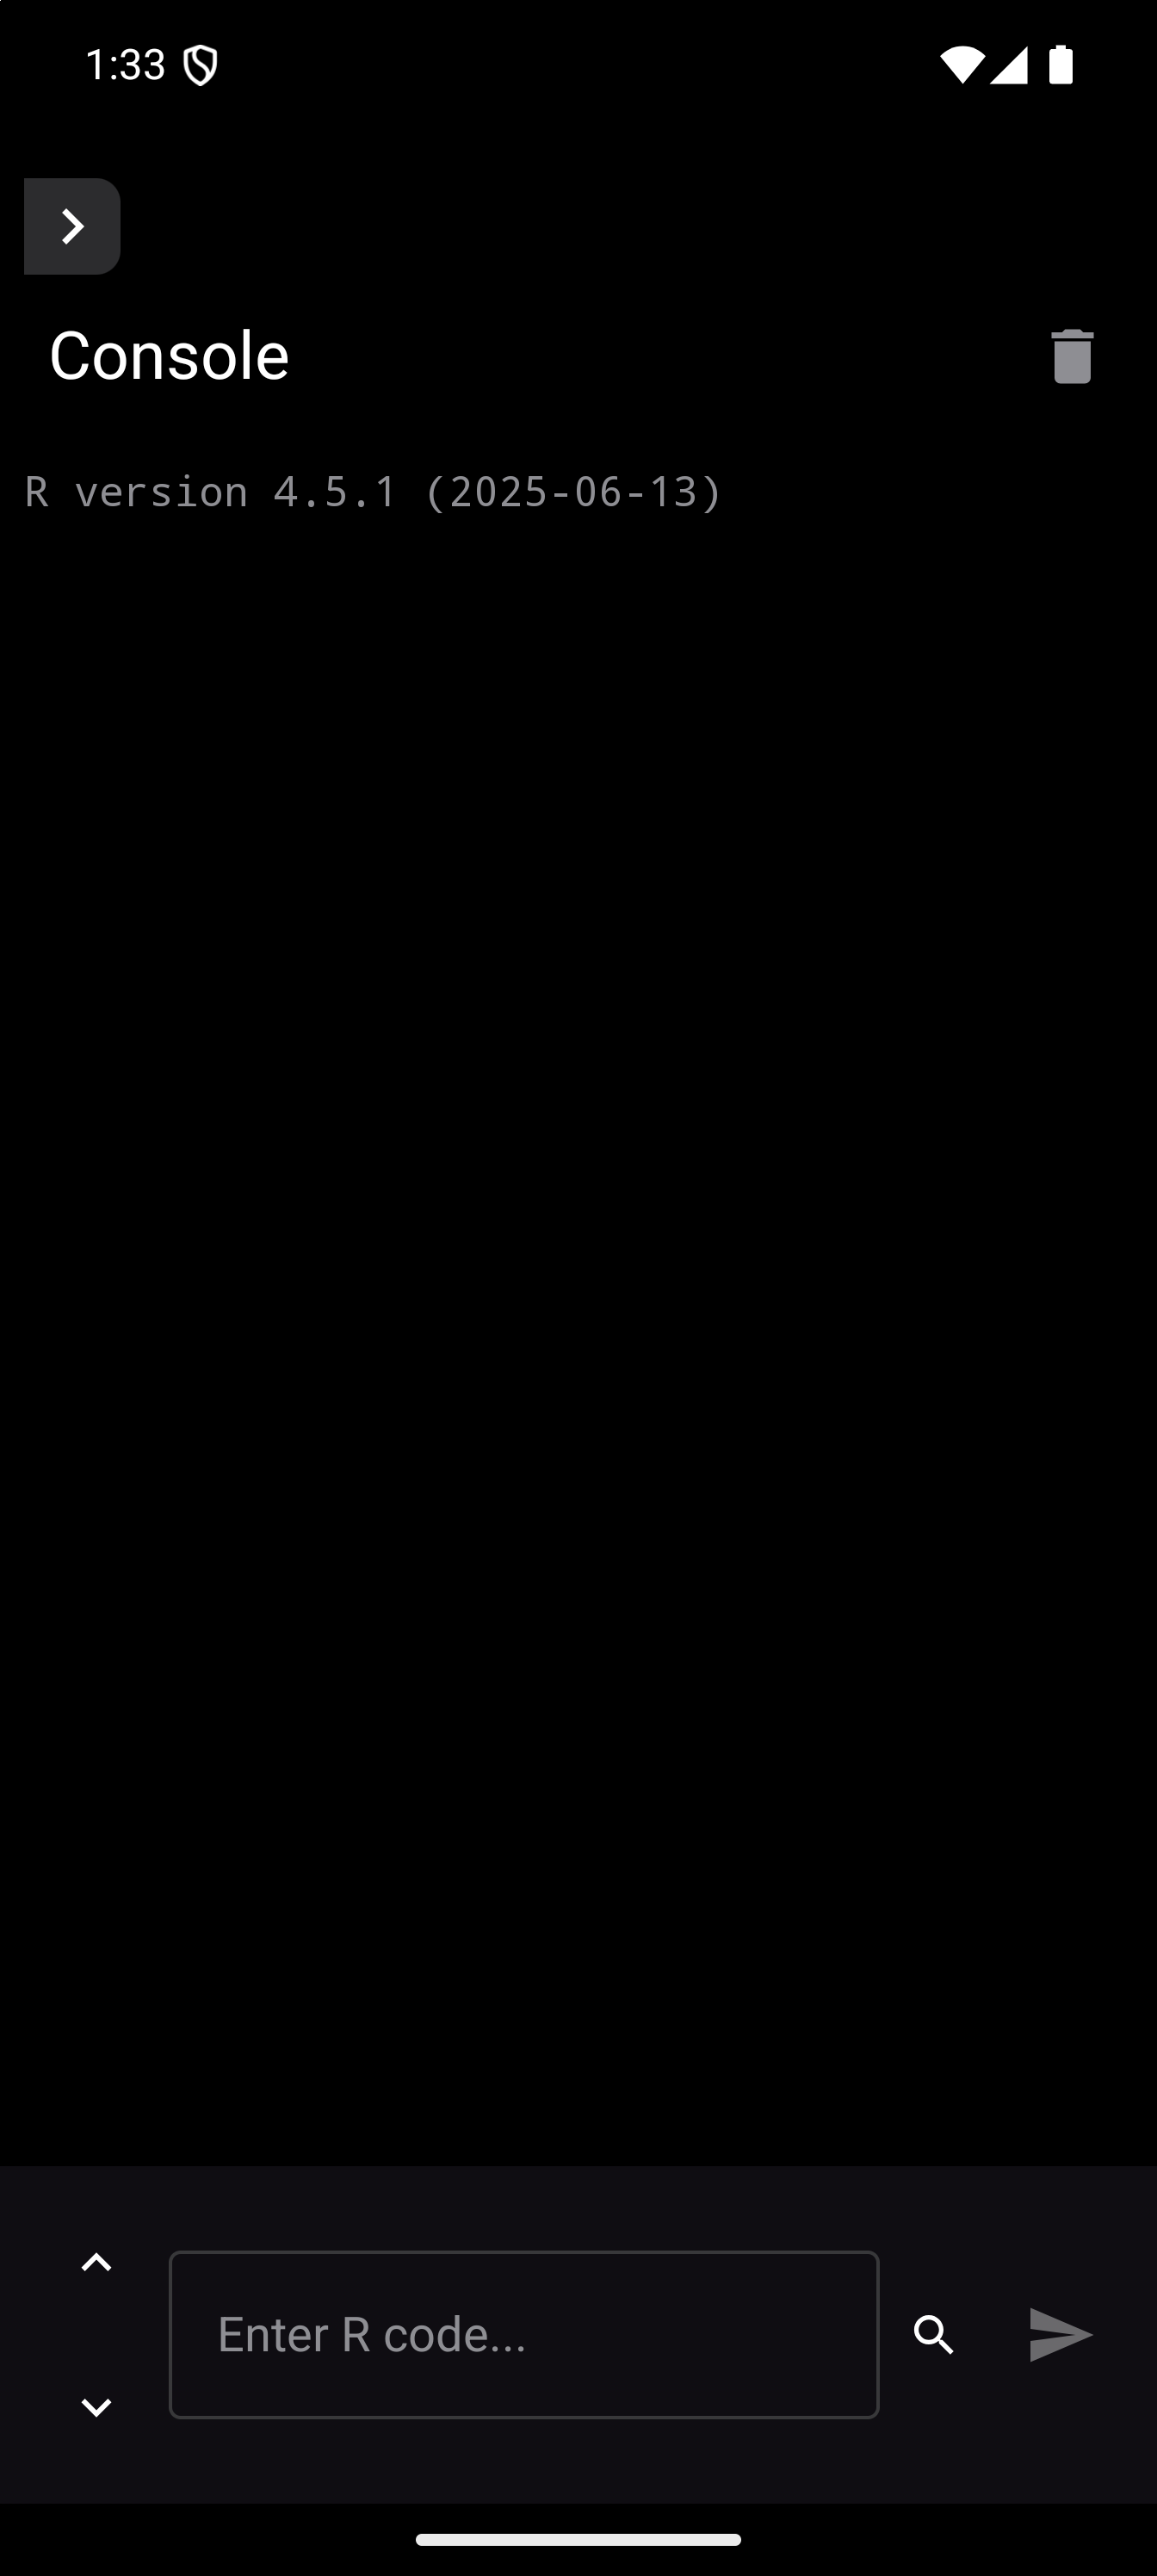
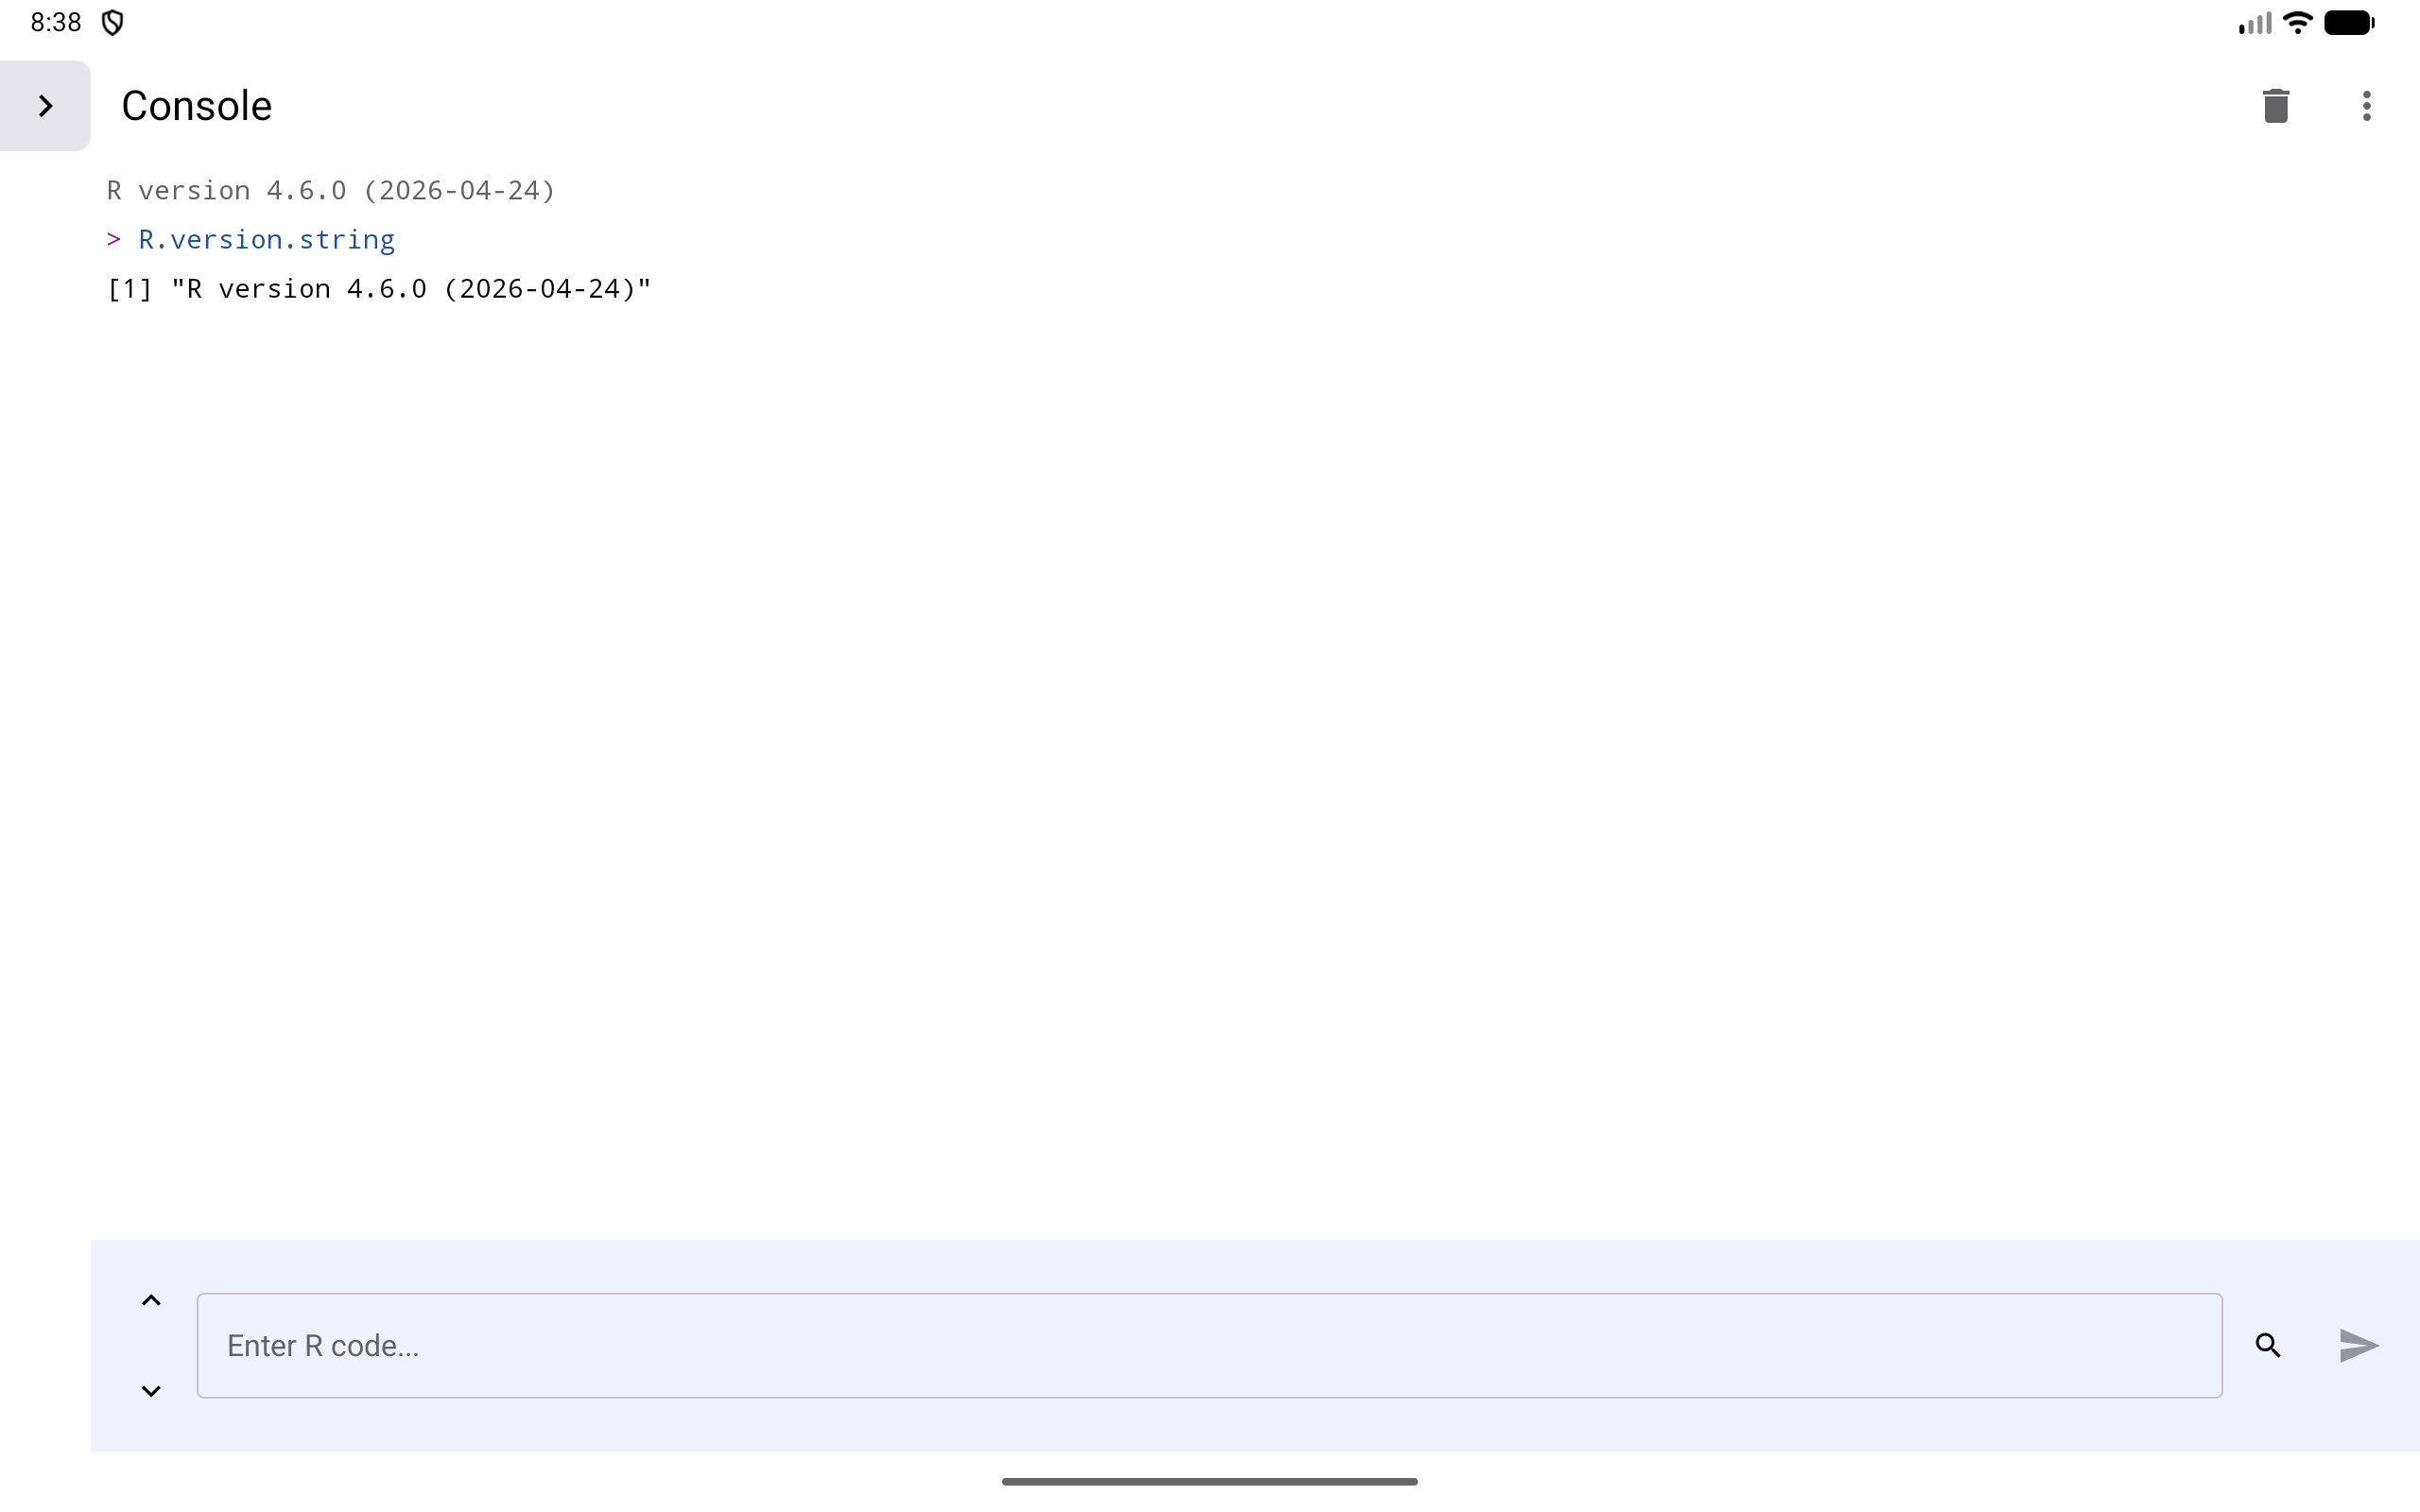
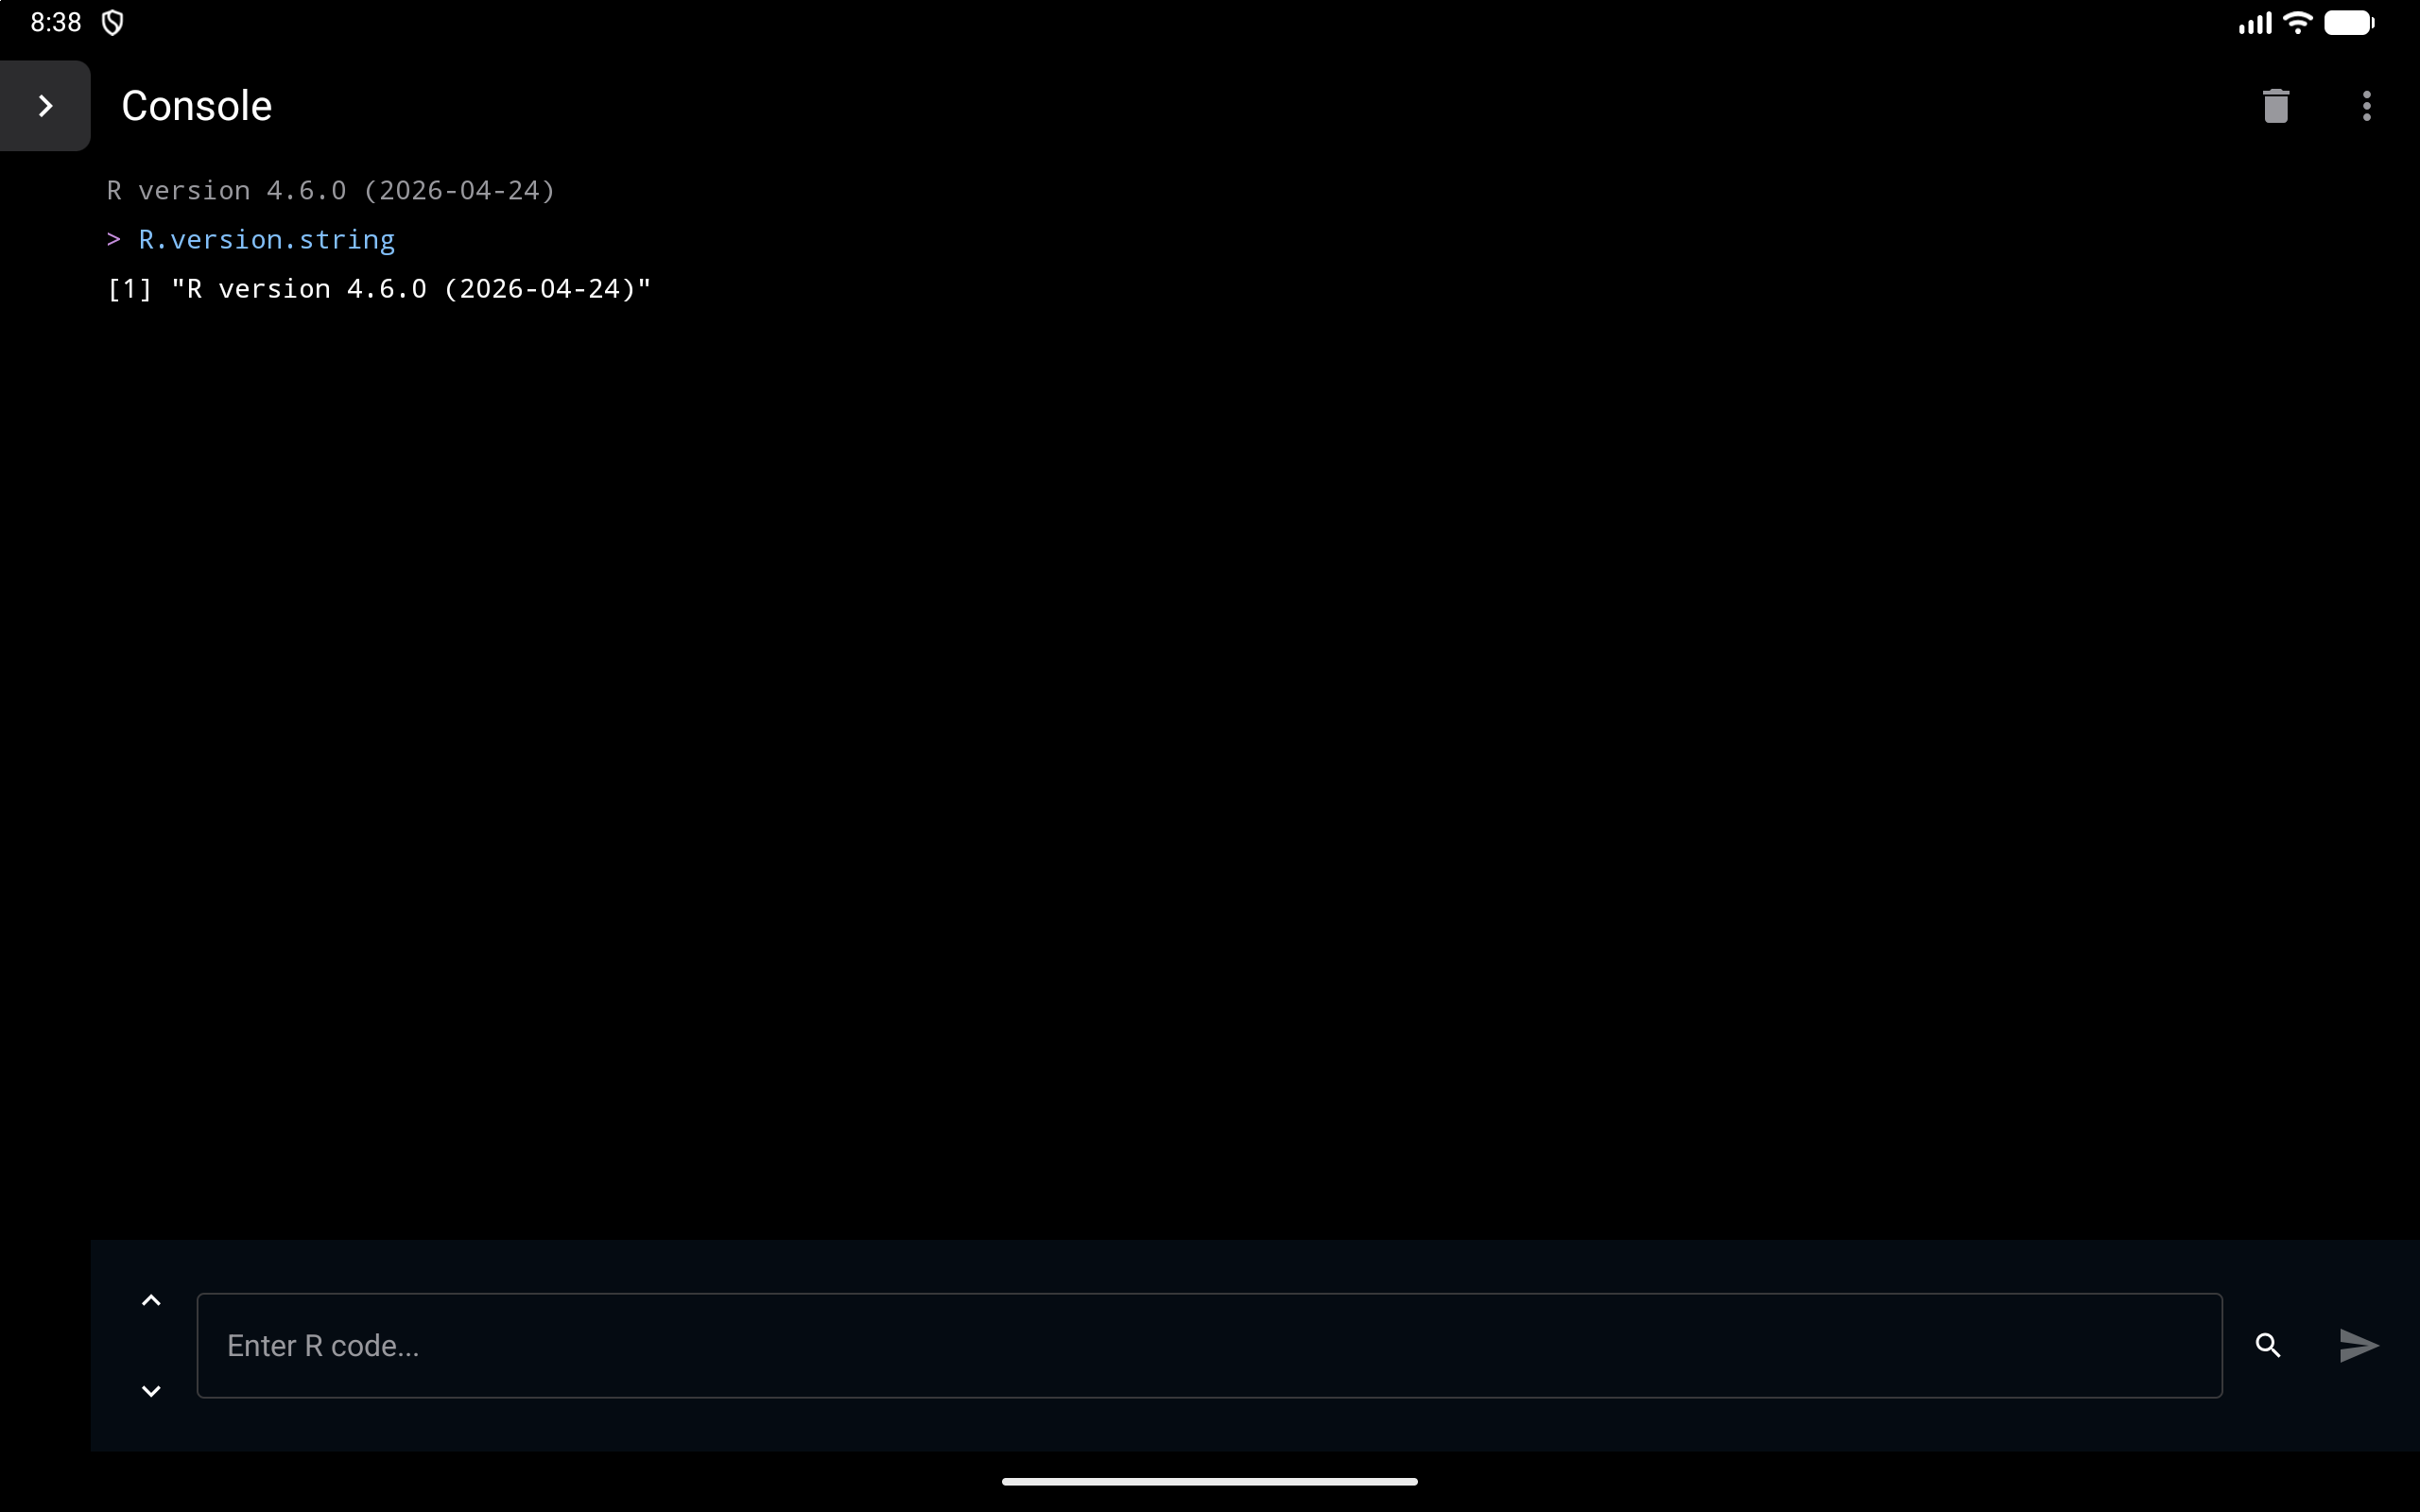
When you select Sidebar mode, one extra toggle appears: Collapsed Sidebar. Turning it on hides the rail and leaves a narrow tab with an arrow at the left edge, beside the screen’s content, to bring it back. The arrow at the top of the rail collapses it the same way. The rail does not collapse by itself after you tap an item.
Sidebar suits a tablet in landscape, or a phone where you would rather reach more sections without opening the More sheet.
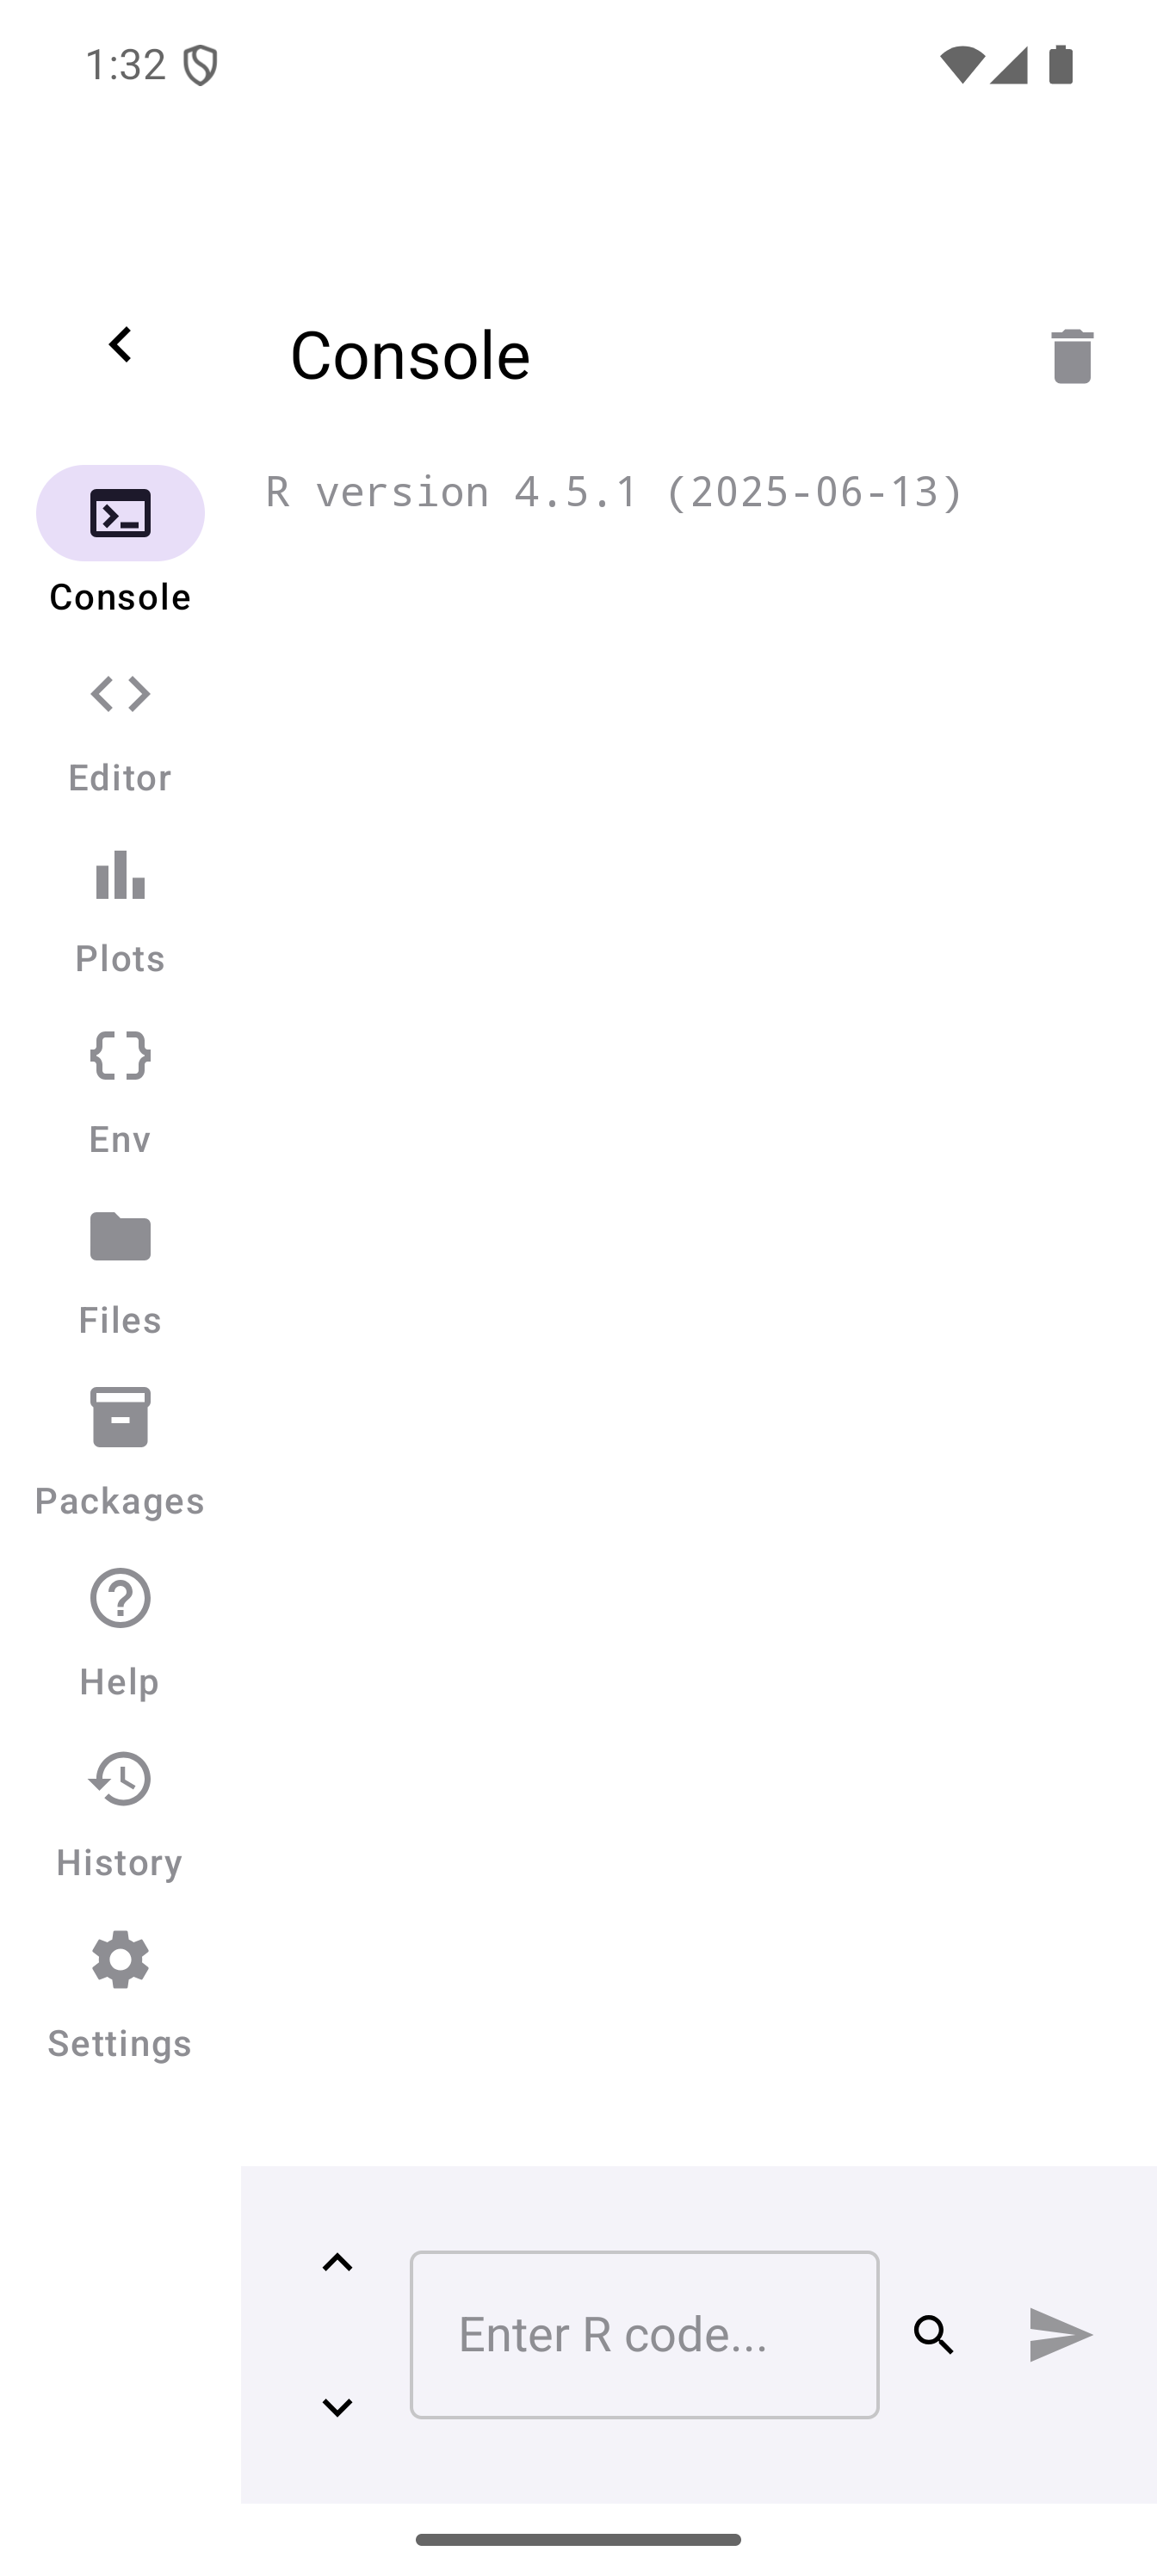
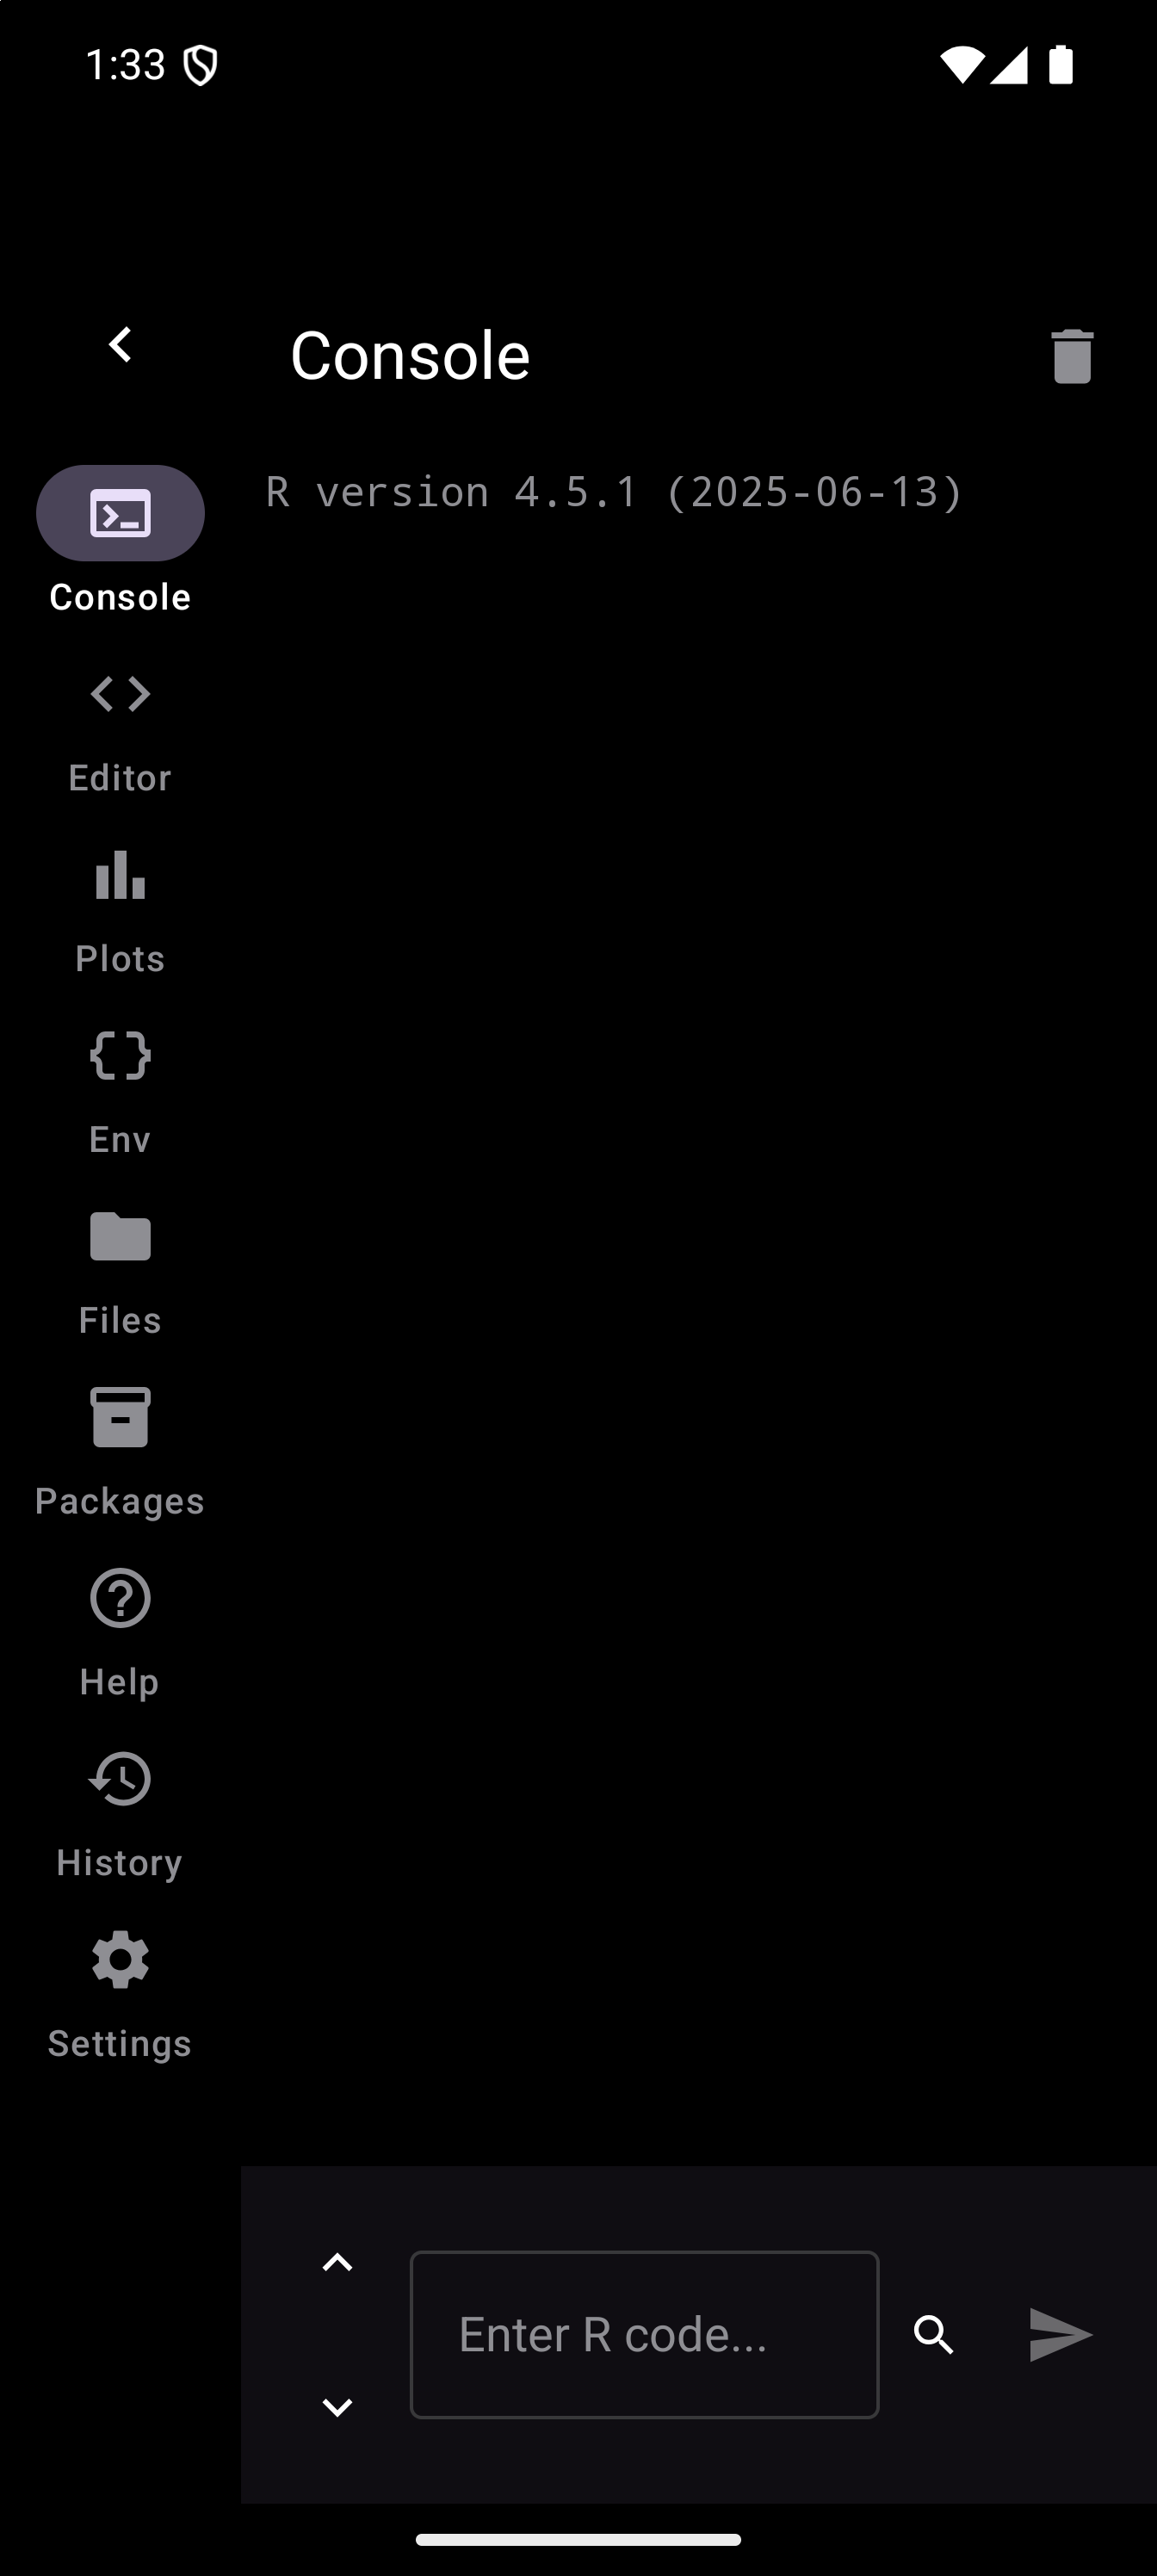
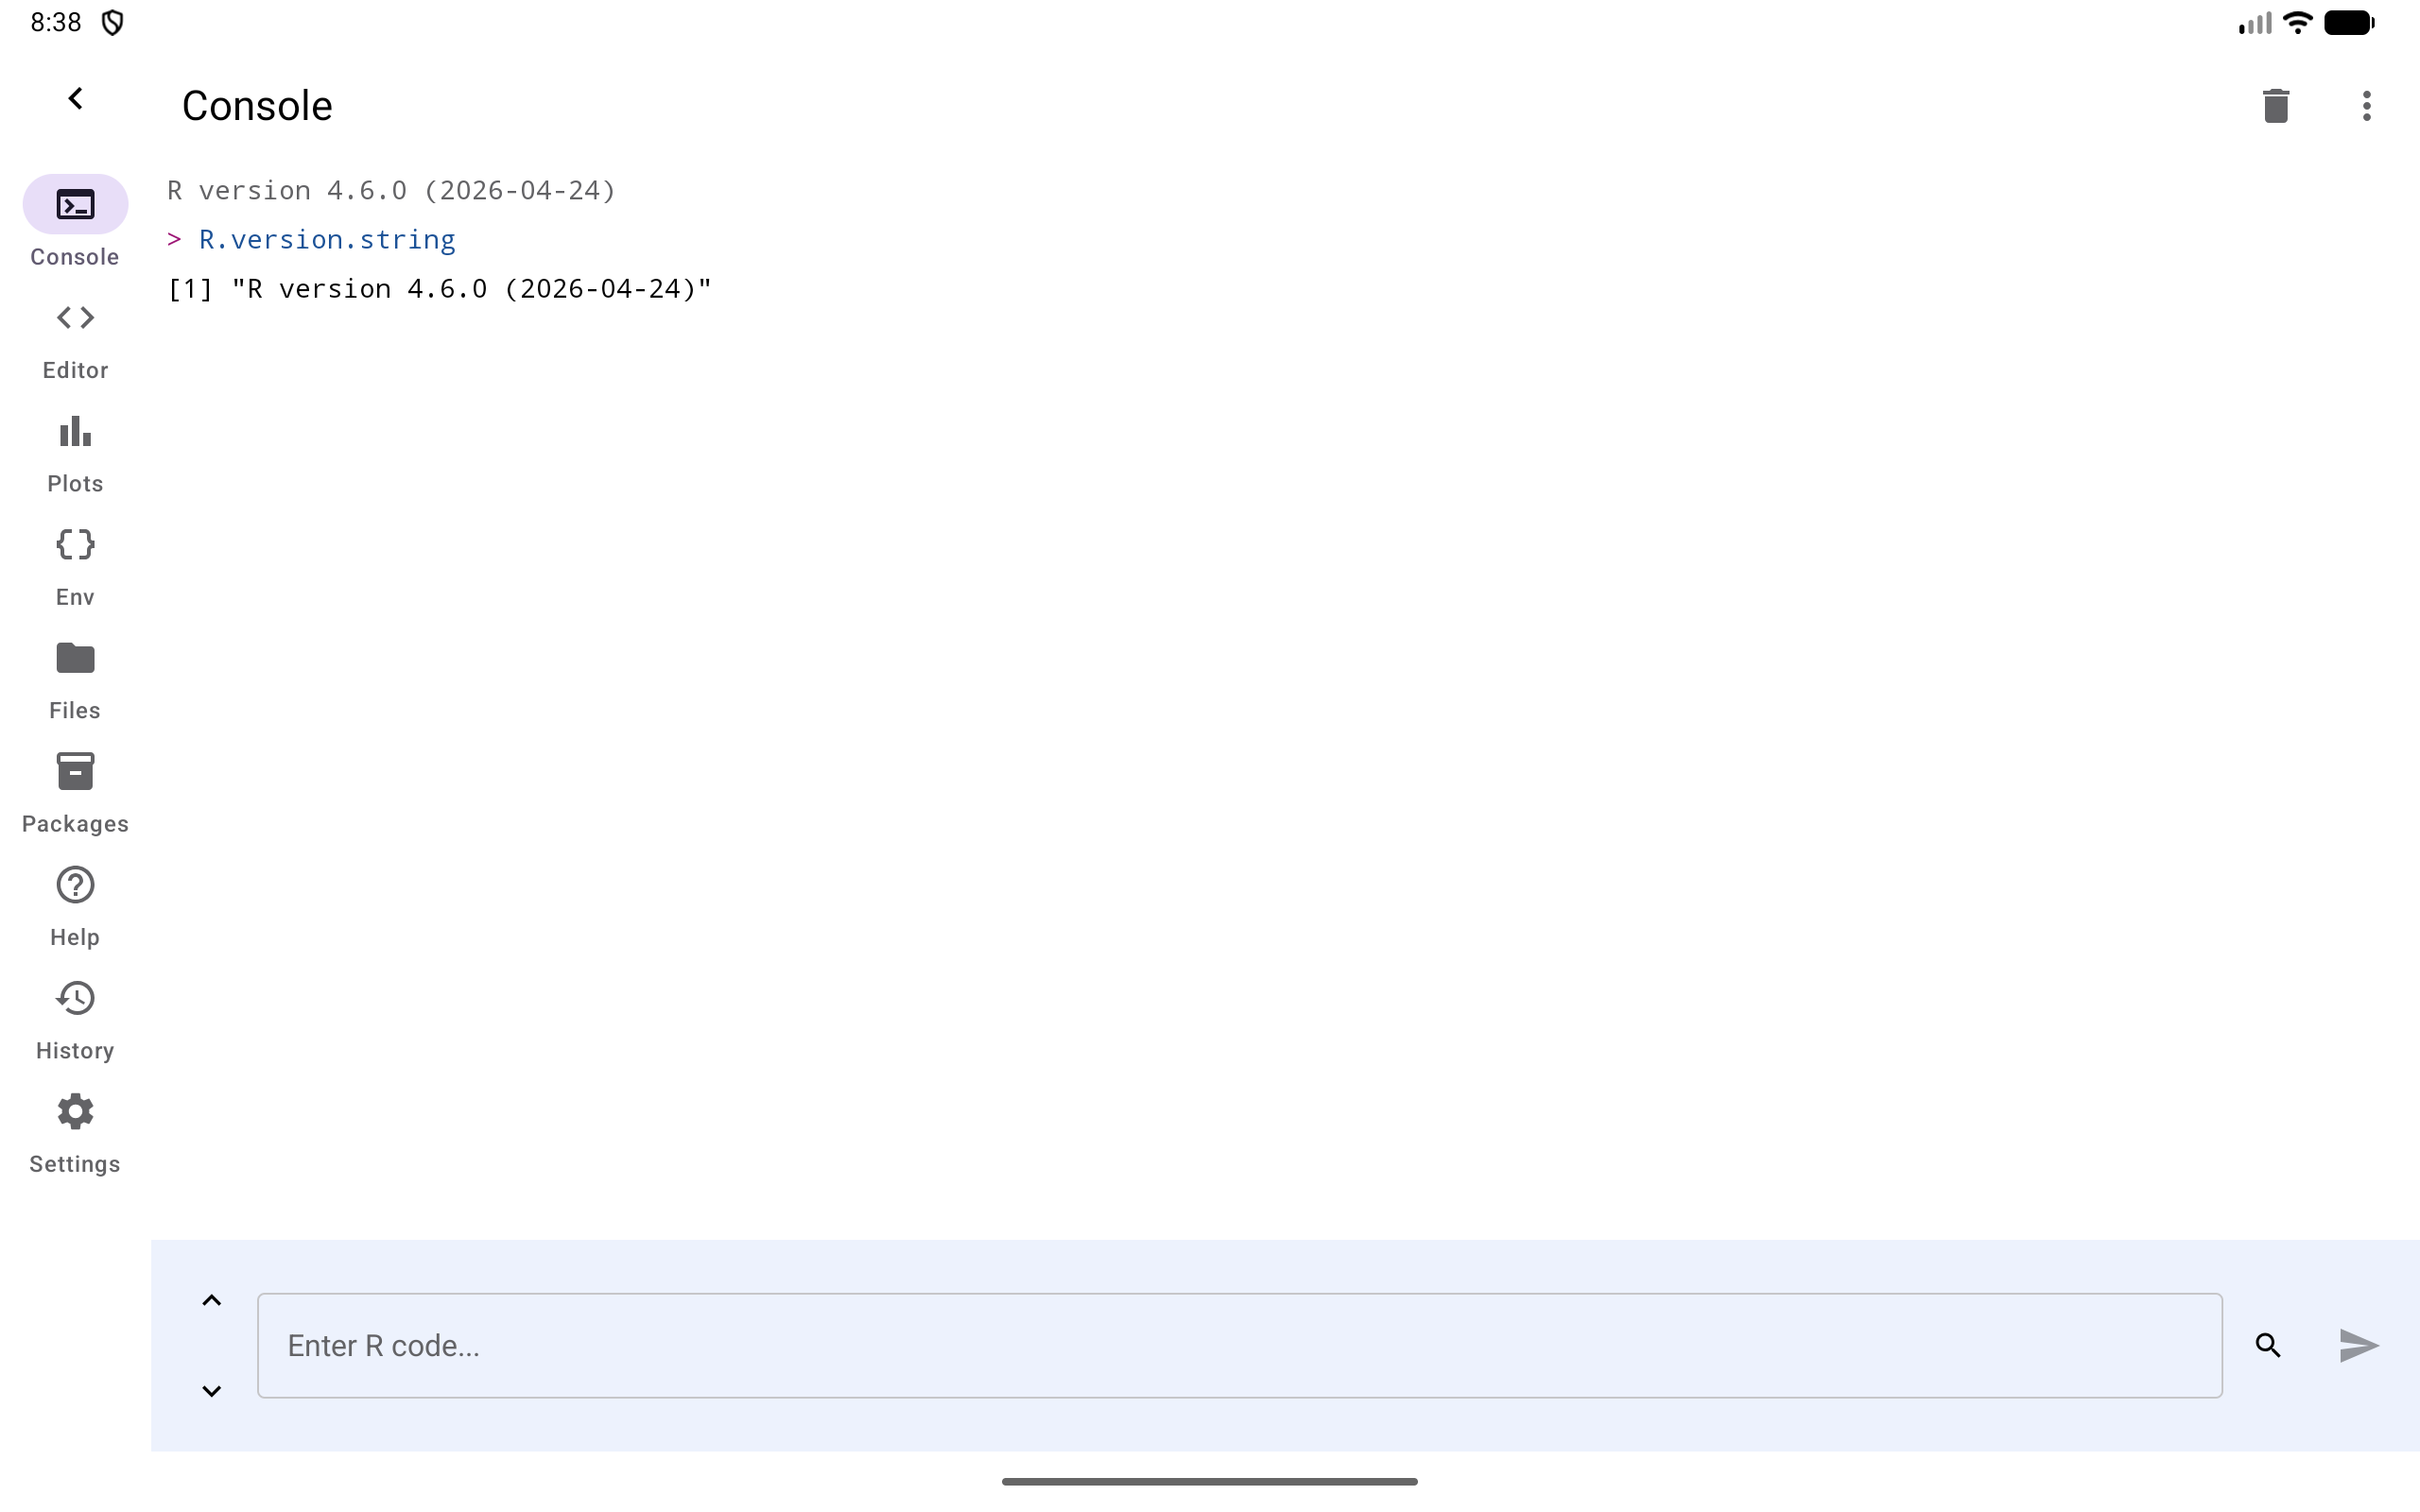
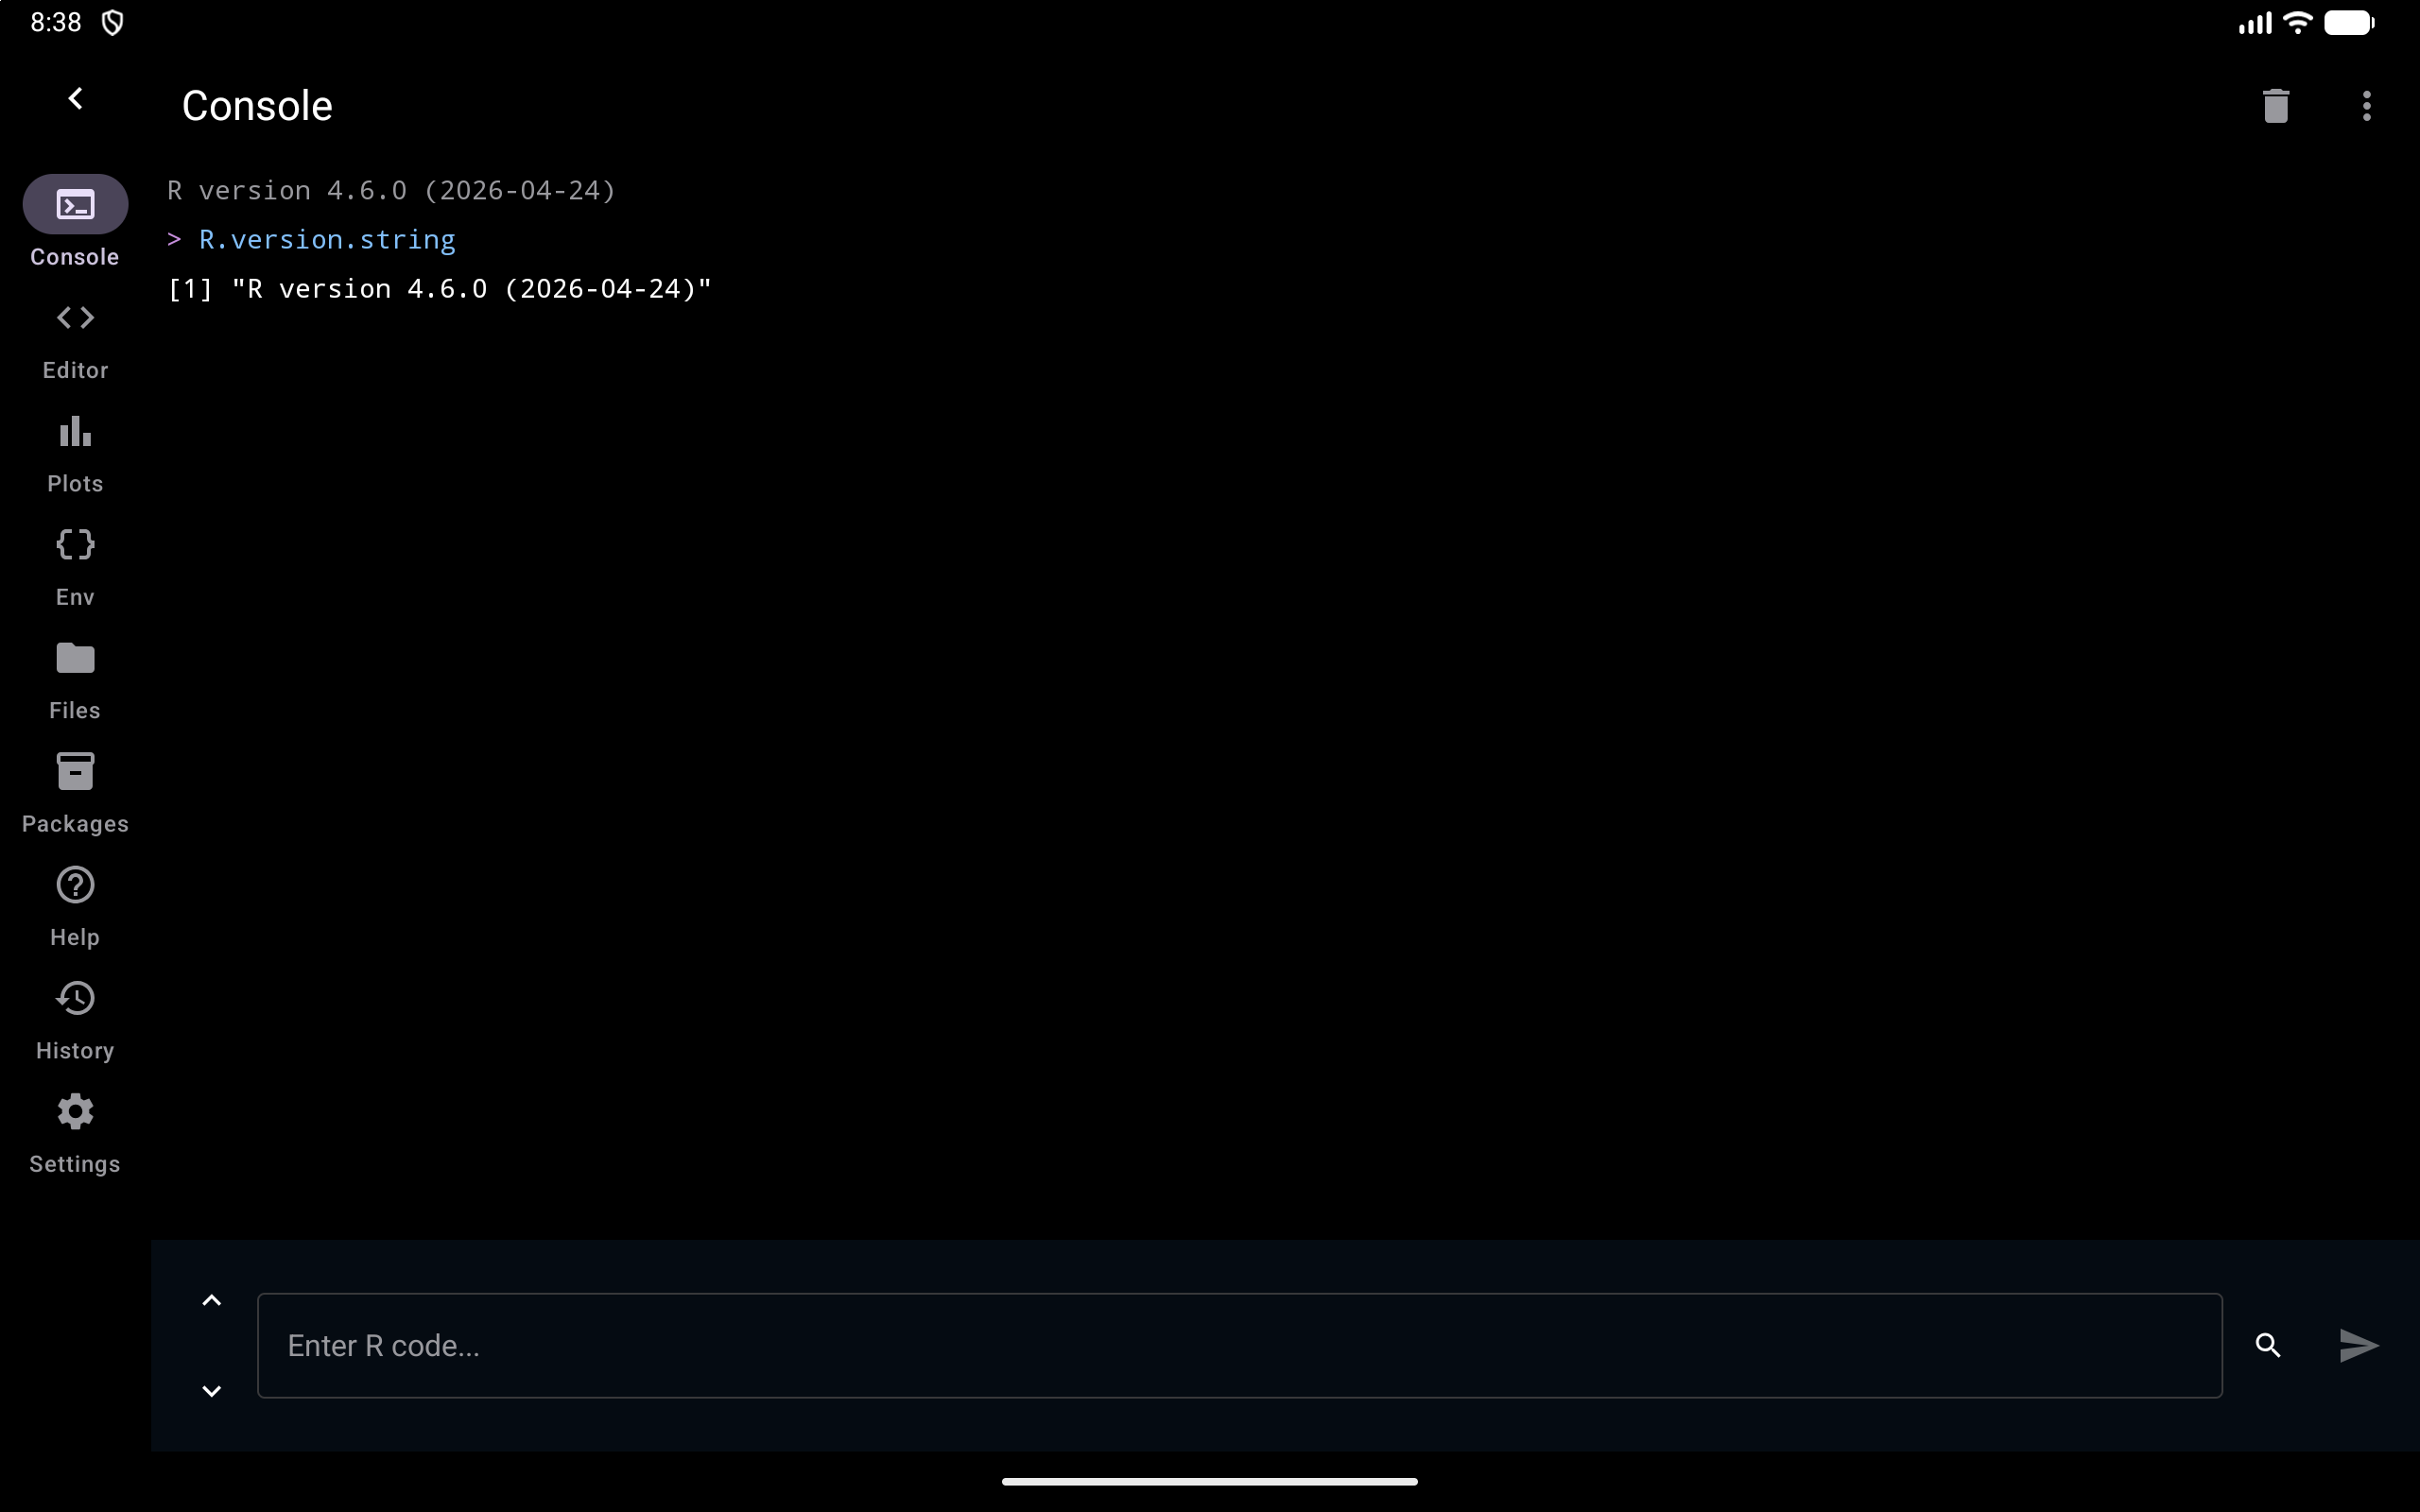
Collapsed, the rail is gone and the tab at the left edge brings it back:
Workspace
A 4-pane layout with all key tools visible at once. The screen is divided into resizable panes: Editor and Console on one side, Environment and other tools on the other. Drag the dividers to adjust proportions, by touch, mouse or trackpad; a divider follows the pointer as you drag, and under a mouse pointer it shows left-right or up-down resize arrows. With a hardware keyboard, move focus to a divider and use the arrow keys, a step at a time. Run in the Editor pane runs your code in the Console pane instead of an output panel (see Running Code).
Workspace is tablet-only, and it is offered only on a screen at least 600dp wide. It is the layout a new install starts in on a tablet or Chromebook. On a phone four panes would leave each one roughly 200dp square, too small for an editor or a console, so the option does not appear in Settings there. It is at its best on a tablet in landscape, where you can see your code, console output, and environment variables at once without switching tabs.
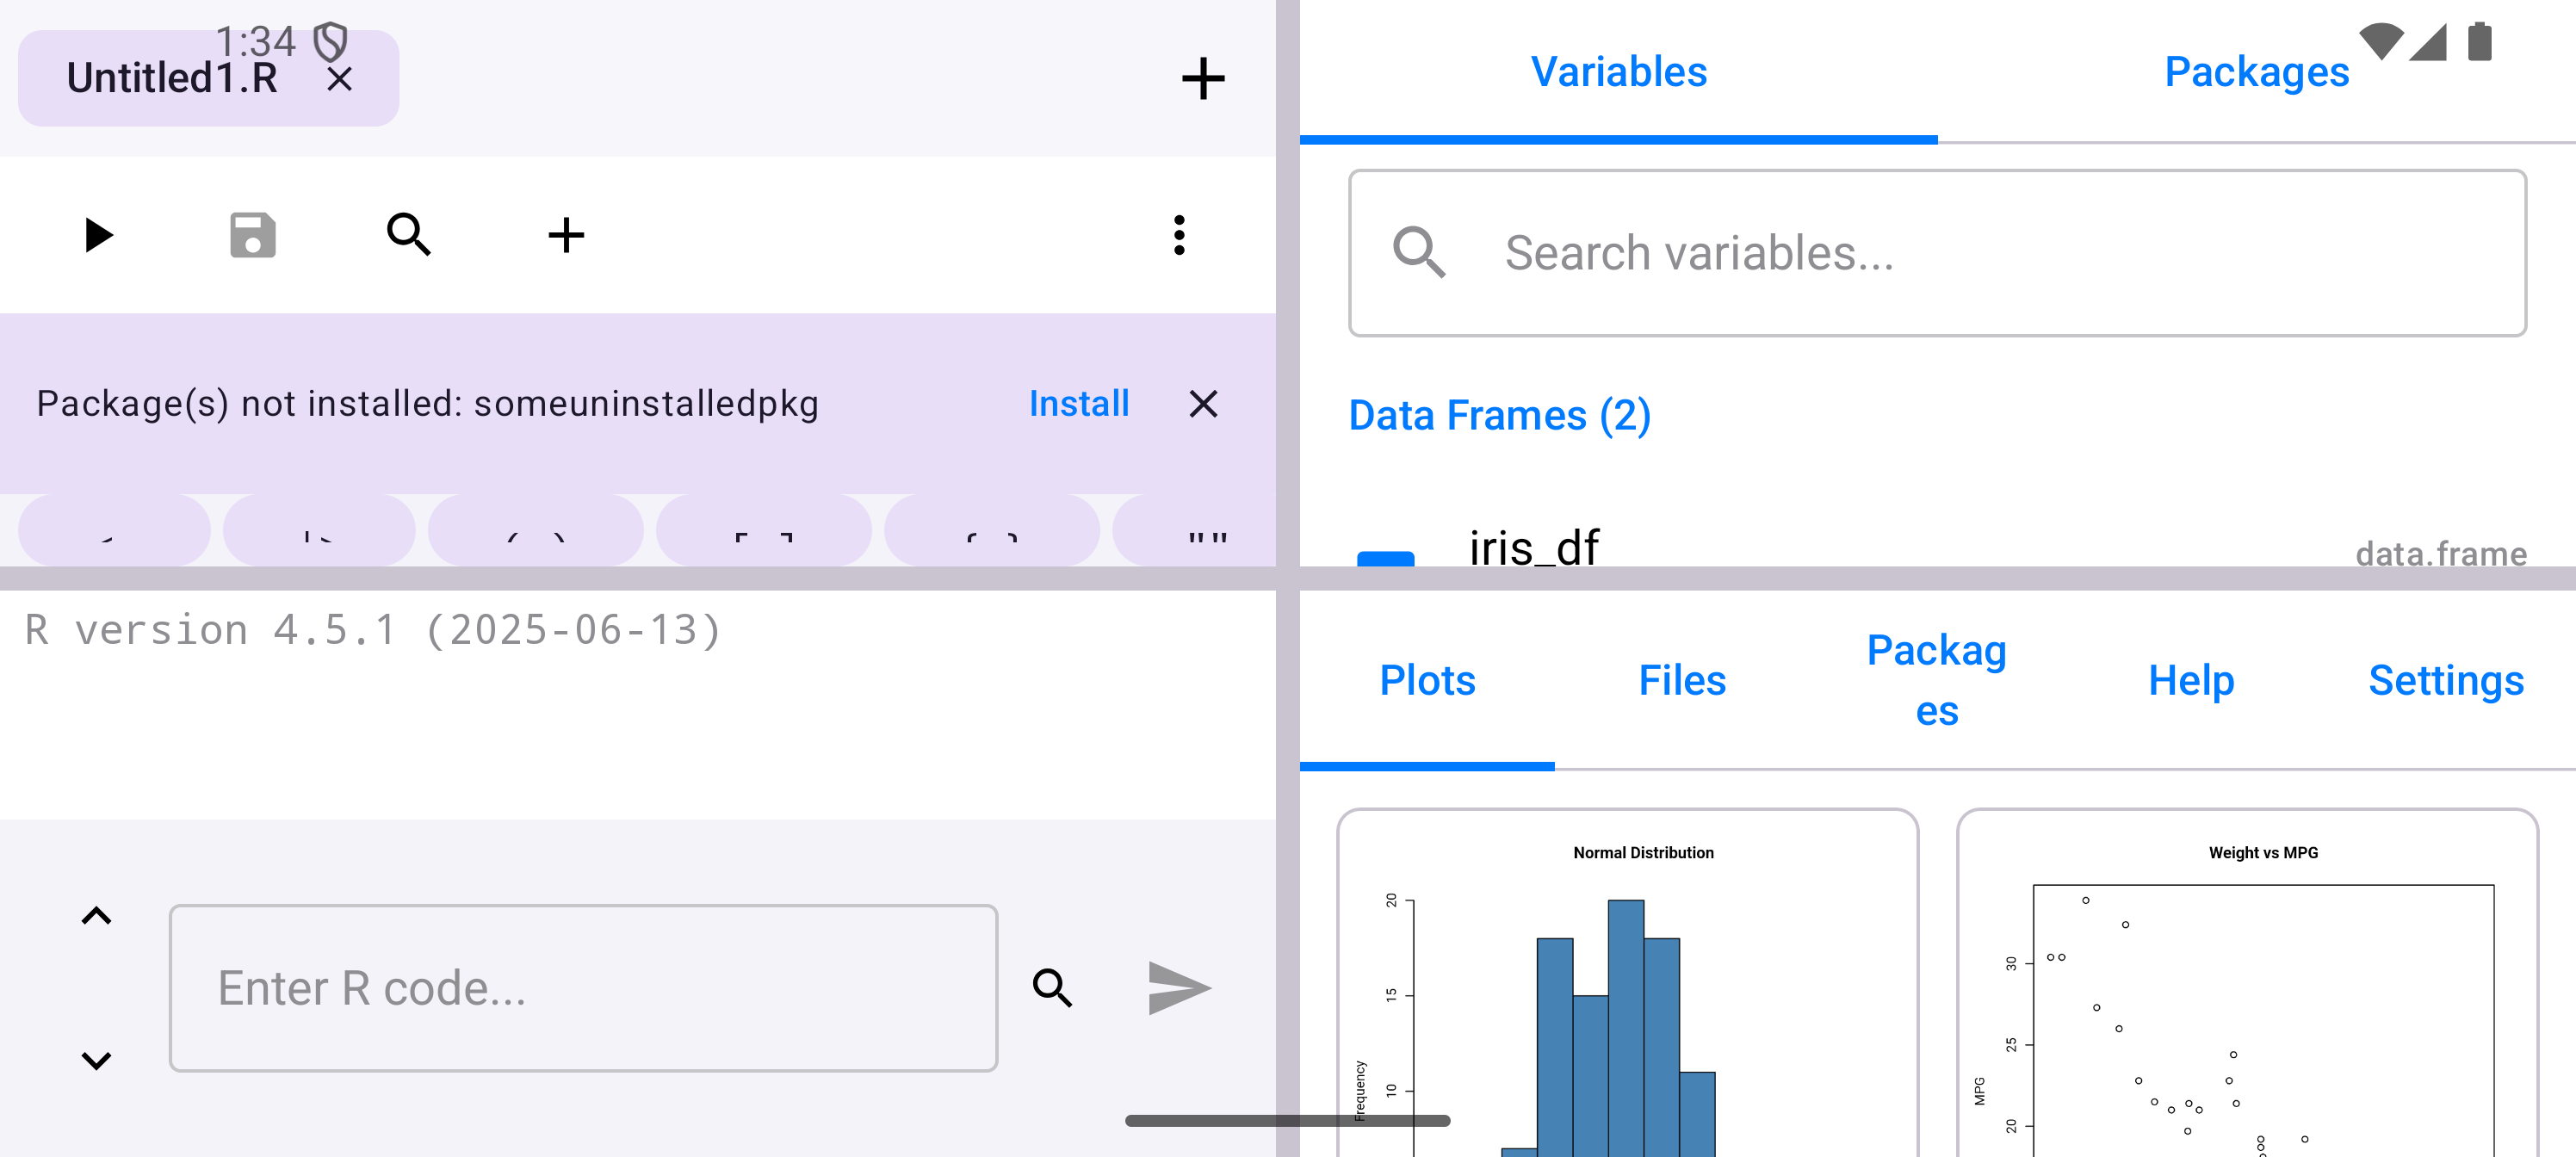
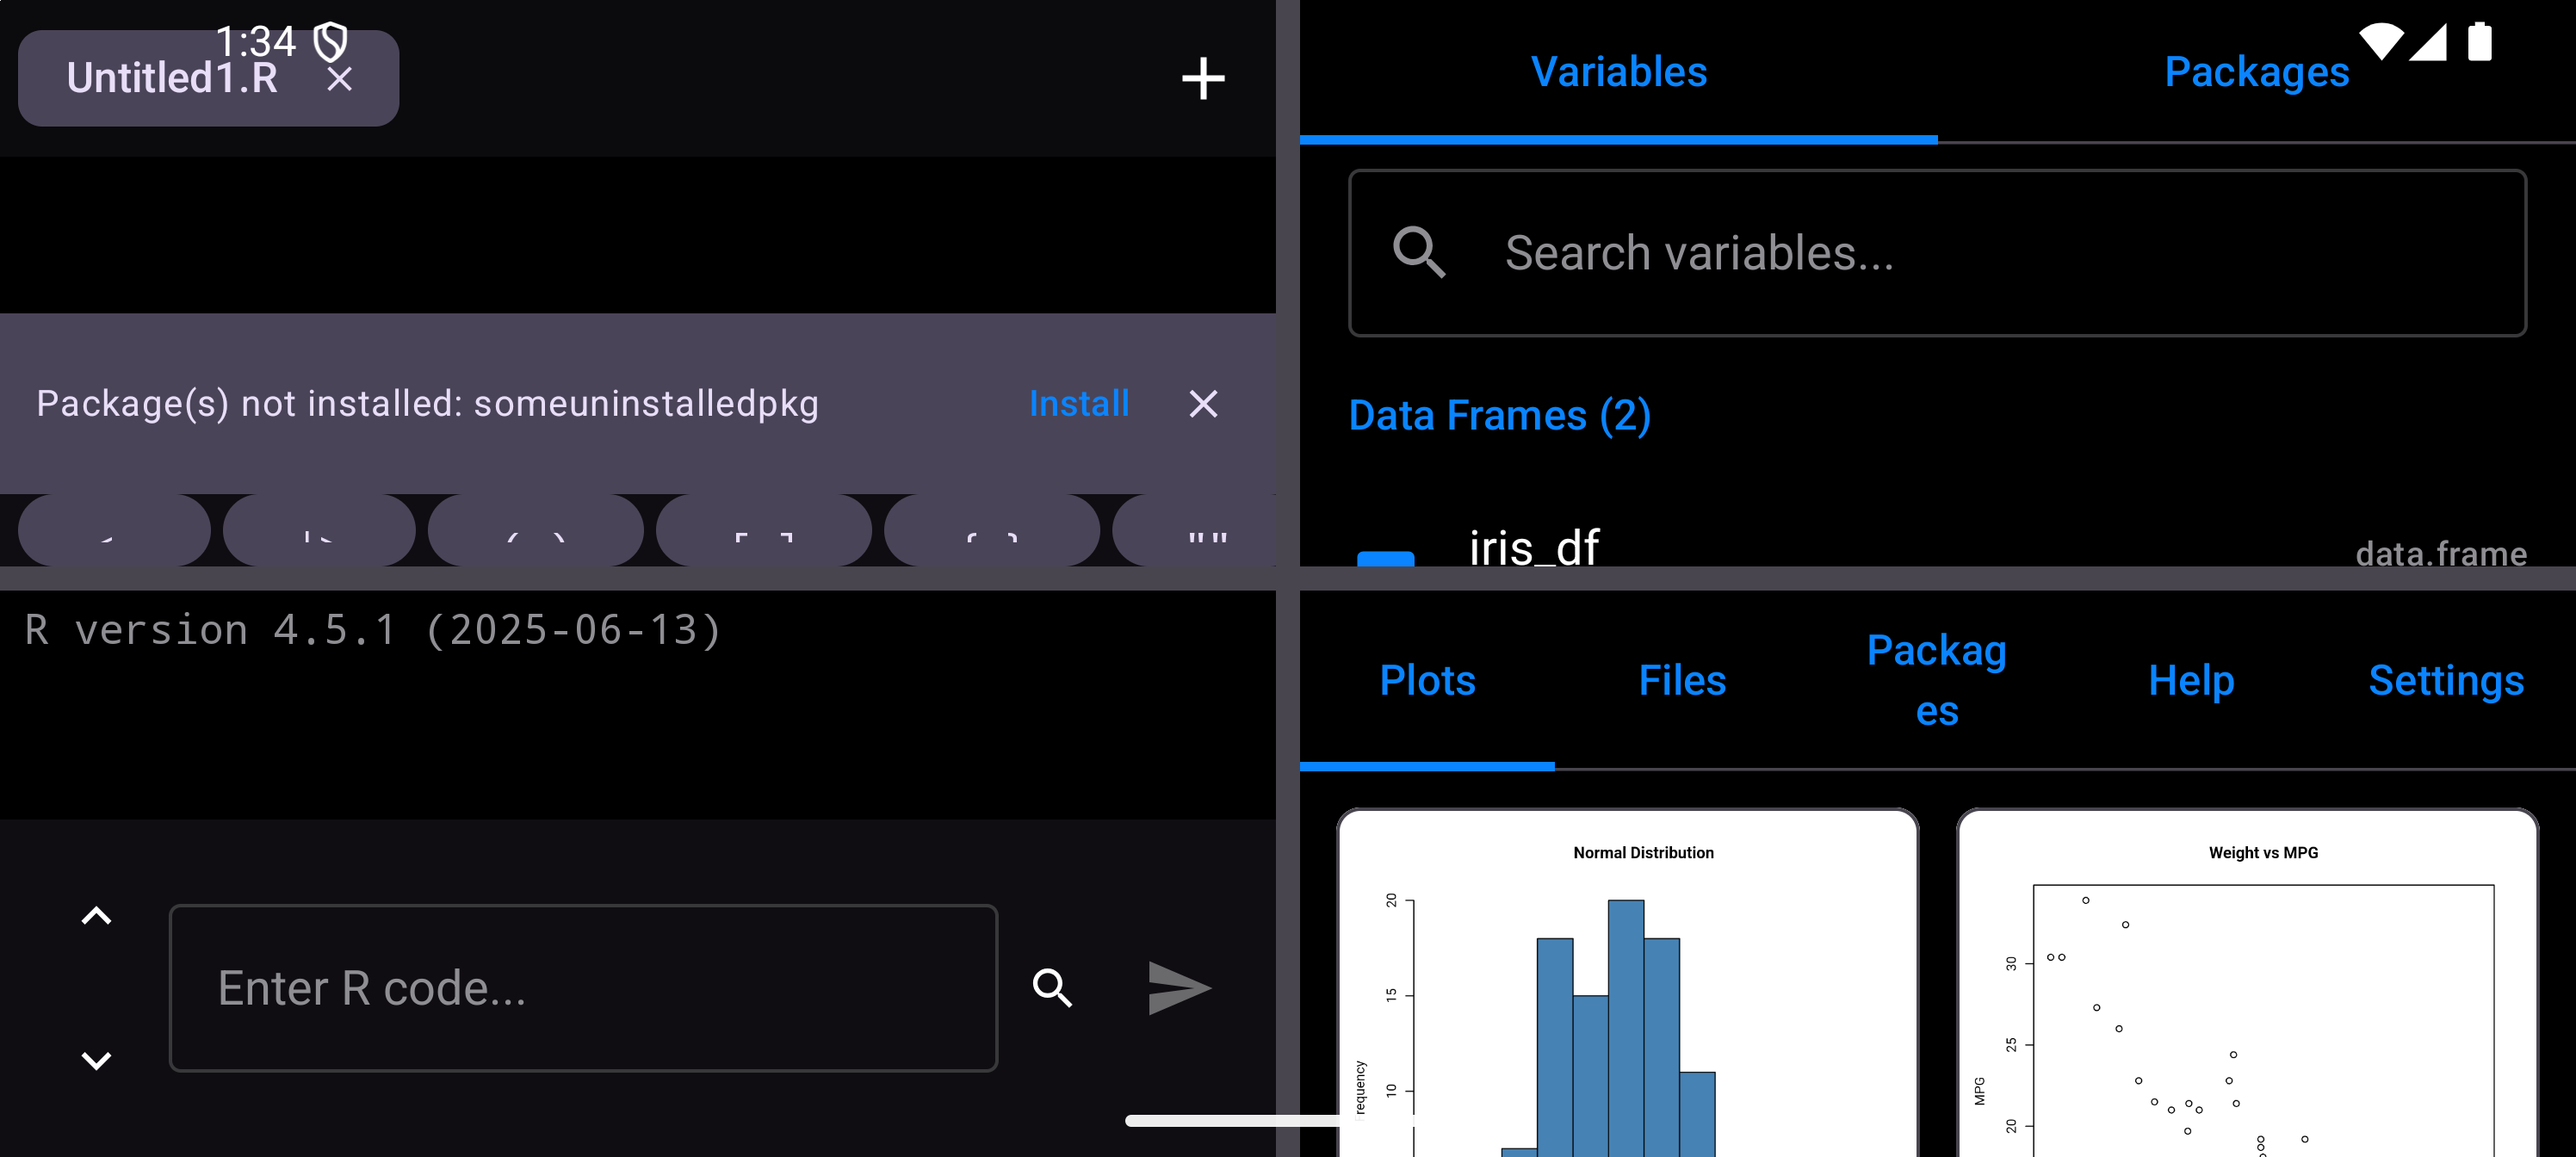
You can switch layout modes at any time. Tab Bar and Sidebar are available on every device; Workspace appears only on tablets. A new install starts in the Tab Bar on a phone and in the Workspace on a tablet or Chromebook (a screen whose smallest width is at least 600dp); an install updated from an earlier version keeps the layout it had. A tablet in a narrow split-screen window falls back to Sidebar until you give the window more room. Your choice is remembered, not overwritten.
In Workspace layout there is no Settings tab. Open Settings from the gear in the Environment pane’s header, at the top right of the layout; it covers the workspace while you are in it, and Done returns you to your panes exactly as you left them:
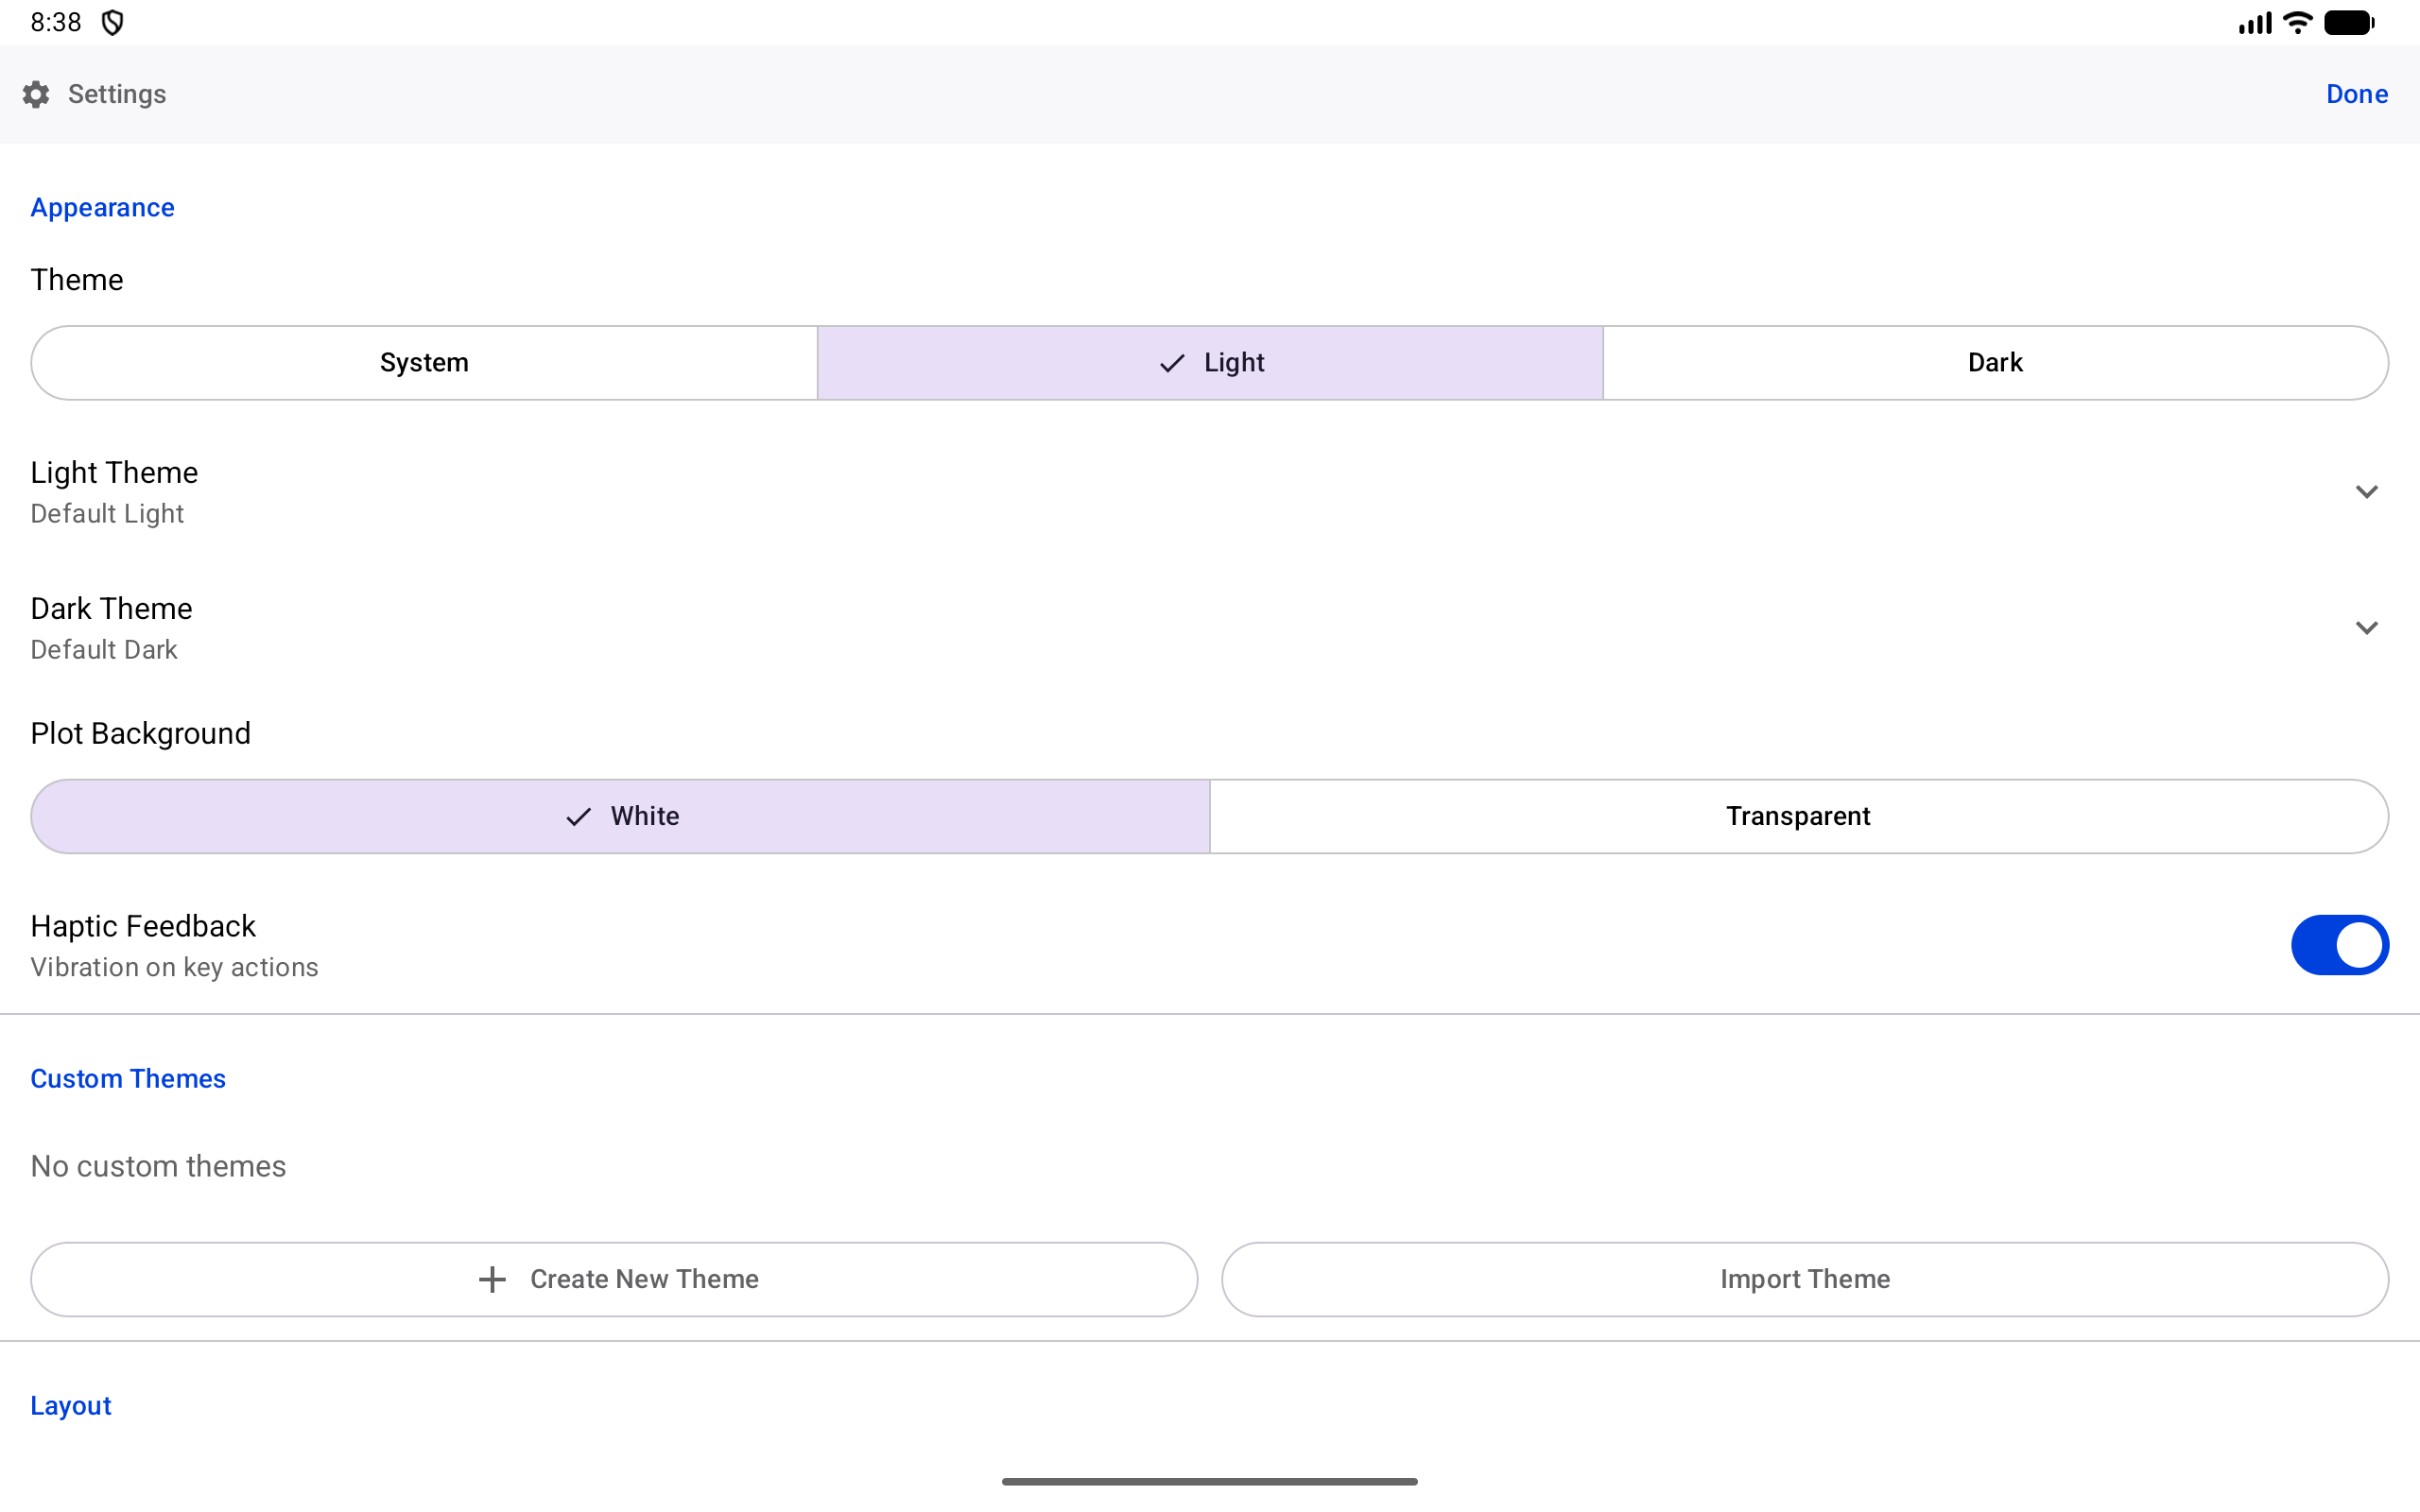
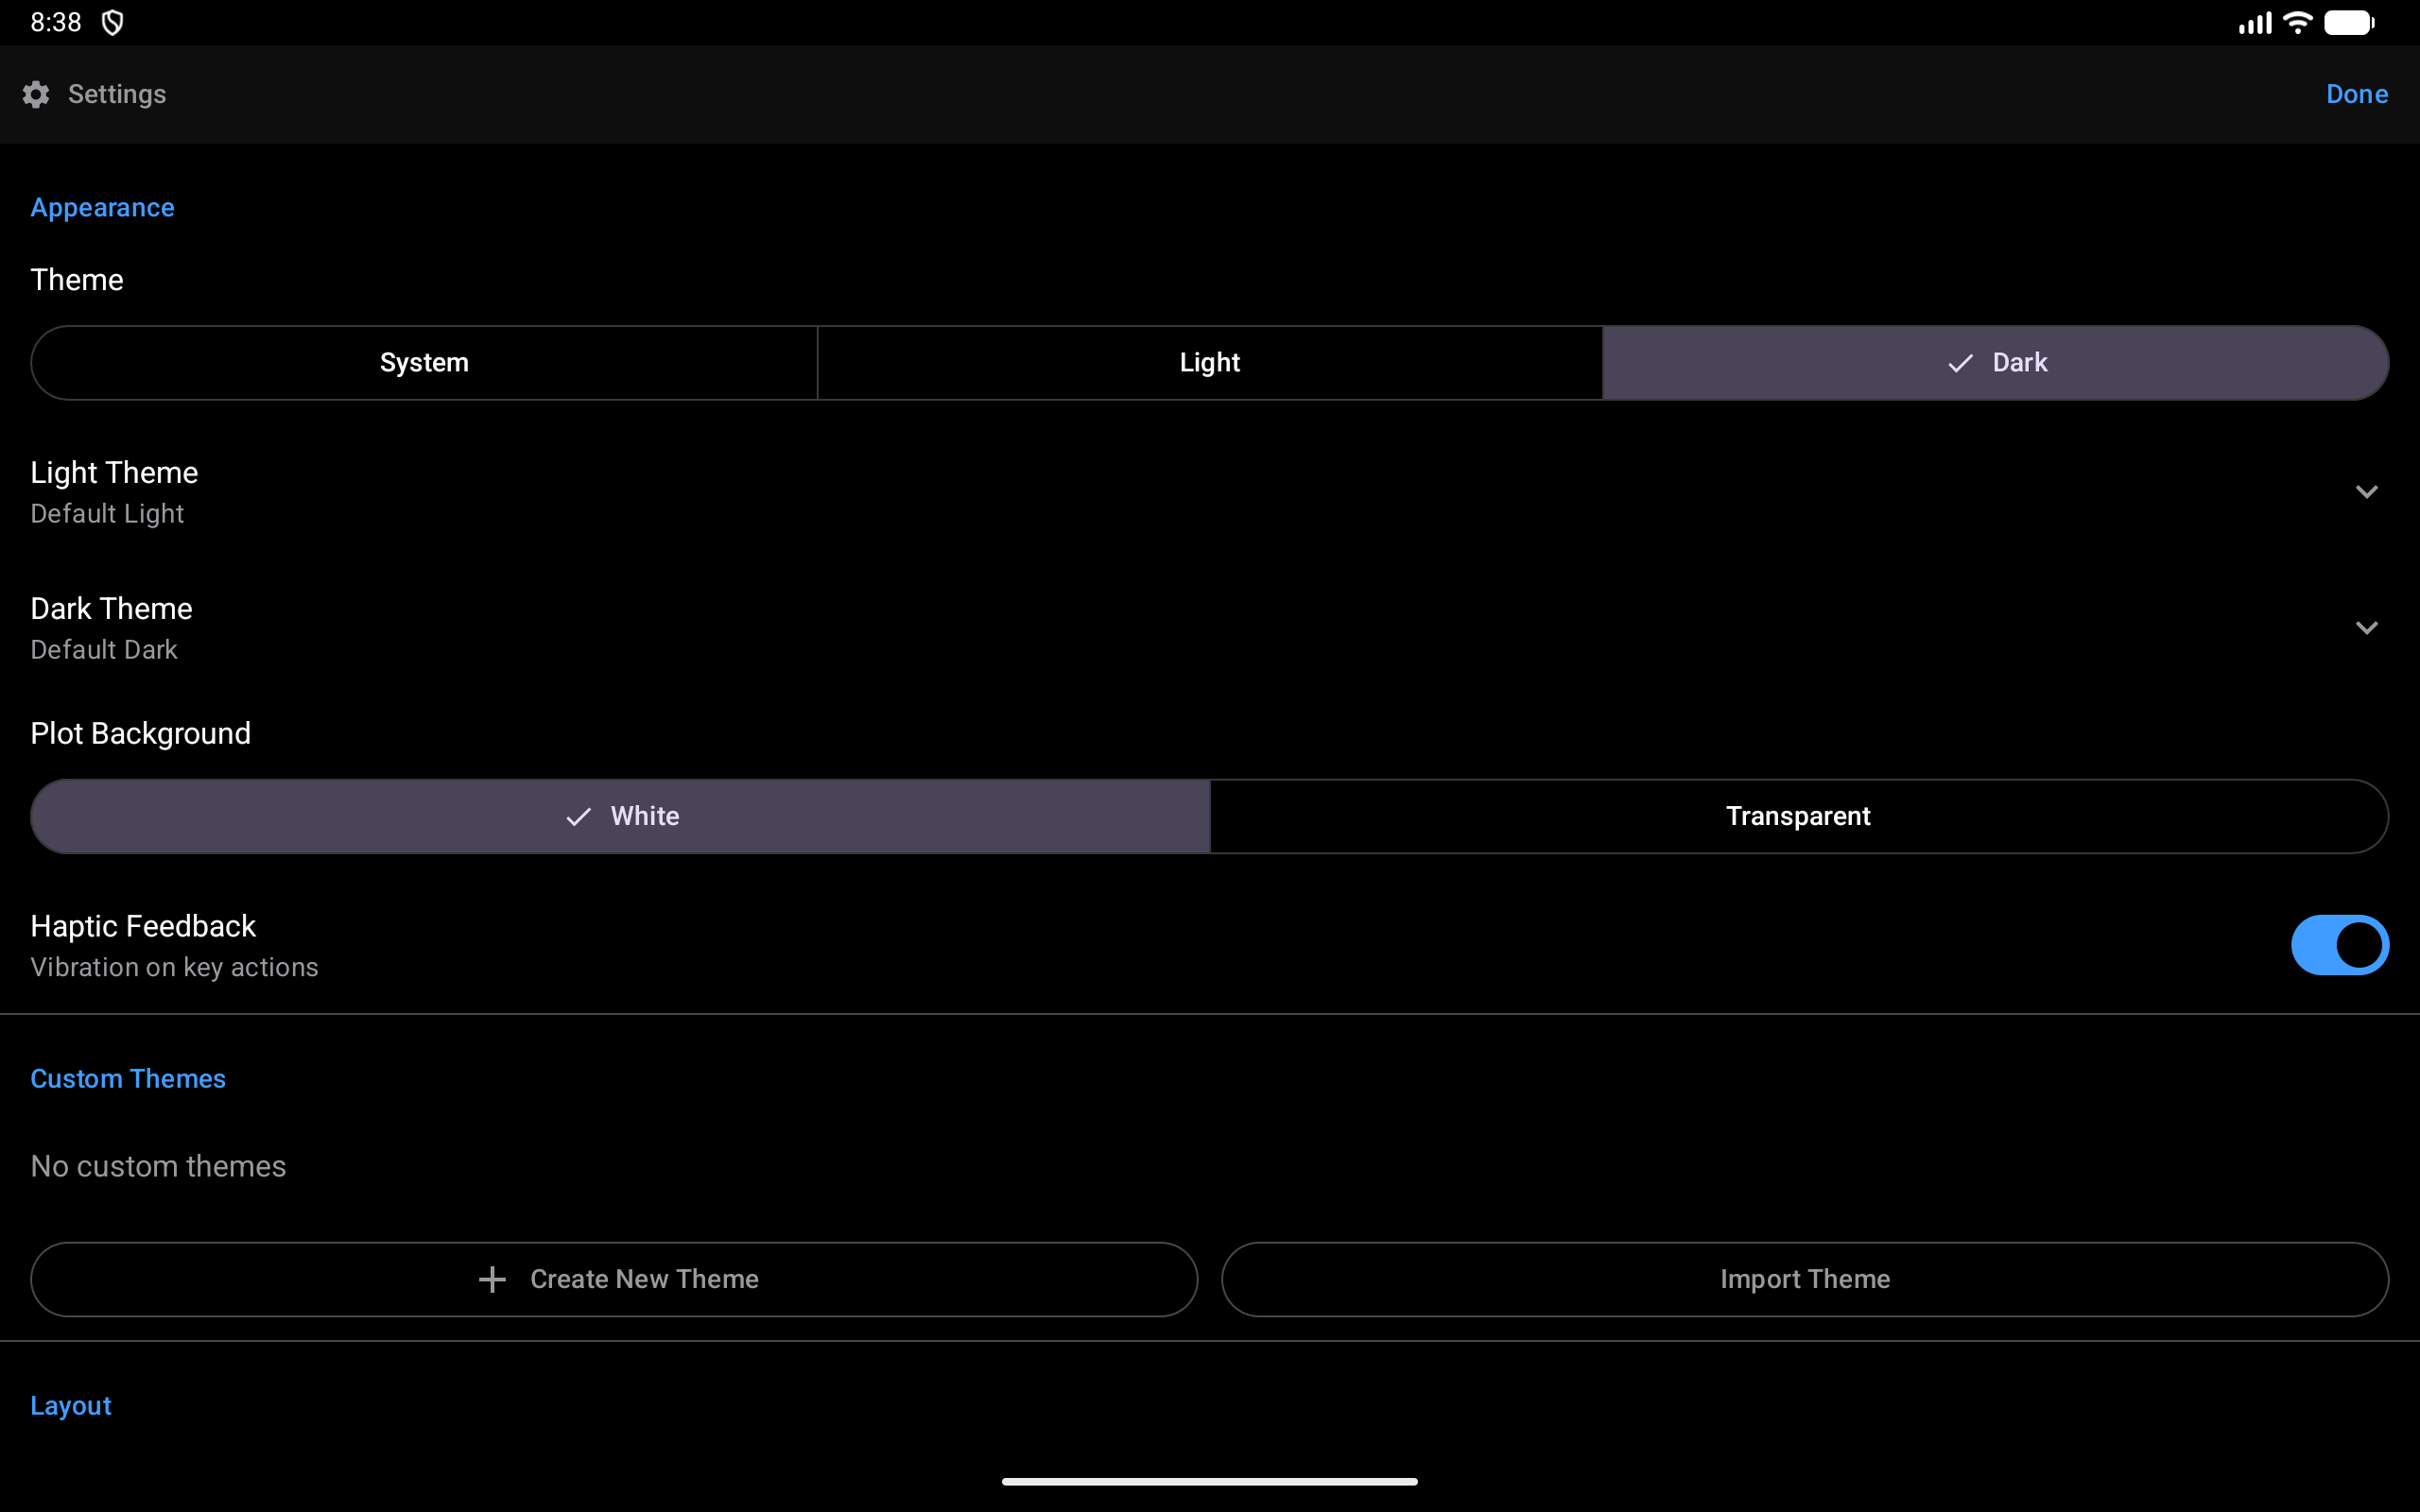
Rows that open a screen of their own, such as Keyboard Shortcuts or Execution History, open it inside the same window, with a back arrow to return to Settings.
Plots
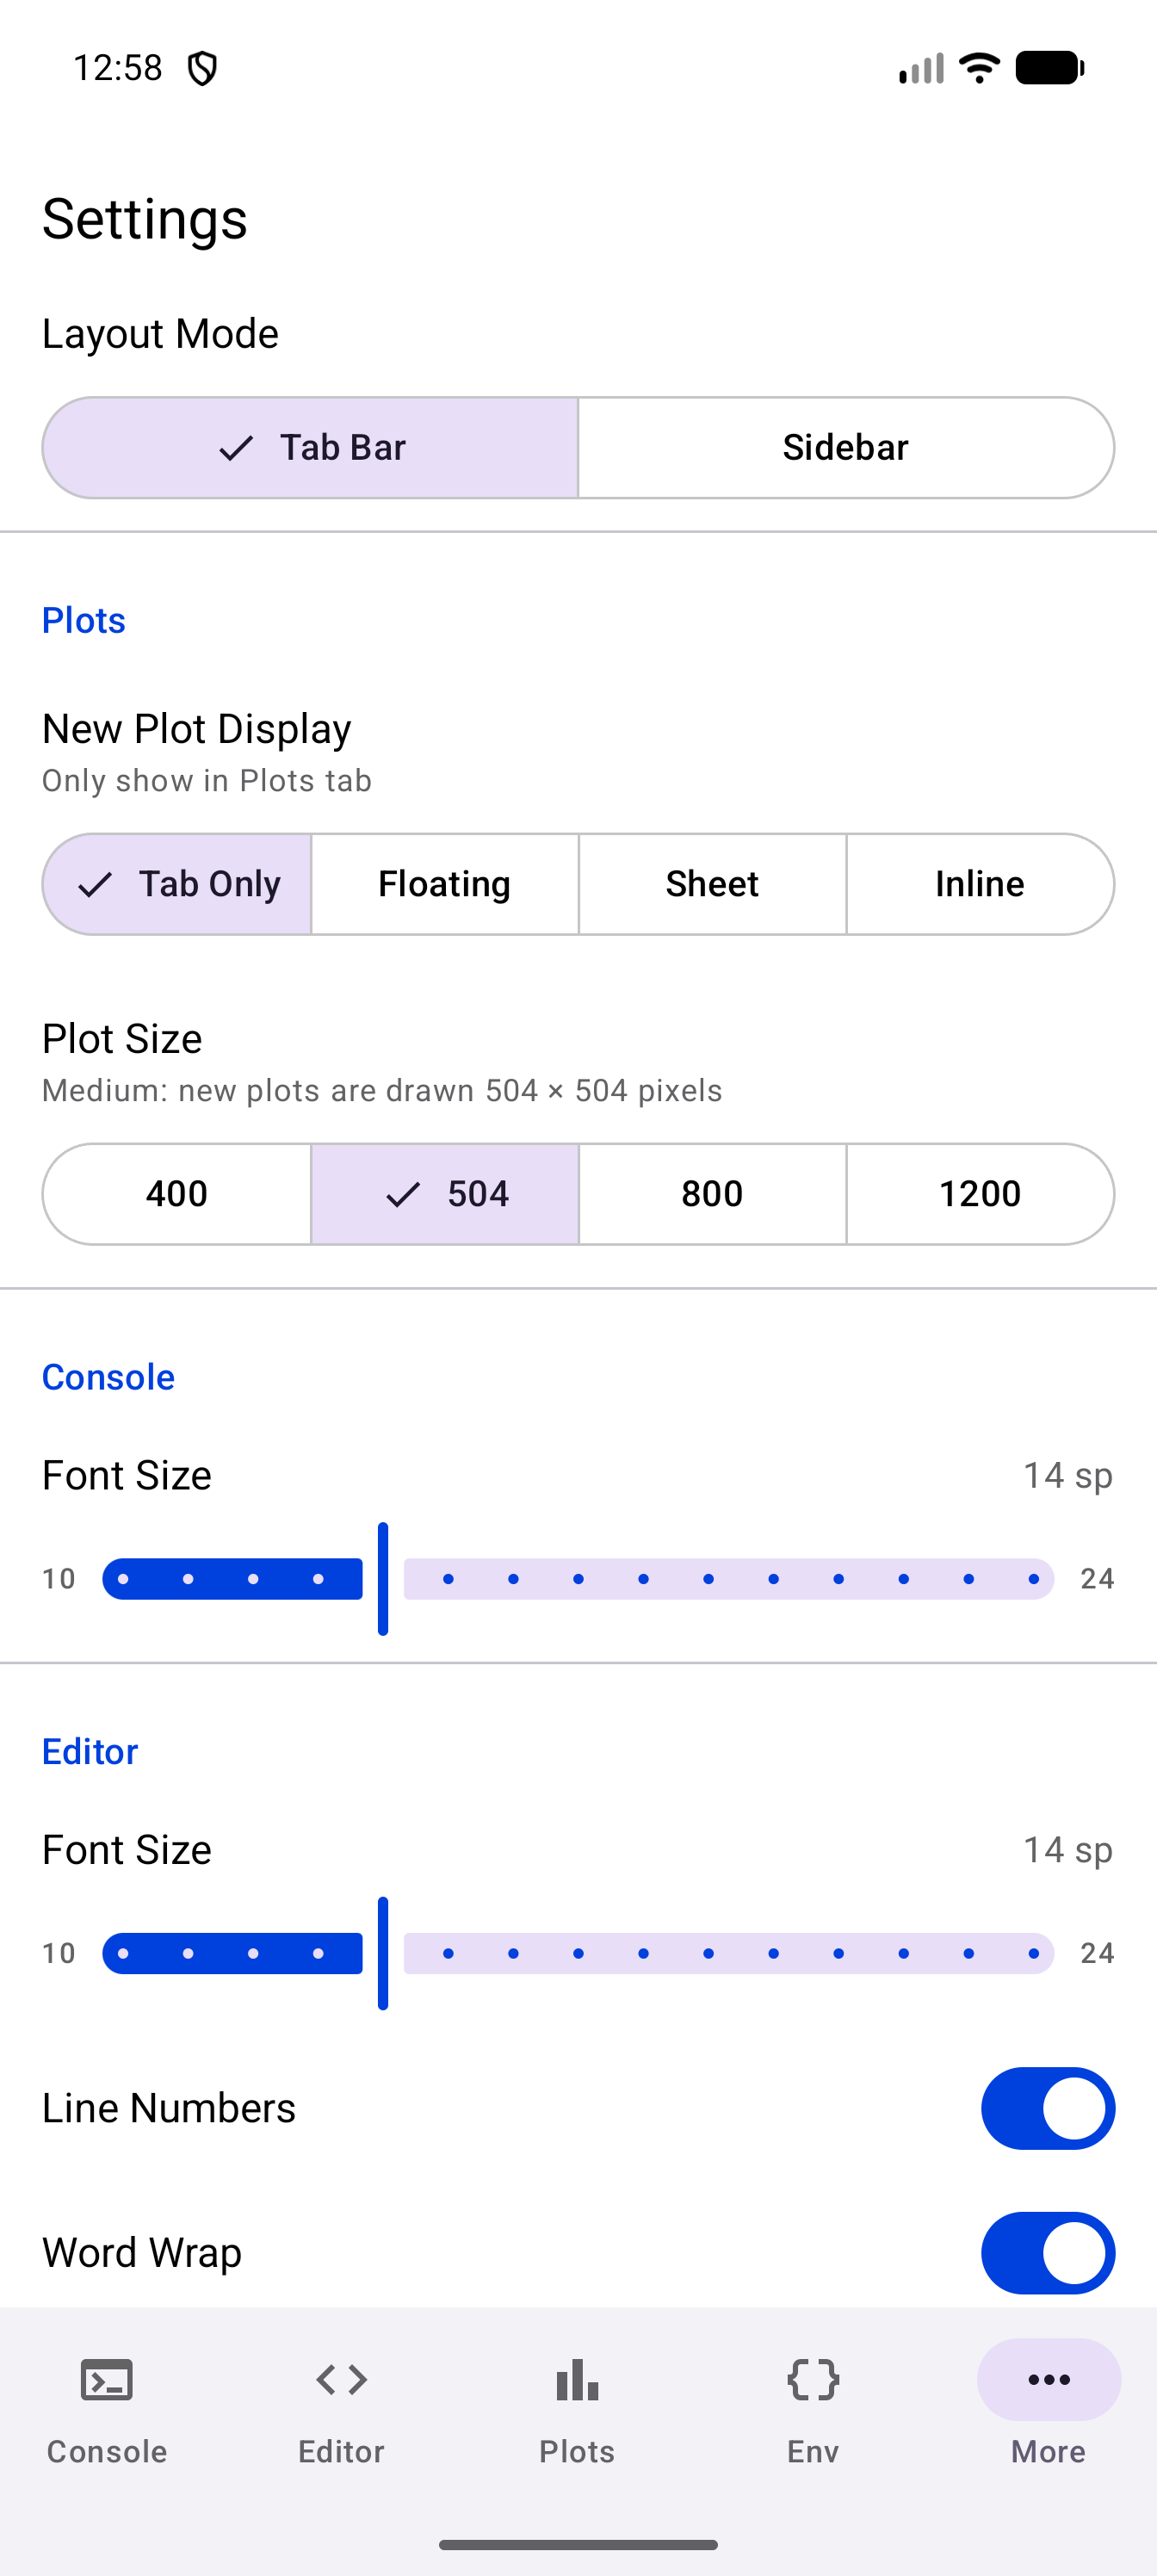
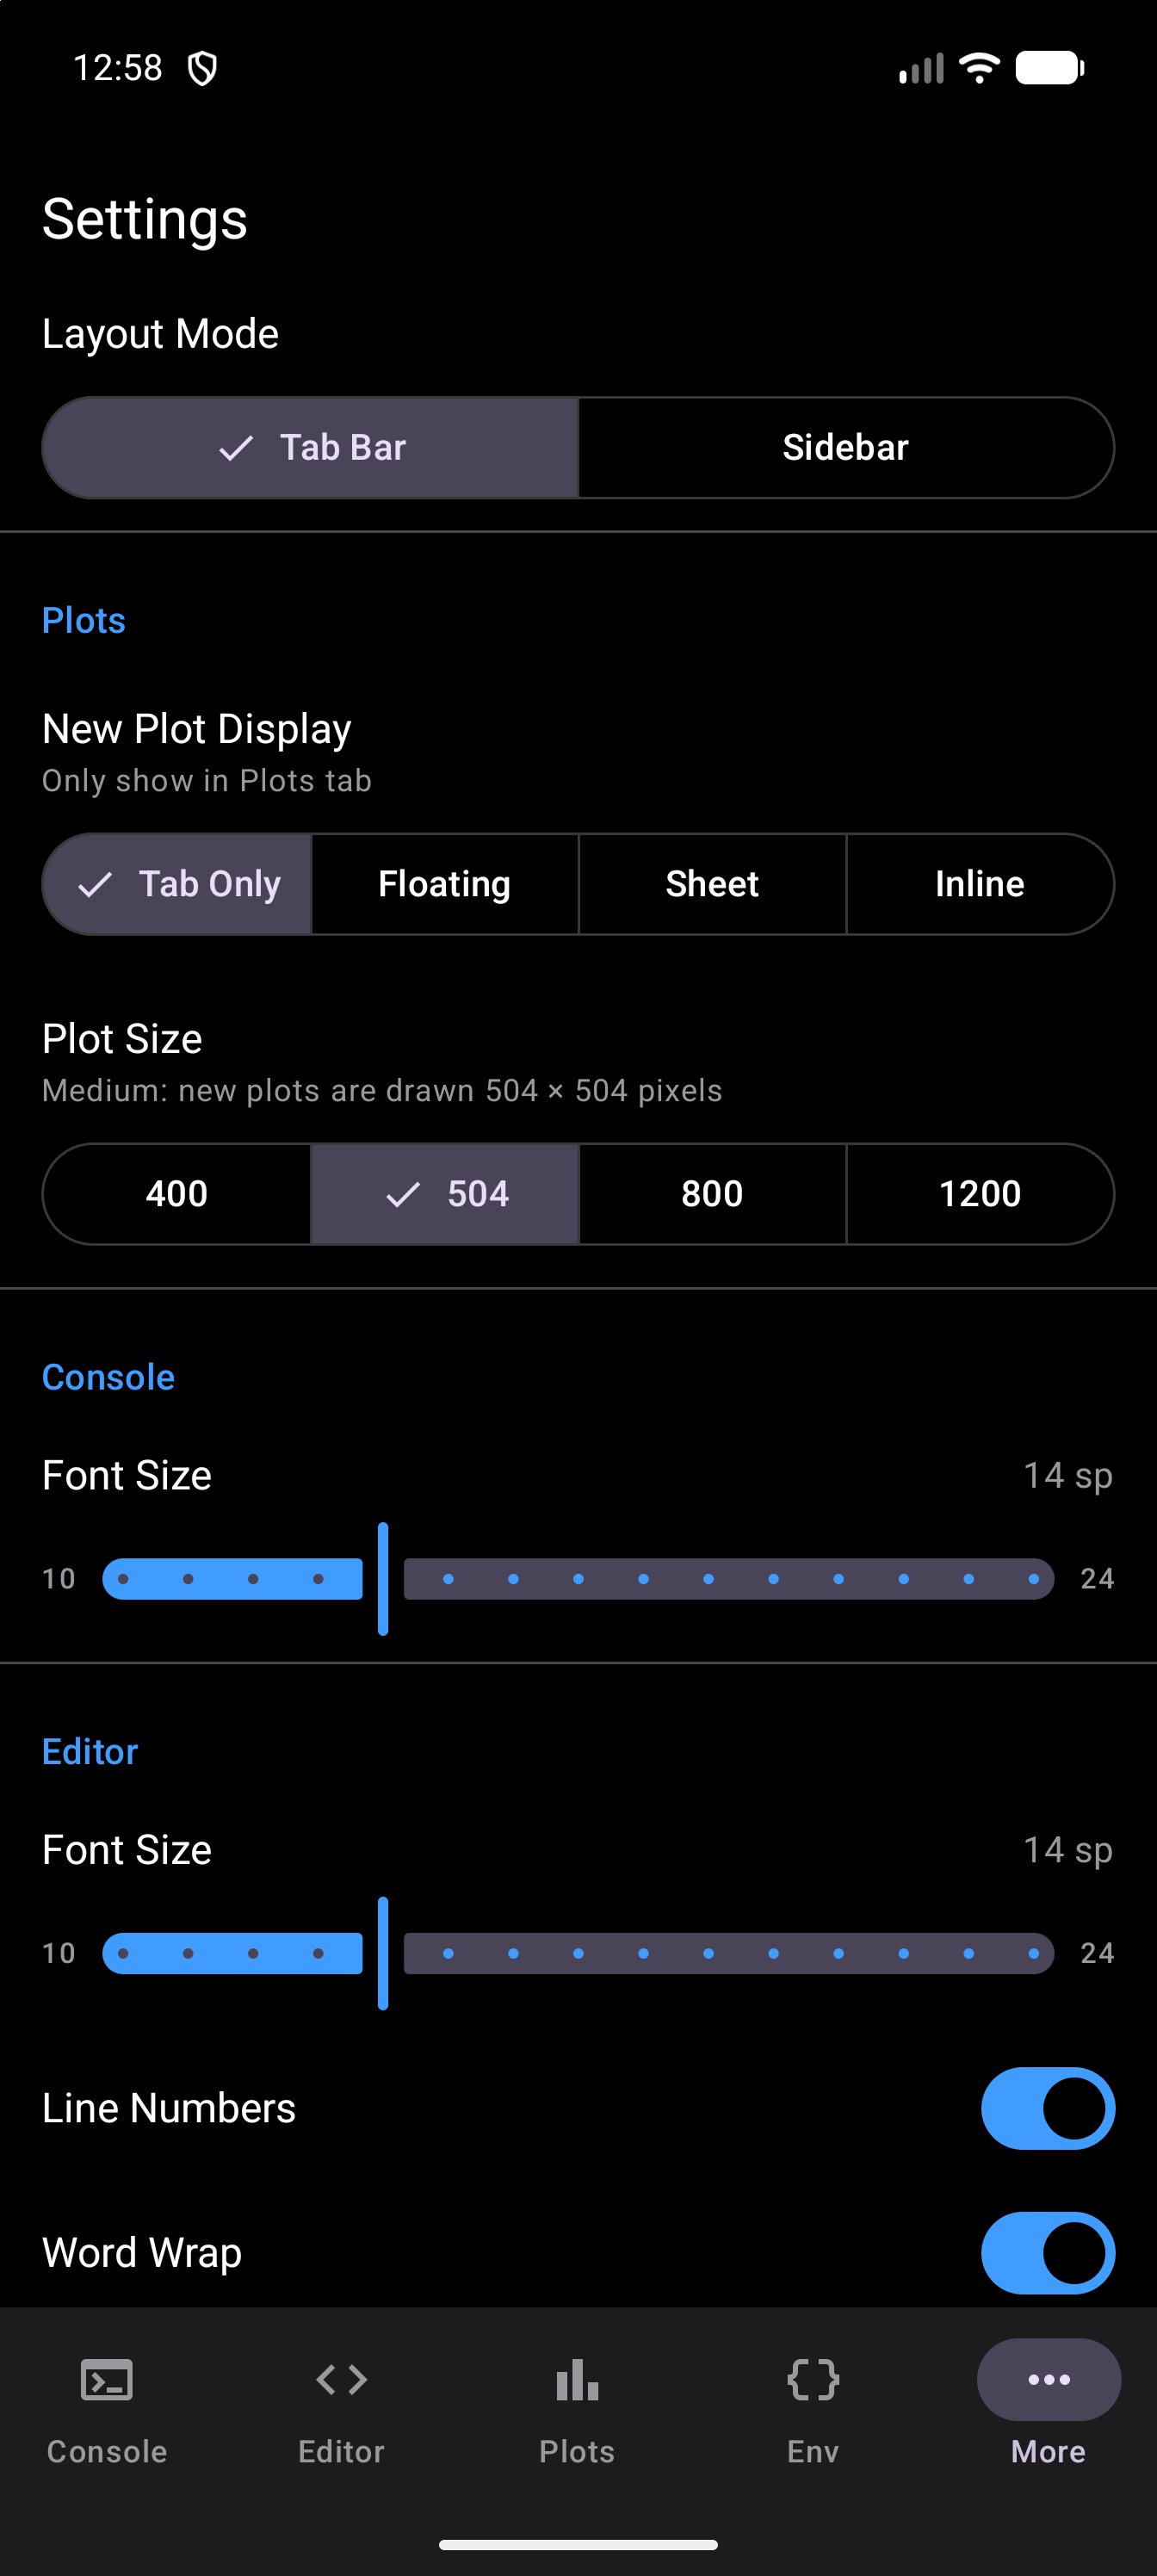
The New Plot Display setting controls what happens when R generates a new plot. A segmented button offers four modes, and the line under the setting’s name describes the one you have chosen, such as “Only show in Plots tab” for Tab Only:
| Mode | Behavior |
|---|---|
| Tab Only | The plot is added to the Plots tab quietly. You switch to the Plots tab to see it. Best when you are running scripts that produce many plots and you do not want to be interrupted. |
| Floating | The plot appears as a floating window that you can drag around the screen. You can dismiss it or move it out of the way while continuing to work. |
| Sheet | The plot slides up as a bottom sheet, showing the result prominently. Swipe it down to dismiss. Good when you want to see each plot immediately but not have it permanently on screen. |
| Inline | The plot renders directly in the Console output, inline with your other results. This is the most integrated option, and your plots flow naturally with your code output. |
Whichever mode you choose, every plot is added to the Plots tab. The setting only controls how a new plot is announced the moment it is generated.
The Plot Size setting chooses how large R draws new plots: Small (400 px), Medium (504 px, the default), Large (800 px) or Extra Large (1200 px). Its buttons show just the number of pixels, and the line above them names the size you have chosen, such as “Medium: new plots are drawn 504 × 504 pixels”. Plots are square. Larger sizes stay sharp when you zoom in, and take more memory. The size applies to the next plot you draw; plots already in the gallery keep the size they were drawn at.
Console
One setting: Font Size, a slider from 10 to 24 with the current value shown beside it in sp (for example “14 sp”). It applies to console output and to the console input field. An sp is Android’s scalable text unit, so Android’s own font size setting still applies on top of it.
Editor
Editor Font Size
The Editor section starts with its own Font Size slider, also 10 to 24 sp. Console and Editor are independent, so you can have larger output text with a more compact editor, or the reverse. Pinching the code in the Editor with two fingers sets the same size, within the same range, and the slider shows the new value.
Editor toggles
| Setting | What it does |
|---|---|
| Line Numbers | Shows line numbers in the editor’s left gutter. On by default. The code folding triangles live in the same gutter, so turning this off hides them too. |
| Word Wrap | Wraps long lines to the screen width. On by default; turn it off and long lines run past the edge, and you scroll the editor sideways to read them. |
| Auto Indent | Indents after { and keeps the current indentation on a new line. |
| Auto-close Brackets | Inserts the matching ), ], } or quote when you type an opener. |
Indent Style
A segmented button with three choices: 2 Spaces, 4 Spaces, and Tab. It decides what Auto Indent inserts, and what the Tab key on a hardware keyboard produces.
2 Spaces is the most common convention in R, and the one the tidyverse style guide asks for.
Two rows at the end of the section open screens of their own: Keyboard Shortcuts, described under Keyboard Shortcuts at the bottom of this page, and R Toolbar Buttons, next.
R Toolbar Buttons
The R Toolbar Buttons screen lets you customize the operator buttons that appear on the keyboard toolbar in the Editor and Console. A live preview of the toolbar is shown at the top of the screen, with the full button list below.
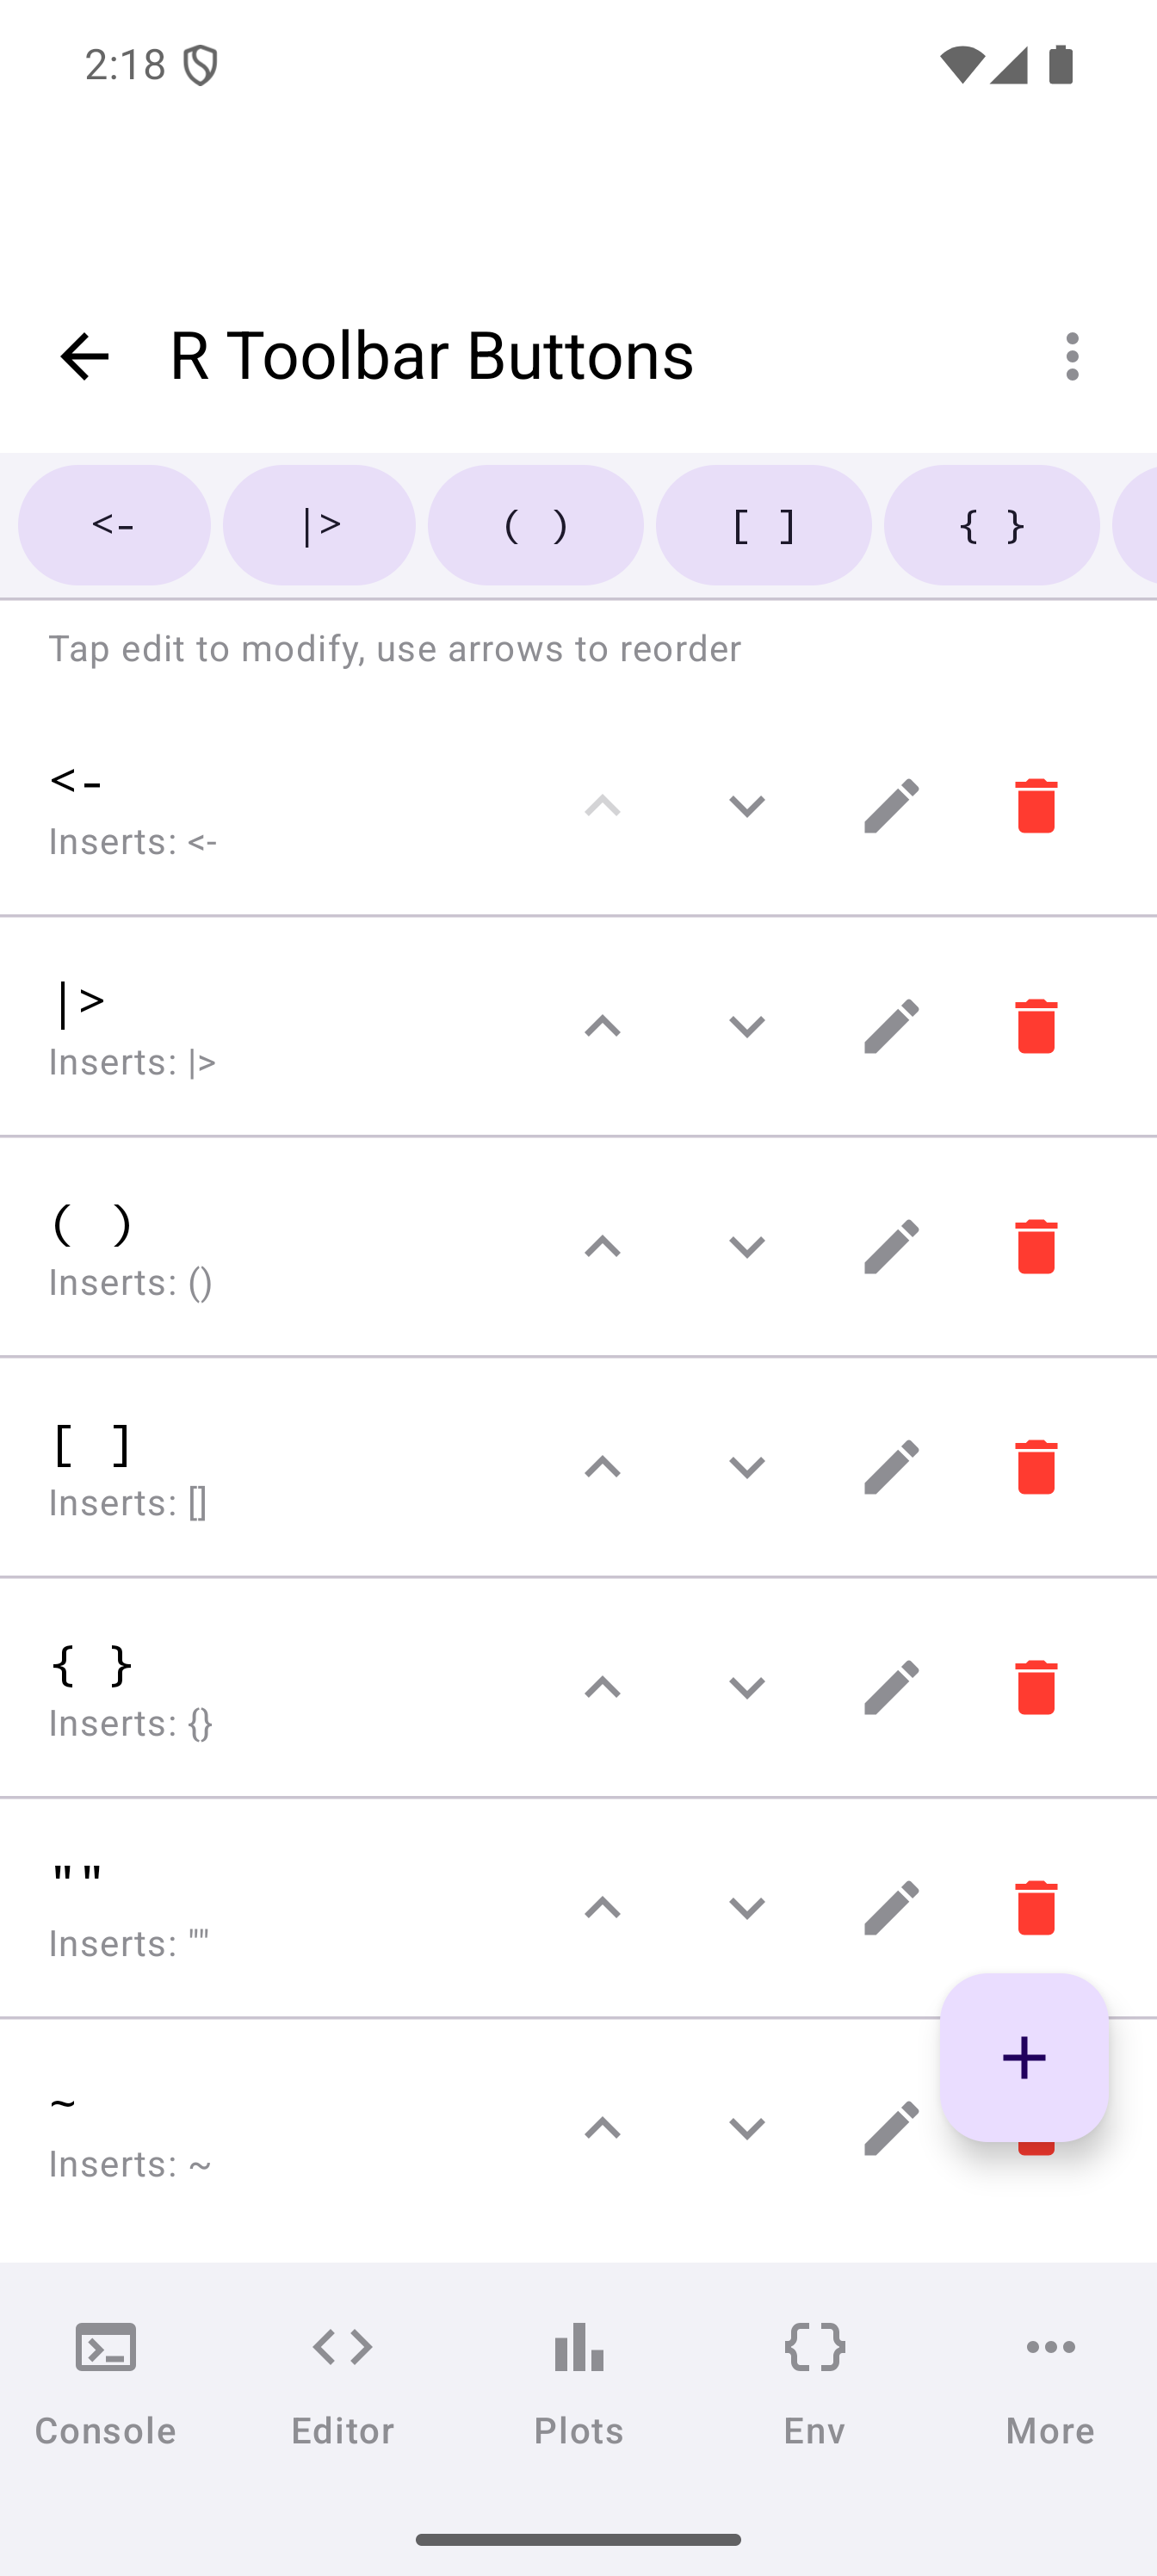
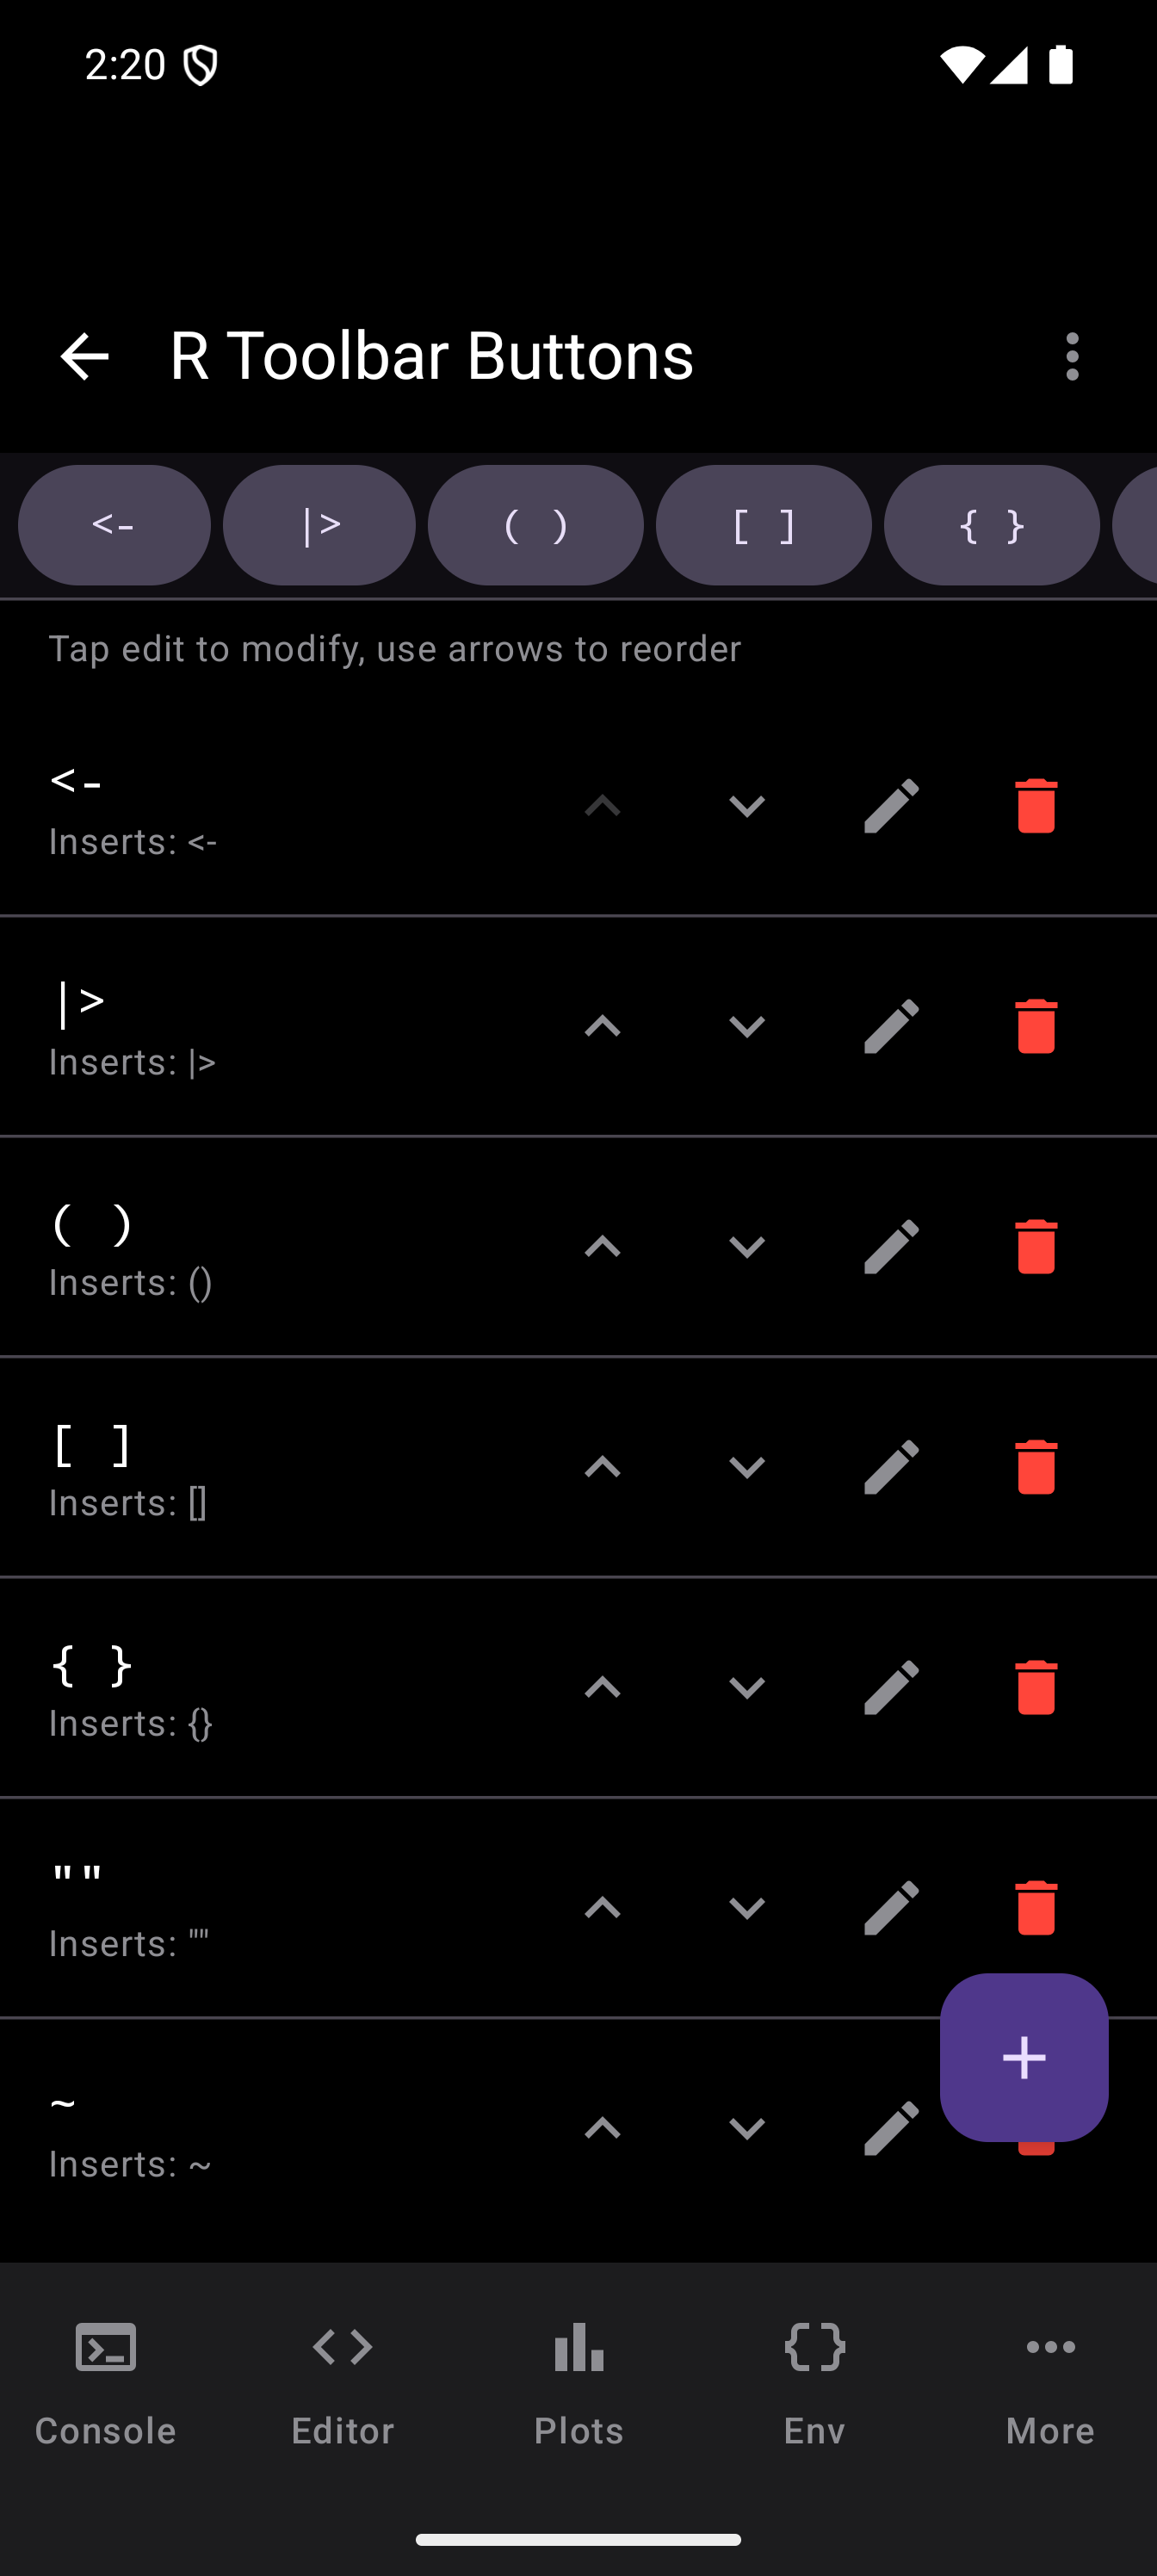
Use the floating action button to add a new button. Each button in the list can be:
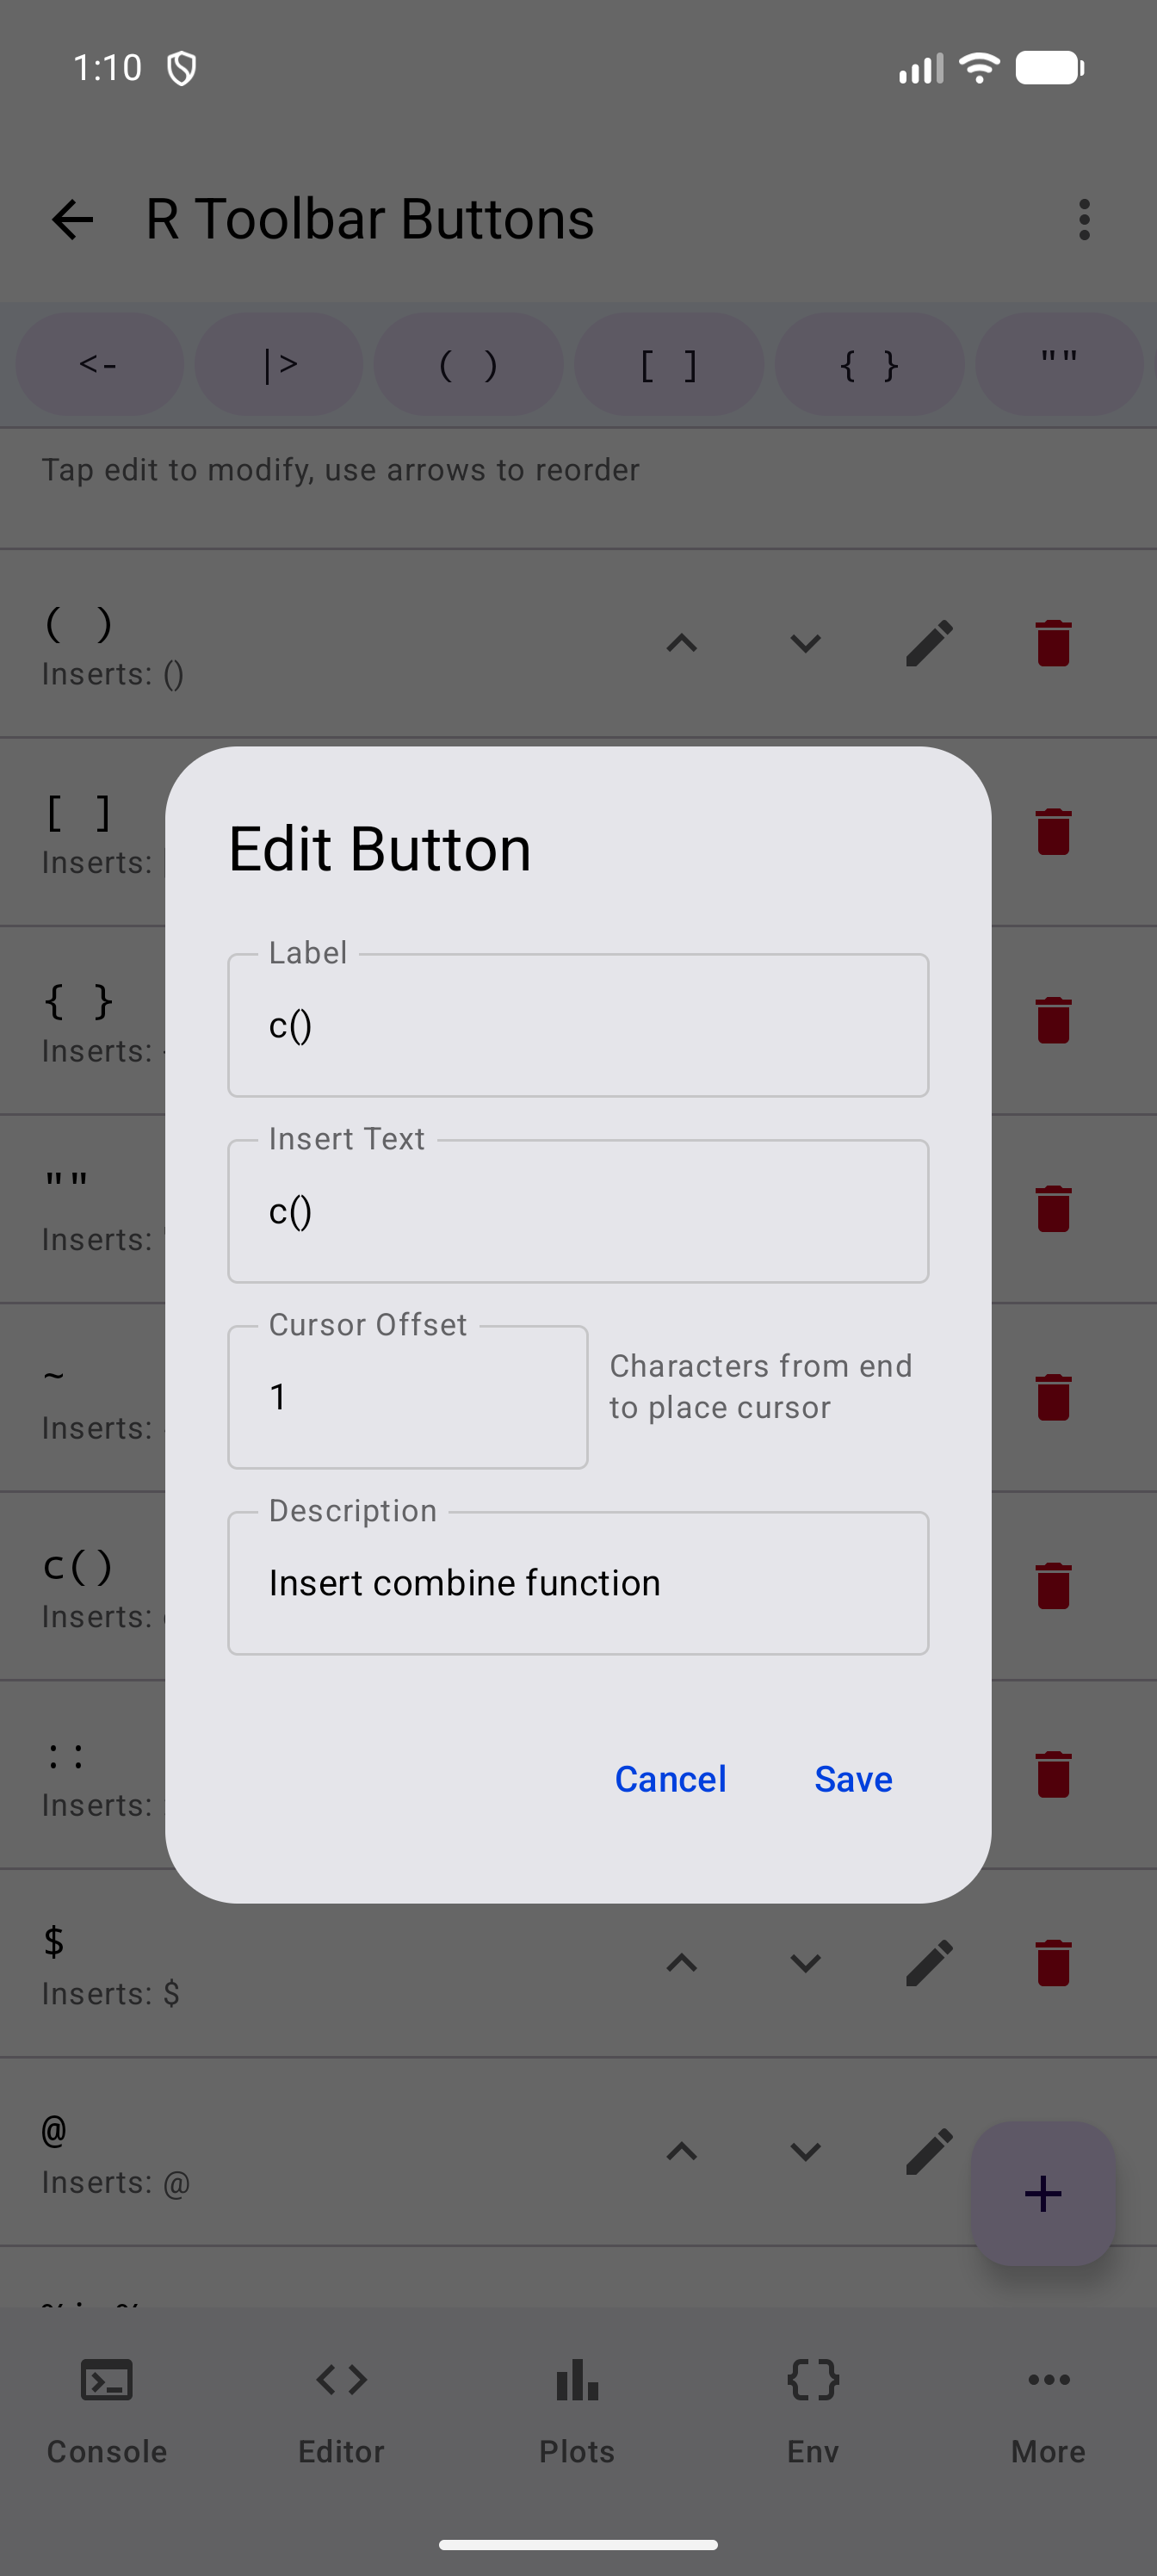
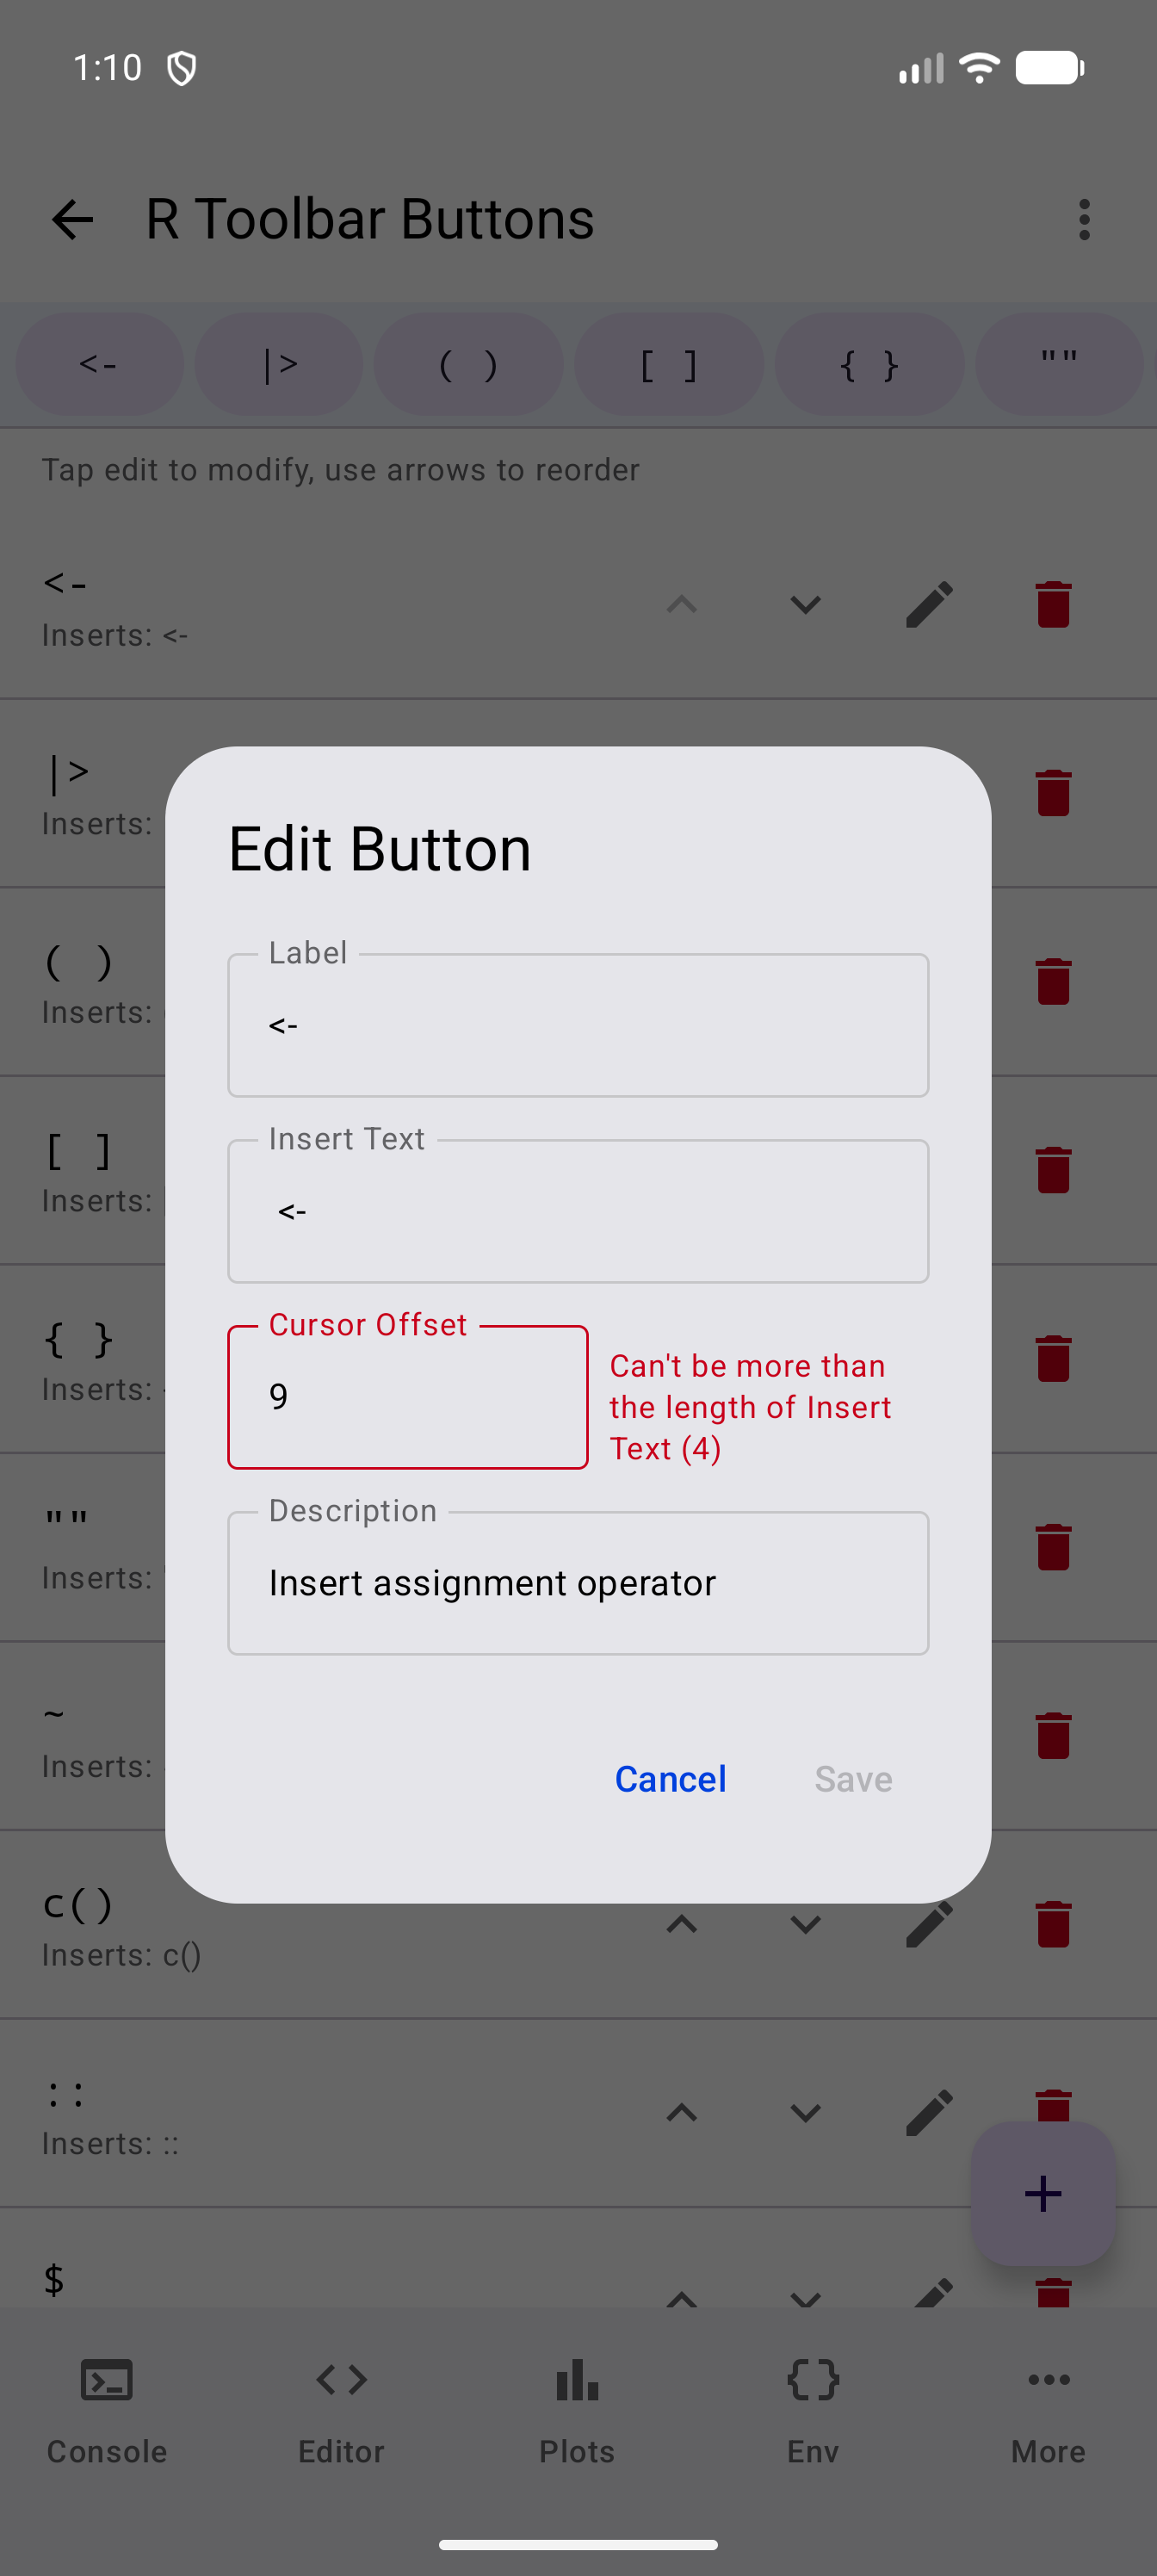
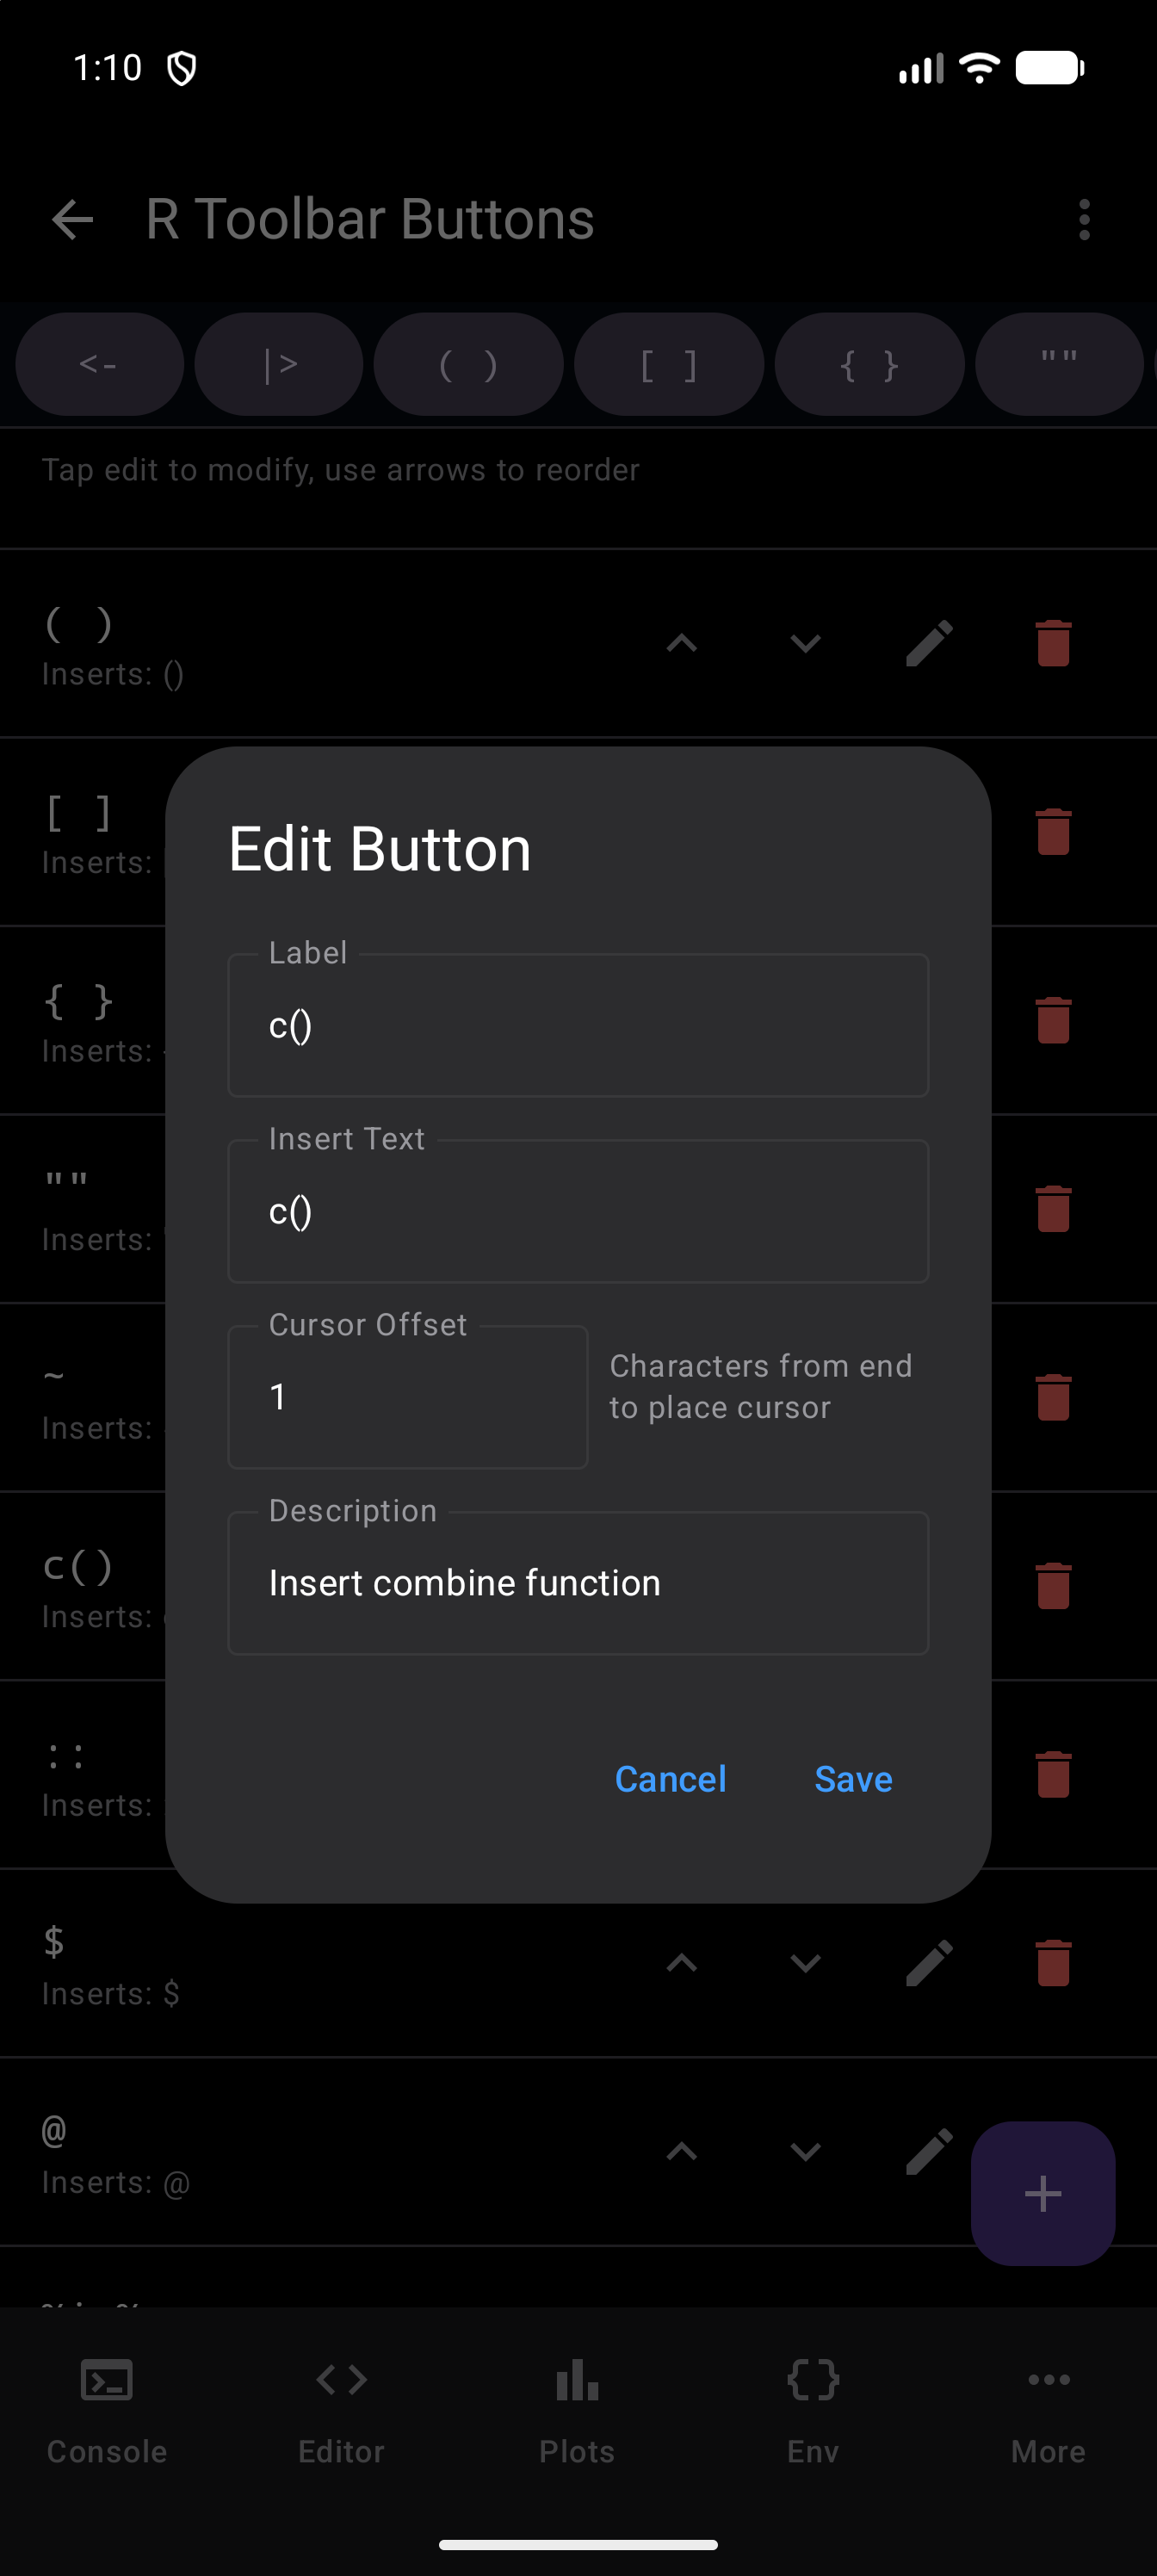
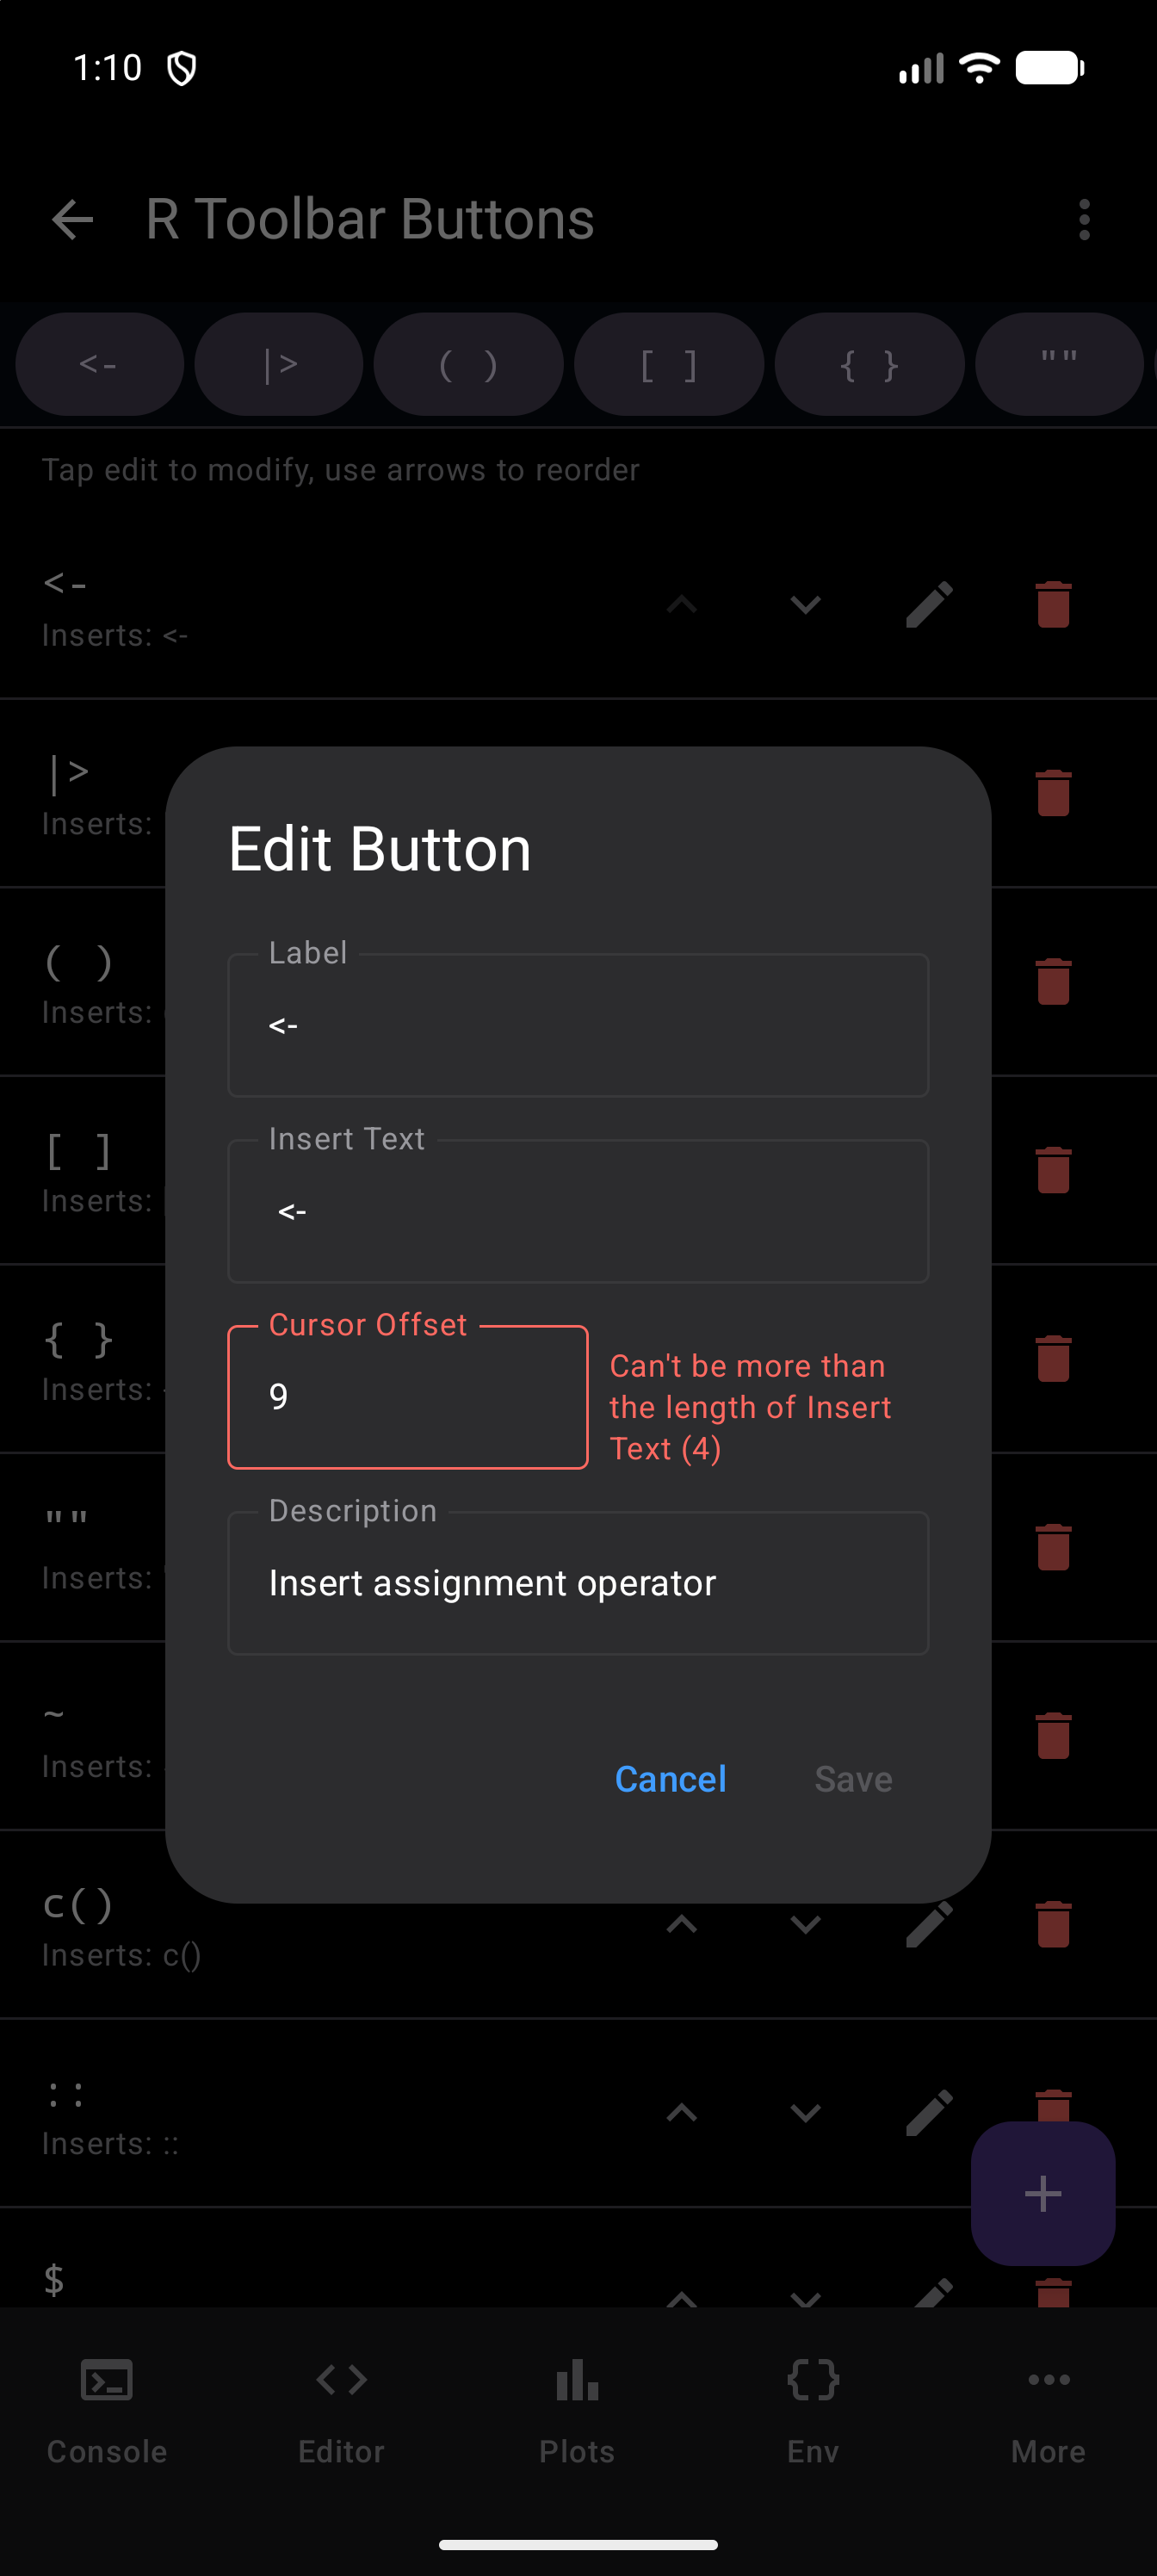
- Edited with the pencil icon, which opens the Edit Button dialog to change its label, inserted text, cursor offset or description. The Cursor Offset counts back from the end of the Insert Text: for
c(), an offset of 1 leaves the cursor between the parentheses. It can’t be more than the length of that text. If it is, the dialog says “Can’t be more than the length of Insert Text”, followed by the length, and keeps Save off until it fits. - Reordered with the up/down arrows
- Deleted with the trash icon
The first picture shows the c() button in the Edit Button dialog. In the second, the <- button has a Cursor Offset of 9, too many for its four characters of Insert Text (a space on each side of <-):
To restore the default set of buttons, tap the overflow menu and select Reset to Defaults.
Add custom operators like %>%, |>, or \(x) for quick access while coding.
R Session
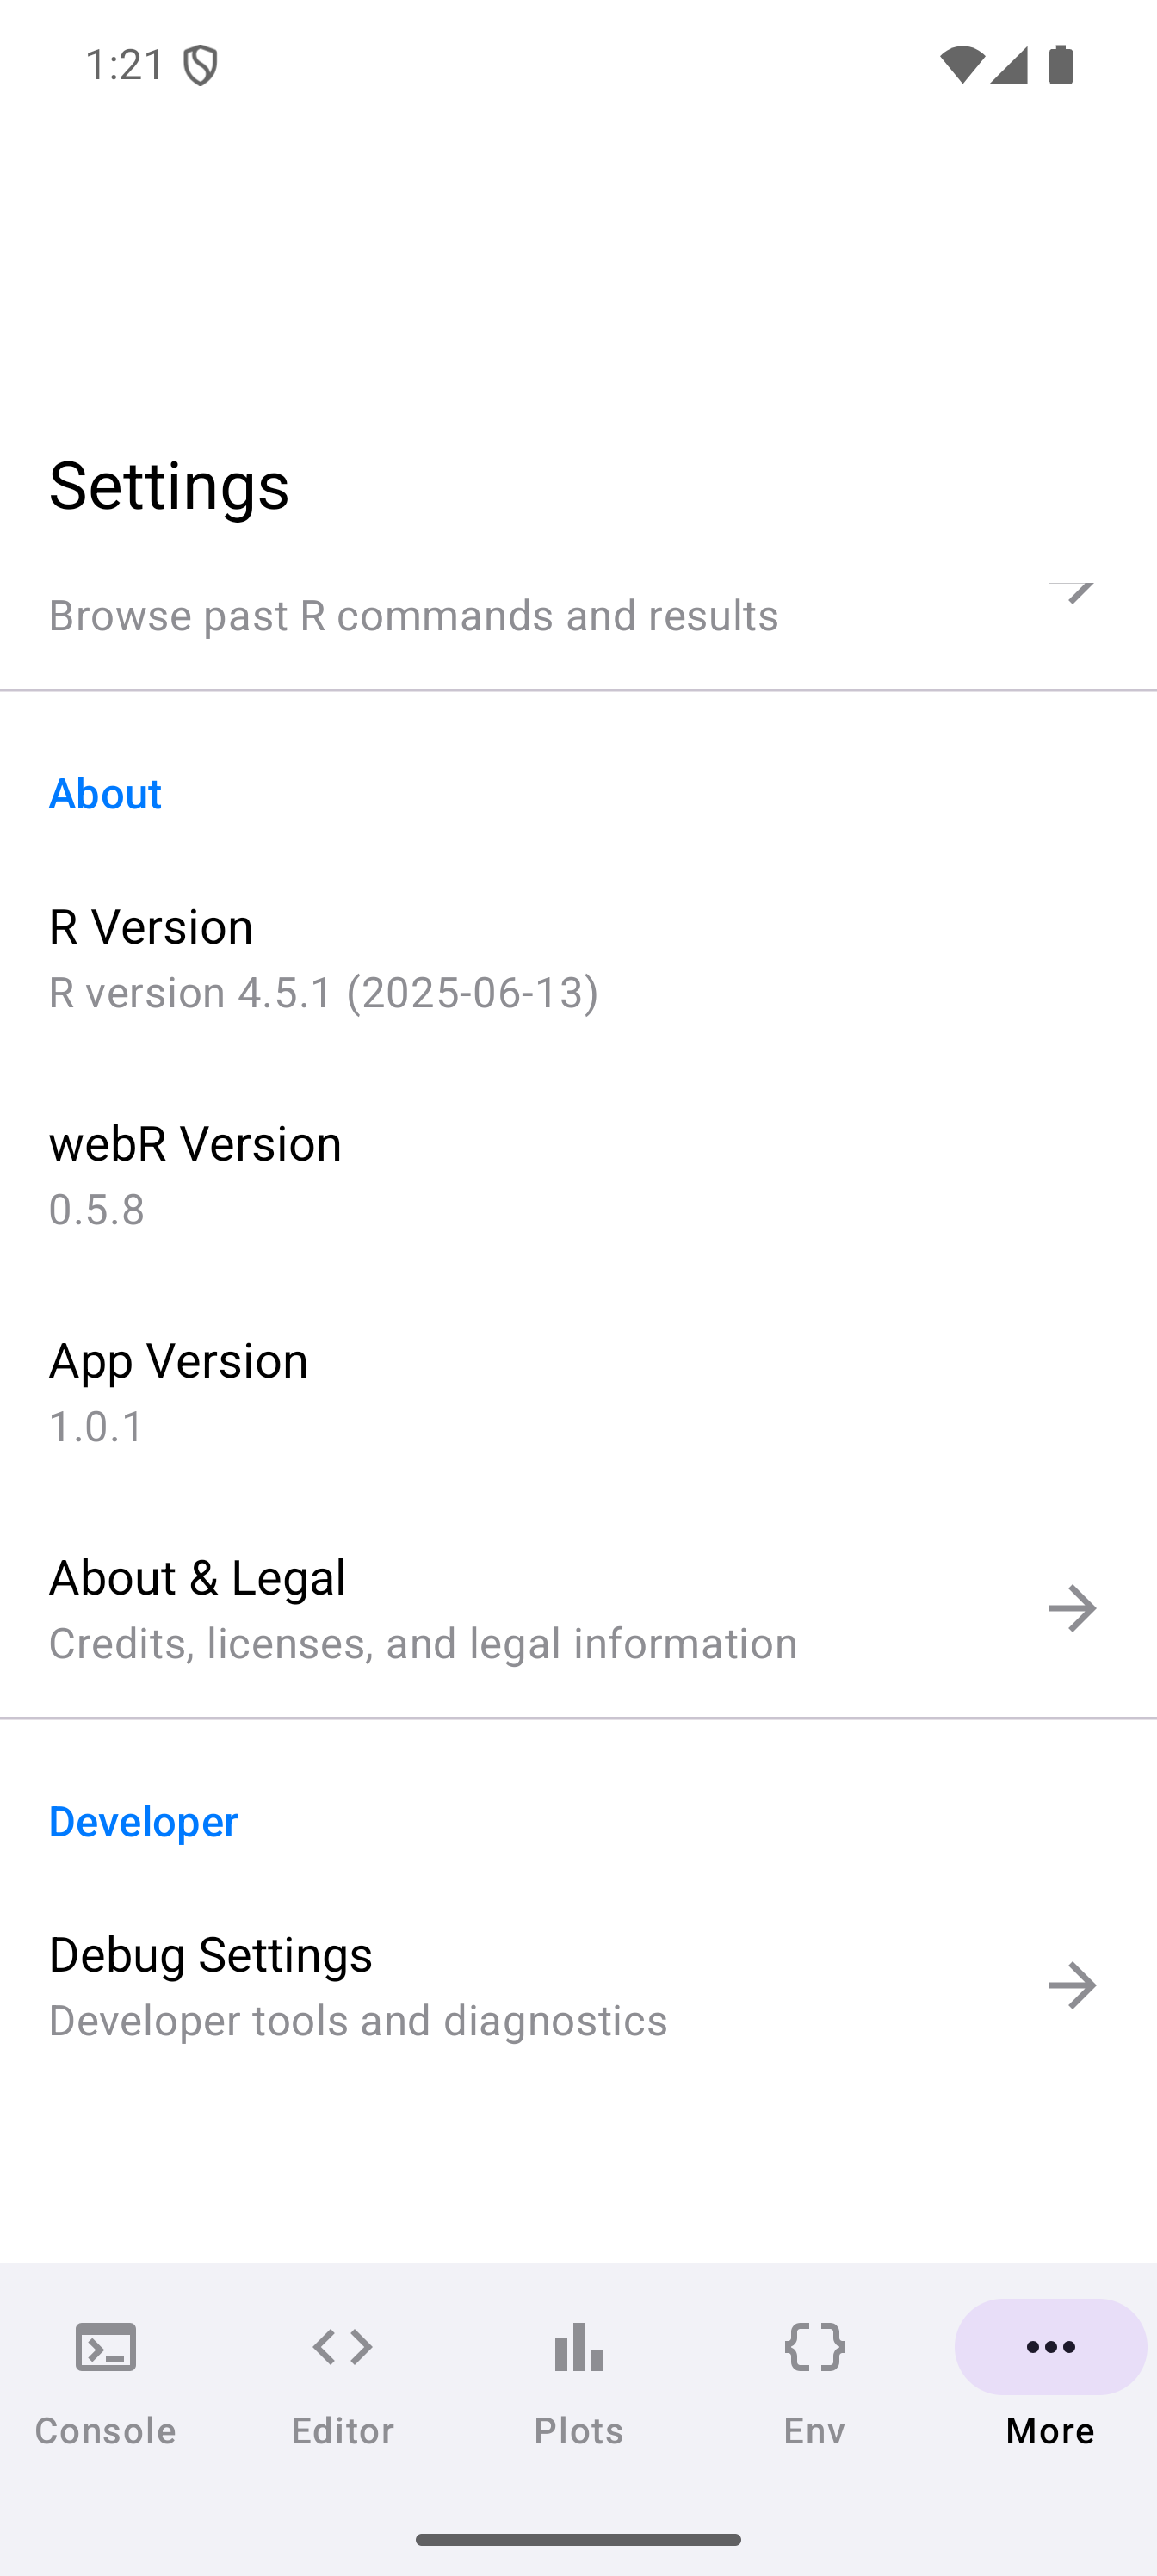
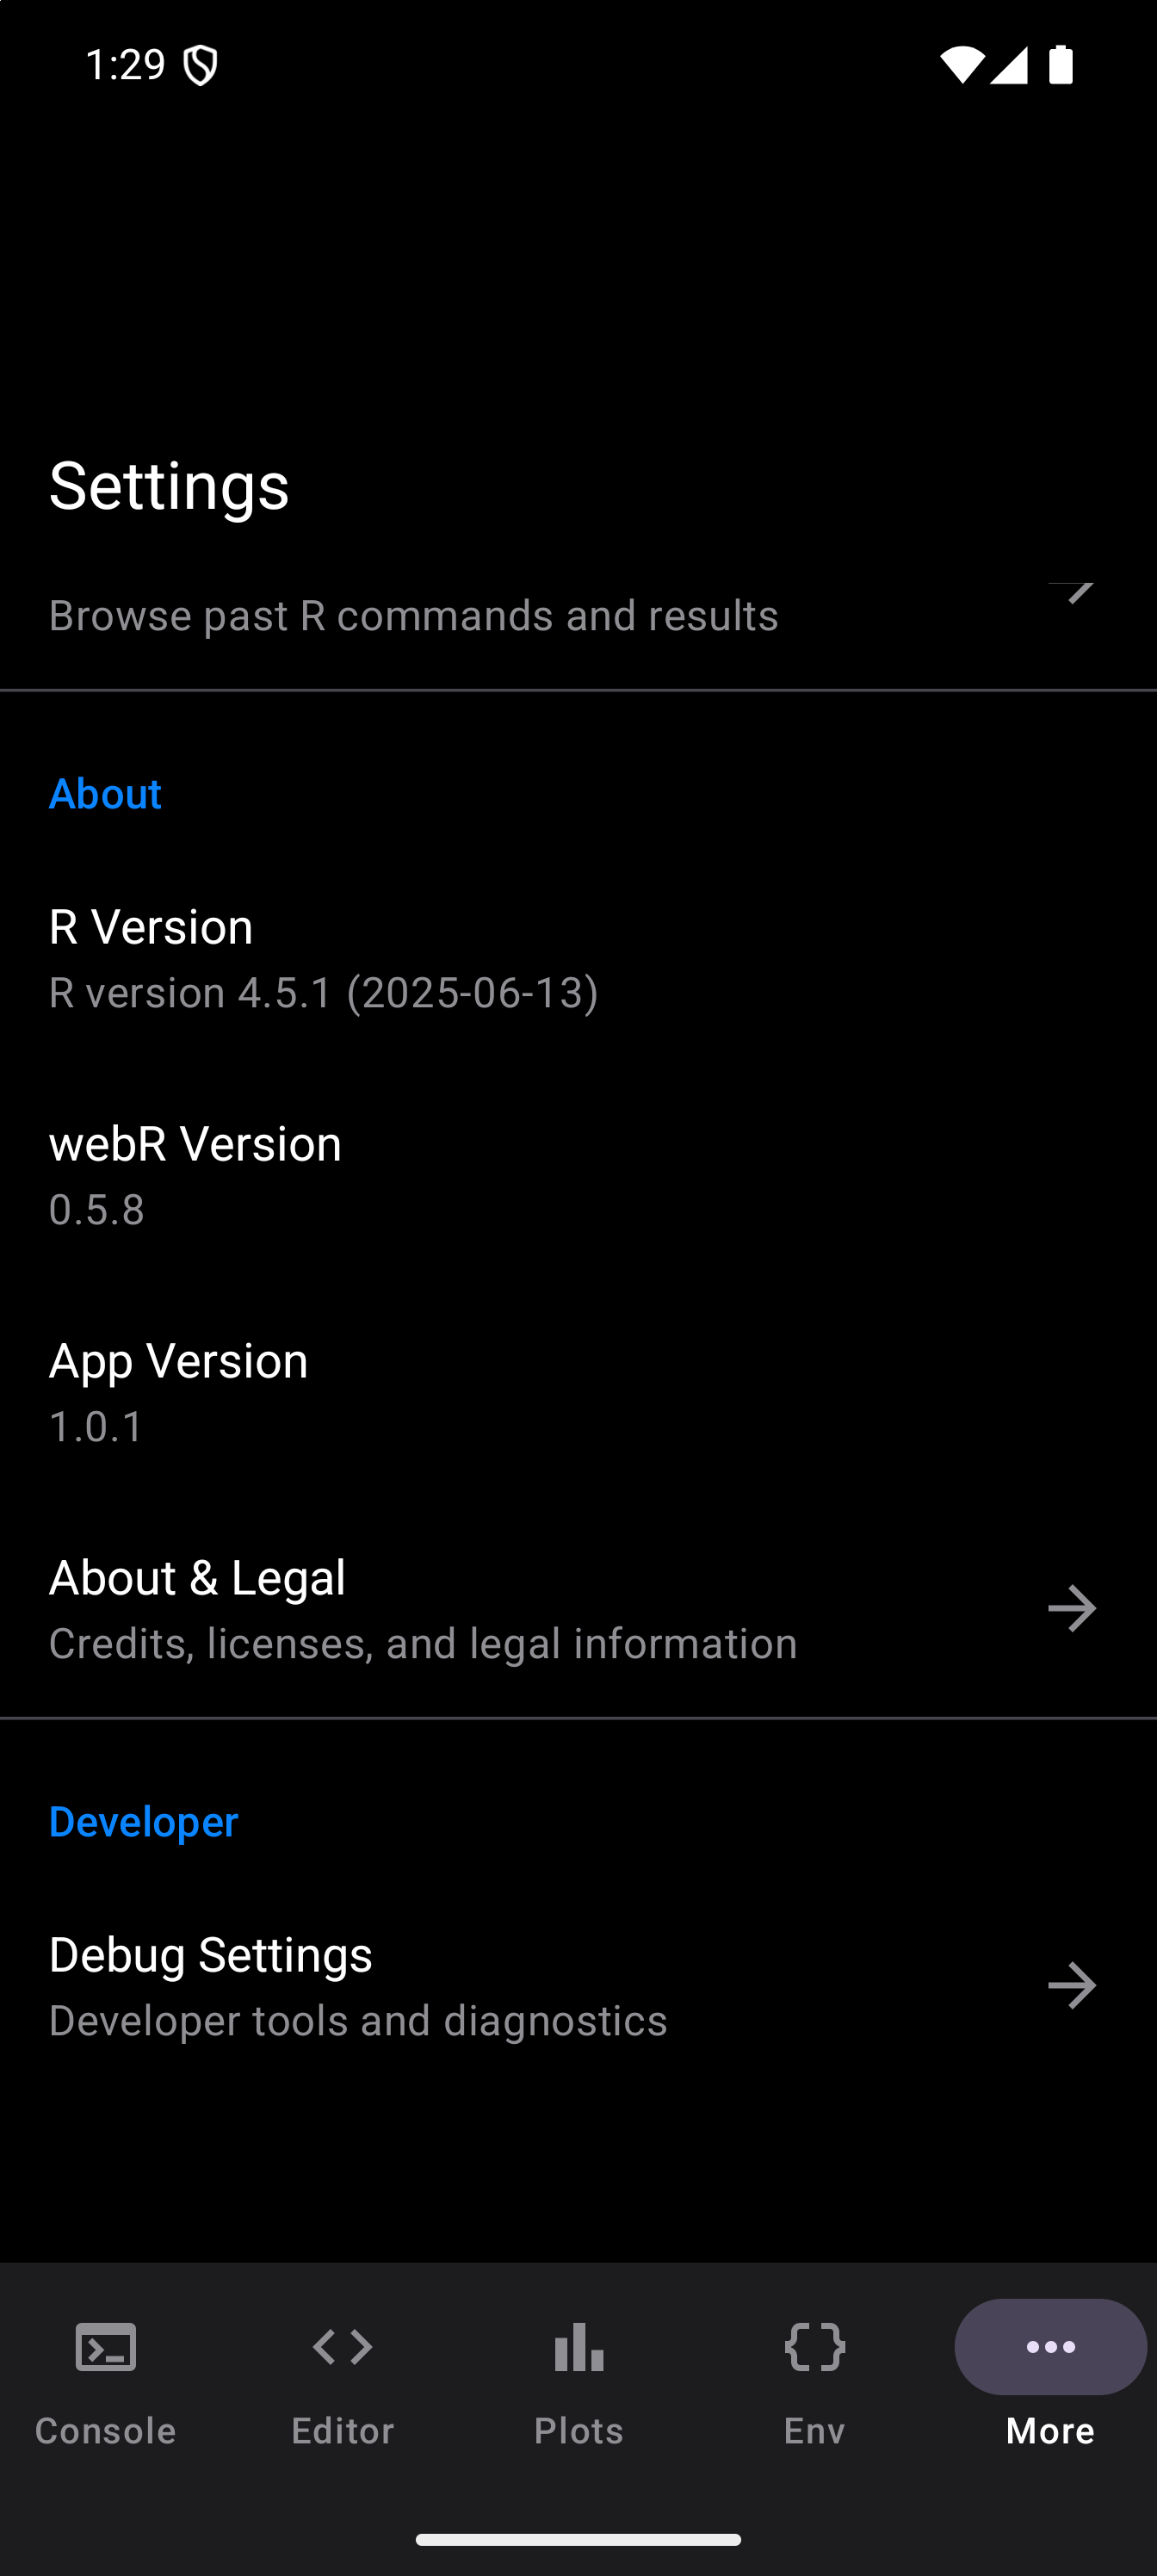
A Restart R row, then two buttons side by side, Soft Reset R and Run GC, and last the Copy Files Back Automatically switch.
Restart R
Stops R and starts a fresh session, after a confirmation. It is the way out of a stuck computation, such as an infinite loop: R has no interrupt here, but a restart does not need R’s cooperation.
Everything the old session held is gone. Every object in the workspace is lost, and packages have to be attached again with library(), though they stay installed. Files that R wrote and you have not yet copied back with Copy Files Back from R are lost too. Your project files and editor tabs are not affected.
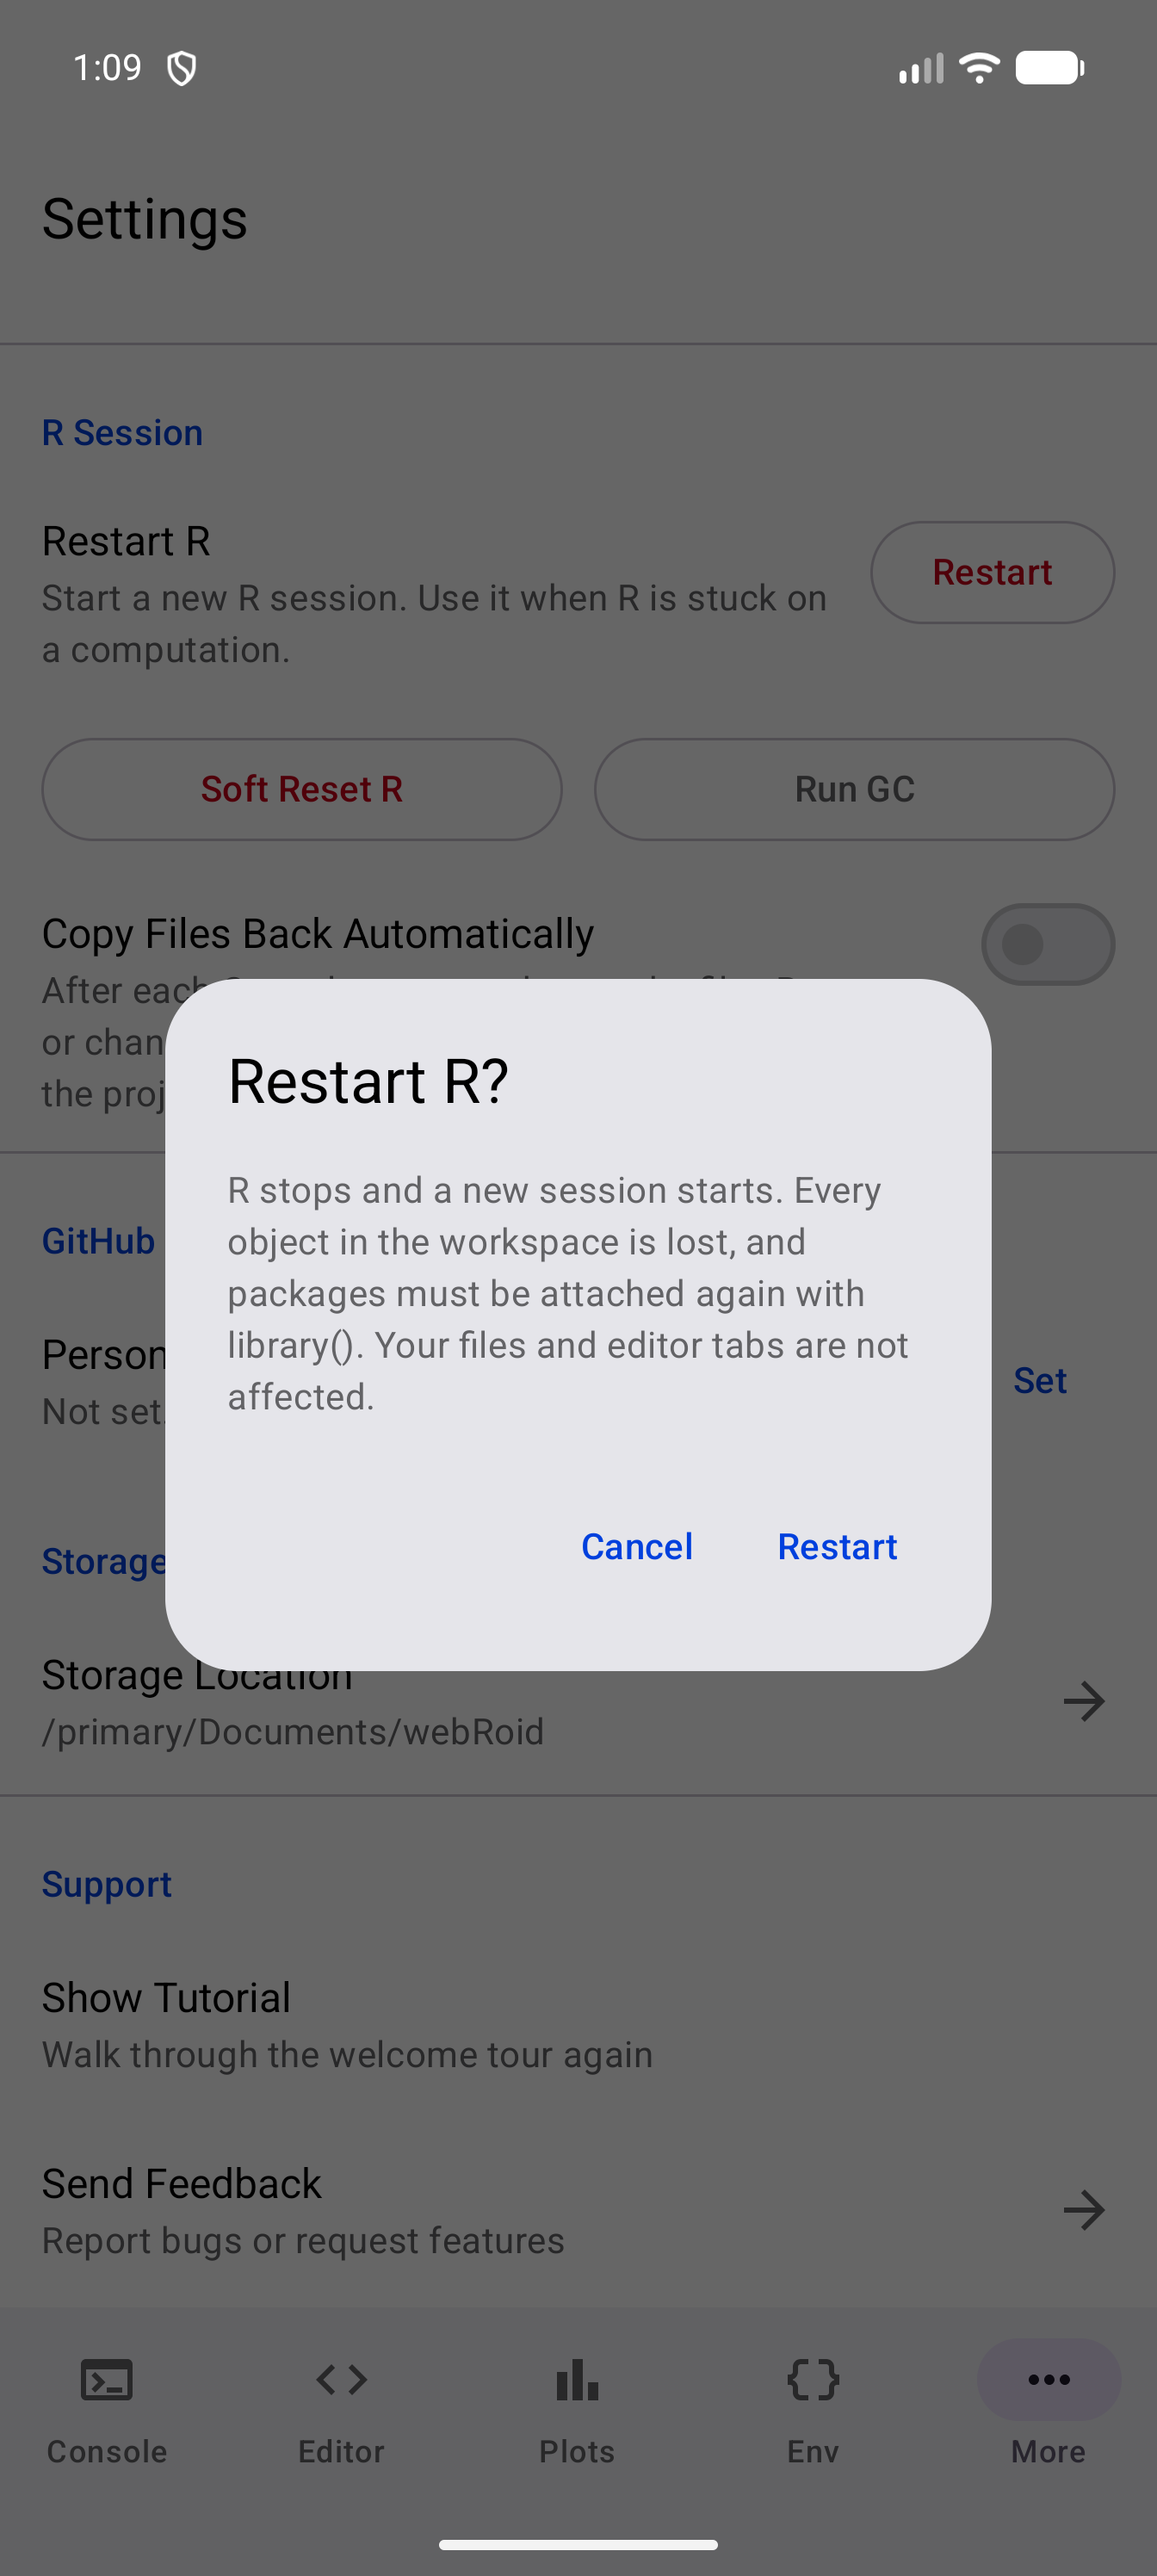
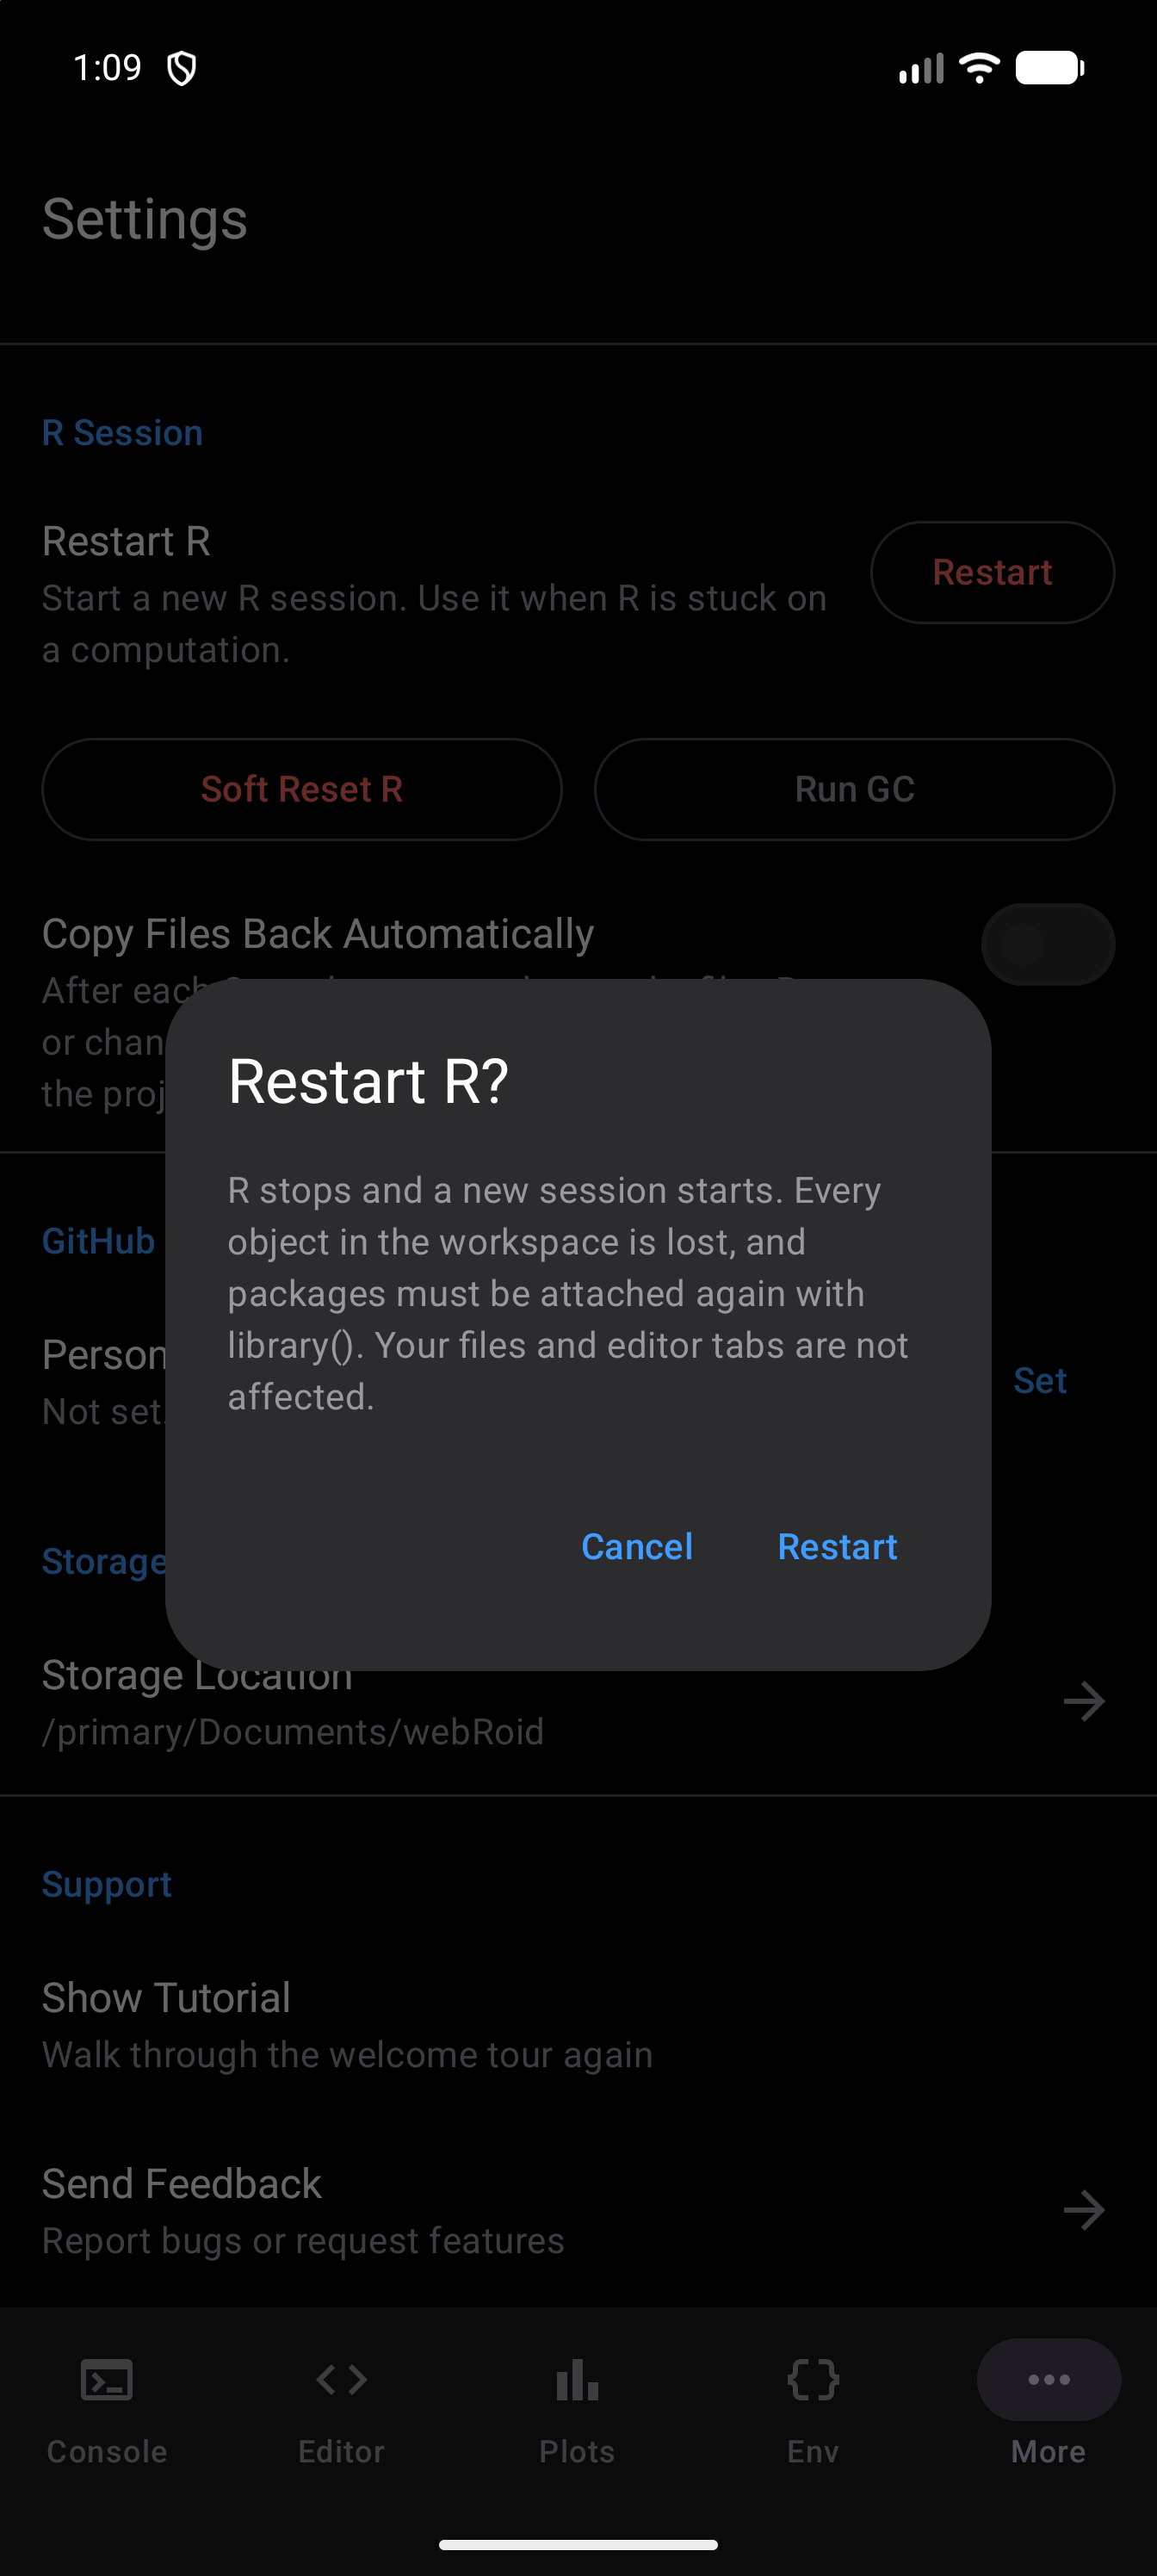
The Console offers the same button on its R Session Unresponsive banner, pictured under When R Stops Responding in the Console guide. When a command has not finished after 60 seconds, the Console stops waiting for it and says “R did not finish within 60 seconds, and is still running. The Console will say when it finishes. Restart R stops it, but ends the session.” The banner then stays up while R works, and you do not have to restart: when the command finishes, its output appears, the Console adds “The command that ran past the time limit has finished, and R is responding again.”, and the banner clears by itself. Until then, a command you run is turned away with “R is already running something else”, and the banner stays. Check Again asks R whether it is free, and takes the banner down only if R answers, within 10 seconds. Restart R is only needed for a command that will never finish. See Known Issues.
If Android closes the part of the app R runs in, usually to free memory, whether during a session or while R is starting, the app shows R Session Stopped in place of its screens. It says your files and open tabs are safe and that objects from the old session need to be made again. Its Restart R button starts a new session, and Report Issue opens a bug report email to support, its subject ending “R Session Stopped”. This is not the same as Unable to Start R, which means only that R’s startup itself failed. Its Try Again restarts R from scratch, and the failed attempt stays in the startup log, which a diagnostic report can attach once R is running.
Soft Reset R
Clears your workspace: every object you created is removed, and garbage collection runs. A confirmation dialog appears first, because it cannot be undone.
It does not restart R, and it does not unload or uninstall packages. A package you attached with library() stays attached. Editor tabs and files are untouched. Use it when you want a clean set of variables without waiting for the runtime to load again.
Soft Reset cannot rescue a session that is stuck inside a running computation. It is a request to R, and R takes requests one at a time, so it waits behind the stuck code. Use Restart R for that.
Run GC
Runs gc() and frees memory held by objects nothing refers to any more. Worth a try if the app feels sluggish after you have deleted a large dataset.
Your R session does not survive being closed. Variables and attached packages are gone on the next launch, and so is anything R wrote that you did not copy back; installed packages and your project files are not. Save anything you want to keep as a script, and put your library() calls at the top of it.
Copy Files Back Automatically
Off by default. When it is on, the files R wrote or changed are copied into the project folder after each command run in the Console, the same copy that Copy Files Back from R makes: R’s copies replace the project’s, and the Console says how many files it copied. A file larger than 10 MB stays in R, and the Console names it once (“Not copied back into the project, as larger than 10 MB: …”), and not again until R writes it again.
In the Workspace, a run from the Editor pane starts a copy too, since it runs in the Console pane. In the Tab Bar and Sidebar layouts, a run from the Editor does not. Nor does a command that ran past the time limit, since R is still working on it; the next command’s copy brings what it wrote. Reset All Settings turns the switch off.
GitHub
One row, Personal Access Token, used by the editor’s Gist export and nothing else.
- With no token saved, the row reads “Not set. Needed only to export a script as a gist.” and offers Set. Tapping Set opens a dialog that explains which token to use: one that can do nothing but make gists. A fine-grained token is best. Make one at github.com/settings/personal-access-tokens/new, give it an expiration date, and under Account permissions set Gists to “Read and write”, leaving everything else as it is. A classic token with an expiration date and only the
gistscope, from github.com/settings/tokens, works too. Paste the token into the Token field, where it stays hidden like a password, and tap Save. - With one saved, the row reads “Saved on this device, encrypted. Used only to create gists.” and offers Forget. Forget asks first, then removes the token from this device. Gists you have already made are not affected, and you can paste a token again at any time.
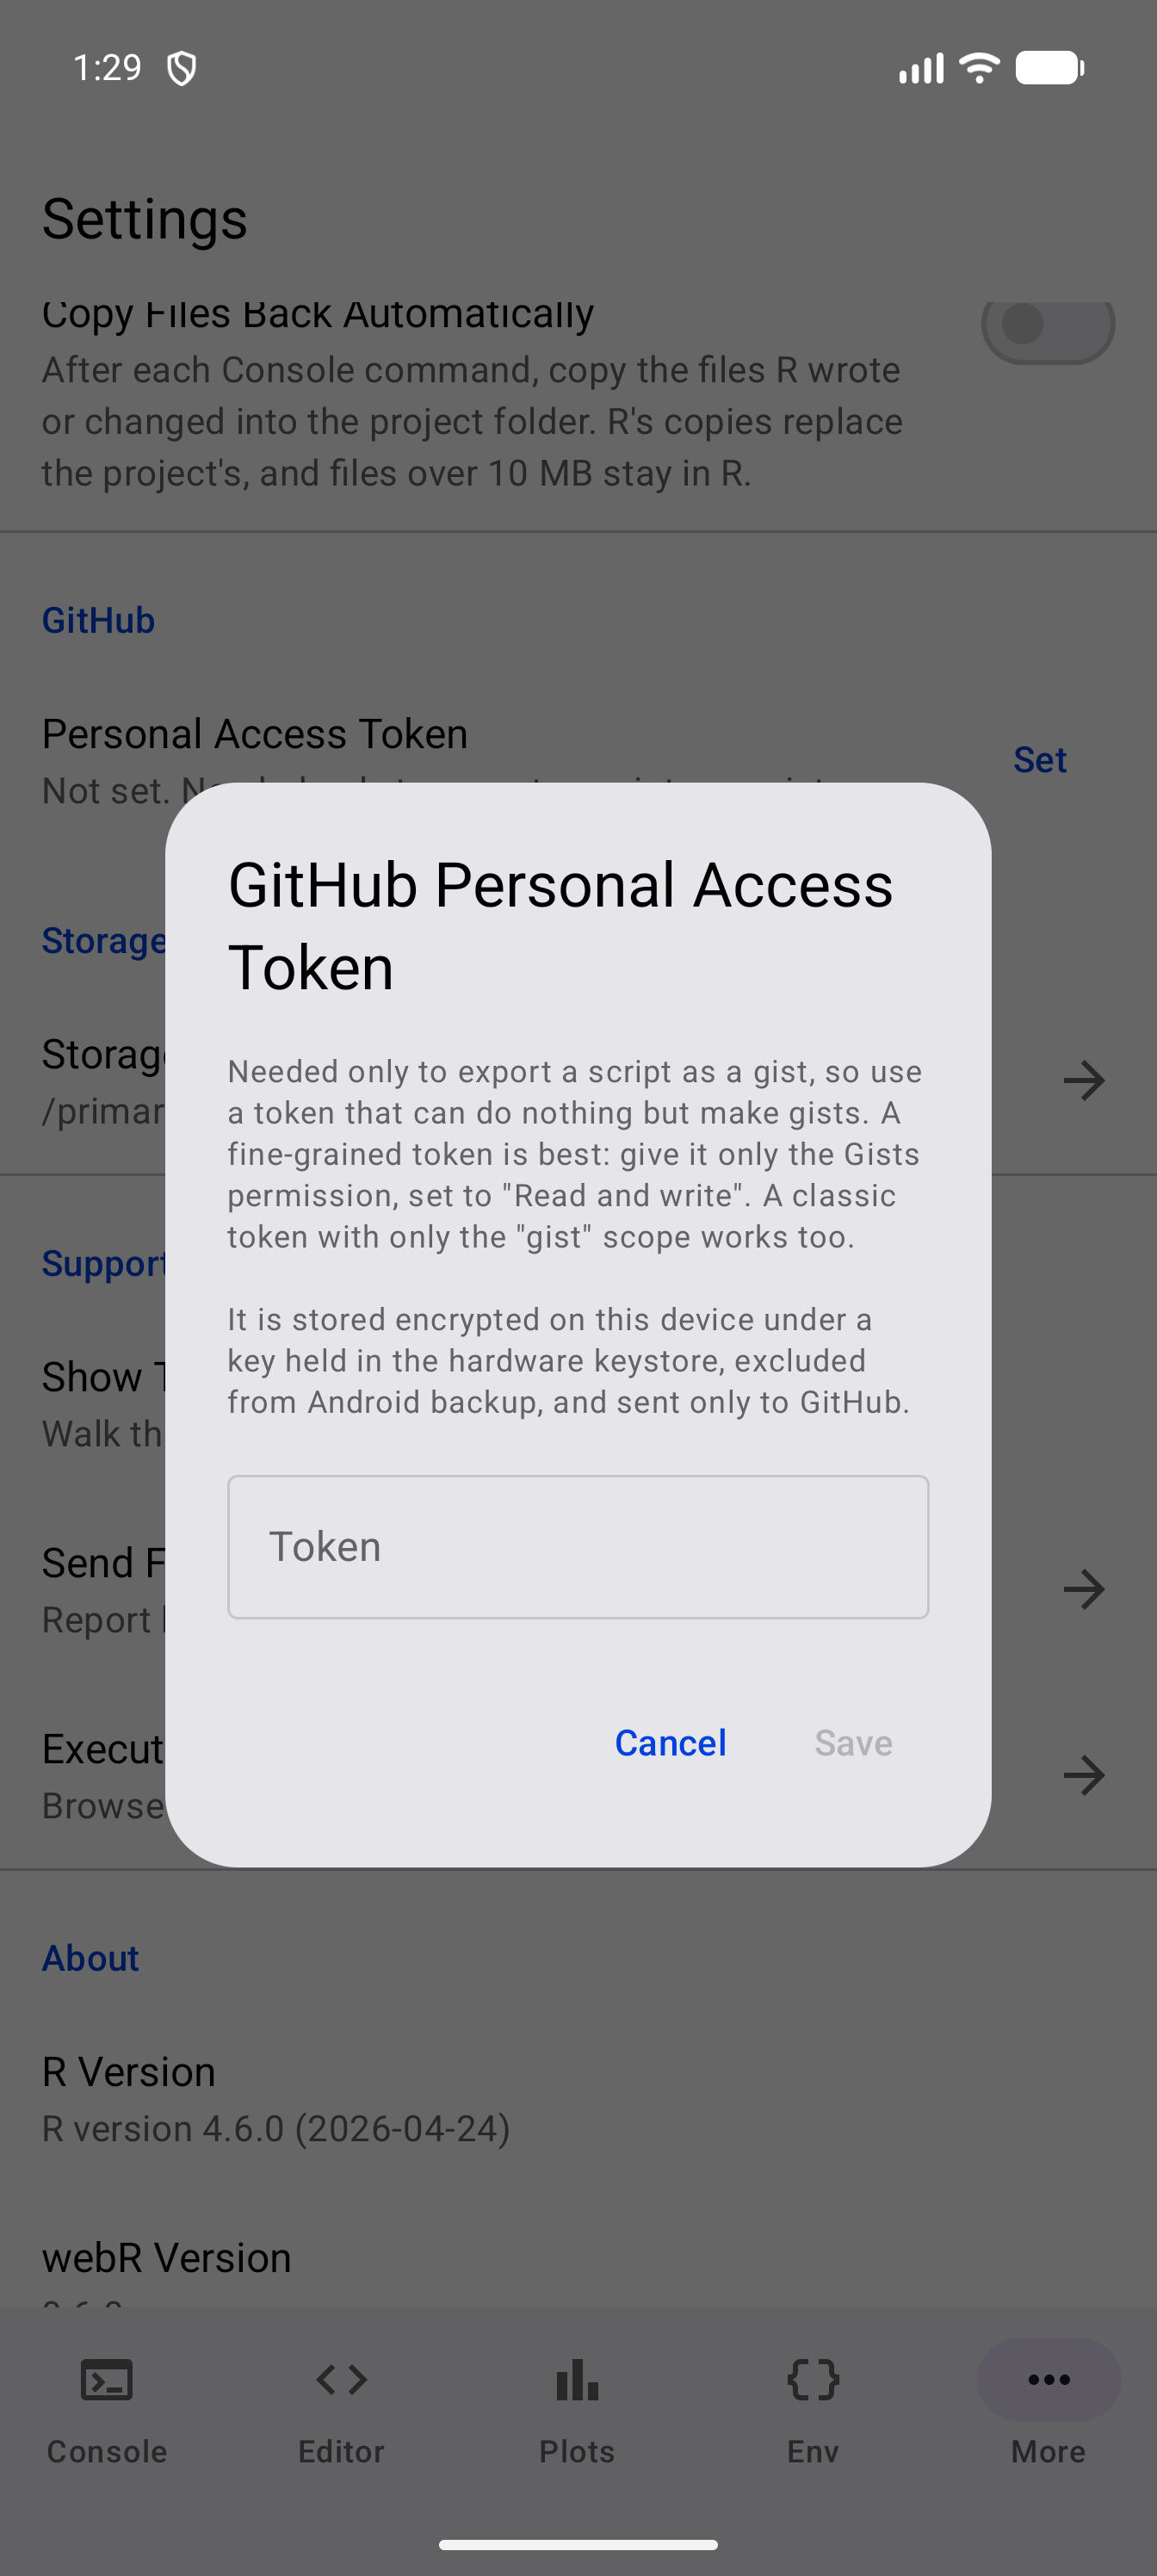
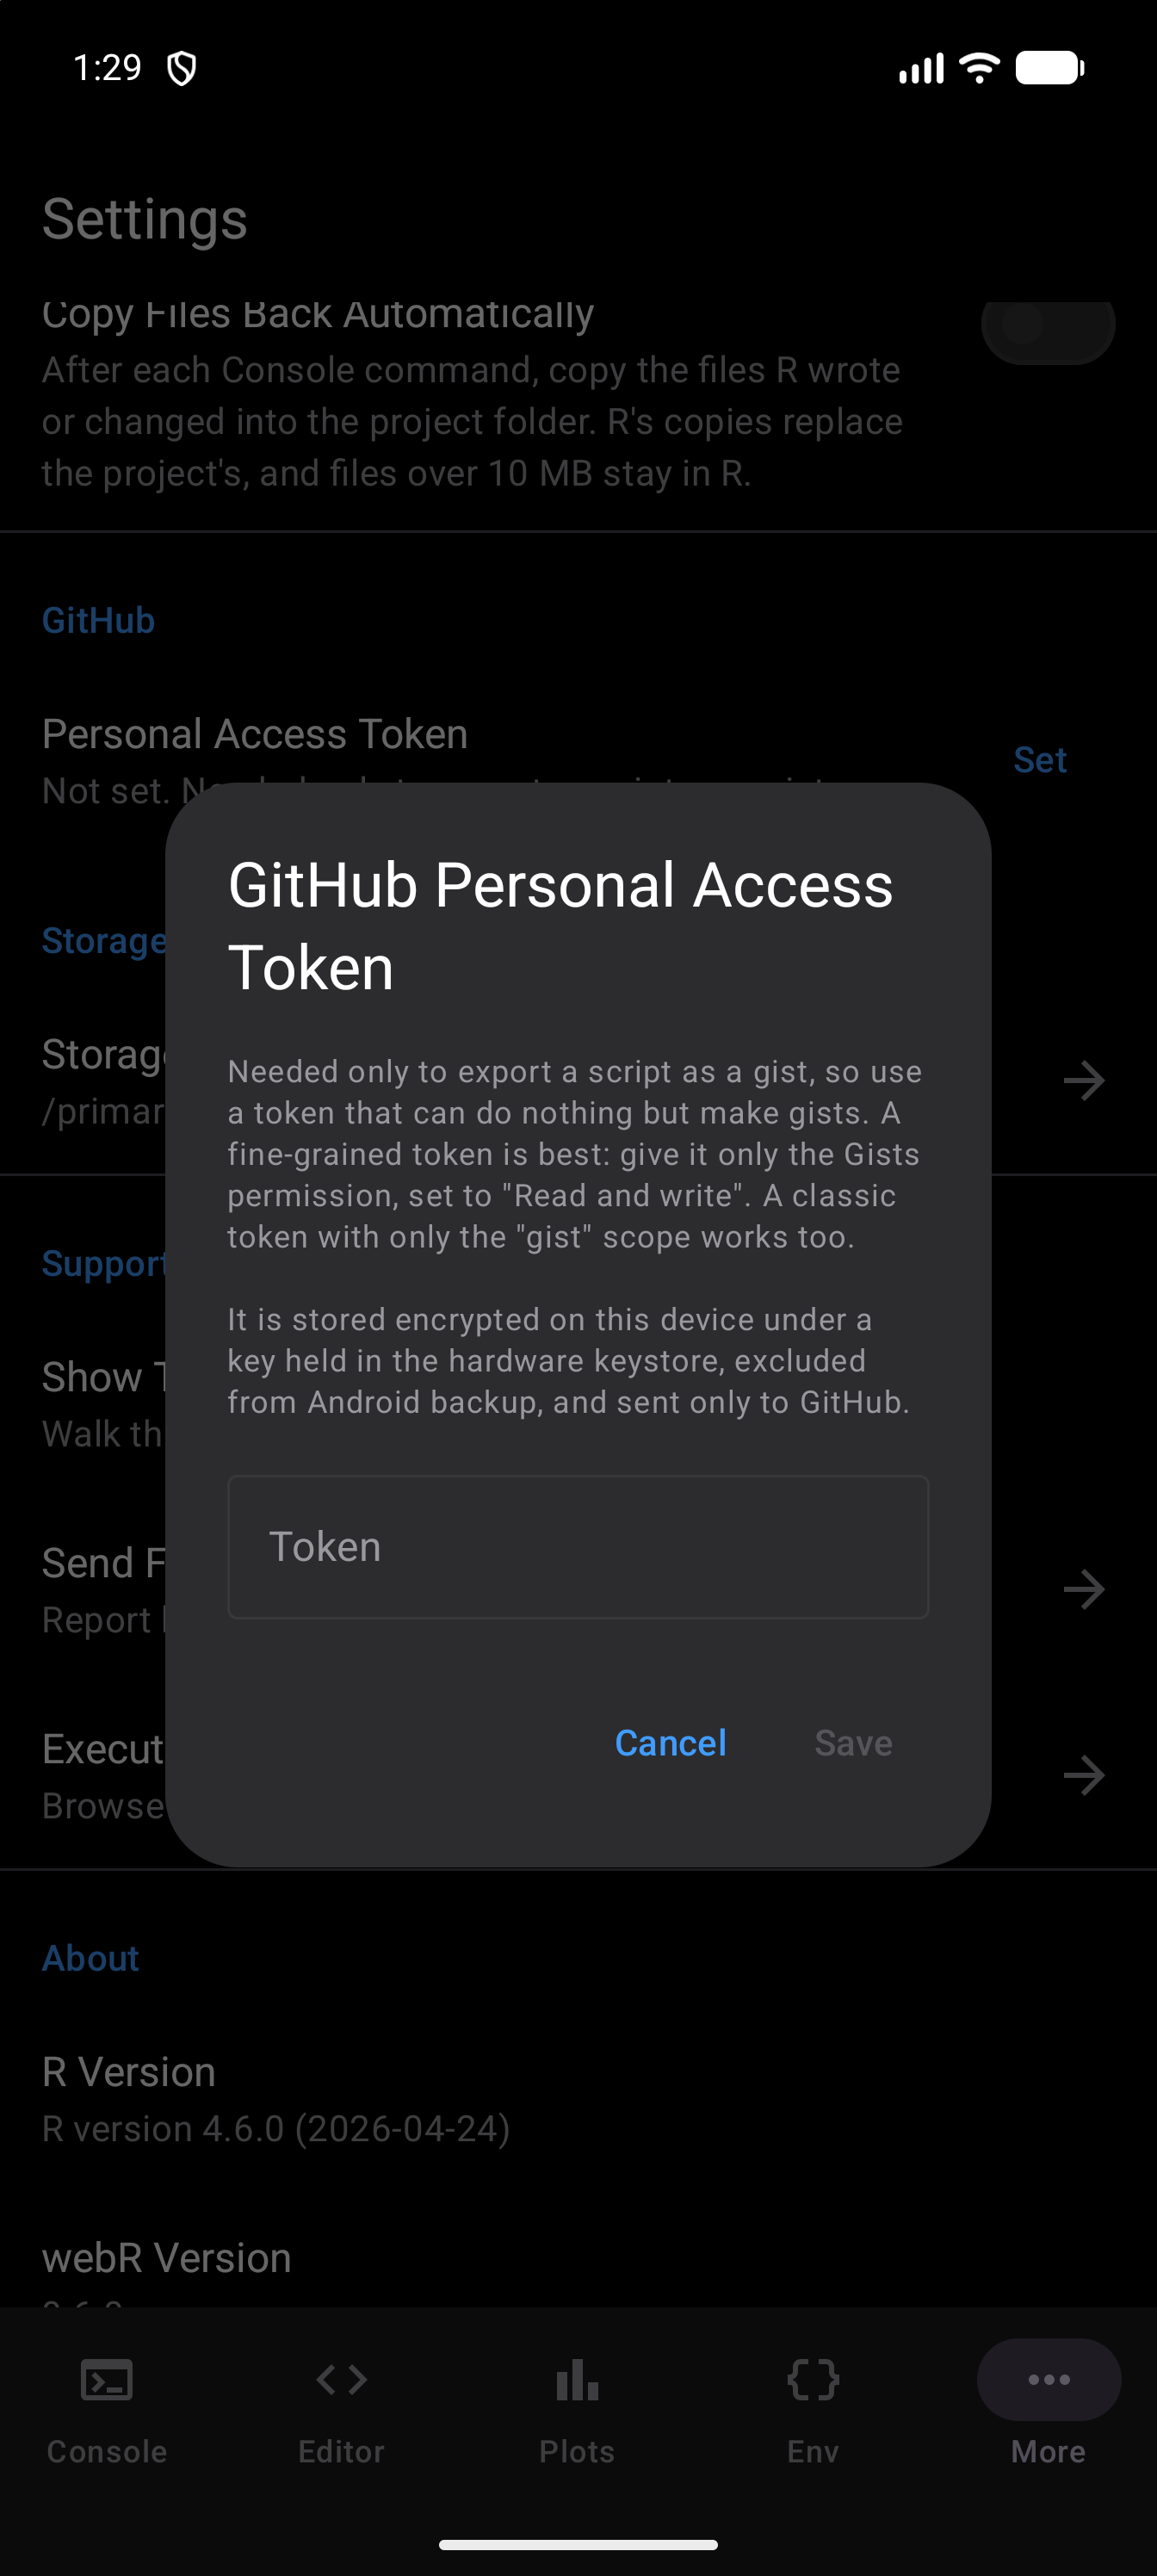
The token is stored encrypted under a key held in your device’s hardware keystore, and is excluded from Android backups and device transfers. It is sent to api.github.com and nowhere else. See the Privacy Policy.
Storage Location
The Storage Location row shows the folder webRoid is using, and tapping it opens Android’s Storage Access Framework folder picker so you can choose a different one. It can be a folder in internal storage, on an SD card, or in a cloud-synced directory.
The welcome tour asks for this folder on first launch, on its Choose Storage Location page, whose Choose Folder button opens the same picker. Use App Storage, below it, skips the picker and keeps your files in webRoid’s own folder instead; the Set Up Storage screen, which the app shows when no location is set (after Skip on the tour, for instance), offers the same two buttons:
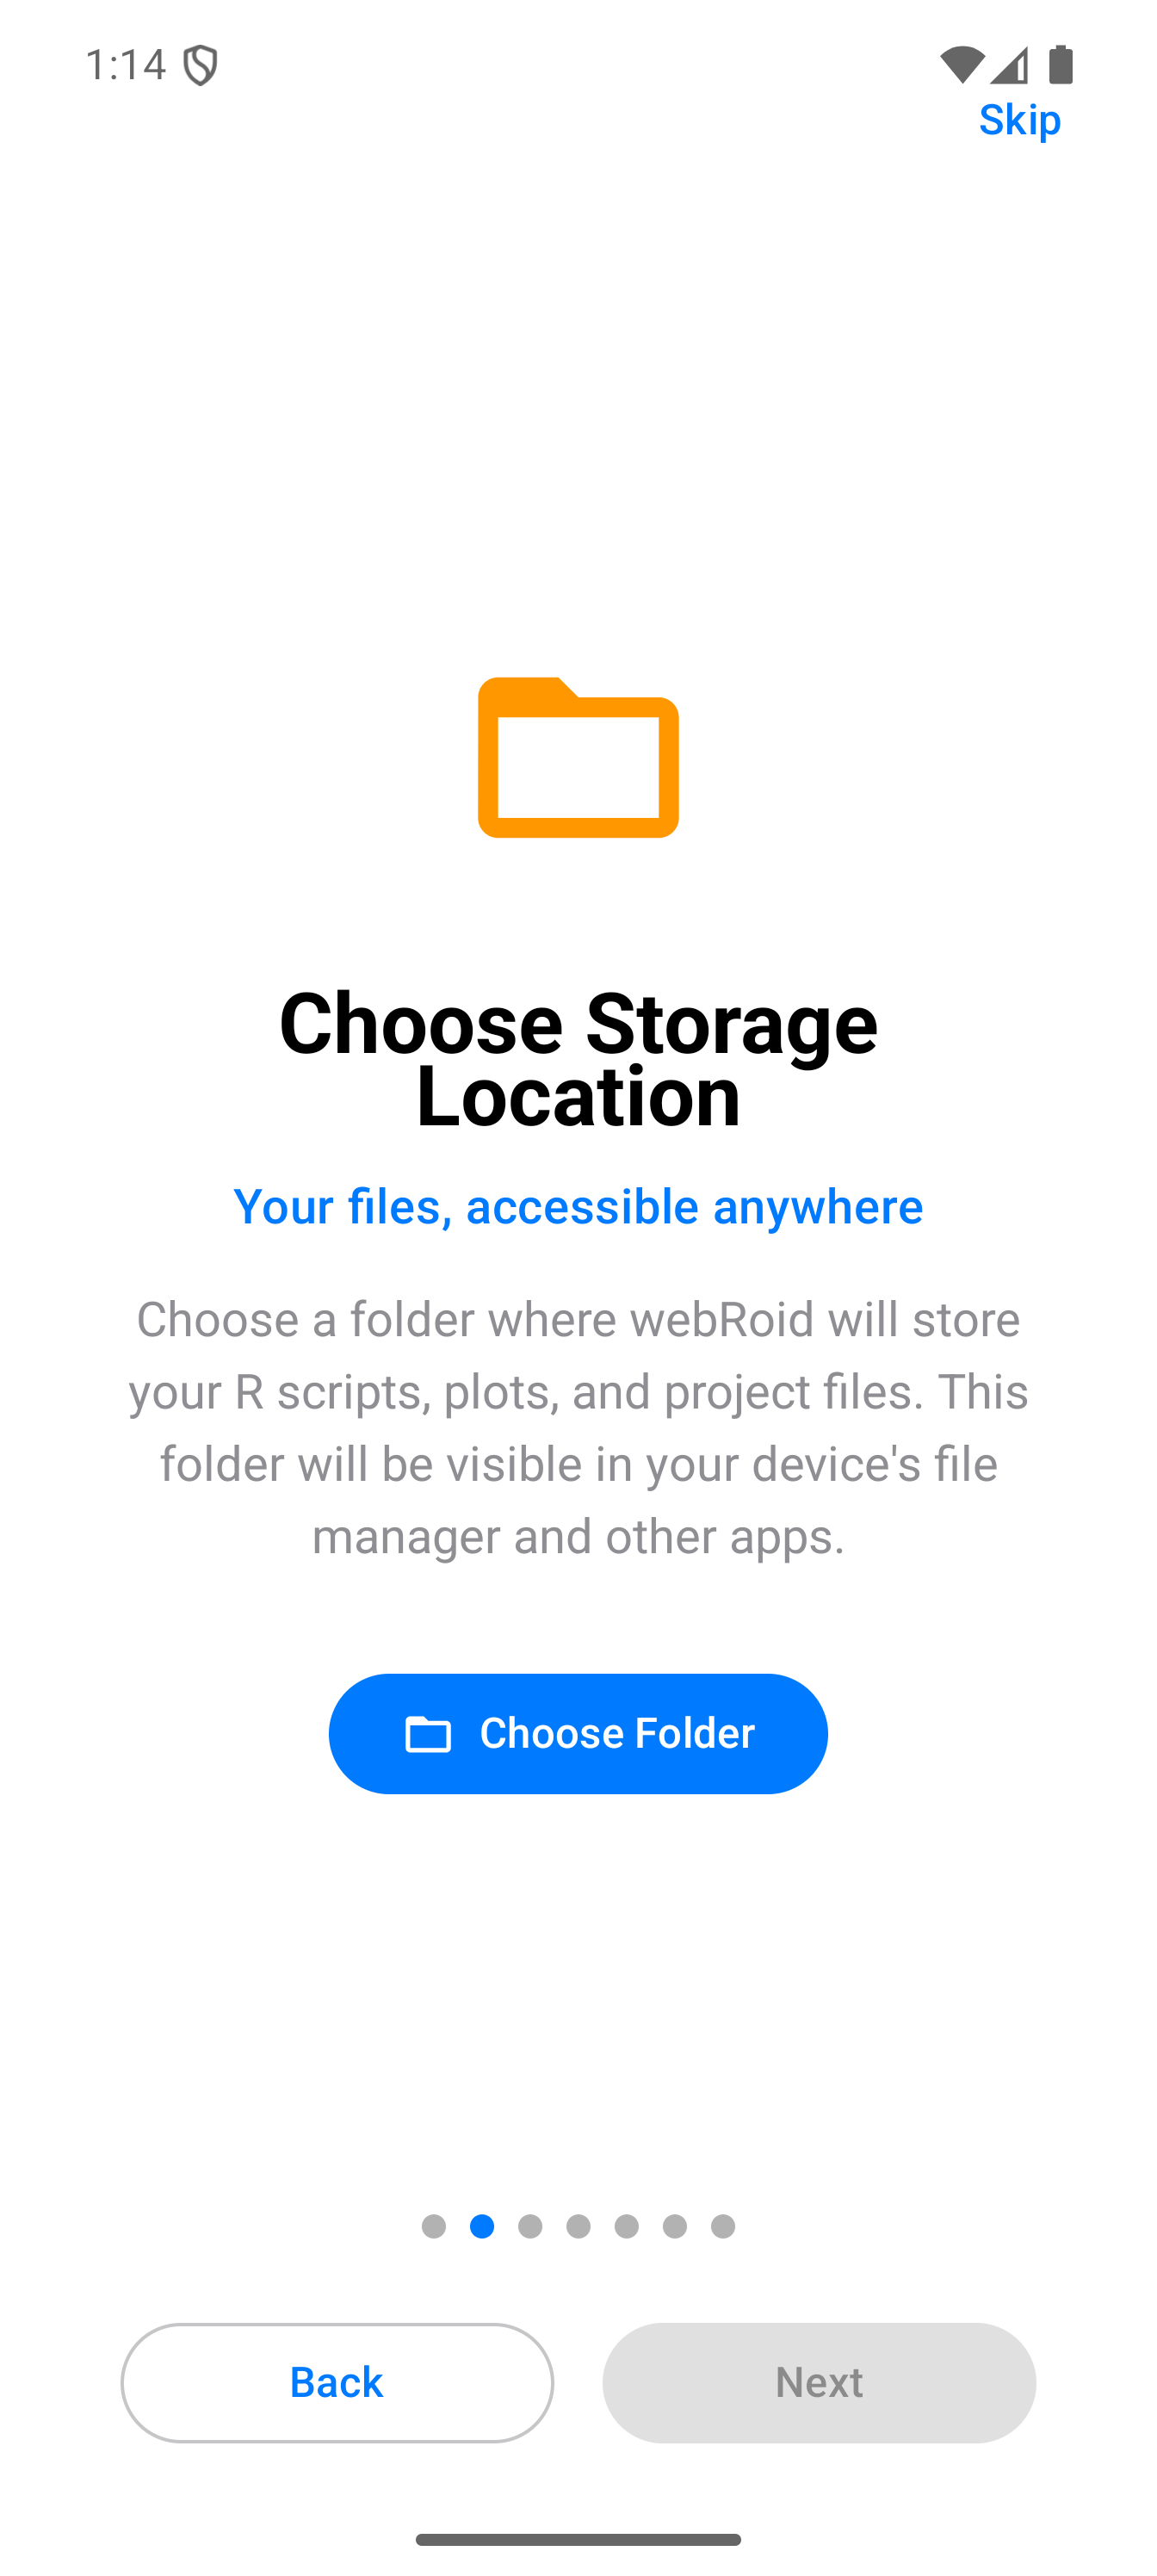
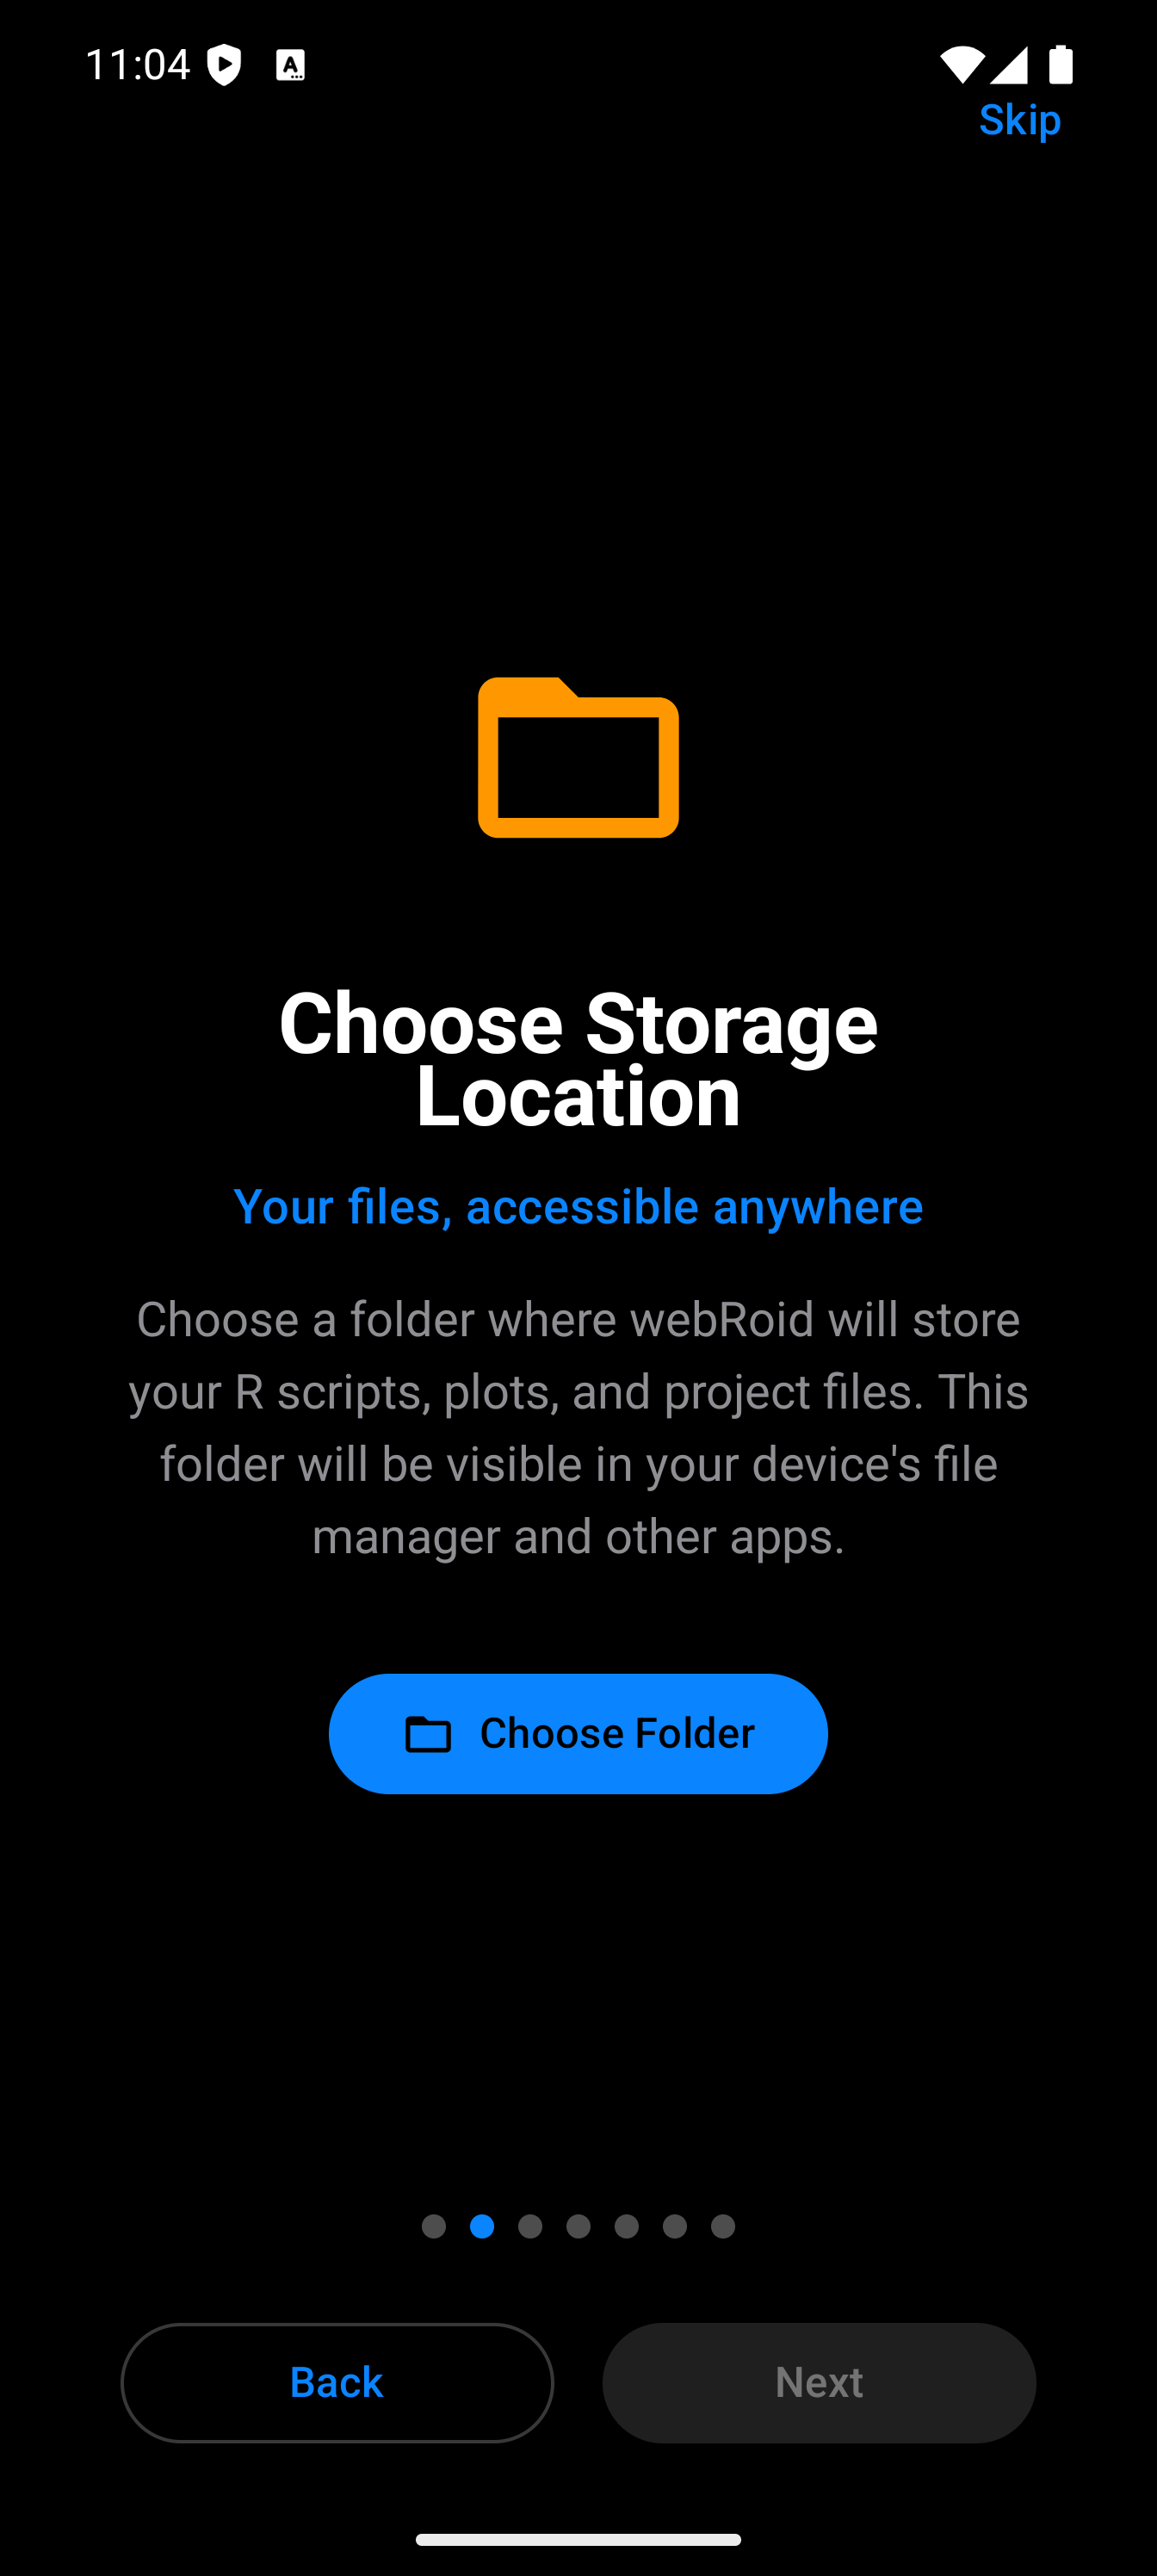
Your projects live in a Projects folder inside the storage folder, and downloaded packages are cached in pkg-cache. The Files tab shows the contents, and saving from the Editor defaults there.
With app storage, the row reads “App storage, deleted if webRoid is uninstalled”. The folder needs no picker, and it is listed as webRoid in the system Files app and in other apps’ file pickers, which is how you get files out of it. You can choose a folder here later, but the files already in app storage are not moved to it: copy them out first.
A folder you pick is yours, not the app’s, so uninstalling webRoid leaves it in place. If you point it at a folder that a syncing service watches (Syncthing, or a cloud provider with a local folder), your scripts are backed up as you write them. The app never backs up a picked folder itself. App storage is the opposite: it is deleted with the app, and it is left out of Google’s cloud backup of the app, though it does move with a device-to-device transfer.
Support
| Row | What it opens |
|---|---|
| Show Tutorial | Plays the welcome tour again. Your settings, files and storage folder are kept. |
| Send Feedback | A form for a bug report, feature request or question, with your device details filled in and logs you can choose to attach. See Sending a Diagnostic Report. |
| Execution History | Every command this session and previous ones have run, searchable and filterable. See History. |
About
| Item | Description |
|---|---|
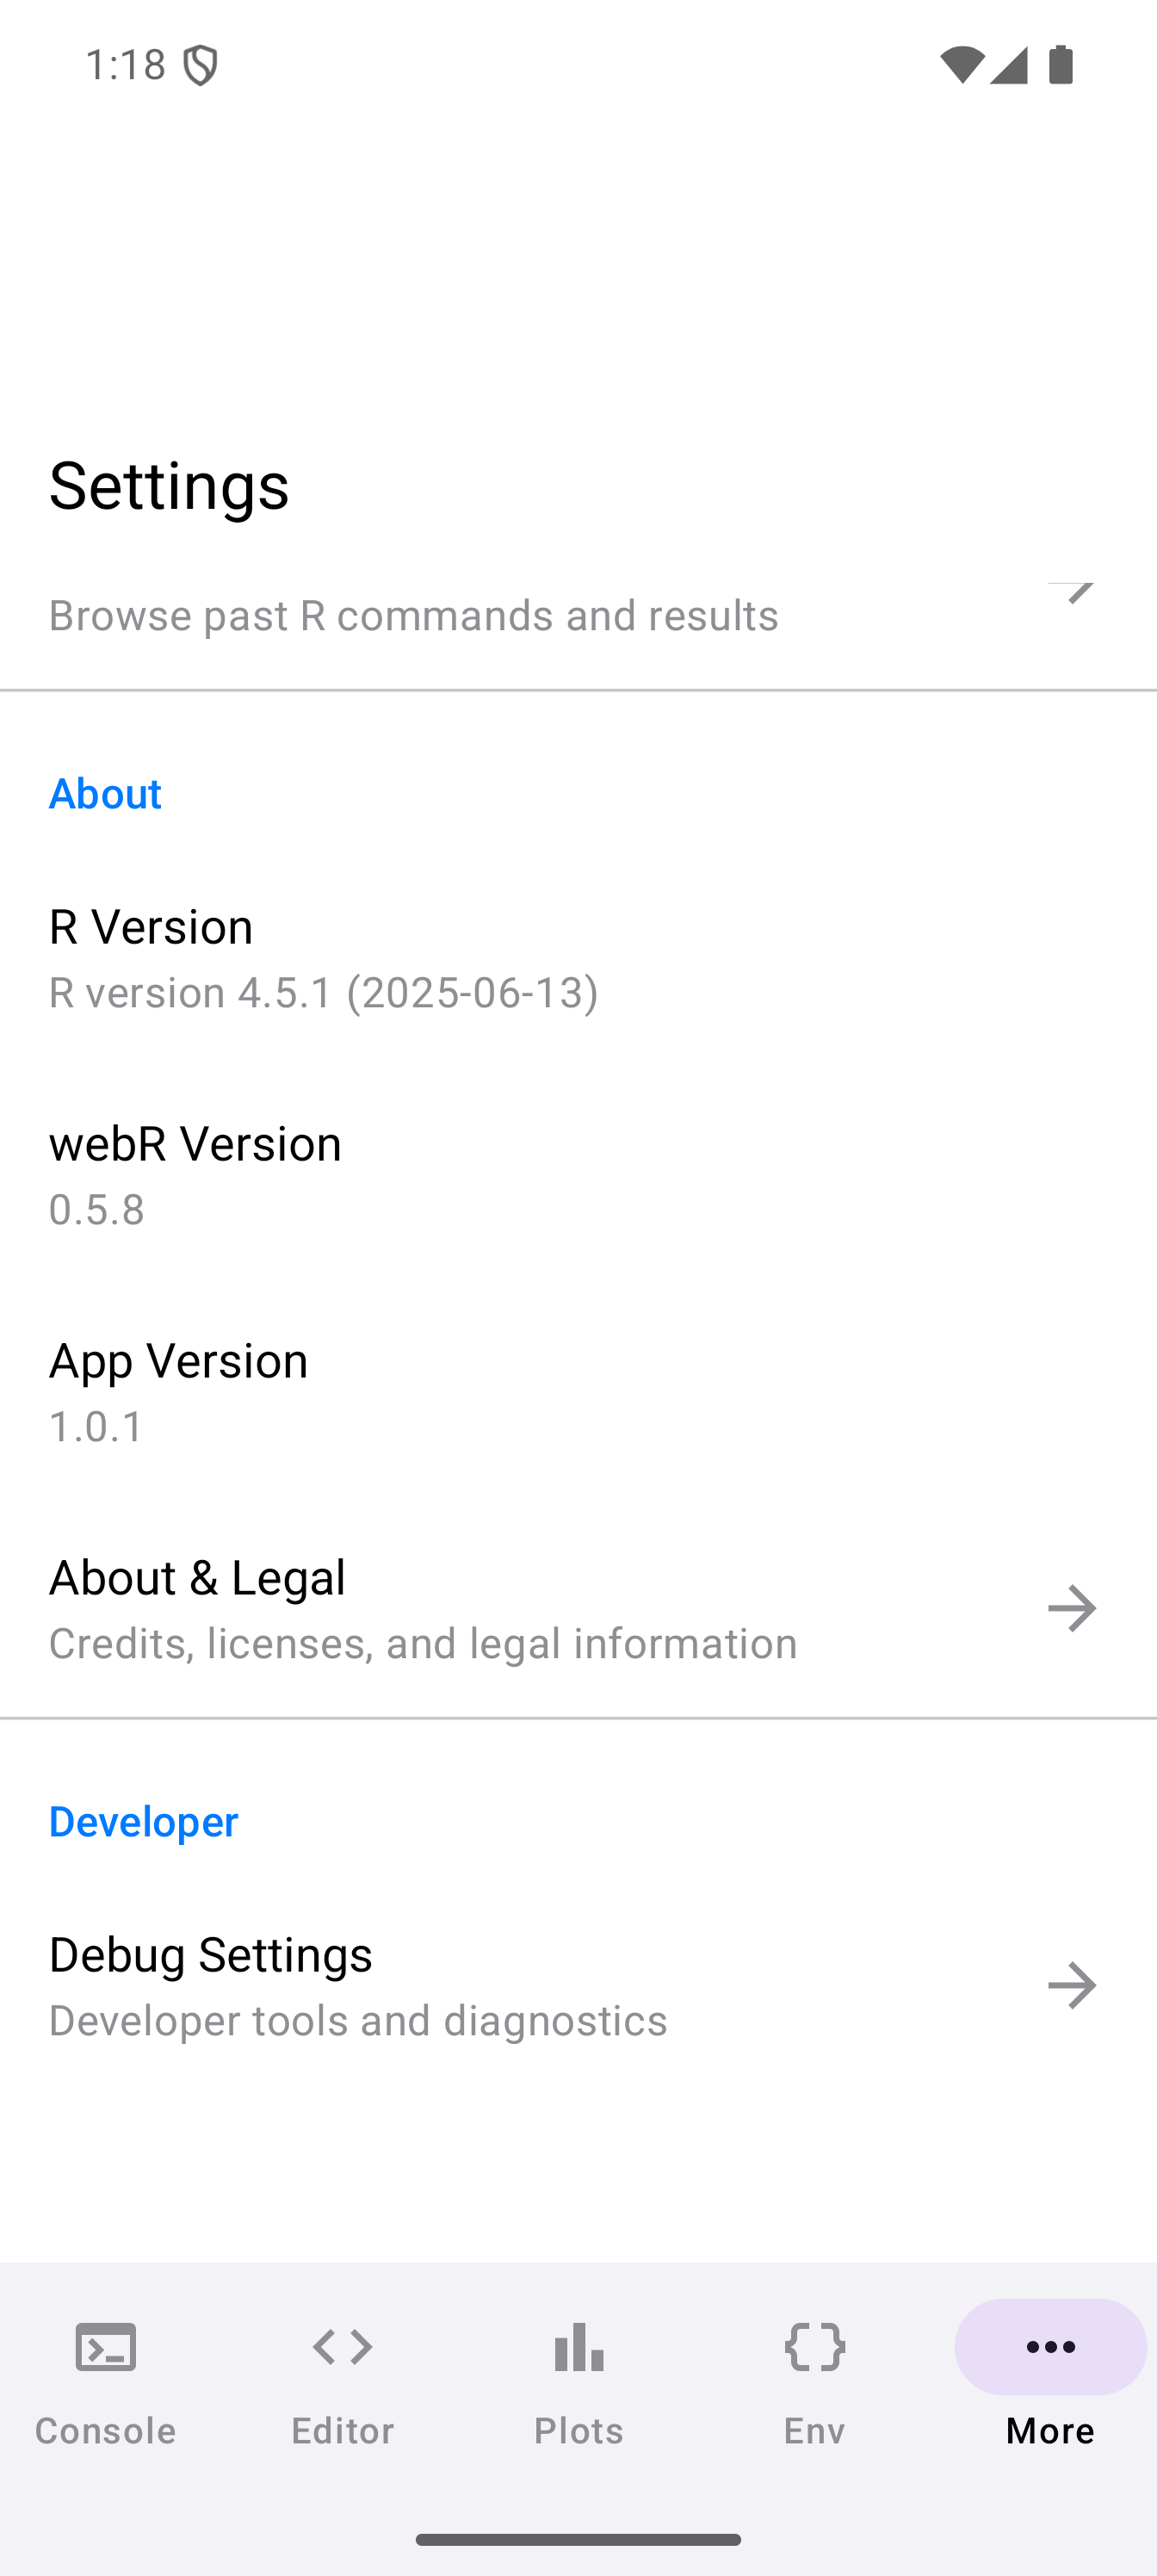
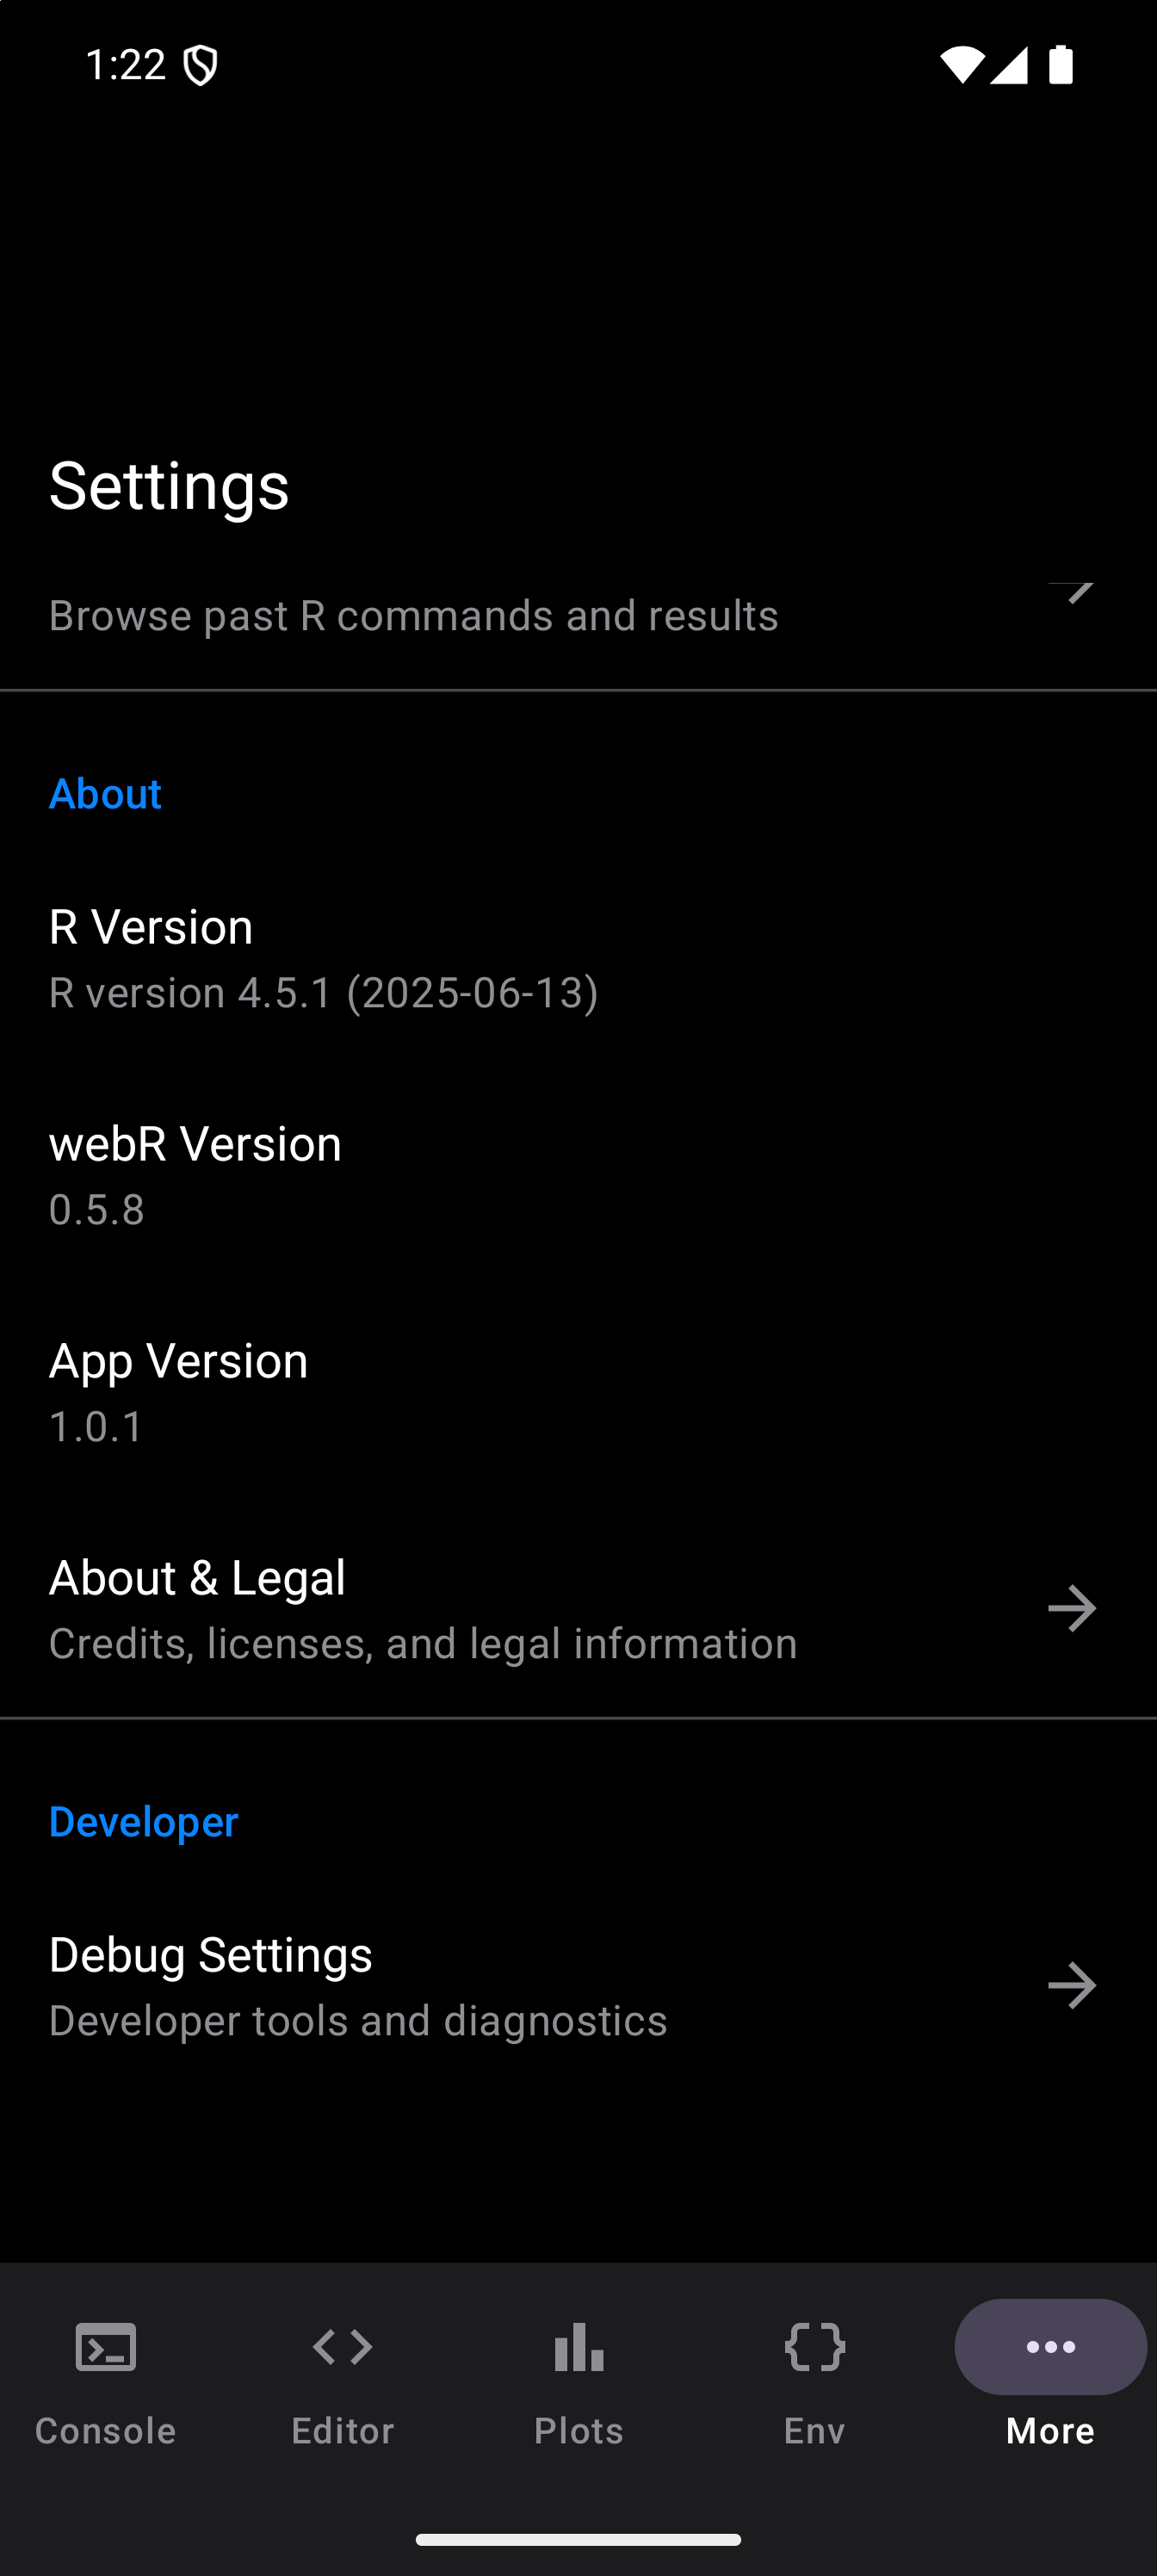
| R Version | The version of R running inside webR, reported by R itself. |
| webR Version | The version of the bundled webR runtime. |
| App Version | The installed webRoid release. |
| About & Legal | Credits, the Terms and the Privacy Policy, and the open source licenses. |
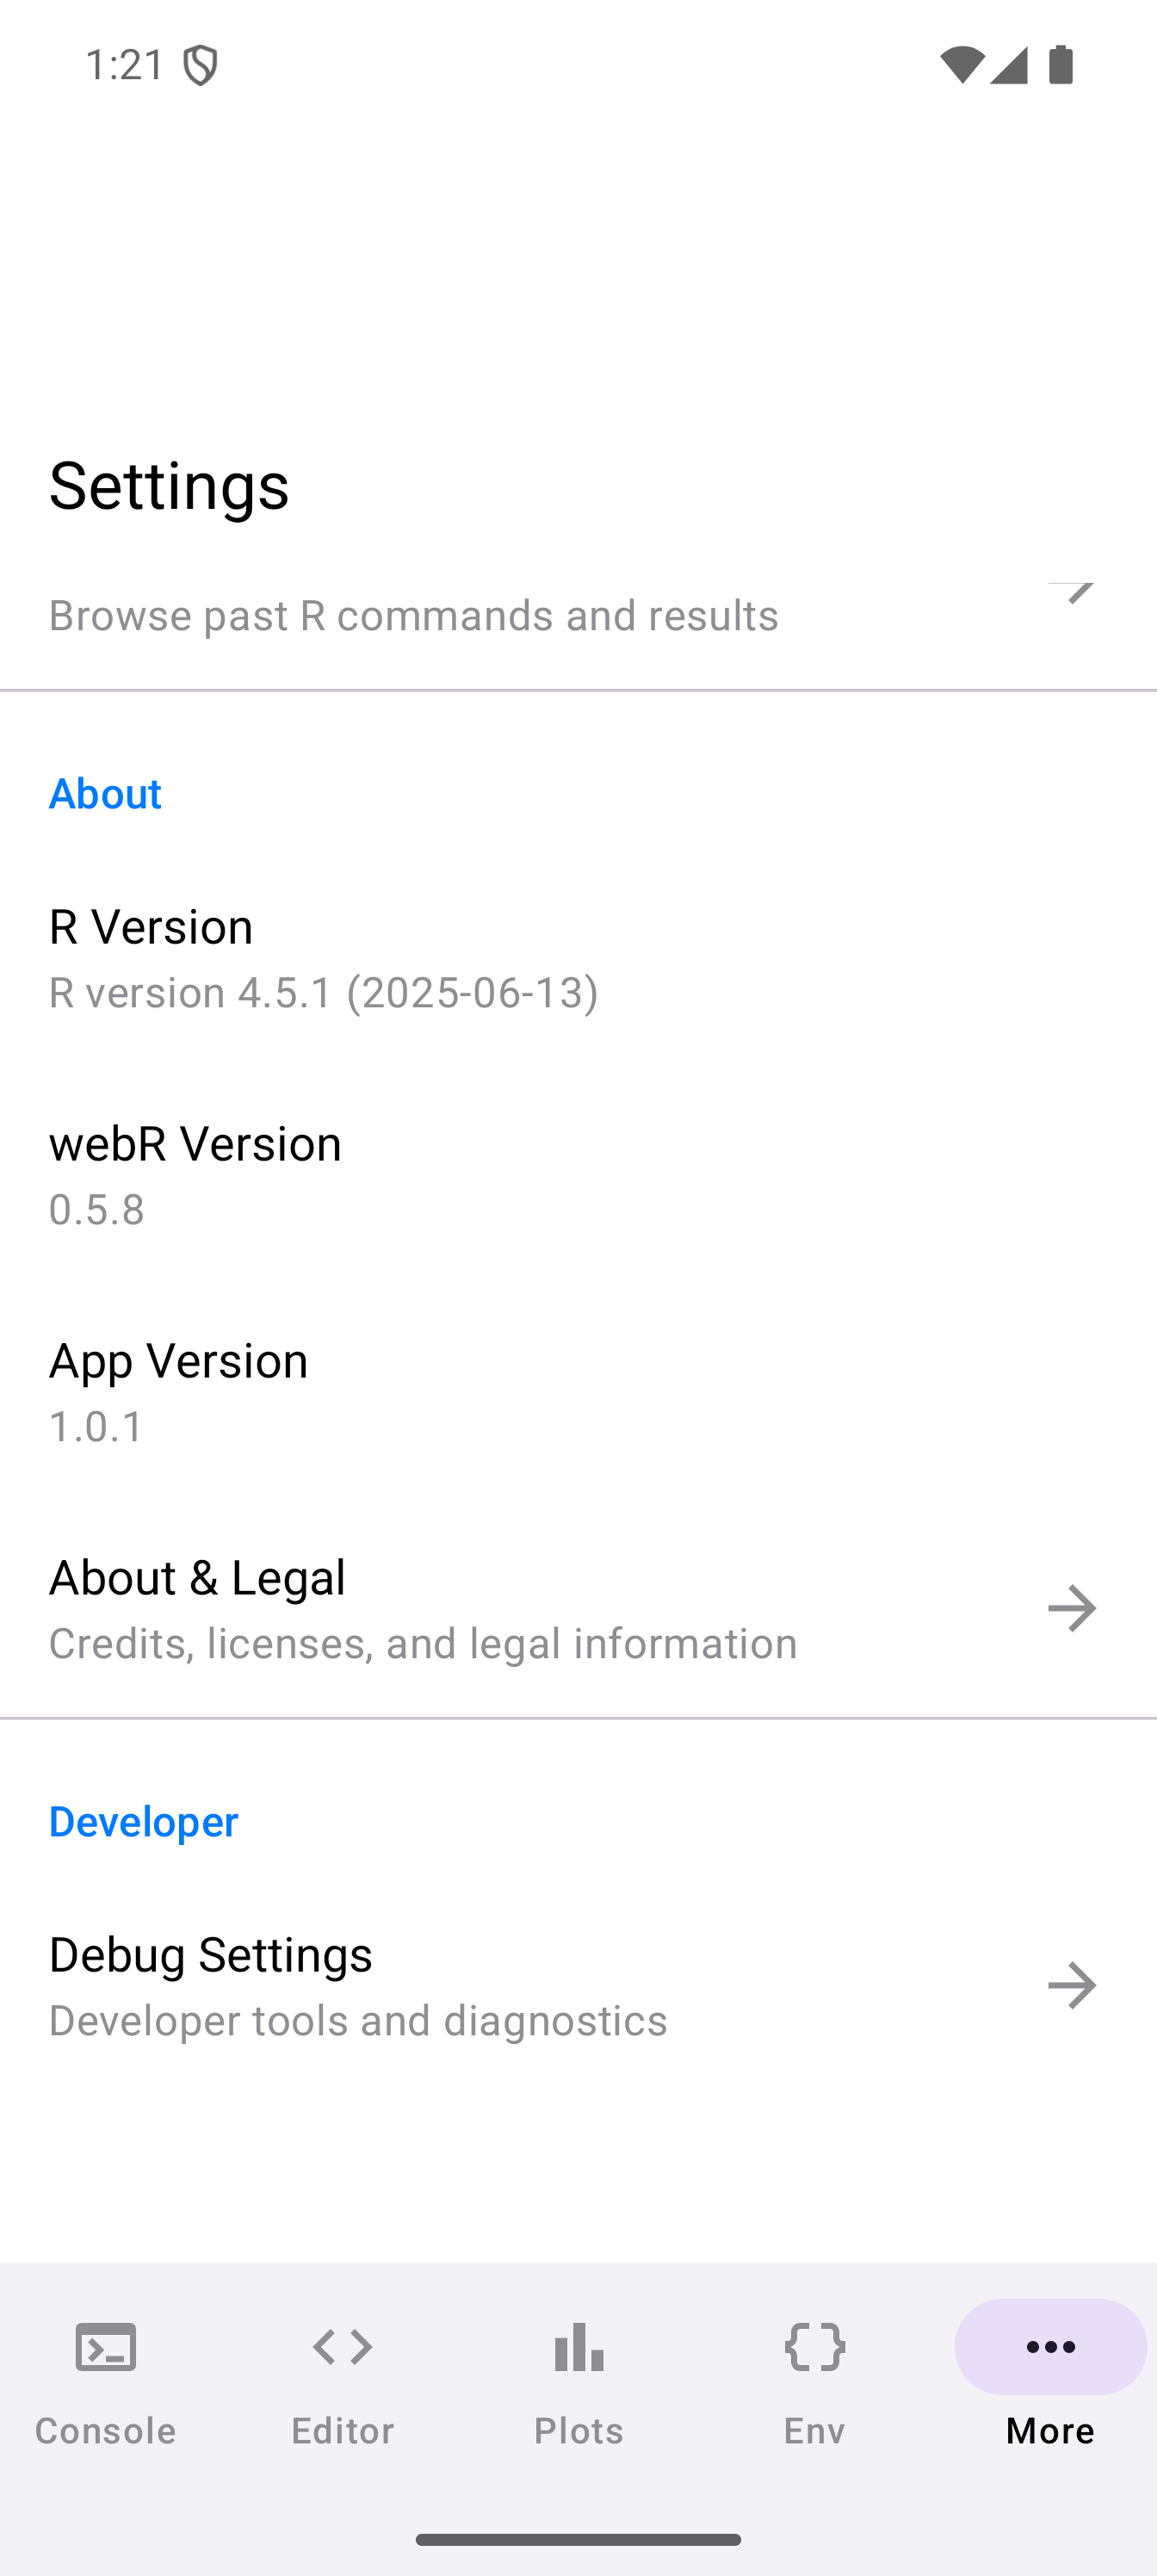
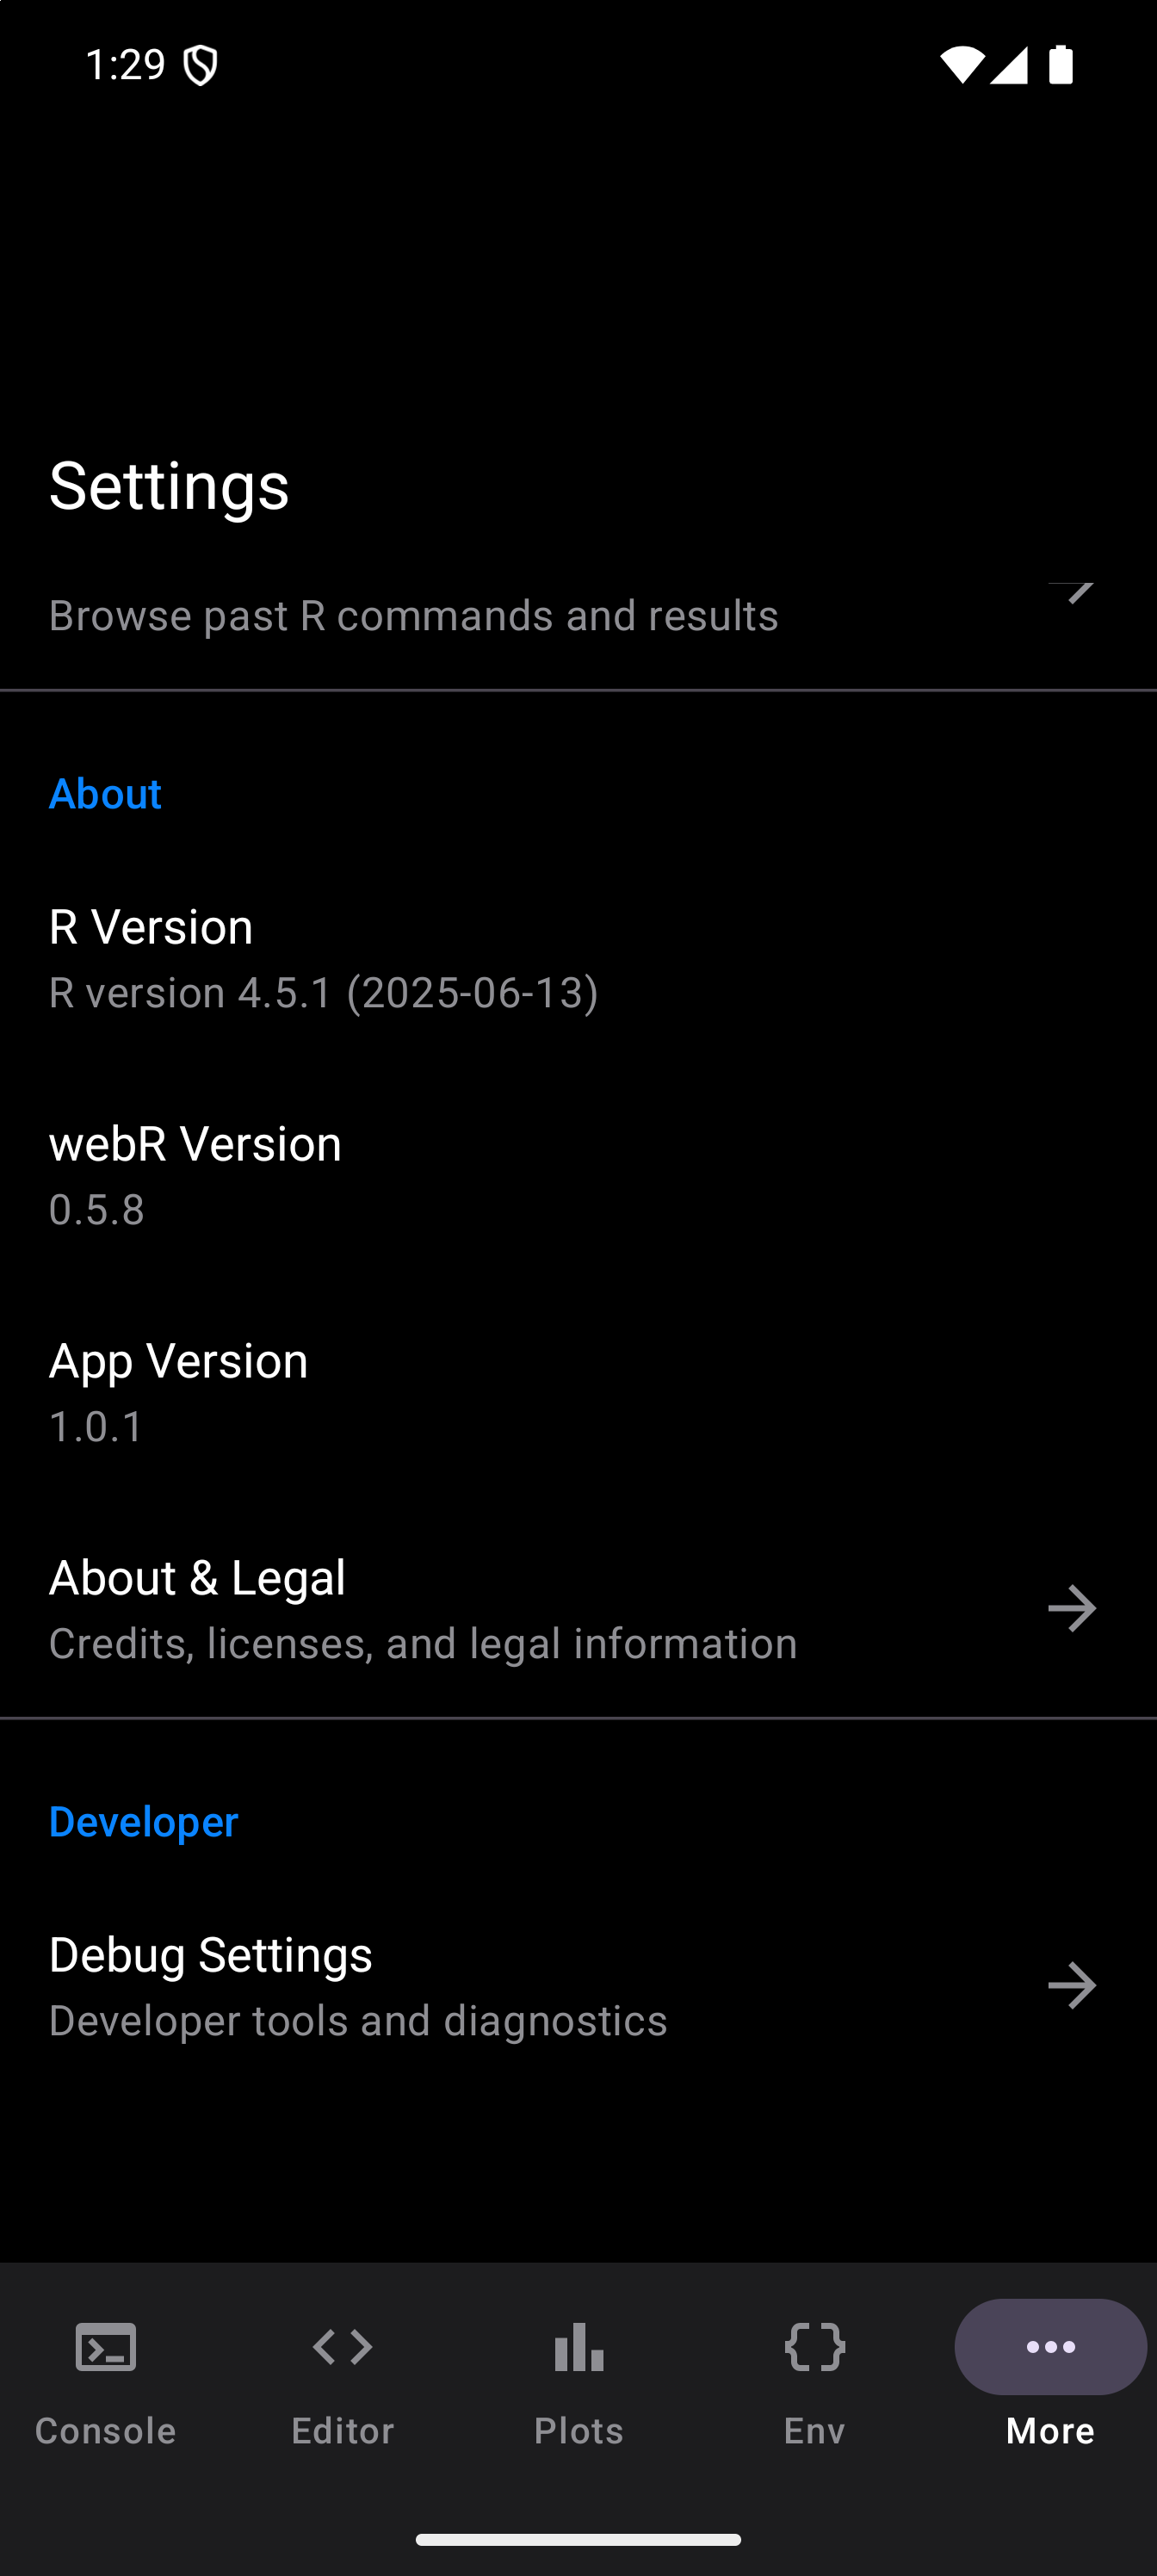
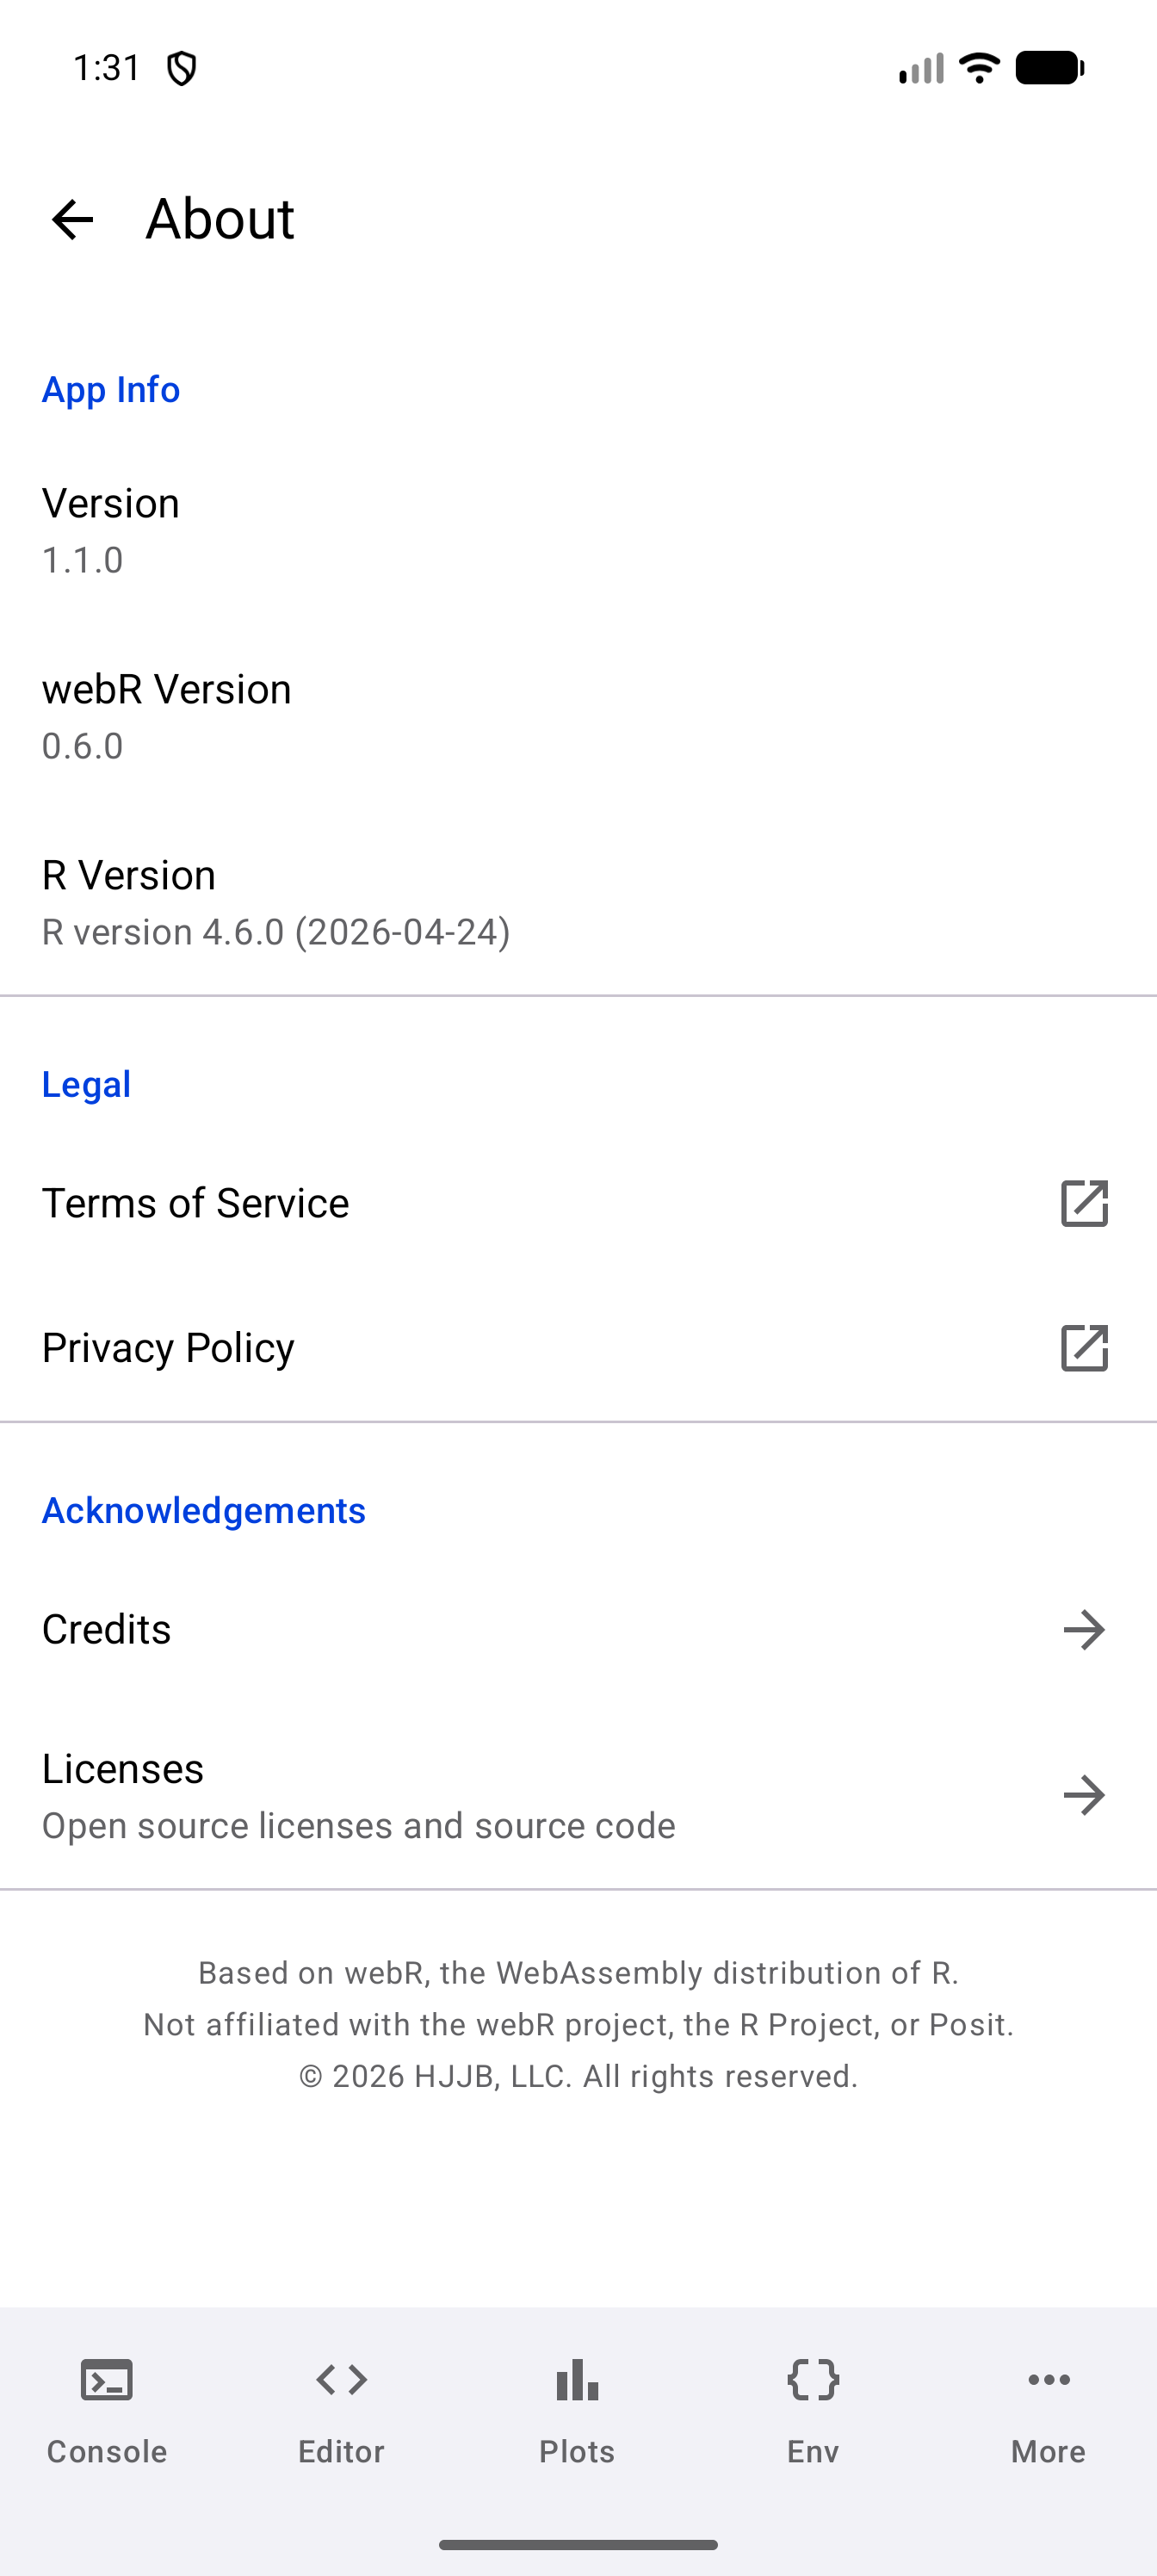
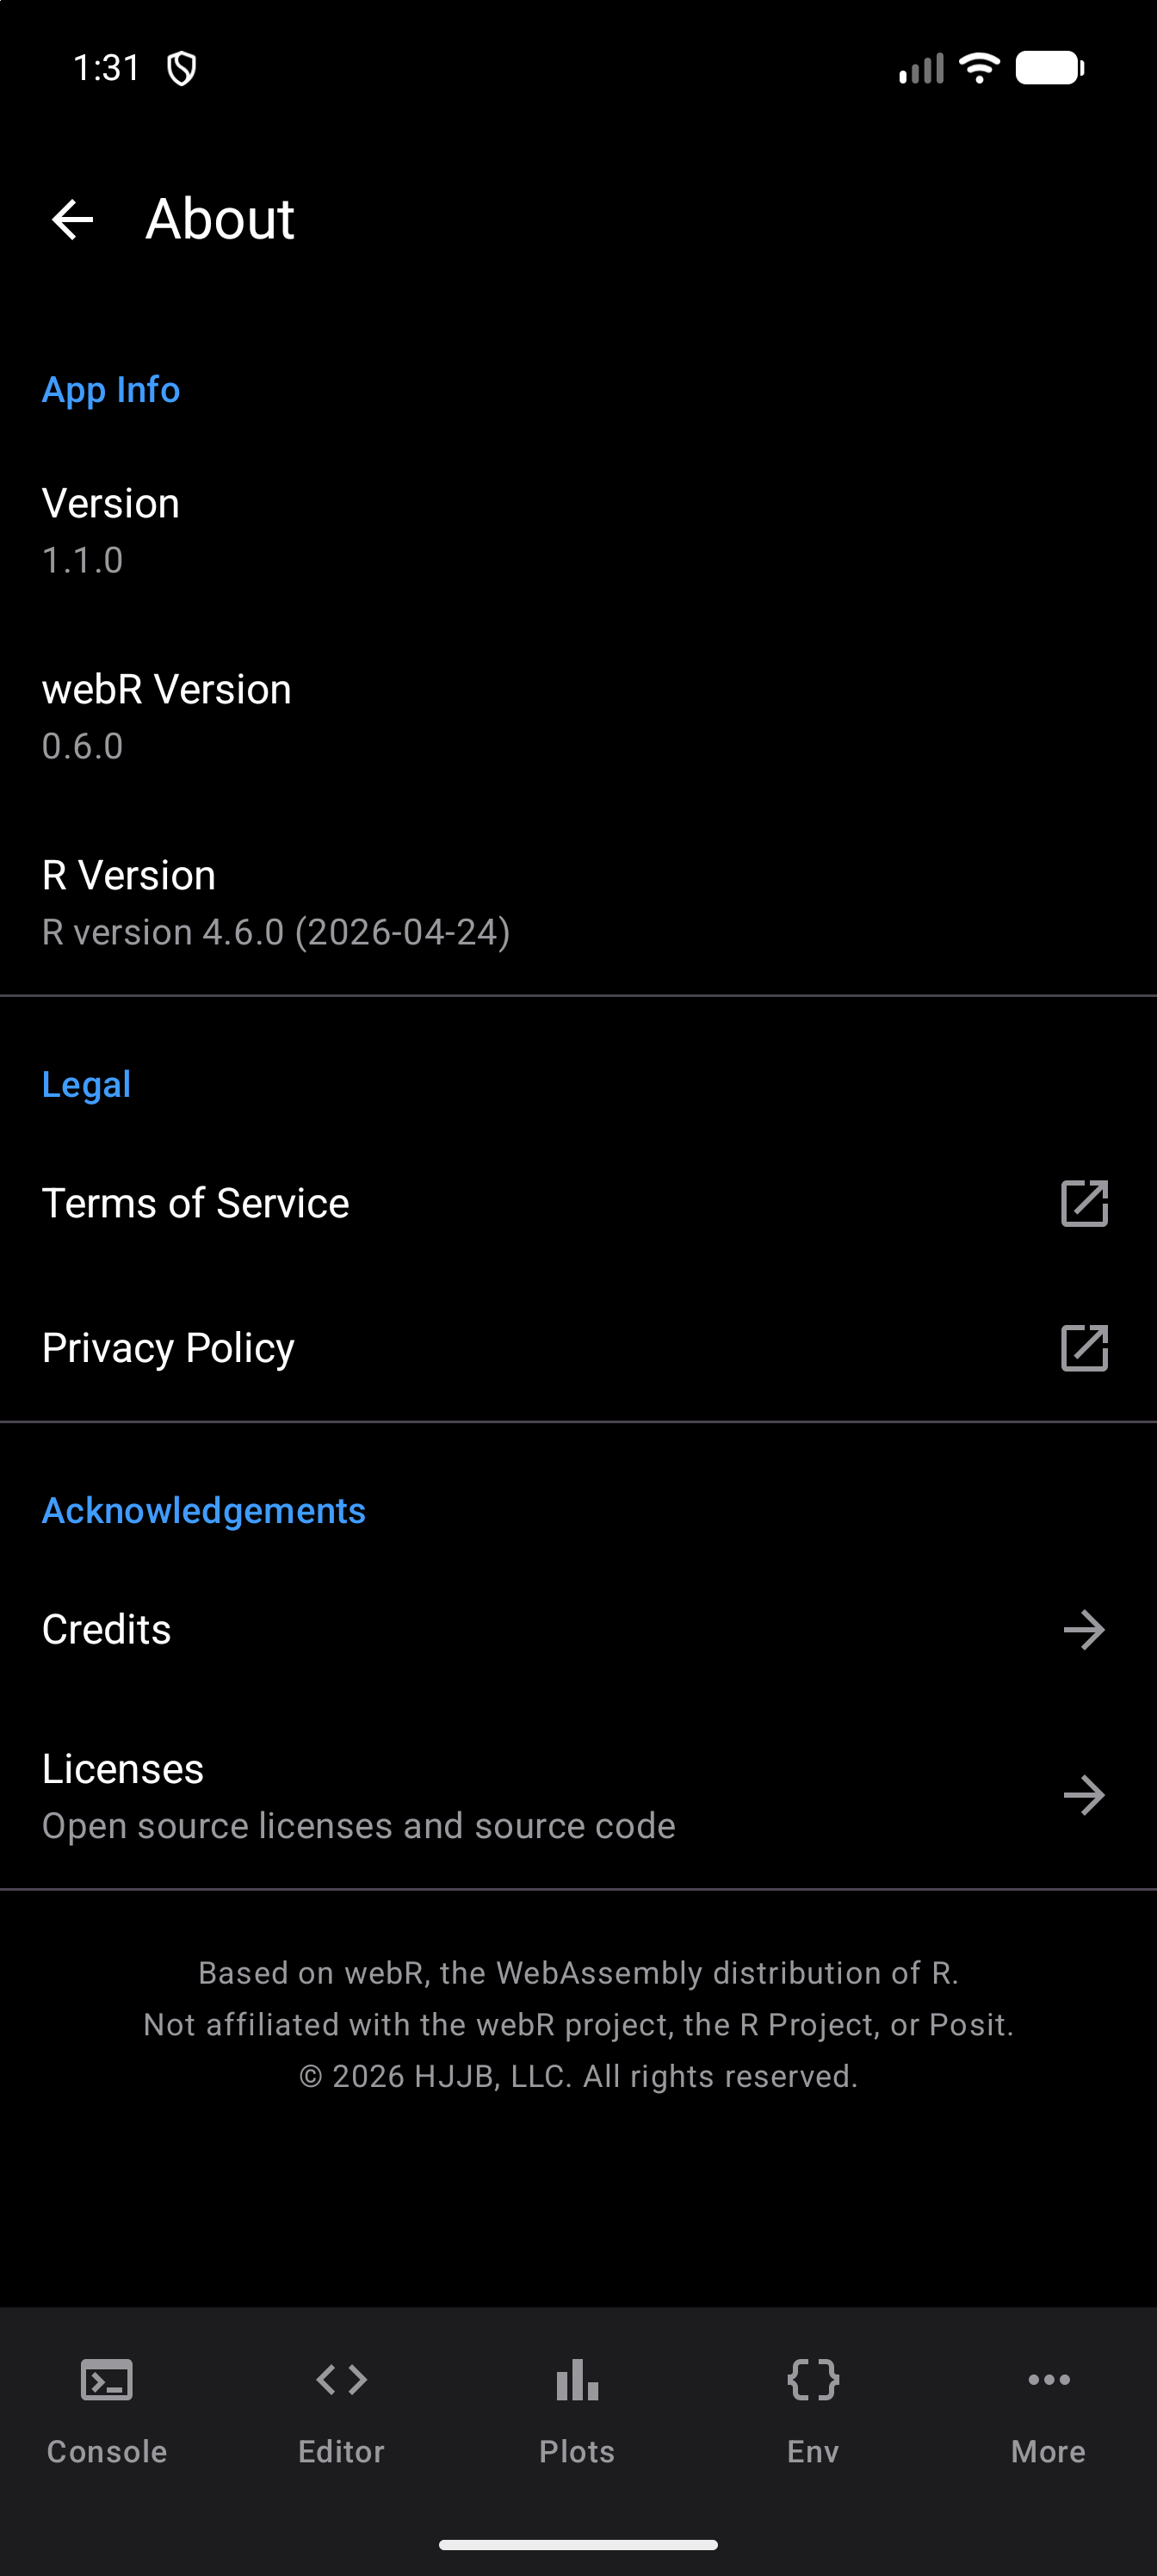
About & Legal opens a screen titled About. It repeats the three versions, opens the Terms of Service and the Privacy Policy on this website, and leads to Credits and to Licenses.
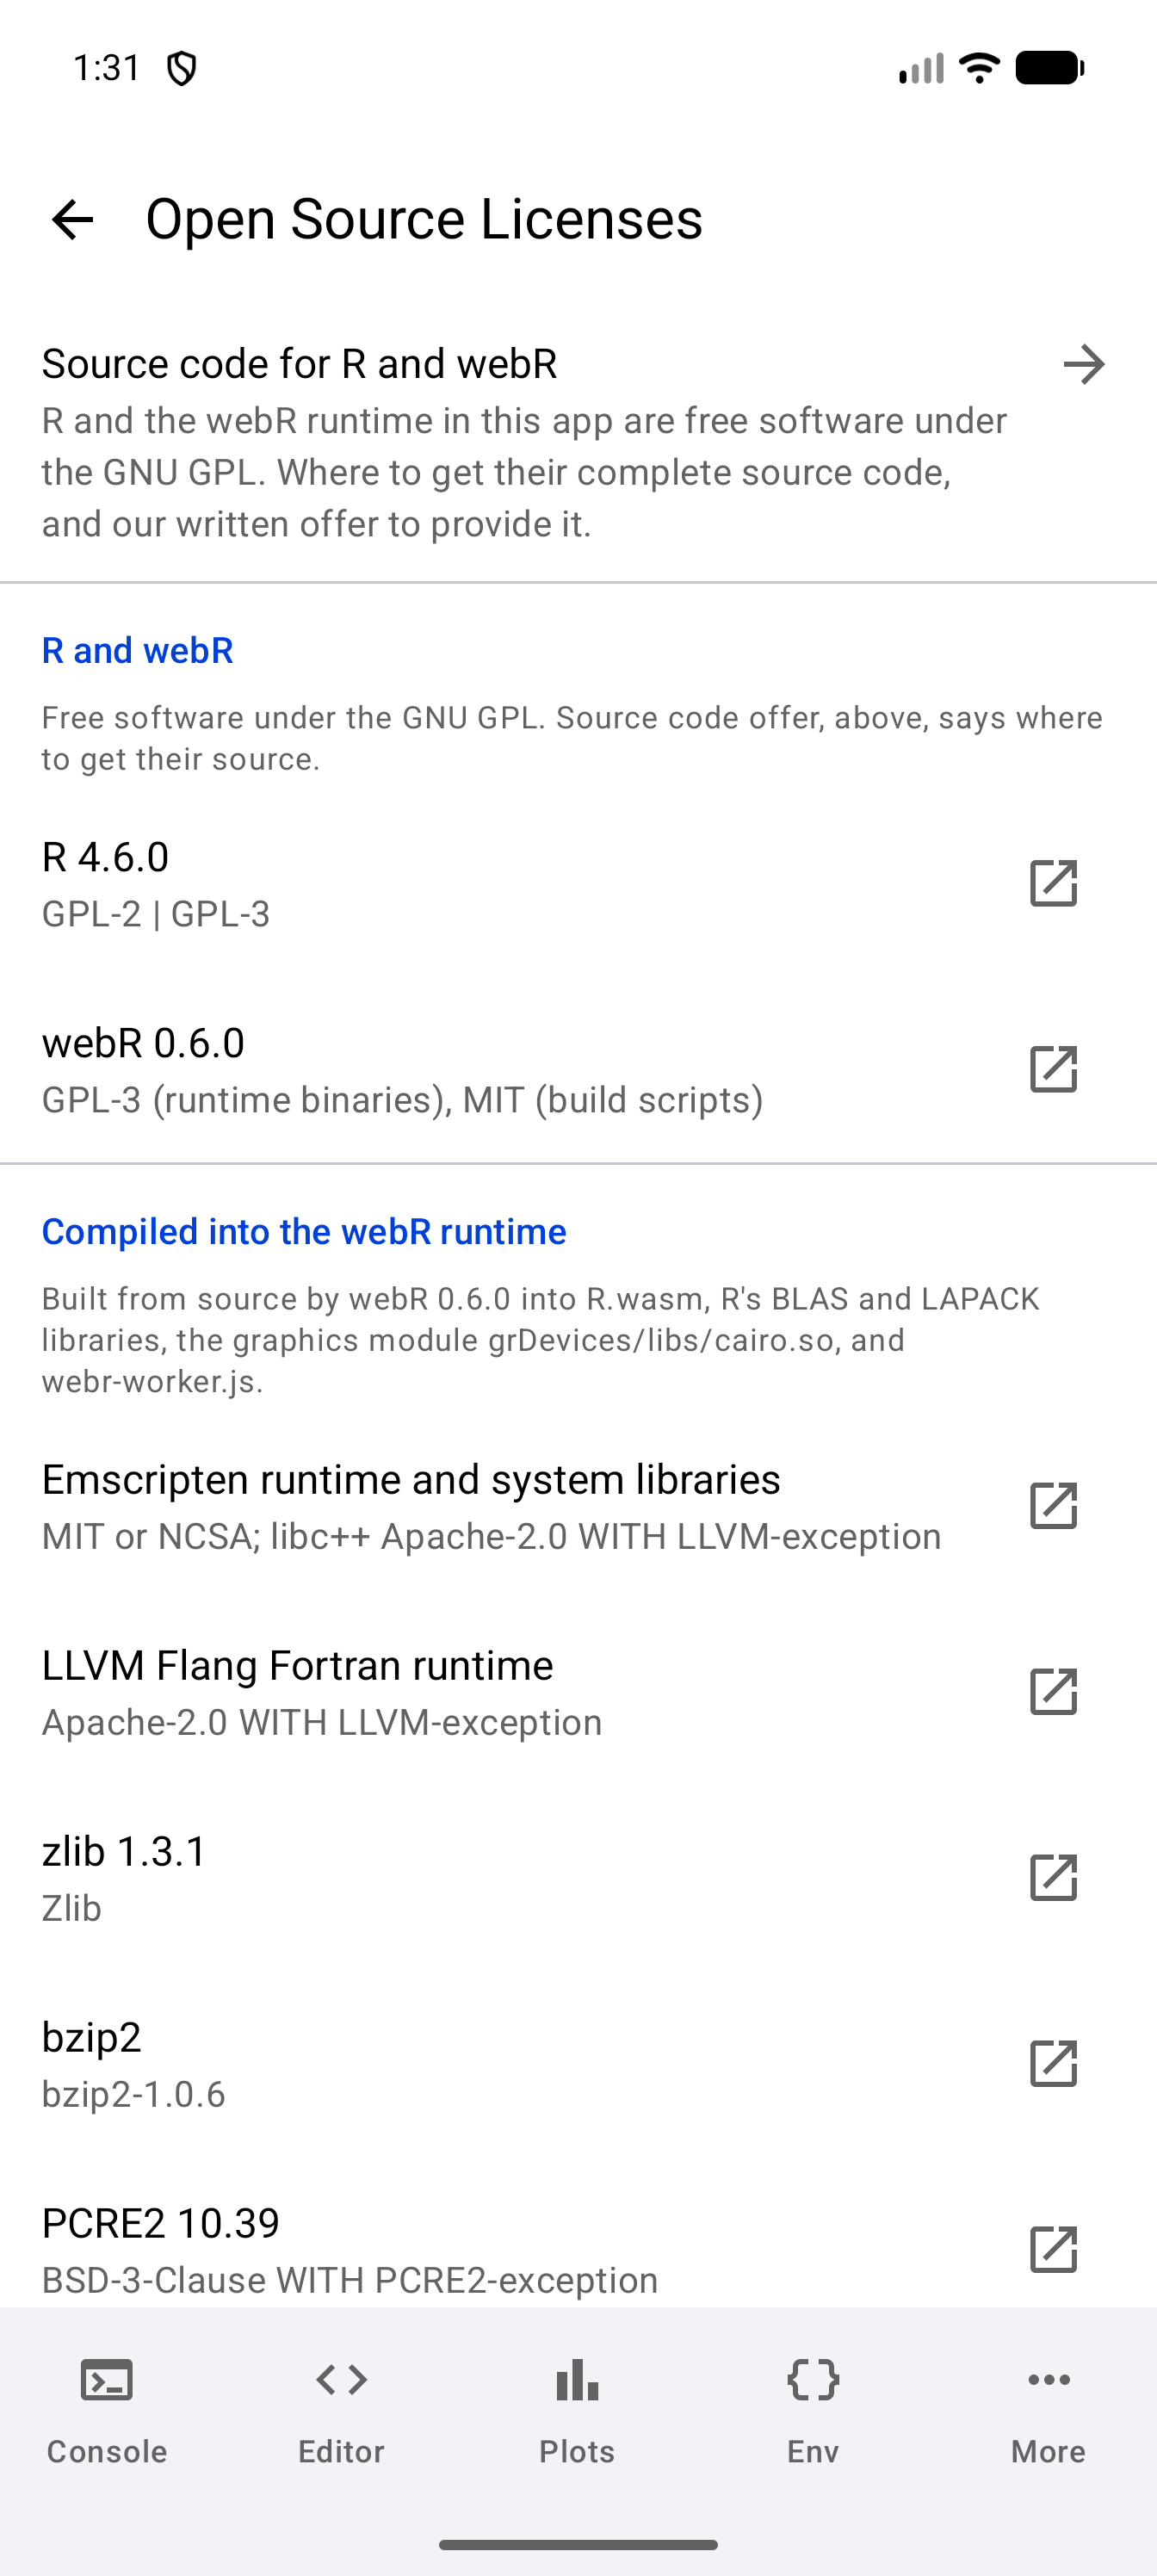
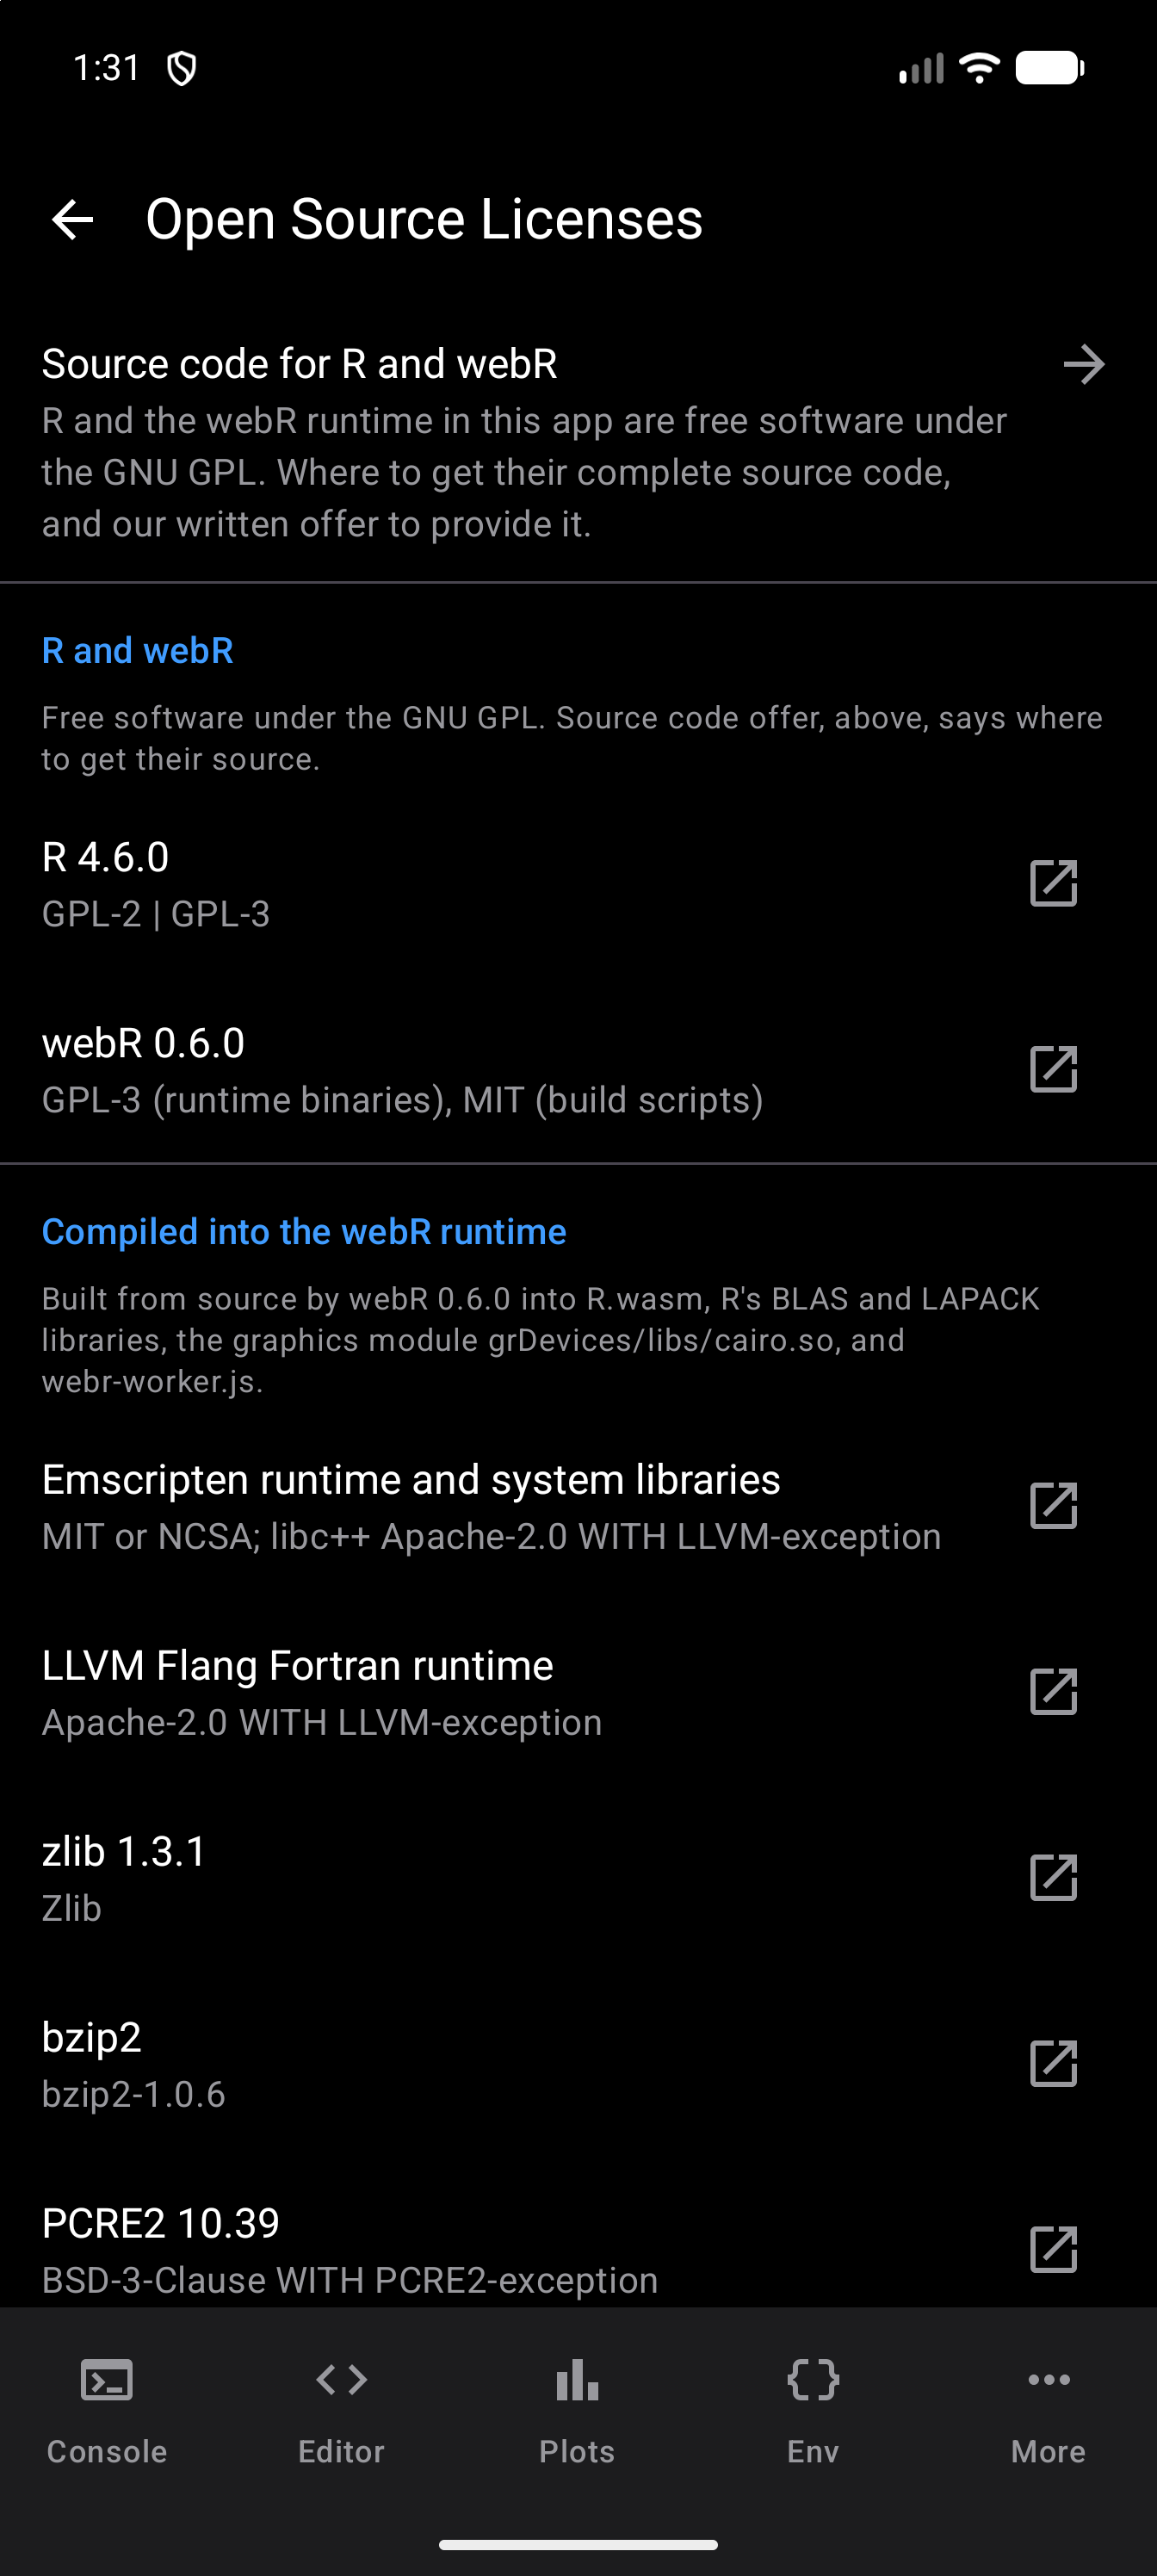
Licenses opens the Open Source Licenses screen, which lists every third-party component bundled with webRoid:
- Source code for R and webR, at the top. R and the webR runtime are free software under the GNU GPL, and this row opens the source code offer: where to download their complete source, and our written offer to send it to you.
- The components, in four groups: R and webR; the libraries compiled into the webR runtime; the fonts, data files and certificates the runtime carries; and the Android libraries compiled into the app. Each row gives the component’s name, its version where there is one, and its license. Tap the row to read the license text in the app; the icon at the end of the row opens the project’s website instead.
- License texts, at the bottom: each full license on its own, such as the GNU GPL versions 2 and 3 and the Apache License 2.0.
The texts are stored in the app, so they open without a network connection, and you can select and copy them.
If no app on your device can open one of these links, such as the Terms or a project’s website, webRoid copies the link to the clipboard instead, and a message says so.
Reset All Settings
The last row on the screen, in red. After a confirmation it returns every setting to its default: theme mode and the light and dark theme choices, plot background, haptic feedback, layout (a collapsed sidebar, the Workspace pane sizes and the split Editor’s divider included), plot display and size, font sizes, the editor switches and indent style, Copy Files Back Automatically (off), your keyboard shortcuts and R toolbar buttons. It also forgets the saved GitHub token.
The layout goes back to the one a new install would start in on this device: the Workspace on a tablet or Chromebook, the Tab Bar on a phone.
It keeps your things rather than your preferences: your files, your custom themes (only which theme is selected is reset) and your storage location. It cannot be undone.
Keyboard Shortcuts
webRoid supports external keyboards. Settings > Editor > Keyboard Shortcuts lists the console’s fixed keys first, then the shortcuts in the tables from Run to Folding below, in the same order. Tapping any of those opens a sheet where you pick modifier keys (Ctrl, Alt, Shift or Meta) and a key, then tap Save; Default puts the shortcut back to its original keys. Most defaults use Ctrl as the primary modifier, matching desktop editors. The console’s keys, and Undo and Redo, are fixed.
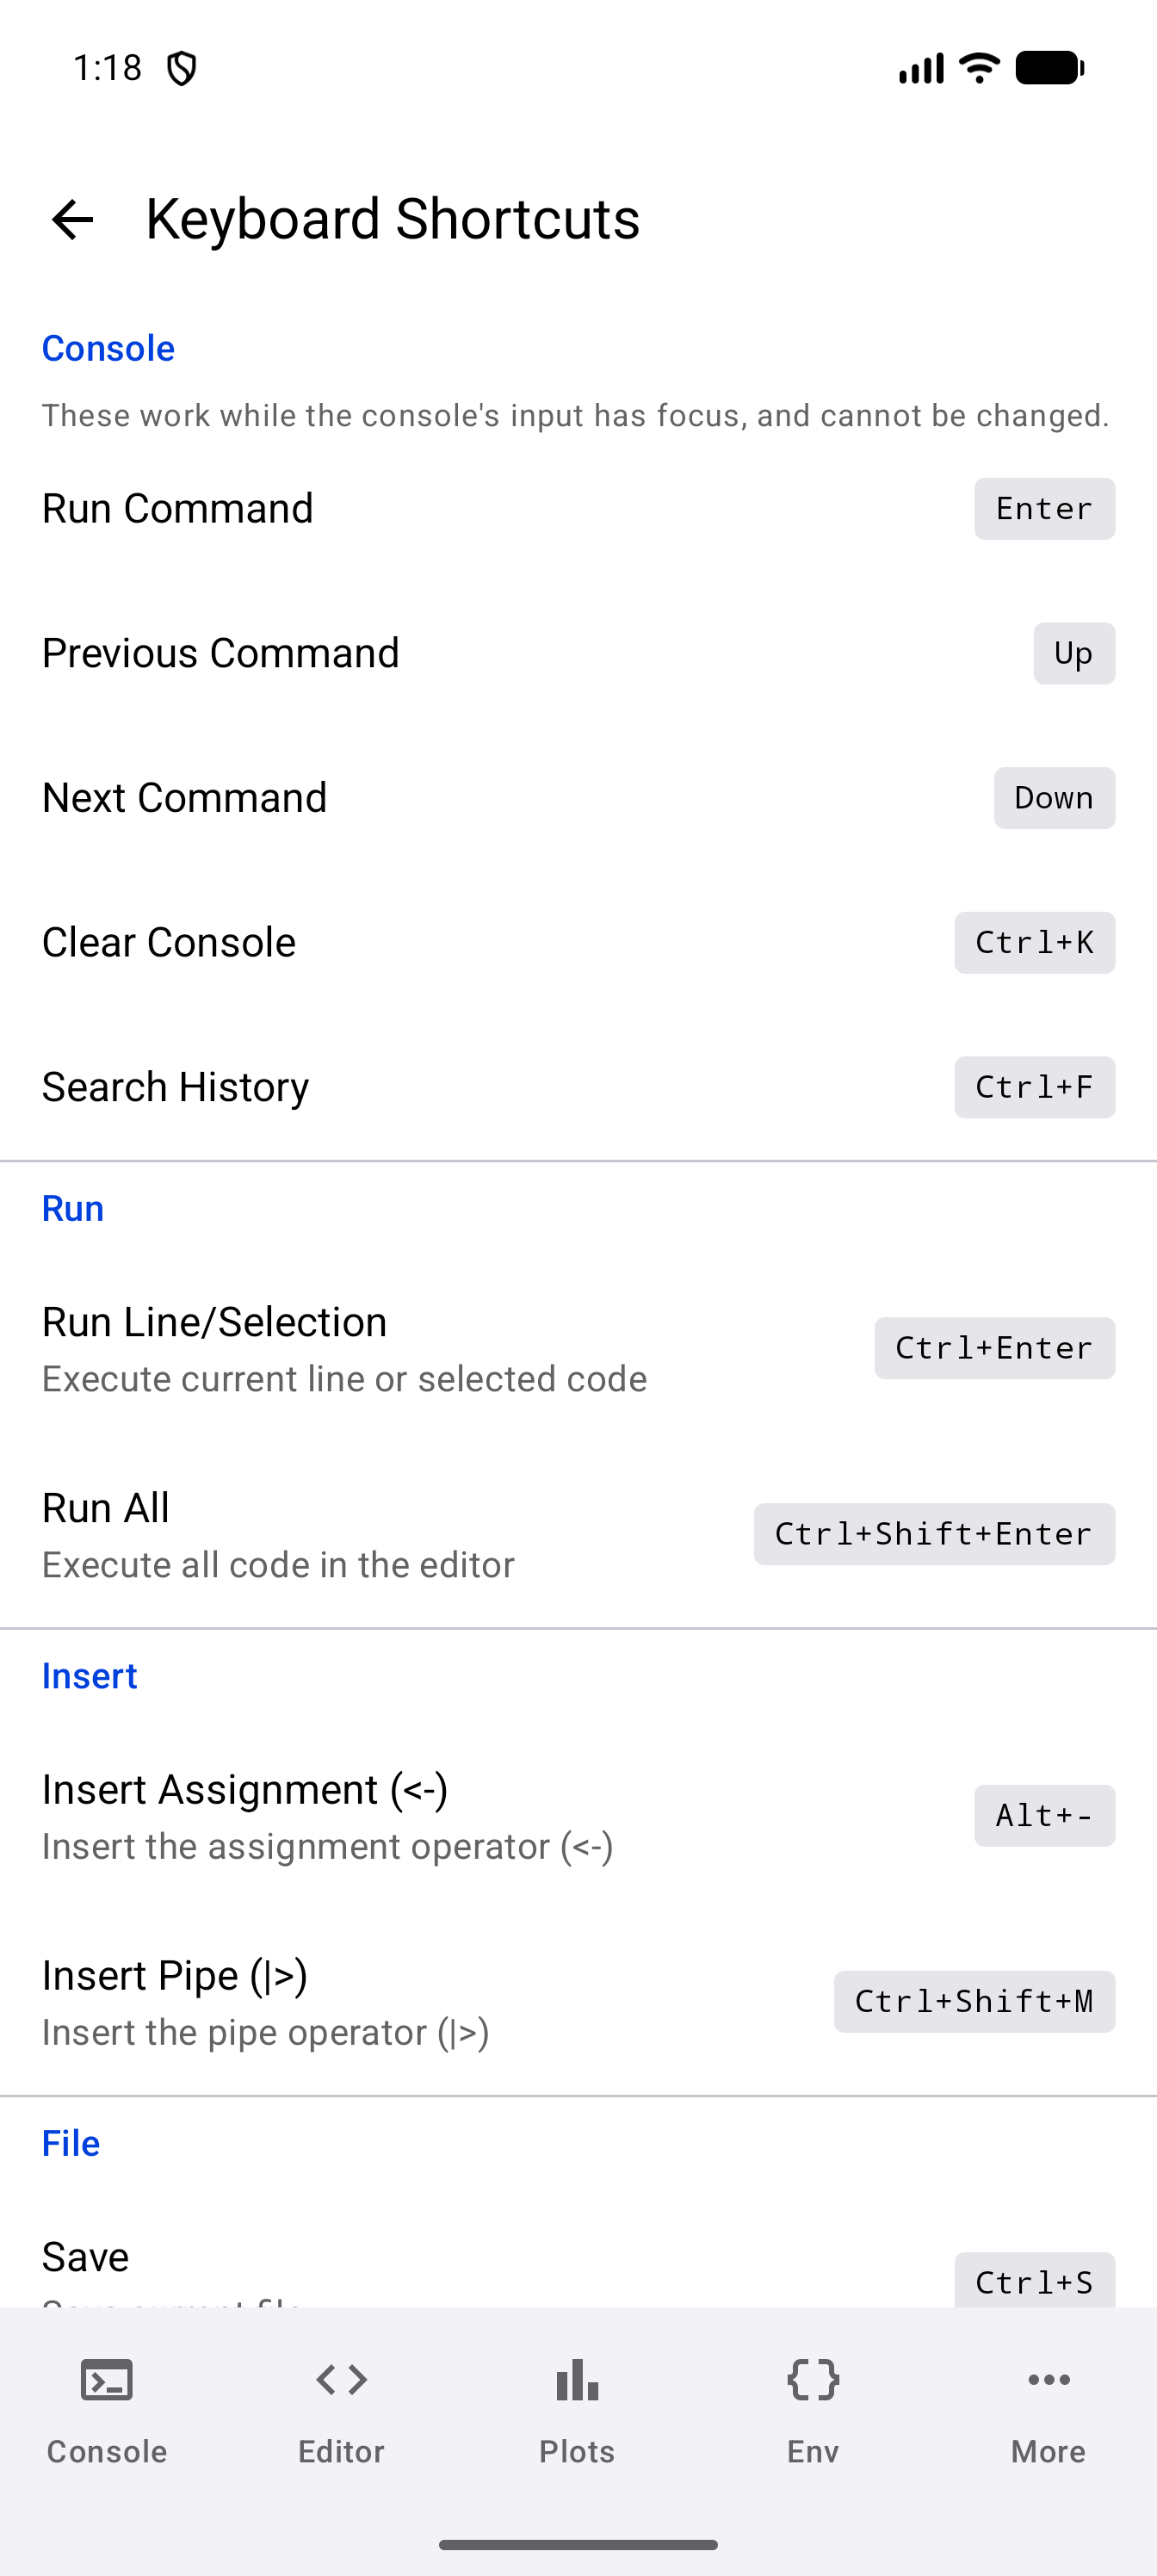
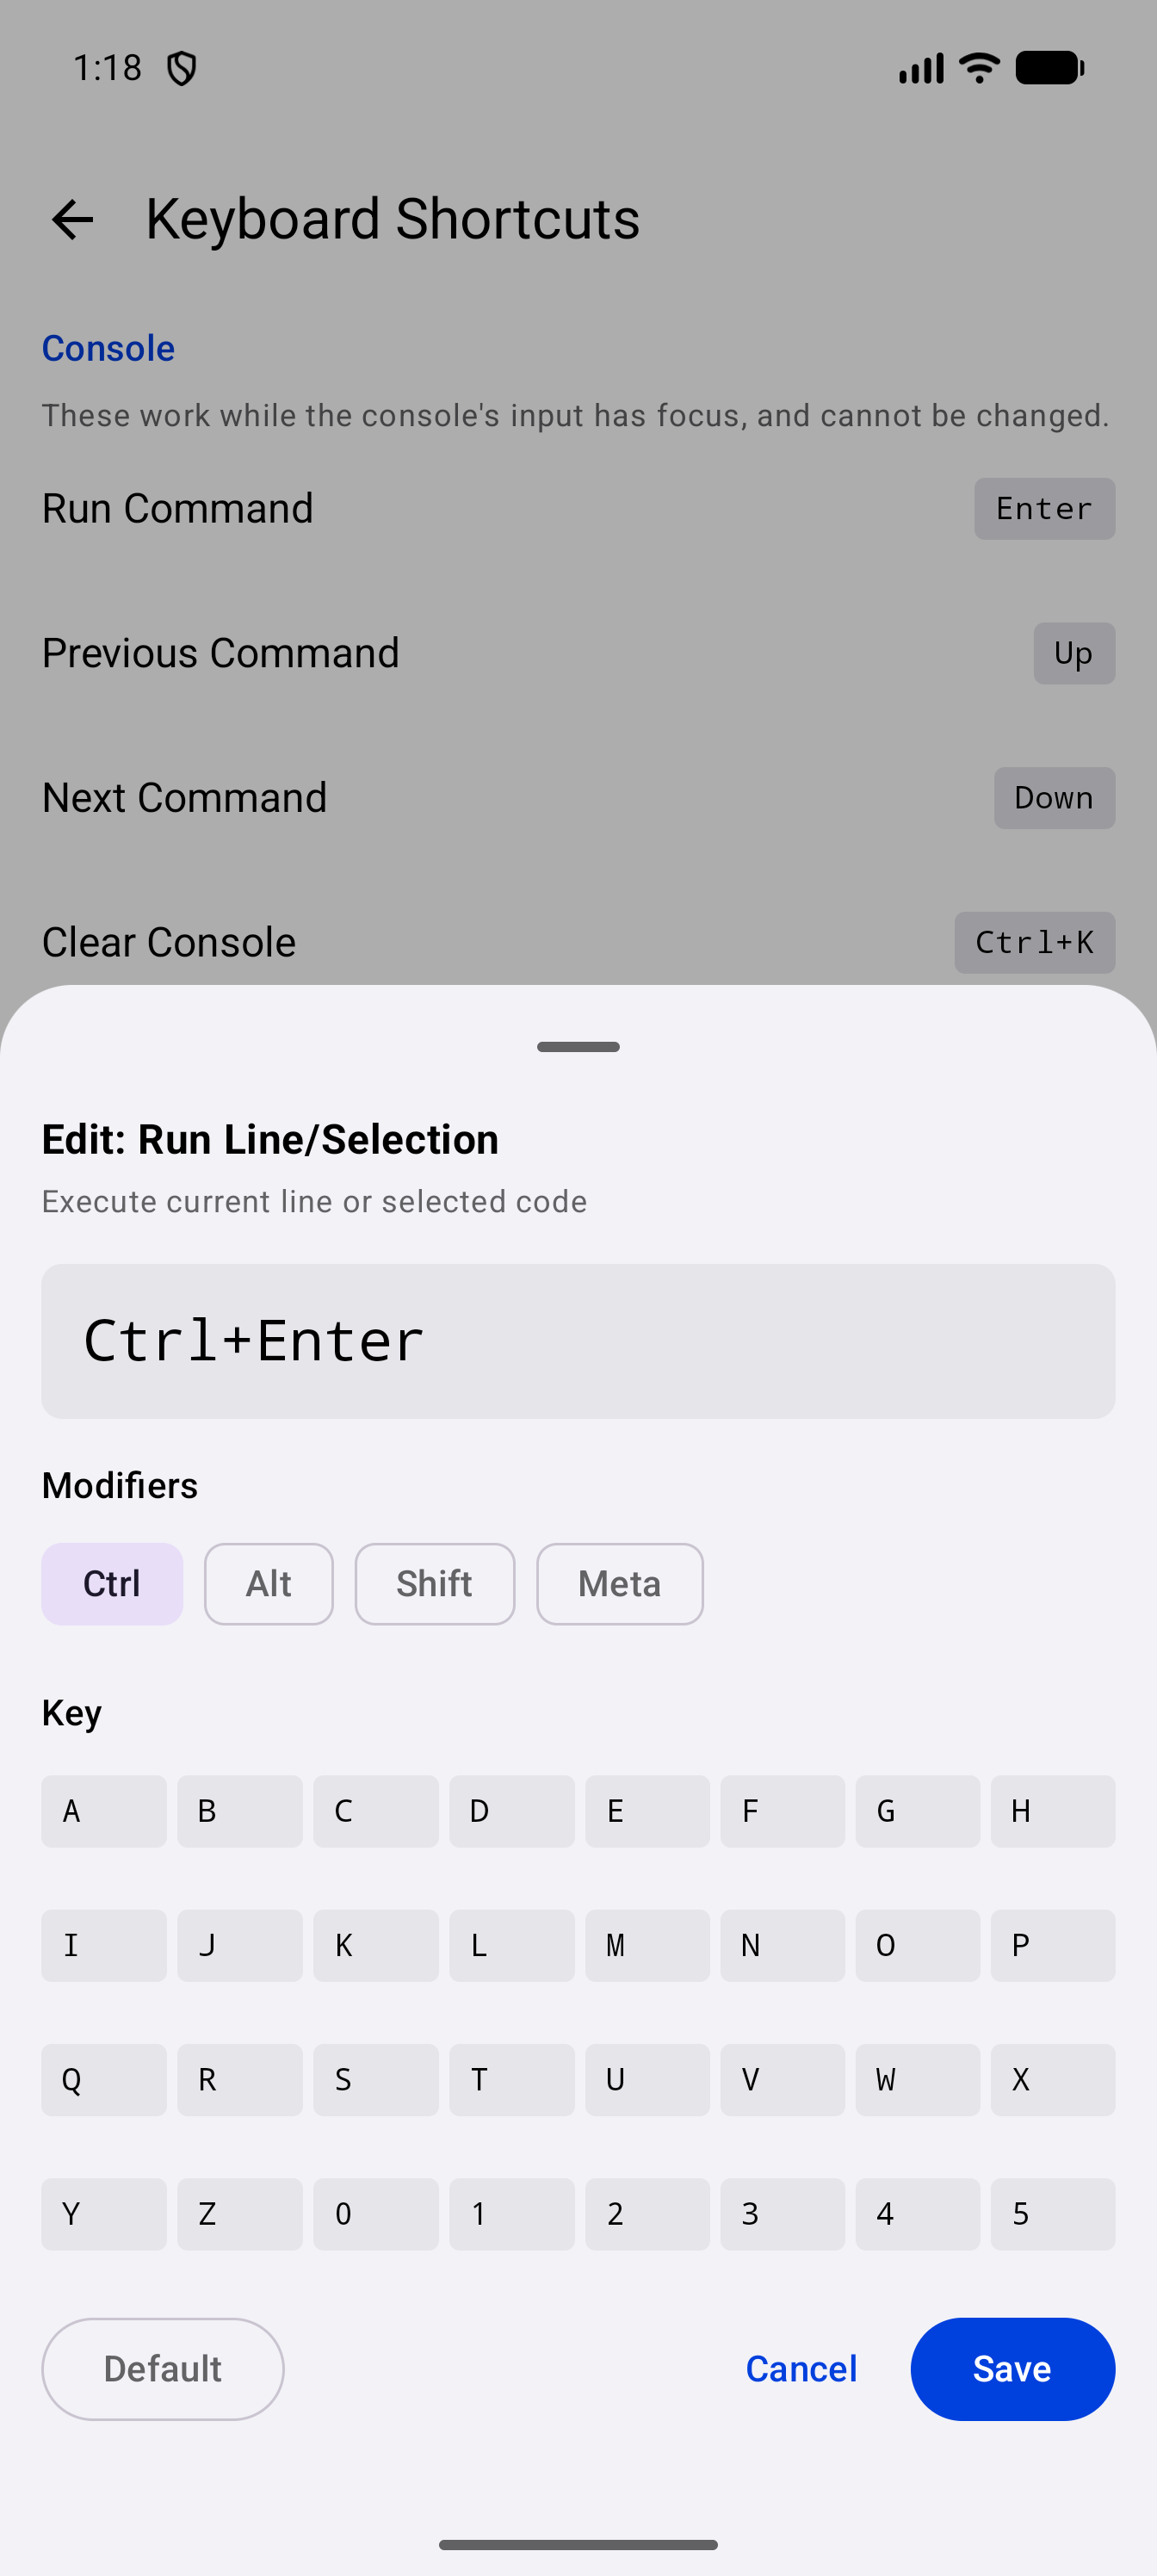
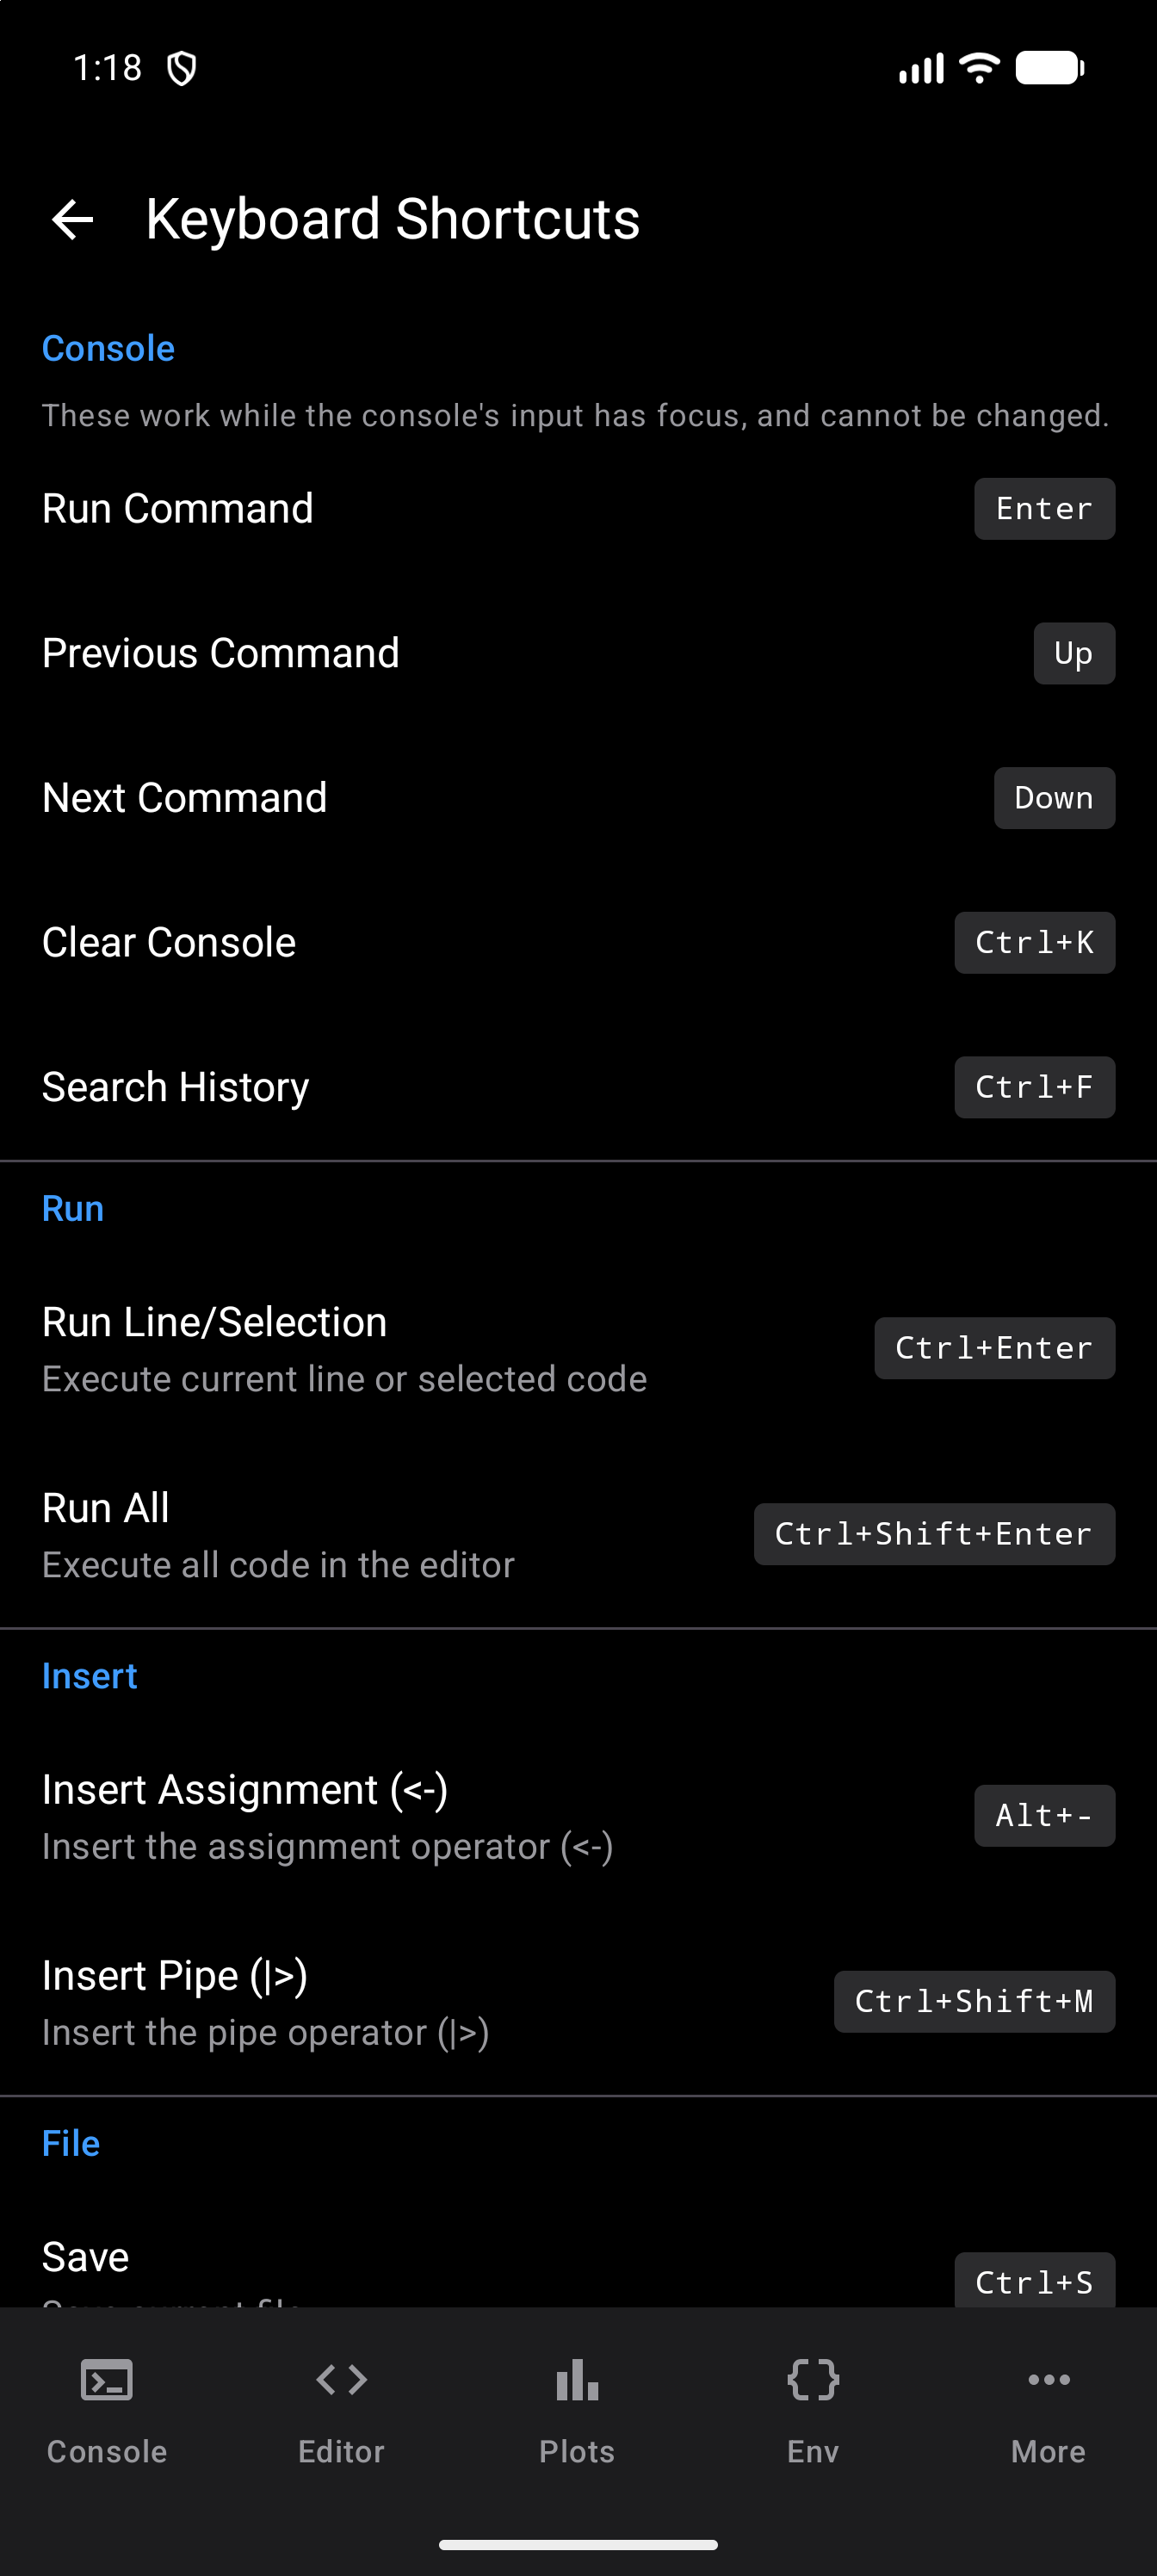
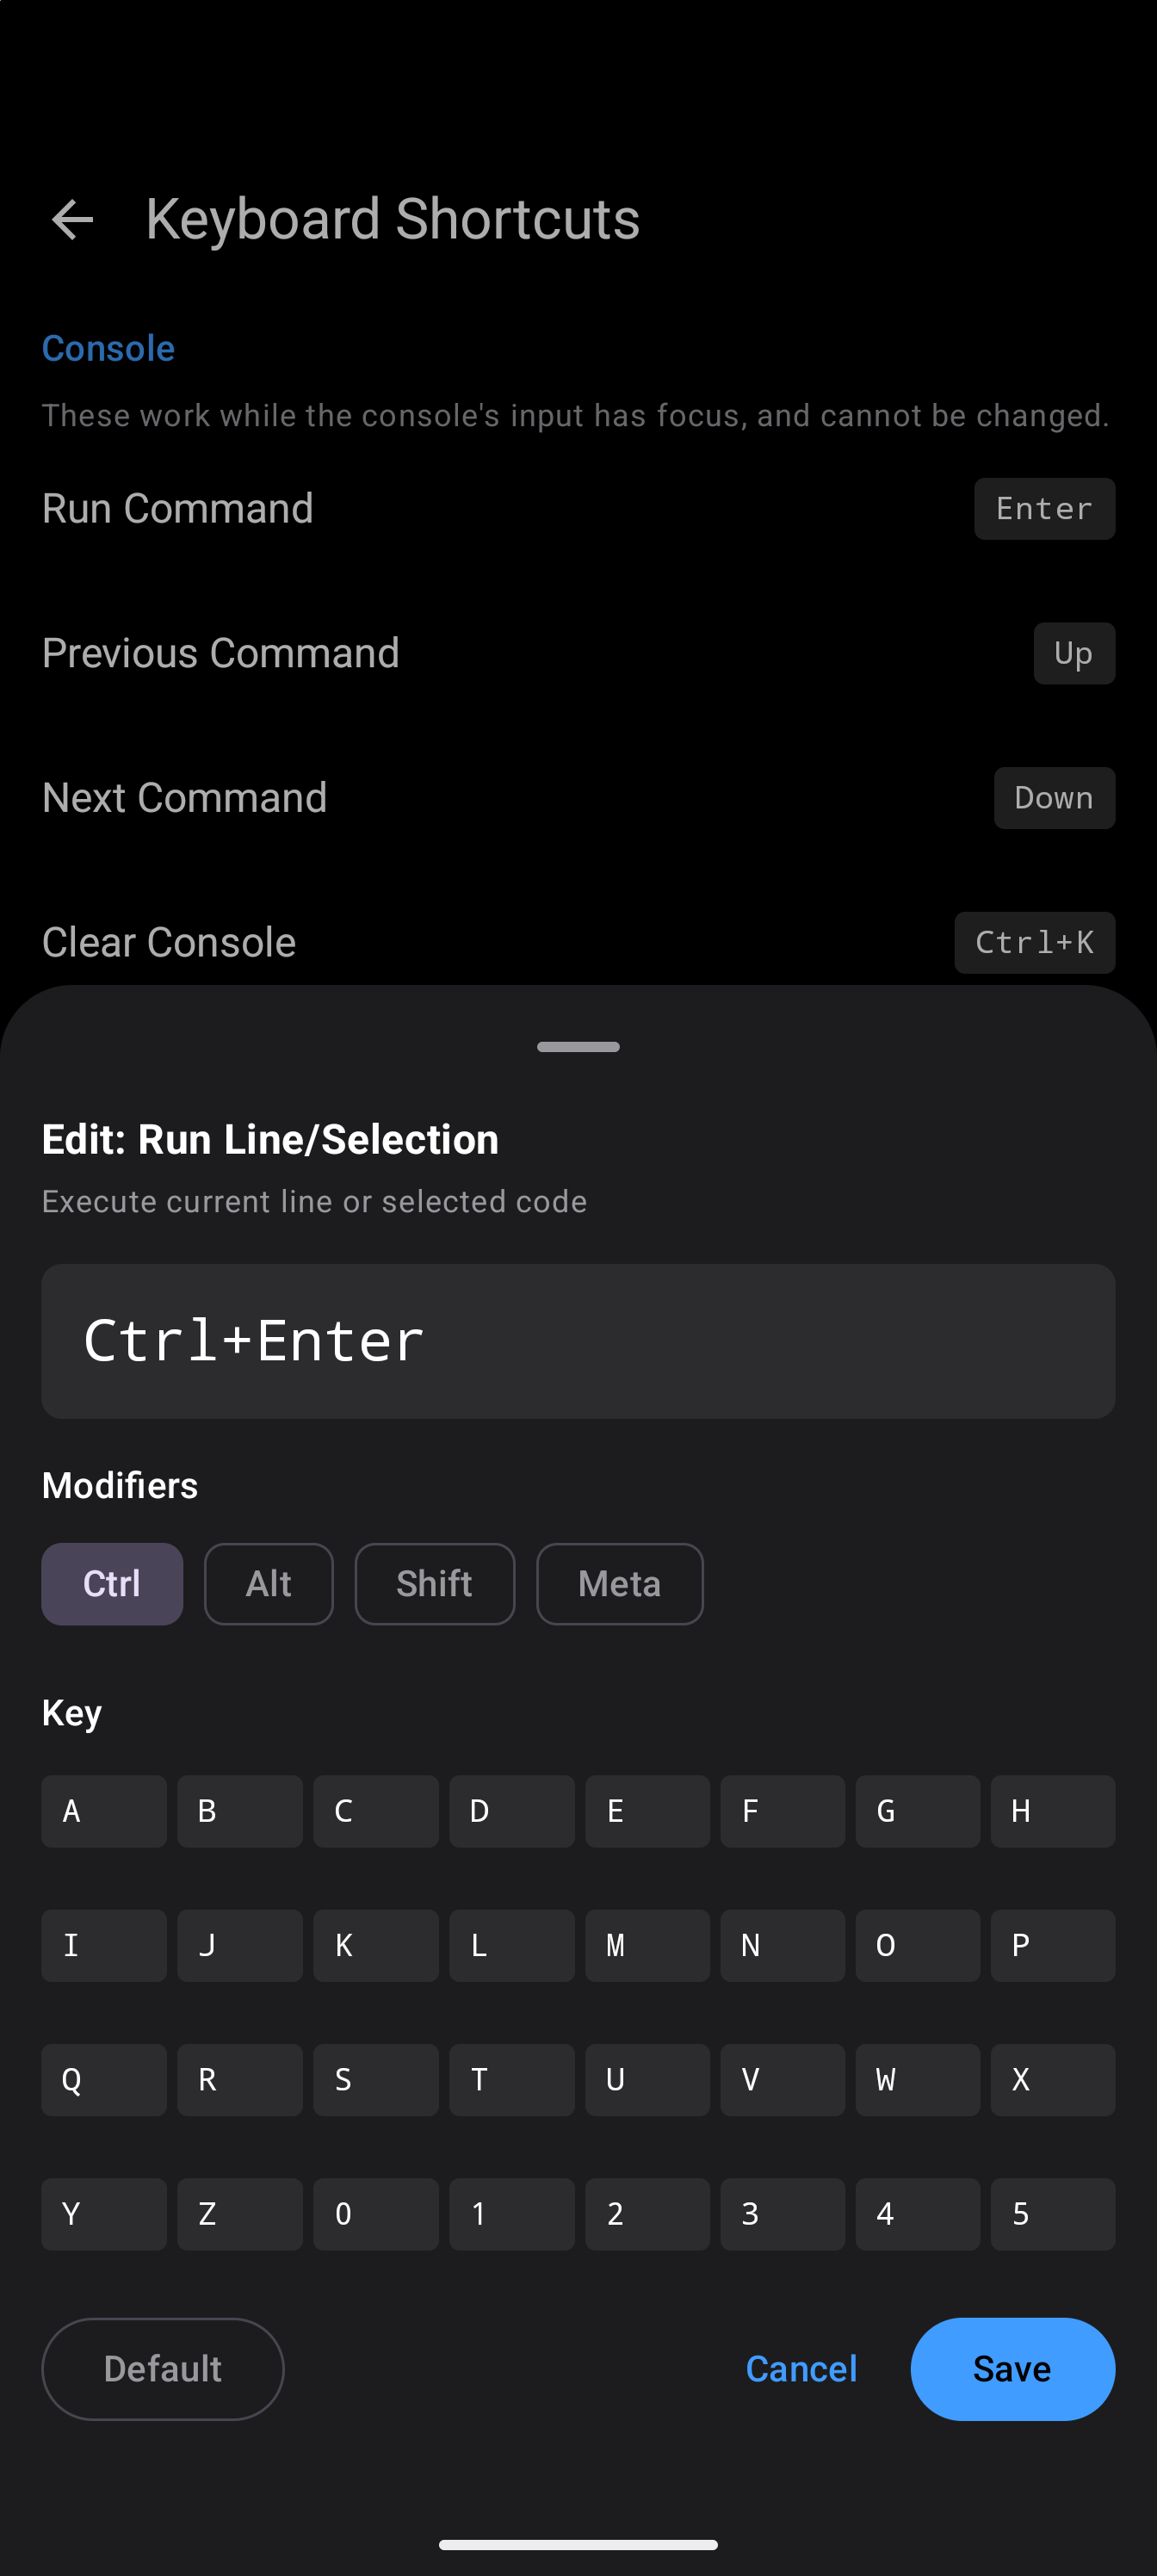
Connecting or disconnecting a keyboard leaves your R session running. With a keyboard attached, the Console’s prompt has focus as soon as R has loaded, so you can start typing at once; when the Editor is on screen by itself, its code has focus instead. Move Focus to Editor and Move Focus to Console, under Navigate, move between the two.
Press Meta+/ (the Search or Windows key with /) to see the app’s shortcuts, as they are currently bound, in Android’s keyboard shortcuts list. They are grouped as Console, Editor, and App, the last holding the shortcuts that work from anywhere.
Console
These work while the console’s input line has focus, and cannot be rebound. Insert Assignment and Insert Pipe, below, work there too. The editor’s other shortcuts, such as Save or Find, act only on the Editor, while Open File, Move Focus to Editor and Move Focus to Console work from any screen. In the Workspace layout, a shortcut goes to the pane you are typing in, and to the Editor when no pane has focus.
| Action | Shortcut |
|---|---|
| Run Command | Enter |
| Previous Command | Up |
| Next Command | Down |
| Clear Console | Ctrl+K |
| Search History | Ctrl+F |
Ctrl+K and Ctrl+F also answer to the Meta key in place of Ctrl.
While the completion list is open, Up and Down move through its suggestions instead of the history. Once one is highlighted, Enter or Tab inserts it; until then Enter still runs the command. Escape closes the list. The Editor’s completion list takes the same keys.
Run
| Action | Default Shortcut |
|---|---|
| Run Line/Selection | Ctrl+Enter |
| Run All | Ctrl+Shift+Enter |
Insert
| Action | Default Shortcut |
|---|---|
Insert Assignment (<-) |
Alt+- |
Insert Pipe (|>) |
Ctrl+Shift+M |
File
| Action | Default Shortcut |
|---|---|
| Save | Ctrl+S |
| New Tab | Ctrl+N |
| Close Tab | Ctrl+W |
| Open File | Ctrl+O |
Find
| Action | Default Shortcut |
|---|---|
| Find | Ctrl+F |
| Find & Replace | Ctrl+Alt+F |
Edit
| Action | Default Shortcut |
|---|---|
| Toggle Comment | Ctrl+/ |
| Duplicate Line | Ctrl+D |
| Rename Variable | Ctrl+Alt+Shift+M |
Folding
| Action | Default Shortcut |
|---|---|
| Fold All | Ctrl+Alt+O |
| Unfold All | Ctrl+Alt+Shift+O |
Undo and Redo
These are fixed. They are not in the Keyboard Shortcuts screen or the Meta+/ list, and cannot be rebound. Each editor tab has its own history; see Undo and redo.
| Action | Shortcut |
|---|---|
| Undo | Ctrl+Z |
| Redo | Ctrl+Shift+Z or Ctrl+Y |
If you regularly use a Bluetooth keyboard or a keyboard case with your device, learning the shortcuts for Run Line/Selection, Find, and Toggle Comment will noticeably speed up your workflow.